Start by testing for damp: tape foil to walls and the slab for 48 hours, then check gutters, downpipes, and ground falls after heavy rain. Seal cracks with hydraulic cement and consider tanking slurry, a DPM, and even a sump if water pools. Speak to Building Control early about headroom, electrics sign-off, and escape routes. Frame walls off masonry with treated timber and moisture-safe PIR/XPS, then use MR plasterboard and below-grade flooring. There’s more to tighten up next.
Check Moisture and Fix Water Issues First
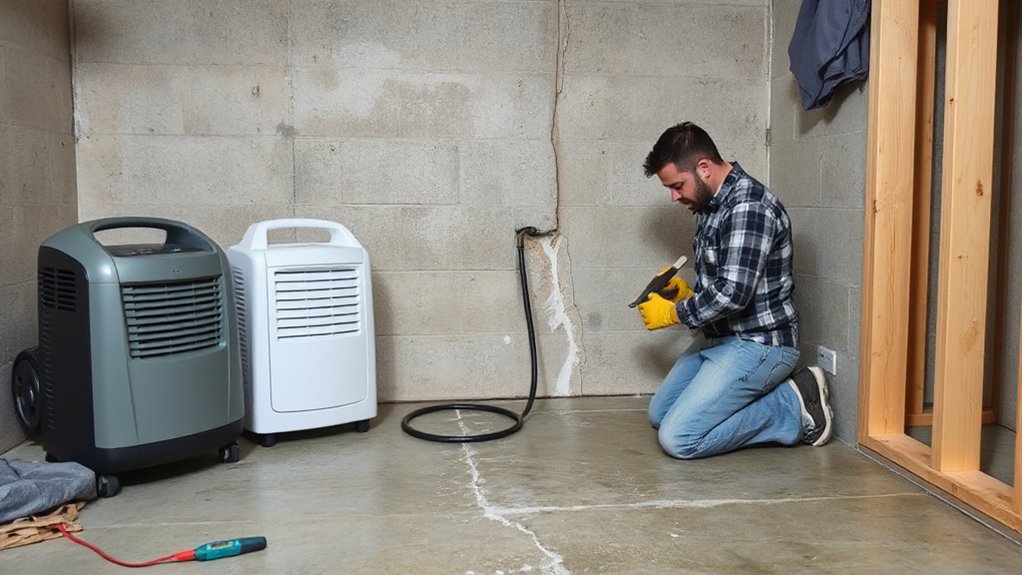
Before you put up studs or plasterboard, check your basement for damp and deal with any water issues, because finishing over moisture will only lead to mould, rot, and ruined insulation.
Start with a simple moisture test: tape a sheet of foil to the wall and slab for 48 hours; condensation behind it means the structure’s damp. Inspect after heavy rain, then clear gutters, check downpipes, and guarantee external ground falls away from the house.
Inside, seal obvious cracks with hydraulic cement and consider a sump pump if water pools.
For Waterproofing strategies, use a cementitious tanking slurry on bare masonry and fit a DPM under new floors.
For Drainage solutions, add a perimeter drain channel to a sump.
Know Basement Code Basics (Permits, Egress, Height)
Although it’s tempting to jump straight into framing and electrics, you’ll save time and money by checking the UK rules that apply to basement conversions upfront: most projects need to meet Building Regulations (and you may need planning permission if you’re altering the exterior, creating a separate dwelling, or working on a listed building).
Start by speaking to Building Control early; you’ll need inspections and, in some cases, Building permits for structural alterations, new drainage, or underpinning.
Confirm minimum ceiling height after you’ve allowed for insulation, joists, and finishes—if headroom’s tight, you may need excavation, which triggers engineering sign-off.
Don’t ignore Egress requirements: if the basement is habitable, provide a compliant escape route, often an escape window or protected stair, plus suitable smoke alarms.
Keep paperwork for resale.
Decide How You’ll Use the Finished Basement
Before you start framing and plasterboarding, decide the basement’s main job—home office, snug, gym, guest room, or utility space—so your electrics, lighting, heating, and storage suit it.
Then you’ll plan clear zones and a practical layout, keeping routes to the stairs, any egress window, and the consumer unit accessible.
A simple floor plan with furniture sizes and door swings helps you place sockets, radiators, and lighting runs accurately first time.
Define Primary Basement Purpose
Once you’ve decided what you want from the space, you can design your basement finish around clear priorities instead of guesswork. Nail down one primary purpose and let it drive every choice you make, from moisture control to electrics, heating, lighting, and storage.
In the UK, check head height, ventilation, and whether you’ll need Building Regulations sign-off for insulation, electrics, or a new bathroom. Be honest about how often you’ll use it and who for; that’s what locks in basement functionality without wasting money.
- A snug film room with blackout blinds and soft carpet underfoot
- A quiet home office with data points and task lighting
- A teen den with durable flooring and wipe-clean walls
- A hobby workshop with extraction and hardwearing benches
- A guest suite with warm radiators and decent soundproofing
Plan Functional Zones And Layout
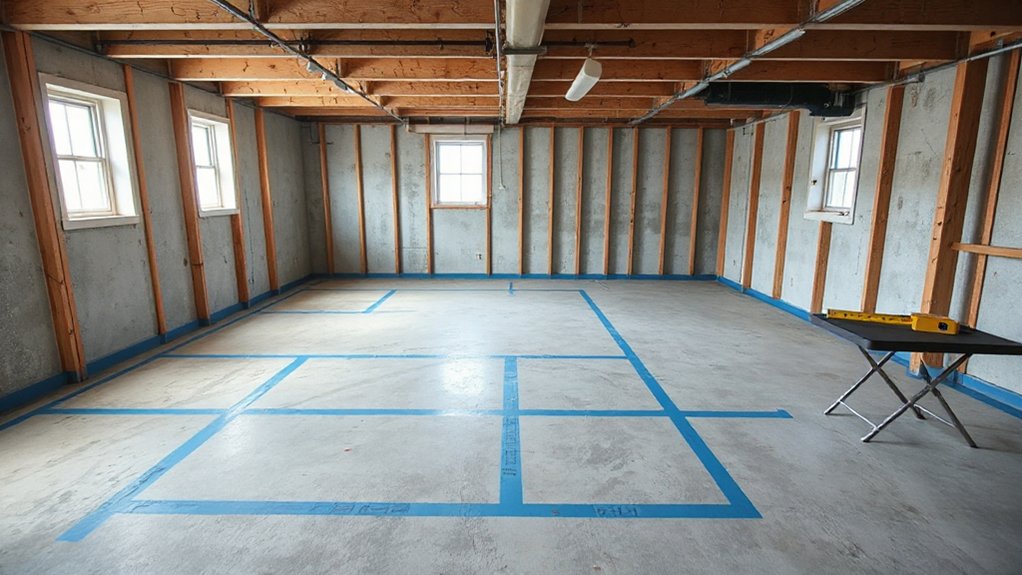
If you map out functional zones early, you’ll avoid a basement that looks finished but doesn’t work day to day. Sketch the footprint and mark fixed elements first: stairs, boiler, consumer unit, soil pipe, and any sump. Keep service access clear to meet UK regs and future maintenance.
Next, set zones by activity and noise: a snug/TV area away from the utility corner, a desk nook near a socket run, and storage along low ceilings or under stairs. Test furniture arrangement with taped outlines on the floor so walkways stay at least 800mm and doors don’t clash.
Plan lighting per zone: task lights for worktops, dimmable downlights for seating. Use color schemes to separate areas subtly, and keep finishes consistent to avoid a chopped-up feel.
Set Your DIY Basement Finishing Budget
Although it’s tempting to jump straight into stud walls and spotlights, you’ll get a smoother project by setting a clear DIY basement finishing budget upfront.
Start with Budget allocation: split costs into must-haves (damp control, electrics sign-off) and nice-to-haves (built-ins).
Price your Material selection using UK merchant quotes, not guesswork, and add 10–15% for waste and surprises.
Keep a simple spreadsheet and update it weekly so you don’t drift.
- A clipboard with itemised quotes from Selco, Travis Perkins, and Screwfix
- A roll of DPM and tanking slurry pencilled into “essential”
- A reel of twin-and-earth and a Part P electrician day rate
- Insulation boards stacked beside plasterboard, priced per sheet
- An envelope marked “contingency” for skips and extra fixings
Plan the Basement Layout and Clearances
Before you buy timber or mark out sockets, draw your basement layout to scale and lock in the clearances that UK regs and day‑to‑day use demand.
Mark existing columns, drains, meters, and the boiler, then set no‑go zones for access panels and service routes.
Check ceiling height after you allow for flooring build‑up and any fire‑rated lining; don’t plan a habitable room if you can’t achieve practical headroom.
Plot stairs with safe landing space, and keep escape routes clear to the protected stair or egress window where required.
Do a Furniture arrangement test with paper cut‑outs: leave sensible walkways, door swings, and storage access.
Only then add Decorative accents so they don’t steal clearance.
Plan Outlets, Lighting, and Low-Voltage Runs
Next, you’ll map outlet locations based on how you’ll use the space, keeping to UK regs and sensible heights above the finished floor.
You’ll then plan lighting circuits and switch positions early, so you can route cables cleanly through joists and studwork without clashes.
Finally, you’ll set out low-voltage runs for data, TV, and alarms, keeping them separated from mains wiring and allowing access for future upgrades.
Map Outlet Locations
Where will you actually plug things in once the basement’s finished? Start by sketching your room layout to scale, then mark sockets before you frame or plaster. Good outlet placement reduces extension leads and keeps cords off damp floors.
In the UK, assume you’ll need more twin sockets than you think, especially near desks and media units. Keep electrical safety front and centre: don’t place outlets where they’ll be splashed, and plan for RCD protection and suitable zones if you’ve got a utility area.
- Behind the sofa for lamps and chargers
- Beside the TV unit for consoles and routers
- At a desk wall for PCs and printers
- Near the freezer for maintenance access
- By the stairs for a vacuum point
Route Lighting And Low-Voltage
One clear lighting and low‑voltage route plan stops you drilling into joists twice and keeps cables out of harm’s way. Sketch your ceiling zones, then route lighting runs to each fitting, keeping cables central in joists and at least 50mm from faces to meet UK safe zones when you later fix plasterboard.
Use appropriate cable clips and protect where you pass through timber with grommets; don’t notch or over‑bore structural members.
For low voltage wiring (Cat6, speaker, alarm, data), keep it separate from 230V by distance or a divider, and cross power at right angles to reduce interference.
Bring all data to one comms point, label both ends, and leave service loops at lights and behind TV points.
Photograph routes before boarding up.
Plan HVAC, Ventilation, and Dehumidification
Before you frame a single stud, work out how you’ll heat, ventilate and control humidity in the basement, because these choices affect room layout, ceiling height and Building Regulations compliance.
Check your boiler and radiator capacity, or plan underfloor heating early. If you’ve got forced air, consider HVAC zoning so the basement isn’t starved when upstairs calls for heat.
Plan supply and return paths, not just one grille, and upgrade air filtration to handle dust and musty odours.
For ventilation, fit an intermittent extractor or MVHR branch where approved, and keep duct runs short.
Add a dedicated dehumidifier with a condensate drain.
- A slimline duct tucked between joists
- A quiet extractor over the WC
- A return grille near the stairwell
- A dehumidifier draining to a trapped waste
- A thermostat sited away from drafty doors
Choose Basement Insulation and Vapor Control
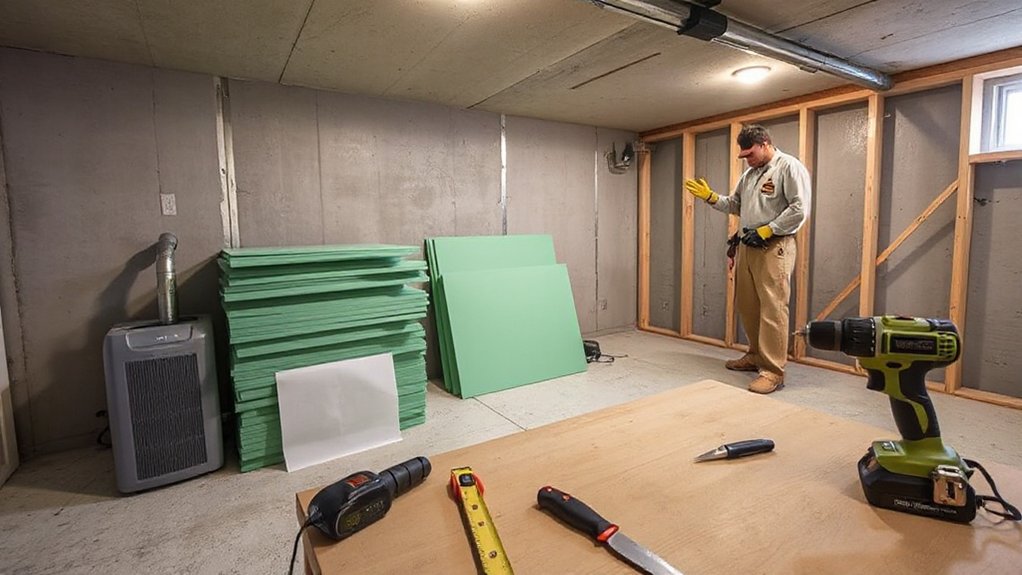
Next, you’ll need moisture-safe insulation that suits a UK basement, so favour closed-cell PIR boards or XPS over standard mineral wool where damp risk is higher.
You’ll also plan your vapour control approach early, because the wrong layer can trap moisture against cold masonry and trigger mould.
Check wall type and moisture levels first, then decide whether you’re using a taped foil-faced board, a separate vapour control layer, or a breathable build-up where appropriate.
Select Moisture-Safe Insulation
How do you keep your new basement room warm without trapping damp where you can’t see it? Start by choosing insulation that tolerates moisture and still performs in a cool UK subfloor climate. Aim for continuous coverage on masonry, and pair it with sensible Moisture barriers at junctions and penetrations, without overcomplicating the build.
- Closed-cell PIR boards, taped joints, like a crisp jacket on cold brick
- XPS sheets, tight-fit, resisting occasional seepage behind skirting
- Mineral wool only in a fully separated stud zone, never against bare walls
- Spray foam for awkward rim joists, sealing like draught-proofing around a loft hatch
- Insulated plasterboard where headroom’s tight, smoothing surfaces for paint
Check manufacturer data for moisture absorption, compressive strength, and fire rating before you buy.
Plan Vapor Barrier Strategy
Moisture-safe insulation only works as intended if you control where water vapour can travel and where it can dry, so plan your vapour barrier strategy alongside the build-up.
In most UK basements, you’ll manage moisture from the ground and the room, so don’t trap damp between layers. Use a membrane on the warm side only when the wall can’t dry inward; otherwise favour a vapour-control layer (VCL) that slows diffusion but allows some drying.
Choose reliable vapor barrier materials: 500–1200 gauge polythene, foil-faced PIR joints taped, or a smart membrane. Seal laps, corners, and service penetrations with butyl tape and grommets.
Keep the barrier continuous behind battens, and pair it with active ventilation or a dehumidifier for moisture control.
Frame Basement Walls for Moisture and Movement
Even if your basement feels dry most of the year, you should frame the walls to cope with both damp and small structural movement.
In UK basements, leave a 25–50mm gap off masonry, fix treated sole plates on a DPM, and keep studs plumb without forcing them tight.
Use moisture barriers behind wall framing where required, and detail them so any water can’t wick into timber.
Build a floating head with slotted fixings if you expect minor settlement.
- Picture a chalk line, set 50mm off the wall
- A DPM strip under the sole plate
- Treated timber studs, 400mm centres, crisp and square
- Foam gasket to stop cold bridging at plates
- Service void battens, keeping pipes and cables clear
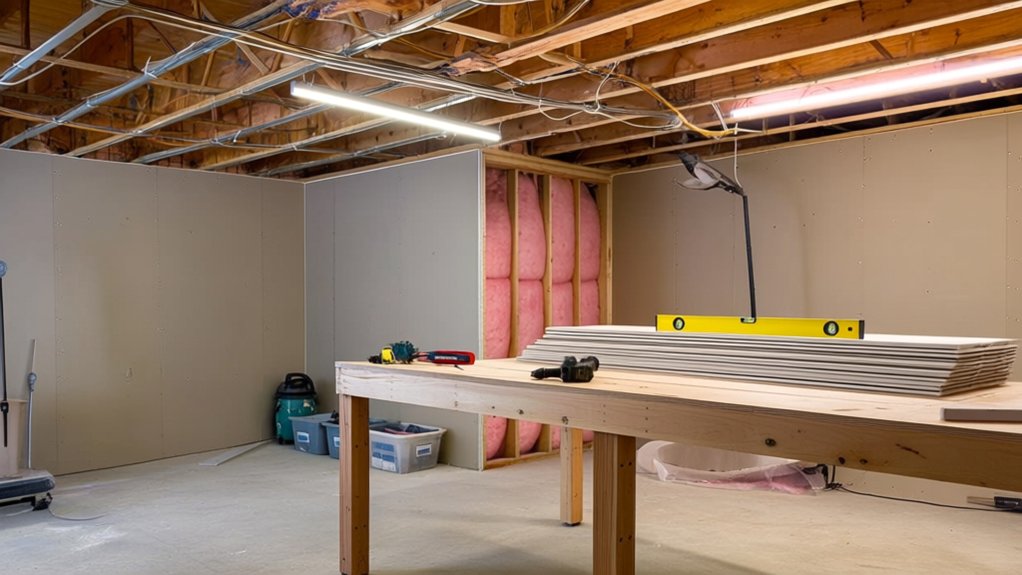
Choose Drywall for Basements (Mold- and Moisture-Smart)
With your studwork held off the masonry and detailed to avoid wicking, the next weak link is the board you fix to it. In UK basements, standard plasterboard can soften and feed spores, so specify moisture-resistant (MR) board or, better, mold resistant drywall where ventilation is limited. Check it’s CE/UKCA marked and suitable for humid areas.
For drywall installation, keep boards 10–15mm off the slab and seal the gap with acoustic/air sealant, not skim. Use corrosion-resistant drywall screws, avoid dot-and-dab on external walls, and tape joints with paper tape plus setting compound for a tighter vapour check.
Prime with a stain-blocking, mould-inhibiting primer before decorating, and don’t trap wet services behind the lining.
Pick Basement Flooring That Handles Moisture
Because basements in the UK rarely stay bone-dry year-round, you’ll get a longer-lasting finish if you choose flooring that tolerates occasional damp, high RH, and cold slabs without warping or growing mould.
Start by checking the slab with a simple taped-down poly sheet for 24–48 hours, then pick Moisture resistant materials rated for below-grade use. Aim for Waterproof flooring systems with sealed joints and a compatible underlay.
- Click-lock LVT that looks like oiled oak planks
- Porcelain tiles that feel like cool stone underfoot
- Rubber tiles that soften a home gym corner
- Epoxy-coated concrete with a satin, wipe-clean sheen
- DPM-backed laminate panels that mimic wide boards
Keep skirtings off the slab slightly, and leave expansion gaps so the floor can move with seasonal humidity.
Avoid Common DIY Basement Finishing Mistakes
If you plan your basement like a normal upstairs room, you’ll likely repeat the same DIY errors that cause damp patches, musty smells, and call-backs six months later.
Start by checking the slab and walls for moisture, then fit a membrane or tanking system before you frame anything.
Don’t dot-and-dab plasterboard on cold masonry; use insulated studwork with a vapour control layer on the warm side.
Keep sockets and wiring accessible, and allow for future sump or dehumidifier drainage.
Size ventilation properly: trickle vents and an extractor won’t fix stale air if you’ve sealed the room tight.
Finally, choose fixings that suit damp-prone spaces for basement art and decorative shelving, and keep them off external walls.
Frequently Asked Questions
What Tools Do I Need to Finish a Basement as a Beginner?
You’ll need a tape measure, laser level, SDS drill, circular saw, utility knife, caulk gun, insulation stapler for Basement insulation, and PPE. For Flooring options, add a floor scraper, notched trowel, and rubber mallet.
How Long Does a DIY Basement Finishing Project Usually Take?
You’ll usually take 6–12 weeks for a DIY basement finish, longer if you’re evenings-only. You’ll speed things up with clear Budget planning, but always build in inspections and Safety precautions, especially electrics and damp-proofing.
Should I Hire an Electrician or Plumber for Certain Tasks?
You should hire a qualified electrician for new circuits, consumer unit work, or Part P sign-off—Electrical safety matters. You should hire a plumber for supply, waste, or boilers to guarantee plumbing code compliance.
Can I Finish a Basement in Phases Without Redoing Work Later?
Yes, you can finish in phases if you plan services first. Tackle foundation issues and moisture control upfront, then frame and board. Leave access panels, run cables/conduits early, and use demountable flooring to avoid rework.
What Are the Best Paint Choices for Basement Walls and Ceilings?
Like a waterproof coat in a storm, you’ll pick breathable masonry paint for walls and stain-blocking emulsion for ceilings. Choose light Paint color options. Prioritise Moisture resistant finishes; use mould-resistant primer, especially on cold corners.
Conclusion
Finish your basement like you’re writing your own “Grand Designs” episode: start with dry, compliant foundations, not fancy finishes. You’ve checked damp, sorted drainage, and confirmed permits, headroom and egress, so you won’t be ripping things out later. With a clear use, tight budget, and sensible layout, you can frame for movement, choose moisture-smart plasterboard, and lay flooring that copes with spills. Keep services accessible, and you’ll avoid the classic DIY traps.