
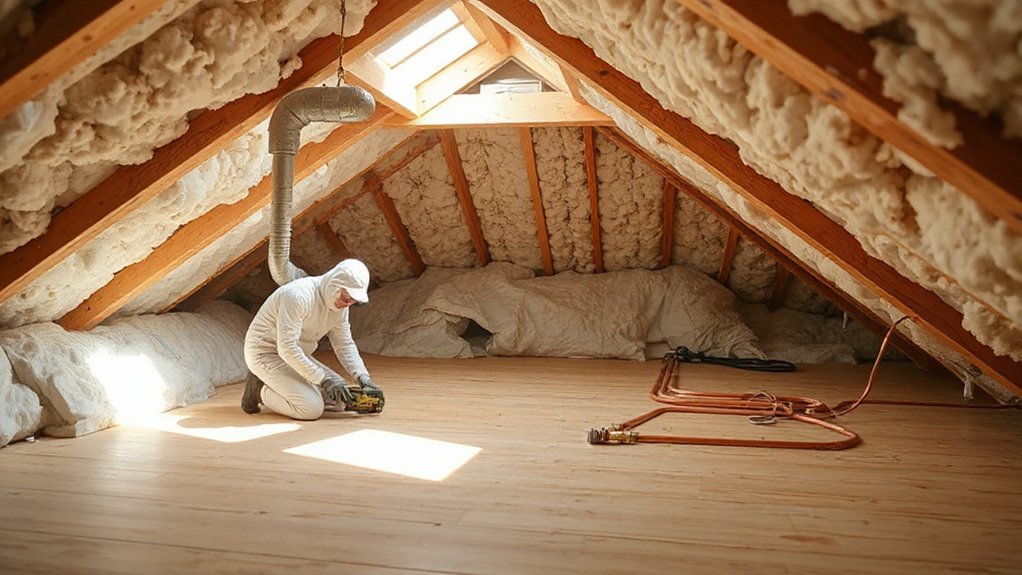
To improve your loft’s energy efficiency, start with a practical assessment of insulation, ventilation, and roof condition, then match materials—glass, mineral wool, or rigid foam—to the available space and budget. Aim for the recommended thickness and continuous coverage, sealing gaps around pipes and vents. Balance ventilation to prevent moisture buildup, and plan for long-term performance with durable, code-compliant choices. Start with a clear plan and measurements, because what you uncover next will shape every upgrade you make.
Loft Insulation Goals: Heat, Moisture, and Savings
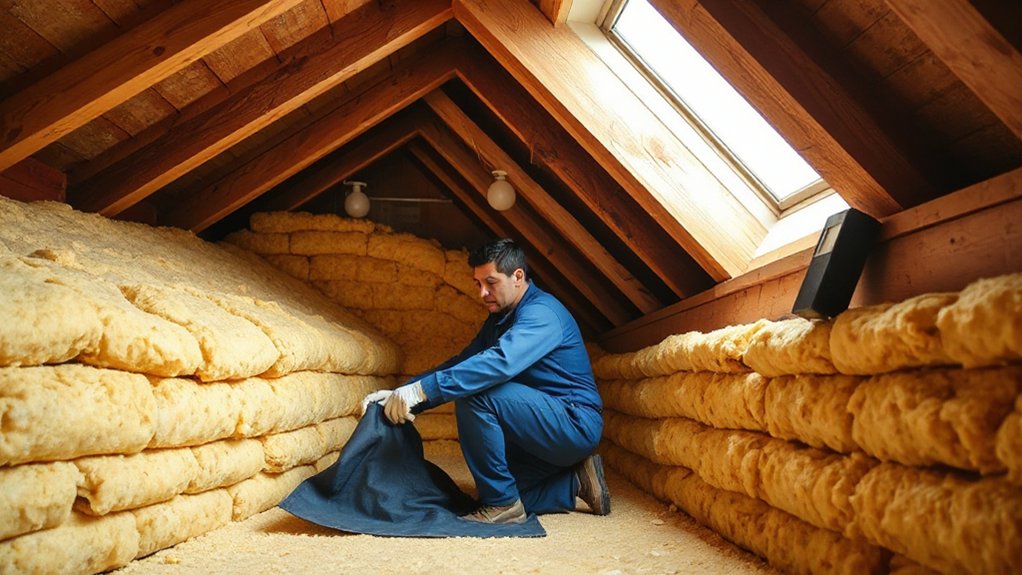
Loft insulation is about three core goals: controlling heat flow, managing moisture, and delivering long-term savings. You’ll measure effectiveness by heat transfer reductions, moisture control, and payback timing.
To reduce heat loss, you adjust insulation depth and material R-values based on climate data and ceiling areas, then verify improvements with updated energy bills.
Moisture management requires air exchange balanced with vapor control, so you align ventilation strategies with insulation layout to prevent condensation without sacrificing warmth.
Savings come from lower operating costs, revealed through month-to-month energy use trends and year-over-year comparisons.
Regular insulation maintenance keeps fixes minimal and performance steady, ensuring you don’t miscalculate gains. Track results, maintain records, and tune slopes or gaps as needed for consistent performance.
Assess Your Loft and Roof Type
To move from setting goals for heat, moisture, and savings, you’ll start by evaluating the specifics of your space. Begin with your loft’s dimensions, access points, and existing ventilation. Measure ceiling height, floor area, and any obstructions that affect insulation layout.
Identify roof type—gable, hip, or flat—and note visible defects. Inspect attic spaces for signs of moisture, dark stains, or prior leaks. Check for attic ventilation: soffit, ridge, and turbine vents, ensuring balanced airflow.
Assess insulation currently in place, its depth, and any gaps near vents or penetrations. Review roof repairs history, flashing integrity, and potential drips or condensation.
Document findings to guide material choices and installation sequencing, while prioritizing continuous airflow and a dry, sheltered environment for ideal performance.
Choose Insulation Materials and Required Thickness
You’ll compare insulation materials by their thermal performance, moisture resistance, and cost, then match them to your roof’s profile.
Use a thickness chart to translate U-values into required layers, ensuring you meet building codes and any venting constraints.
Prioritize proven options (e.g., mineral wool, fibreglass, or PIR) and document the targeted thickness for each roof zone before installation.
Material Options Overview
What insulation materials are available, and what thickness do they require to meet typical loft R-values? You’ll compare options by thermal performance, installation practicality, and durability.
Fiberglass batts provide reasonable cost and easy fit, with thickness aligned to R-value targets.
Mineral wool offers better fire resistance and higher rigidity for long-term stability.
Cellulose loose-fill delivers uniform coverage and lower packing risk, though density affects blower equipment and settling must be considered.
Rigid foam boards yield high R-values per inch, suitable for slim attic profiles but require careful sealing at joints.
Reflective foil or radiant barriers create limited gains unless paired with insulation.
Hybrid systems mix approaches for durability and material sustainability.
Assess Insulation durability and Material sustainability across each option, then select a balanced, practical combination.
Required Thickness Guide
Calculating the required thickness starts from your target loft R-values and the material you choose. Different insulation types need distinct thicknesses to reach those goals, so quantify performance per inch before committing.
Collect manufacturer data for batt, loose-fill, spray foam, or rigid boards, then convert R-values to thickness using published charts.
Consider installation temperature, compression, and potential settling, which can reduce effective R.
Create a side-by-side table showing material options, achievable R per inch, and recommended thickness ranges for typical UK/US climates.
Integrate ventilation considerations into your thickness plan to preserve moisture control and air flow.
Also assess aesthetic integration, ensuring bulkheads, joist gaps, and vapor retarders won’t disrupt room appearance.
Finalize a practical thickness target that balances cost, performance, and install complexity.
Install Loft Insulation Safely and Effectively
When installing loft insulation, start by evaluating your loft space to determine the type and thickness you’ll use, ensuring you meet local building codes and manufacturer guidelines.
You’ll then select materials with proven thermal performance and fire safety ratings, and plan installation in stages to minimize heat loss and dust.
Use a measured approach: calculate required batt or loose-fill volumes, confirm clearances for joists, and verify ventilation paths remain unobstructed.
Follow manufacturer specs for barrier placement, vapour retarders, and fastening methods, documenting each step for compliance.
Maintain consistent protection around chimney chases, beams, and access hatches.
Ventilation strategies should keep airflow steady without creating thermal bridges.
Safety precautions include PPE, ladder stability, and power tool safety to reduce injury risk while achieving reliable insulation performance.
Common Loft Insulation Pitfalls and How to Avoid Them
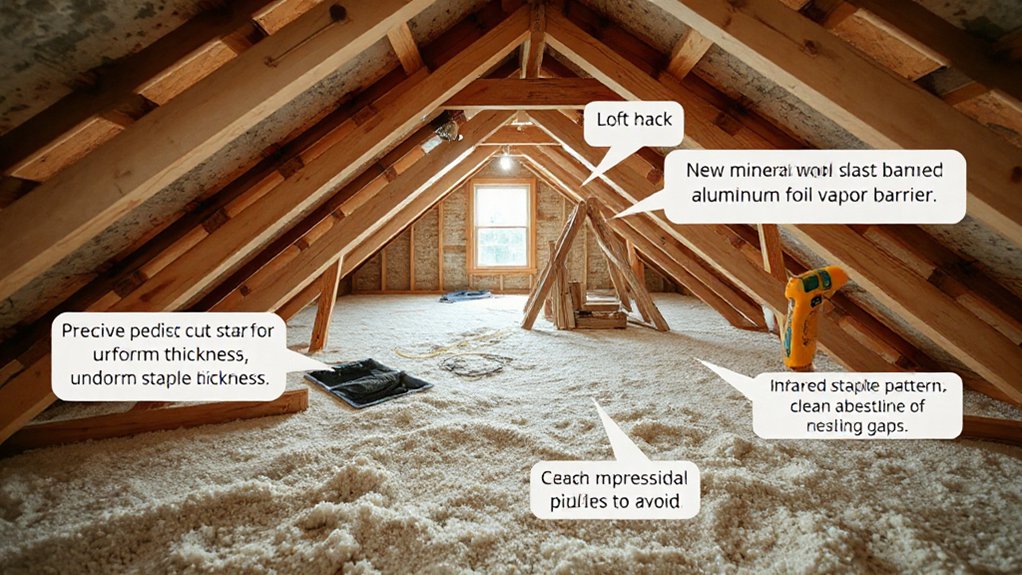
Even with careful planning, common loft insulation pitfalls can undermine performance if you don’t spot and address them early. You’ll reduce effectiveness if you overlook ventilation issues, gaps, or compression that lowers R-values. Use precise measurements to guarantee full coverage without crowding joists or blocking ventilation paths.
Align materials with building codes and manufacturer instructions, avoiding DIY substitutions that compromise fire safety or moisture control. Avoid film or vapour barriers that trap condensation in poorly vented spaces, and seal penetrations around pipes and fixtures to prevent heat loss.
Check for consistent thickness across angles and near hatch doors, ensuring no compression from storage or framing. Regularly compare installed insulation against planned specs, documenting deviations and remediation steps to uphold cooling and heating performance.
Ventilation issues and Building codes drive safe, effective outcomes.
Budget-Friendly Tips and Future-Proofing for Long-Term Performance
You’ll start with budget-smart insulation upgrades that maximize R-value per penny and minimize installation time, using measured costs and performance data to guide decisions.
Then, plan for long-term performance by selecting durable materials, verifying return on investment, and setting up a simple monitoring routine to catch drafts or degradation early.
This approach keeps upfront expenses reasonable while building resilience against future energy costs and climate shifts.
Budget-Smart Insulation Upgrades
Budget-smart insulation upgrades focus on high-impact improvements that pay back over time. You’ll prioritize cost-effective moves that reduce heat loss without major renovations, basing decisions on measurable gains.
Begin with targeted attic air sealing to minimize thermal bridging, then add insulation where gaps let you lose the most heat. Choose proven materials with favorable R-values per dollar, and compare installed costs to anticipated energy savings over a typical year.
Implement practical, repeatable steps: seal leaks, upgrade attic floor insulation, and consider resilient moisture controls to protect performance. Integrate sensible ventilation strategies to avoid indoor air issues while maintaining efficiency.
Track progress with simple measurements—temperature differentials, draft counts, and monthly utility previews—to verify return on investment and guide future upgrades.
Long-Term Performance Planning
Are you planning for durability and cost control over decades, not just the next season? You should frame Long-Term Performance Planning around measurable targets: heat loss reduction, payback periods, and resilience to climate shifts.
Start with a baseline audit of thermal bridging, identifying junctions where framing, rooflines, and penetrations allow unintended heat transfer. Prioritize continuous insulation strategies and air-sealing methodologies that minimize thermal bridges without sacrificing ventilation access.
Implement ventilation optimization to maintain indoor air quality while preventing moisture buildup and energy waste; consider heat recovery options where feasible.
Use cost-benefit modeling to compare materials, installation methods, and maintenance needs, updating assumptions as prices shift.
Document performance milestones, monitor energy data, and adjust plans to sustain efficiency gains across seasons and decades.
Frequently Asked Questions
How Long Does It Take for Insulation to Dry After Installation?
Insulation drying typically takes 24–48 hours under normal conditions. You’ll monitor moisture levels, improve ventilation, and allow for longer if humidity’s high. Moisture management matters; during drying, avoid touching or compressing the material to maintain effectiveness.
Can Loft Insulation Affect Attic Ventilation or Mold Risk?
Yes, loft insulation can affect attic ventilation and mold risk. Proper installation maintains ventilation, reducing condensation. Focus on balanced airflow and avoid blocking vents. Ventilation impact is minimized with insulation, and mold prevention relies on controlling moisture everywhere.
Is There a Minimum R-Value Required by Building Codes?
Yes, there’s a minimum R-value per your area’s Building regulations, and you’ll see it vary. Like a ruler, it guides choices. Insulation materials matter, so choose compliant products and follow tested installation methods for reliable performance.
Do DIY Methods Differ for Flat Vs Pitched Roofs?
Yes, your DIY approach differs: for flat roofs, prioritize flat roof insulation details; for pitched roofs, emphasize ventilation and cavity fills. Use data-driven steps, focusing on flat roof insulation and pitched roof insulation, with measurements, materials, and safety checks.
How Often Should Loft Insulation Be Inspected or Replaced?
You should inspect loft insulation annually and replace damaged sections promptly. Depending on materials, most types last 15–40 years, but insulation types degrade from moisture or pests. Maintain records, check for gaps, and use qualifying insulating materials.
Conclusion
To wrap up, you’ve got a clear, data-driven plan: assess, choose materials, and install for continuous coverage with proper ventilation. Measure roof type, thickness, and any gaps, then seal penetrations and guarantee insulation beneath to reduce thermal bridging. Monitor performance, maintain airflow, and budget for durable options like mineral wool or rigid foam. Think of your loft like a well-tuned instrument—each layer harmonizes with the next, delivering steady energy savings and fewer moisture problems over time.





