
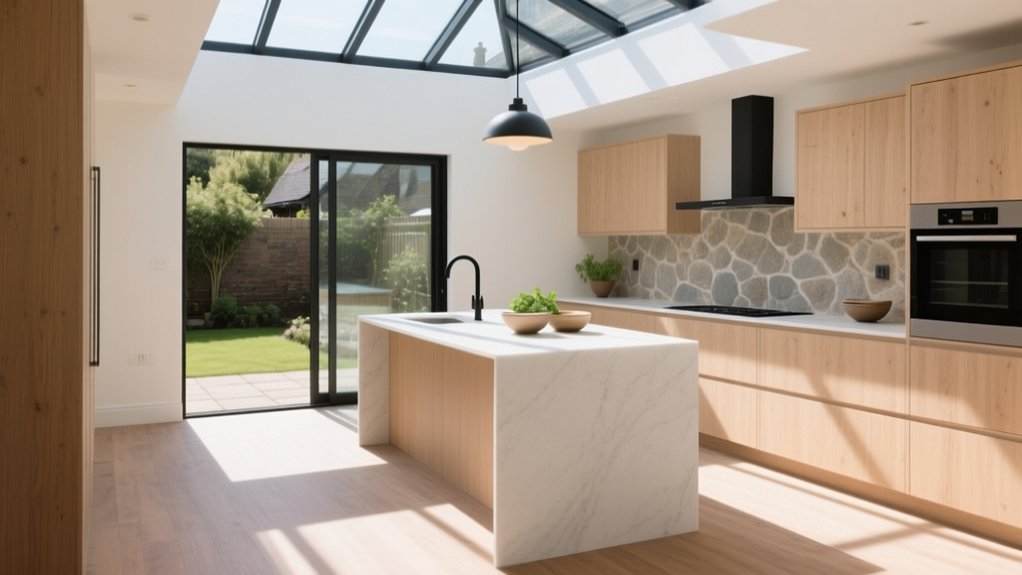
You’ll get a light-filled kitchen extension by planning daylight first, not last. Track the sun path, then place tall glazing and rooflights so light lands on worktops and key zones, using slim frames, low‑E solar-control glass, and openable high-level vents for comfort. Keep finishes bright with high-LRV walls and ceilings, continuous pale flooring, and low-contrast cabinetry to bounce light without glare. Add discreet blinds and privacy films, and keep sightlines clear to the garden. Keep going for the step-by-step plan.
What Makes a Kitchen Extension Feel Light?
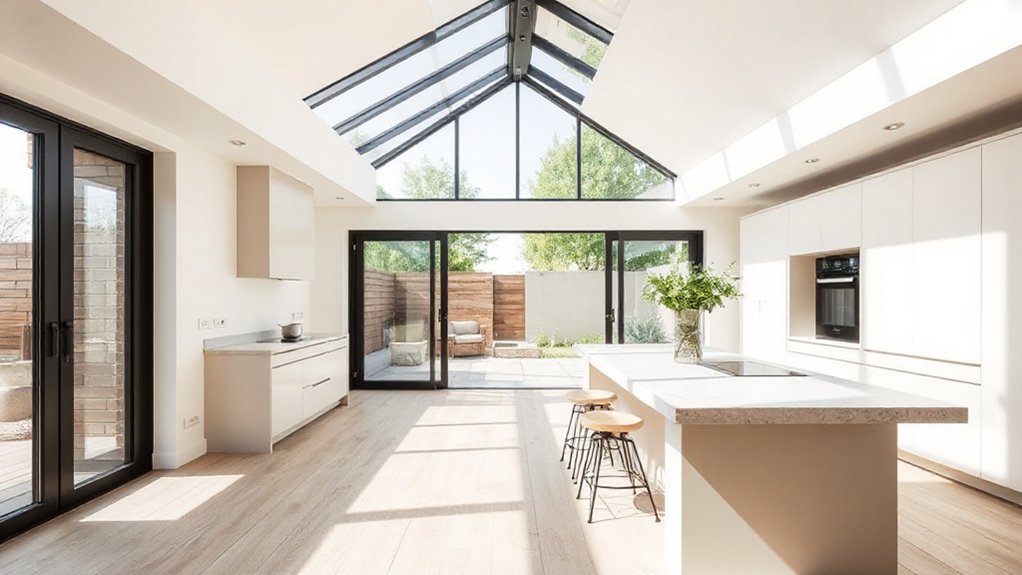
How do you make a kitchen extension feel genuinely light? You control perceived brightness through surfaces, proportions, and layout. Use high-LRV finishes on walls, ceilings, and cabinetry so available light bounces deeper.
Limit visual breaks: choose continuous flooring, slim worktop profiles, and minimal contrast between joinery and walls. Apply Color psychology deliberately—soft whites, warm greiges, and pale sage read calm and spacious, while heavy saturation compresses the room.
Keep reflectance balanced with matte or eggshell to avoid glare hotspots. Prioritize furniture ergonomics: maintain clear circulation, align island heights to tasks, and select slim-legged seating so sightlines stay open.
Finally, reduce clutter with integrated storage and consistent hardware. You’ll feel airier instantly.
A Simple Plan for Adding More Daylight
Where does daylight actually enter—and where does it die off—in your kitchen extension? Start by mapping sun paths and noting obstructions at different times. Then follow a simple sequence that builds brightness without guesswork:
- Open the top: add rooflights or a slim lantern above work zones; place them between joists to spread light deeper.
- Widen the sides: use taller glazing and align window heads with doors to reduce dark lintel bands; keep frame profiles thin.
- Bounce and soften: choose pale, matte finishes and a light-toned ceiling; add sustainable materials like lime plaster or light timber for warm reflectance.
Finally, layer in decorative lighting only to support daylight after dusk, and aim it at surfaces, not eyes.
Set Your Priorities: Light, Space, Privacy, Budget
Once you’ve mapped sun paths and chosen the roof and glazing moves that will bring daylight in, lock in your priorities so the design doesn’t drift. Decide what “bright enough” means: target glare control, specify blinds, and plan layered lighting for evenings so the room stays usable year-round.
Next, set space rules. Fix circulation widths, island clearances, and storage volumes before you commit to finishes. Protect privacy early with sill heights, screening, or planting zones so you don’t sacrifice light later.
Then define your budget in tiers: must-haves, nice-to-haves, and deferables. Tie costs to performance—better glazing, simpler forms, and fewer structural surprises.
Finally, keep Kitchen decor and appliance selection aligned with these priorities: choose integrated units, quieter extract, and durable surfaces that won’t fight reflections.
Start With Orientation and Sun Path
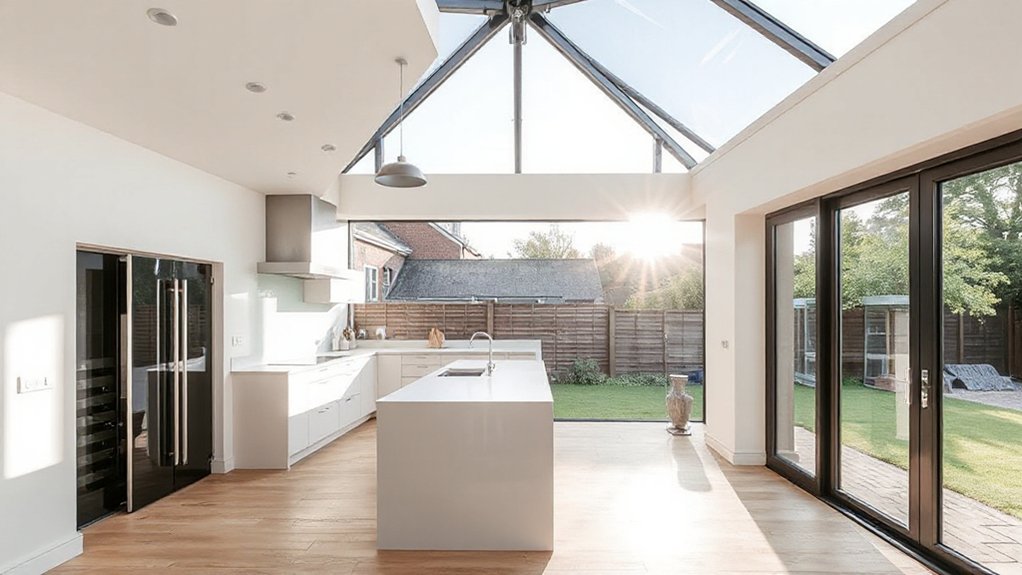
Before you draw walls or pick glazing, track the sun’s path across your site so you can place the extension for dependable daylight rather than accidental glare. Map Sun orientation with a compass app and note obstructions—trees, соседние дома, and boundary walls—at morning, noon, and late afternoon in both summer and winter.
Then set openings and rooflights to capture high-value light without overheating. Use simple, testable moves:
- Prioritise south and east exposure for steady brightness and comfortable mornings.
- Treat west light cautiously; add overhangs, fins, or external blinds as shading techniques against low-angle sun.
- Use north light for even illumination; keep glazing higher to reduce privacy issues.
Check reflections from paving and nearby windows, and confirm shadow lines with a basic sun-path diagram.
Lay Out the Kitchen for Sightlines and Flow
Daylight works best when your kitchen layout lets you see and move through the space without bumping into bottlenecks or blocking the brightest zones. Set primary circulation routes first: keep a clear 1000–1200mm path from entry to dining and garden-facing areas, and don’t park tall units where they’ll cast shadows across worktops.
Anchor the working triangle (sink, hob, fridge) so you can glance between stations and out to the extension, not into a wall. Use furniture placement to protect sightlines: choose low islands, slim stools, and banquettes that tuck in.
Place prep zones near the brightest edge and storage on darker internal walls. Reinforce openness with Color schemes that reflect light—pale fronts, matte mid-tones, and controlled contrast for legibility.
Choose Glazing Types (Glass Specs Made Simple)
Although glazing can look like a simple design choice, the glass specification you pick will decide how bright the extension feels, how comfortable it stays through summer and winter, and how quiet it’s when it rains.
Start by choosing double or triple glazing: triple boosts insulation but adds weight and cost, so check frame capacity.
Prioritise low‑E coatings and argon fill to cut heat loss without dulling daylight, and add solar-control coating if overheating’s a risk.
For safety and glass durability, specify toughened glass for doors and rooflights, and laminated glass where security or acoustic performance matters.
Keep glazing aesthetics sharp by matching spacer colour and opting for slim sightlines.
Use this checklist:
- U‑value and g‑value balance
- Safety: toughened vs laminated
- Acoustic rating and warranty
Place Windows and Doors for All-Day Brightness
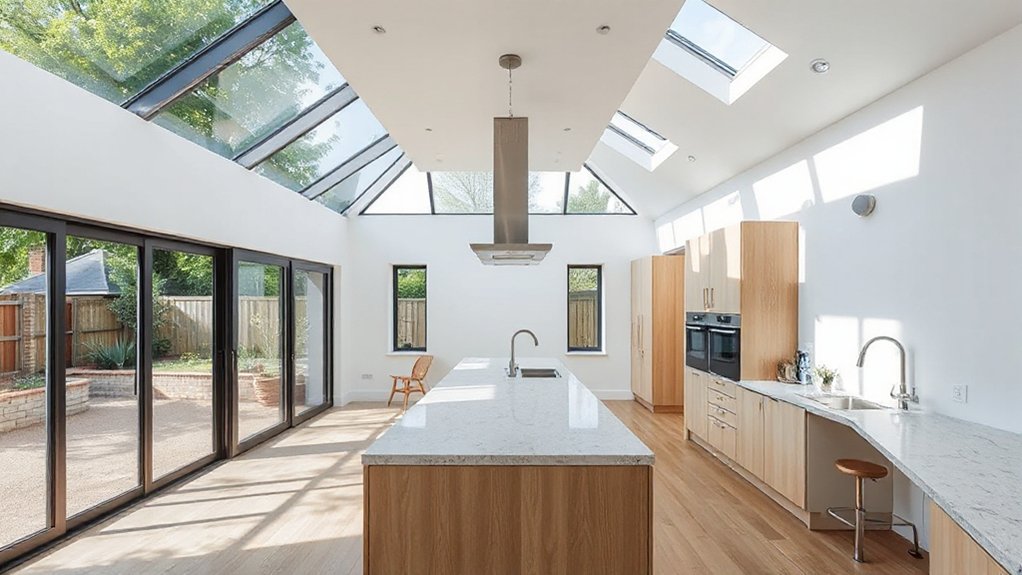
Your glazing spec sets the baseline for light and comfort, but window and door placement decides when that light actually reaches the worktops and dining table. Put your biggest openings on the sunniest elevation and keep tall units off that wall to prevent shadows.
Add a secondary window on the adjacent wall to “borrow” morning or late-afternoon sun and cut glare by splitting panes rather than oversizing one.
Align openings with key task zones: sink, prep run, and table edge. Use slimmer frames where views matter; Window materials like aluminium or composite can maximise glass without sacrificing strength.
Place doors where circulation won’t block light paths, and specify low-profile Door hardware so leaves stack wide and stay clear.
Pick a Roof That Boosts Daylight (Lantern vs Skylights)
To push daylight deeper into your kitchen extension, you’ll need to choose between a lantern roof that spreads light broadly and adds height, or skylights that target specific work zones.
You can maximise performance by placing skylights where they’ll catch consistent sky light (often north-facing), while avoiding glare over seating and overheating on south-facing pitches.
Before you commit, you’ll weigh costs, structural implications, and planning constraints—especially sightlines, roof build-up, and any requirements in conservation areas.
Lantern Roof Benefits
When you need a kitchen extension that feels bright from morning to evening, the roof choice matters as much as the glazing. A lantern roof lifts the ceiling line and pulls light deeper into the plan, so you rely less on artificial lighting. You also get strong Lantern roof aesthetics: crisp framing, a defined centrepiece, and a premium look without heavy structure.
- Daylight diffusion: multi-angled glass spreads light across worktops, reducing harsh patches and glare.
- Perceived space: the raised apex creates height, making compact extensions feel taller and calmer.
- Buildable performance: specify thermally broken frames, low‑E glass, and warm-edge spacers to keep comfort high and condensation risk low.
Choose a proportion that suits your room width, and you’ll balance brightness with insulation and clean lines.
Skylight Placement Strategies
Although a lantern can flood the centre of a kitchen extension with top-down light, well-placed skylights often deliver more controllable daylight by targeting the spots you actually use—prep runs, sinks, and dining zones.
Position skylights to align with worktops, not walkways, so light lands where you chop and cook. If you’ve got wall cabinets, place rooflights just forward of them to avoid shadowing the counter.
Use multiple smaller units rather than one large opening to spread light evenly and reduce glare. On south-facing roofs, specify solar-control glazing and consider blinds to protect comfort and energy efficiency.
Add at least one openable skylight high on the roof to drive stack-effect natural ventilation; pair it with a low-level opening for reliable purge and cooling.
Cost And Planning Factors
Where should you spend your roof budget to get the biggest daylight gain—one central lantern or a run of targeted skylights? A lantern typically costs more upfront (structure, flashing, crane access) but can flood an open-plan kitchen with even top light.
Multiple skylights often price in as modular units, yet you’ll pay more in labour, trims, and making-good across rafters.
Use these planning checks to decide:
- Daylight goal: Lanterns suit wide rooms; skylights suit task zones and circulation.
- Roof build-up: Lanterns may trigger extra steel; skylights usually fit between joists.
- Performance choices: In your Lighting design, specify low‑E glass, solar control, and ventilation; in Material selection, prioritise proven glazing systems and durable flashings.
Get quotes early and confirm structural sign-off.
Stop Glare and Protect Privacy Without Losing Light
Even with generous glazing, you don’t have to live with harsh glare at the worktop or feel exposed to neighbours to keep your kitchen extension bright. Start with glazing choices: specify low-iron glass for clarity, then add a subtle diffusing interlayer or etched band at eye level to soften direct sightlines while preserving daylight.
For Glare reduction, fit low-profile roller blinds with light-filtering fabric, mounted in recessed pockets so they disappear when open. Use adjustable louvre blinds on rooflights to control angles without darkening the room.
For Privacy protection, apply frosted or reeded film to lower panes, or choose patterned glass on side returns that face boundaries. Inside, position tall units, open shelving, or a slim planting ledge strategically to block views, not light.
Prevent Overheating With Shading and Ventilation
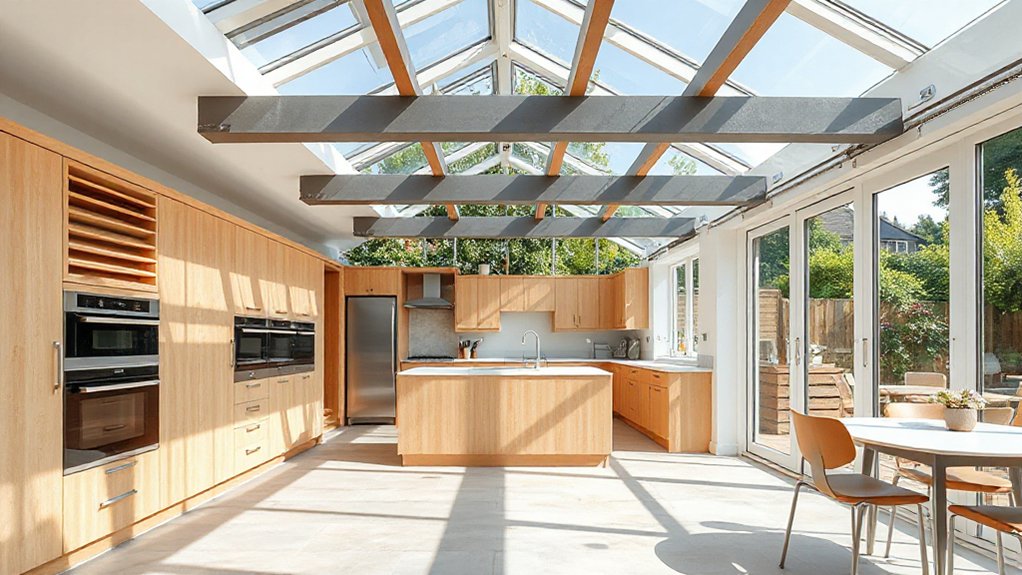
- Fit external blinds, awnings, or brise-soleil on south/west glazing; choose wind-rated systems.
- Specify solar-control glazing and thermally broken frames, then seal gaps to prevent warm air leakage.
- Design natural ventilation: high-level roof vents plus low-level openings for stack effect; add secure night vents and insect screens.
You’ll keep temperatures stable, reduce cooling demand, and protect appliances and occupants in peak summer heat.
Use Light-Boosting Finishes (Floors, Walls, Worktops)
Once you’ve controlled glare and heat, you can amplify daylight by choosing finishes that reflect and spread it through the room.
Start with light Color schemes: warm whites, pale greys, and soft taupes keep light neutral and avoid a cold feel. Use walls in durable, wipeable eggshell or satin; high-gloss can highlight defects and create hotspots.
On floors, pick pale engineered timber, light porcelain, or microcement with a matte seal to bounce light without slipping.
For worktops, choose quartz, light granite, or solid-surface in low-contrast patterns; a honed finish reduces glare while still lifting brightness.
Balance Material textures: pair smooth planes with subtle grain or fine veining so the room feels layered, not flat.
Add Storage That Won’t Block Your Windows
If your storage plan ignores the window line, you’ll quickly undo all the daylight gains in your extension. Keep tall units away from glazing and reserve the brightest wall for low runs only. Aim for a clear sill-to-ceiling zone so the view reads uninterrupted and the room feels bigger.
- Choose base cabinets or banquette storage under windows; limit uppers to short sections on solid walls.
- Use Decorative storage where it won’t cast shadows: open shelves on returns, slim ledges, or niches between studs.
- Add Hidden compartments to reduce clutter without adding bulk—drawer dividers, toe-kick drawers, pull-out larders, and appliance garages.
Finish with consistent cabinet heights and avoid high backsplashes that climb into the glass line.
Plan Lighting Layers for Evenings and Winter
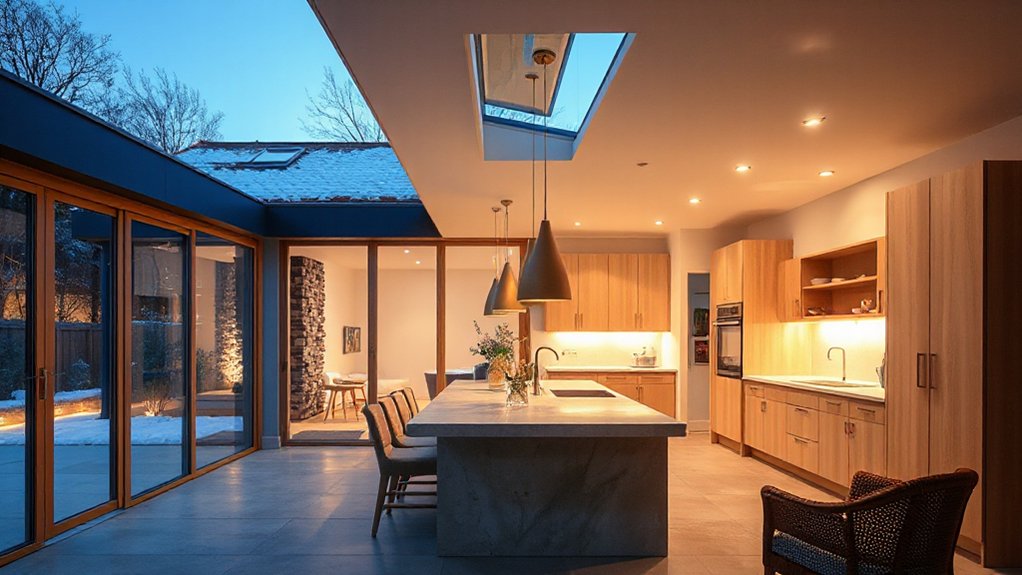
Keeping glazing clear of bulky storage protects daylight during the day, but you’ll still need a lighting plan that holds up after sunset and through short winter afternoons.
Build three layers: ambient, task, and accent, each on separate dimmable circuits so you can tune lighting ambiance without glare.
For ambient light, use recessed downlights or a slim ceiling track spaced evenly to avoid dark corners.
Add task lighting under wall units and over worktops; choose high-CRI LEDs (90+) at 2700–3000K to keep food and finishes looking natural.
Then add accent with wall washers or toe-kick LEDs to lift the room’s depth.
Finish with decorative fixtures over the island or table, but keep them glare-controlled and easy to clean.
Connect the Kitchen Extension to the Garden: Properly
You’ll get a stronger kitchen extension when you plan clear sightlines to the garden and set up direct, practical access from key zones like the sink, dining table, and patio.
Choose garden-facing glazing that fits how you live—wide sliders for openness, bi-folds for full-width access, or fixed panes where you need uninterrupted views and better insulation.
Integrate thresholds and levels early, keeping the step as low as possible, aligning floor finishes, and specifying proper drainage so the inside-out shift stays safe and weather-tight.
Plan Sightlines And Access
Although glazing and rooflights pull daylight deep into the room, the extension won’t feel truly connected until you plan sightlines and access to the garden with equal care. Stand at the hob, sink, and island, then align openings and key views so you can watch kids, spot planting, and read the weather at a glance.
Keep circulation direct: you shouldn’t weave around stools or doors to step outside. Design for Natural ventilation by creating a clear cross-breeze route from garden side to an opposing opening, without disrupting work zones.
Let Material choices support the journey: continue durable flooring to the threshold, specify flush tracks, and use slip-resistant finishes where you’ll tread in wet shoes.
- Map primary viewpoints.
- Set a straight, wide route.
- Detail thresholds for daily use.
Choose Garden-Facing Glazing
Once you’ve set clear sightlines and a direct route outside, choose garden-facing glazing that reinforces those moves rather than fighting them. Prioritise large sliders or bi-folds only if you can keep mullions slim and align frames with key views, so the garden reads as one continuous backdrop.
Specify low-iron glass for truer colour, and use solar-control coatings on south and west elevations to curb glare and overheating without sacrificing brightness.
Protect garden privacy with a mix of screening: fritted lower panes, reeded side lights, or integrated blinds where neighbours overlook.
Don’t overlook glazing maintenance: pick durable powder-coated frames, ensure accessible drainage channels, and plan for safe cleaning of outer panes and tracks.
Integrate Thresholds And Levels
Before you finalise door sizes or floor finishes, lock in the threshold and level strategy so the kitchen extension and garden work as one continuous space. Good threshold integration starts with drainage and insulation, not the frame.
Set finished floor levels early so you can detail waterproofing, avoid awkward steps, and still meet building regs and damp-proof course requirements. Aim for clean level connections that feel effortless underfoot and safe in wet weather.
Prioritise:
- A recessed track with a linear drain outside and fall away from the house.
- A consistent internal floor build-up (screed, UFH, finishes) aligned to external paving depth.
- A robust sill detail: thermal break, sealed DPC laps, and slip-resistant external surface.
Frequently Asked Questions
What Planning Permissions Apply to a Kitchen Extension in My Area?
Planning permissions for your kitchen extension depend on local rules: you’ll check your council’s planning portal, zoning, and neighborhood restrictions. If it qualifies as permitted development, you won’t need consent; otherwise, you’ll apply.
How Long Does a Typical Kitchen Extension Take From Design to Completion?
You’ll typically take 4–8 months from design to completion: design, approvals, build. Factor in Interior lighting planning and Eco friendly materials sourcing, since lead times vary. You’ll keep momentum by locking specs early.
What Are the Average Costs per Square Metre for a Kitchen Extension?
You’ll typically pay £2,000–£3,500 per m² for a kitchen extension, depending on specs and location. Use cost estimation with contingencies, and follow budgeting tips: get itemised quotes, compare finishes, lock scope early.
Do I Need a Structural Engineer for Removing a Load-Bearing Wall?
Yes—you’ll need a structural engineer; it’s better safe than sorry. You must get a Load bearing assessment and Structural considerations, specifying beam size, padstones, and temporary supports, so you’ll meet Building Control requirements.
How Can I Minimise Disruption While Living at Home During the Build?
Minimise disruption by zoning works, sealing off dust with plastic, and agreeing daily tidy-ups. Plan Furniture placement away from routes, keep essentials accessible, and set temporary lighting arrangements. Schedule noisy tasks daytime, confirm deliveries.
Conclusion
When you design your light-filled kitchen extension, you’re not just adding square metres—you’re opening your home like a book to the sun. Keep your priorities clear, study orientation, and place key prep and dining zones where daylight falls naturally. Choose pale, reflective finishes, keep storage low or recessed, and protect views with smart screening. Layer task, ambient, and accent lighting for dark months, and align doors and thresholds to the garden for seamless flow.





