Start with a tight kit: tape measure, level, square, utility knife, hand saw, cordless drill, exterior deck screws, galvanized nails, and safety gear. Measure your yard, track sun for a week, and plan access, drainage, and paths. For small spaces, build an HT pallet vertical planter lined with landscape fabric and filled with light mix. For more yield, screw together a raised bed and add hardware cloth. Then lay a 4–6 inch stone path with gravel base, compacted layers, and sanded joints. Keep going to pick the best layout and materials.
Gather Basic Tools, Fasteners, and Safety Gear
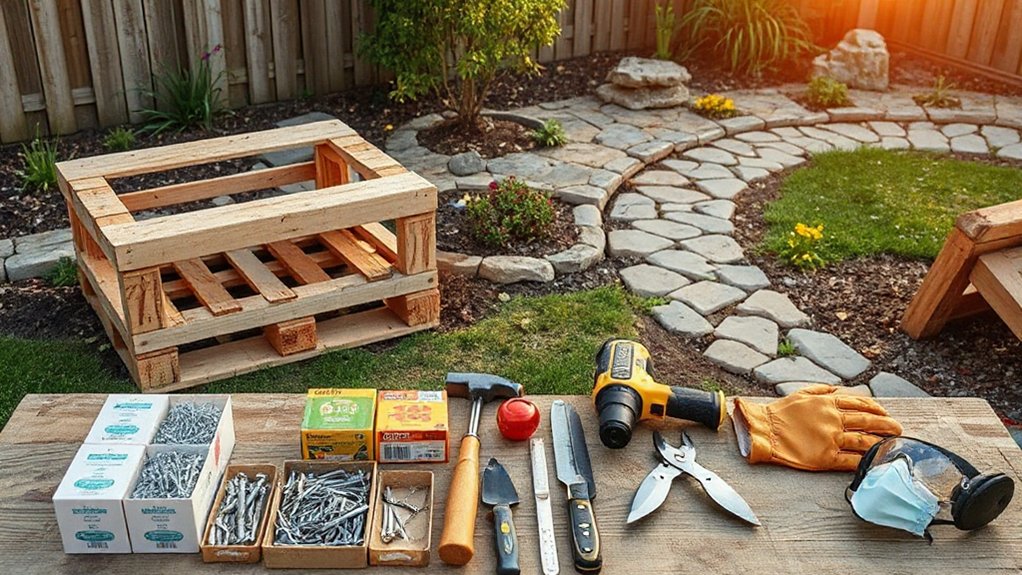
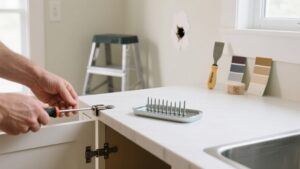
Before you cut, drill, or assemble anything, set yourself up with a small, reliable kit of tools, fasteners, and safety gear so your DIY garden projects go smoothly. Keep a tape measure, level, square, utility knife, and sturdy hand saw on hand, plus a cordless drill with driver bits and a small socket set.
Stock exterior-rated deck screws, galvanized nails, landscape staples, washers, and construction adhesive; add twine, zip ties, and spare blades for quick fixes during Garden maintenance.
Protect yourself with safety glasses, ear protection, cut-resistant gloves, and a dust mask for sanding or mixing dry materials.
Practice Tool organization: group bits and fasteners in labeled boxes, hang hand tools on a pegboard, and store batteries charged in one bin.
Choose the Right DIY Garden Project for Your Space
Start with three basics—space, sun, and time—so you pick a DIY garden project that fits your yard instead of fighting it. Measure usable square footage, note slopes, and map irrigation access. Track sun for a week so your garden design supports real light patterns, not guesses.
- Define your goal: color, privacy, food, or low upkeep.
- Match scale to access: leave room for mowing, gates, and wheelbarrows.
- Plan drainage and edges: choose projects that manage runoff and keep soil contained.
- Lock in plant selection: pick plants suited to your zone, exposure, and watering routine.
Choose materials you can maintain, then sketch a simple layout with paths and working zones.
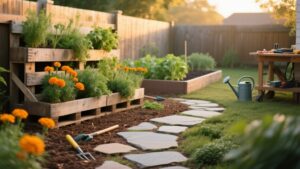
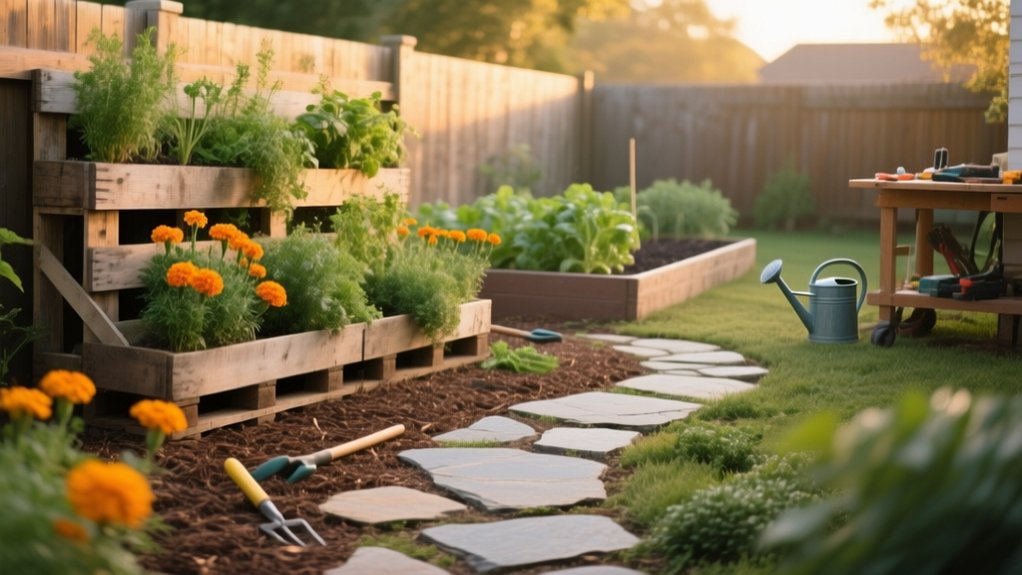
Build a DIY Pallet Vertical Planter (Small Spaces)
If you’re short on ground space but still want a productive garden, a pallet vertical planter lets you grow herbs, greens, and trailing flowers in a slim footprint you can hang or lean against a wall.
Choose a heat-treated pallet (marked HT), then sand rough edges and staple landscape fabric across the back, sides, and bottom to form pockets. Add a strip of hardware cloth if gaps are wide.
Fill with a light potting mix, tapping to settle, and water thoroughly. Plant from the lowest slat upward so soil stays put.
For vertical gardening success, anchor the pallet to studs or add feet for stability. This space optimization approach keeps watering manageable; drip along the top and rotate sun-loving plants into the brightest slots.
Make a DIY Raised Bed (Pallet or Simple Lumber)
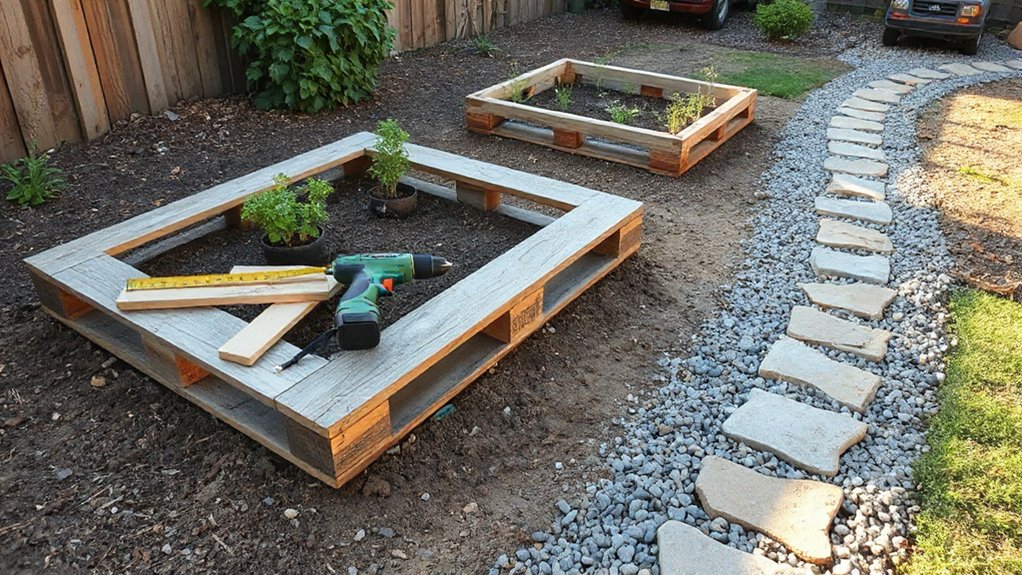
Whether you build with a heat-treated pallet frame or straight 2x lumber, a DIY raised bed gives you cleaner soil, better drainage, and a defined growing area that’s easy to amend and weed. Choose a sunny, level spot and size the bed so you can reach the center without stepping in.
Fasten corners with exterior screws, line the interior with hardware cloth for rodents, then add cardboard to suppress weeds. Fill with a simple mix: topsoil, compost, and aeration material.
Use Composting techniques by topping the bed with finished compost each season and burying kitchen scraps only in active, hot piles elsewhere.
Finish with Garden lighting ideas: stake low-voltage lights along the rim for evening watering.
- Plan size
- Square frame
- Line base
- Fill smart
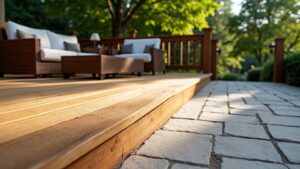
Lay a Weekend Stone Path, Then Edge With Gravel
Because a well-built path needs a stable base as much as good-looking stone, you can lay a weekend stone walkway by setting flat pavers on compacted gravel, then locking the edges in with a narrow gravel border that sheds water and keeps stones from creeping.
Start by staking the line to fit your garden layout, then dig 4–6 inches, keeping a slight crown for drainage.
Add landscape fabric, pour 3–4 inches of base gravel, and compact in thin lifts.
Screed 1 inch of leveling gravel, set pavers, and tap them flush with a rubber mallet and straightedge.
Check grade often.
Edge both sides with 2–3 inches of pea gravel; it frames the path as outdoor decor and discourages weeds.
Sweep in joint sand and mist to settle.
Frequently Asked Questions
How Do I Keep Pests From Nesting in Pallet Planters?
Line pallets with landscape fabric, seal gaps, and elevate them to improve airflow so pests can’t nest. Add hardware cloth on openings as a Pest deterrent, refresh mulch, remove debris weekly, and guarantee nesting prevention.
Which Plants Thrive Best in Vertical Pallet Planters Year-Round?
You’ll get year-round success with hardy evergreens and compact perennials: thyme, oregano, chives, strawberries, sedum, and heuchera. Prioritize Plant selection by climate, and guarantee soil compatibility with fast-draining mix, consistent moisture, and light.
Do I Need Permits or HOA Approval for Raised Beds or Pathways?
You might—check your HOA rules first, then call your city’s planning office. Here’s the twist: even “simple” raised beds can trigger setbacks. Confirm drainage, garden soil imports, and planting zones; document materials, heights, locations.
How Can I Improve Drainage in Clay Soil Without Replacing It?
You can improve clay drainage by loosening soil and adding Organic amendments. Do Soil aeration with a broadfork, mix in compost and aged bark, avoid working wet soil, and top-dress annually to build structure.
What’s the Best Way to Winterize Stone Paths in Freeze-Thaw Climates?
Seal stones and joints in fall, then top up polymeric sand so water can’t pool. For Ice protection, skip salt; use calcium magnesium acetate. Prioritize gentle Snow clearance with plastic shovels, not metal.
Conclusion
With your tools ready and safety gear on, you’ve turned a simple yard into a more “intentional” outdoor space. You chose a project that fits, built a vertical pallet planter, framed a raised bed, and set a stone path that won’t “invite surprises” after rain. Keep checking fasteners, leveling as you go, and topping up gravel edging when it settles. A little routine upkeep keeps everything looking tidy—and spares you from any “unexpected lessons” later.