You weigh benefits and risks, you map costs and space, you plan and you decide. You want a private workouts zone that motivates you, you worry about moisture, structure, and renovations, you compare DIY versus pros and the impact on value. You balance practicality with ambition, you test feasibility and budget, you set a decision threshold, you keep the question open enough to explore the best path. To move forward, consider what matters most to your goals and constraints.
Should a Basement Gym Be Worth It? Quick Decision Criteria
Deciding whether a basement gym is worth it hinges on a few tight criteria. You’ll weigh cost, space, and cadence of use to decide quickly. Start with purpose: what workouts matter most, and how many days per week will you train?
Then assess layout feasibility: is there enough room for essential machines, free weights, and a cardio zone without crowding?
Next, estimate ongoing costs for lighting, ventilation, and safety, plus potential remodeling needs.
Consider decorative aesthetics: a visually pleasing, motivating space reduces drop-off in consistency.
Also plan storage organization: labeled shelves, bins, and wall-mounted racks keep gear accessible and your floor clear.
If the value exceeds time and effort, proceed; if not, pause and reevaluate your priorities before committing resources.
Feasibility First: Moisture, Mold, and Structural Checks
Start with a moisture risk assessment to identify damp spots, leaks, and high humidity that could undermine your gym setup.
Then perform a quick structural integrity check of walls, floors, and support beams to make certain they can handle added loads and vibrations.
If issues surface, pause the project and consult a professional before proceeding.
Moisture Risk Assessment
Have you checked your basement for moisture before planning a gym? A moisture risk assessment guides feasibility. Begin with a visual scan for staining, musty smells, efflorescence, or damp patches on walls and floors.
Track humidity levels with a reliable gauge over several days, noting spikes during rain or plumbing use. Inspect for moisture intrusion paths, like gaps around windows, doors, and utility penetrations, and seal as needed to prevent ongoing moisture entry.
Examine foundation cracks for active water ingress and assess drainage away from the slab. Review basement ventilation: adequate air exchange reduces humidity buildup and mold risk.
Document findings, prioritize fixes, and recheck after fixes. A clear plan helps you decide if conditioning space is viable within your budget and timeline.
Structural Integrity Check
Now that you’ve gauged moisture risk, you’ll want to verify the structure can support a gym space. Start with a visual inspection for cracks, sagging joists, and signs of prior water intrusion. Check beams, posts, and supports for damage or corrosion, documenting every concern.
Assess load paths: confirm the basement floor, walls, and foundation can carry typical gym equipment and dynamic loads. Review existing plumbing and ventilation alignments to avoid future clashes; note plumbing considerations that could complicate wall removal or new fixtures.
Test insulation effectiveness by probing for gaps around rim joists and corners—poor basement insulation can mask structural issues. If uncertain, consult a structural engineer.
Prioritize safe load limits, moisture isolation, and a clear plan before modifications.
Baseline Costs: What a Basement Gym Really Takes
Basement gym setup isn’t one-size-fits-all, but a practical baseline helps you plan without overdoing it: expect to spend on a solid floor, basic equipment, lighting, and safety measures, with room to expand later.
You’ll weigh costs in tiers: foundational work, essential gear, and utility upgrades.
A practical baseline includes a sturdy subfloor or mats, a few multipurpose machines, proper illumination, and anti-tip anchors.
Consider insulation and moisture safeguards early—basement insulation helps regulate temp and comfort, while waterproof barriers protect against leaks and mold.
Budget for safety: smoke and carbon monoxide alarms, surge protection, and proper ventilation.
Plan for future upgrades as you grow—add resistance options, mirrors, or additional storage.
Stay disciplined with scope, costs, and maintenance to avoid creeping expenses.
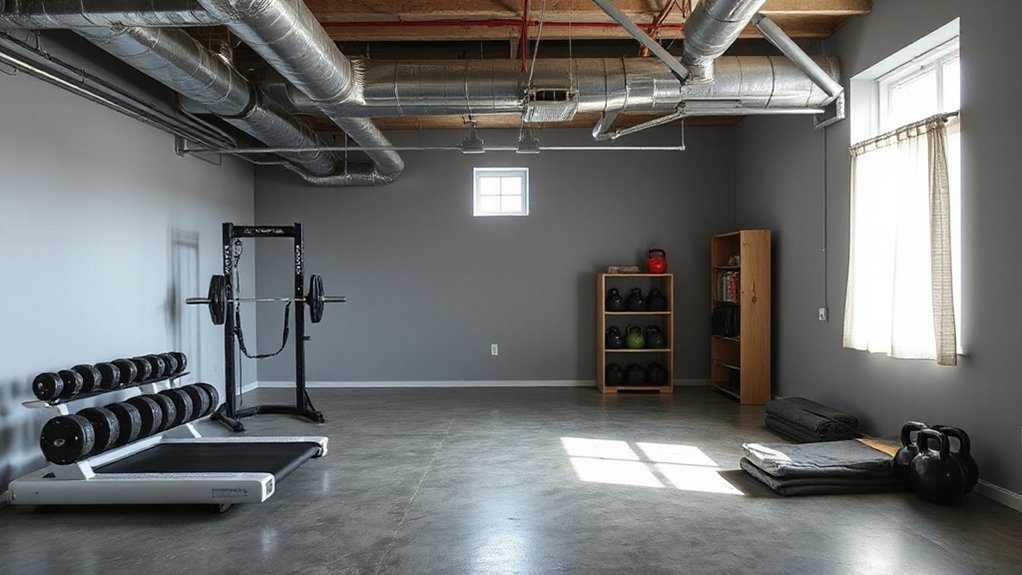
Layout for Flow: Zoning a Practical Workout Space
Think about zone elbow room first: set clear boundaries for cardio, strength, and flexibility so you can move without bumping into equipment.
Plan traffic flow tactically, ensuring doorways, clearance, and sightlines keep passages smooth and safe during shifts.
Place equipment with simple, repeatable patterns—leave dedicated spaces for mats and stretching to minimize clutter and maximize usable area.
Zone Elbow Room
To create a practical workout flow, start by outlining distinct zones for cardio, strength, and recovery. Then arrange them so paths between them are short and clear.
Zone elbow room means you allocate buffer space around each zone so you don’t feel crowded when moving between activities. Keep clearance at least 3 feet around machines and free weights, and 6 feet for a mat or open space.
Consider sightlines and ventilation options to prevent overlap of dust and heat. Use modular storage to reclaim elbow room without clutter, and place mirrors to enhance perception of space.
Basements often benefit from multi-use layouts that adapt to future needs.
- Prioritize open pathways and minimal furniture tangents
- Position cardio near ventilation outlets
- Use compact, stackable storage solutions
- Integrate lighting and mirrors for depth
Traffic Flow Tactics
Traffic flow hinges on clear paths and purposeful sequencing. You design zones with a logical order: warm-up near the entry, strength behind, cardio opposite, and stretching at the far end.
Keep main walkways at least three feet wide to avoid bottlenecks as you move between stations.
Use visual cues—subtle flooring changes or color shifts—to guide movement without interrupting focus.
Prioritize sightlines so you can monitor the entire space from a central position, minimizing backtracking.
Place storage solutions near each zone to reduce clutter and streamline progression.
Incorporate decorative accents that reinforce function, such as labeled bins or mounted hooks, without distracting from workouts.
Review traffic after each layout tweak, adjusting paths to maintain safe, efficient circulation throughout the gym area.
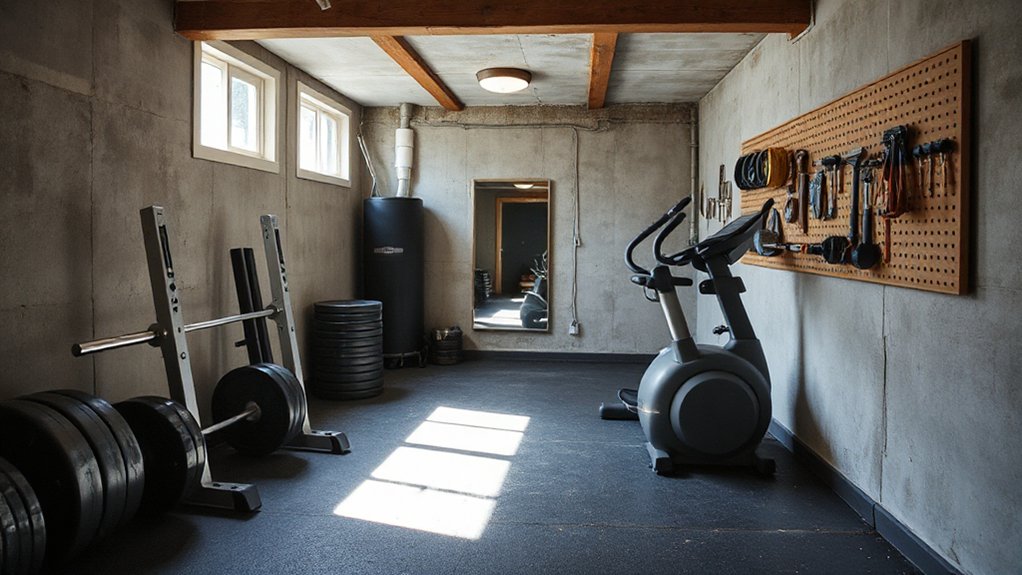
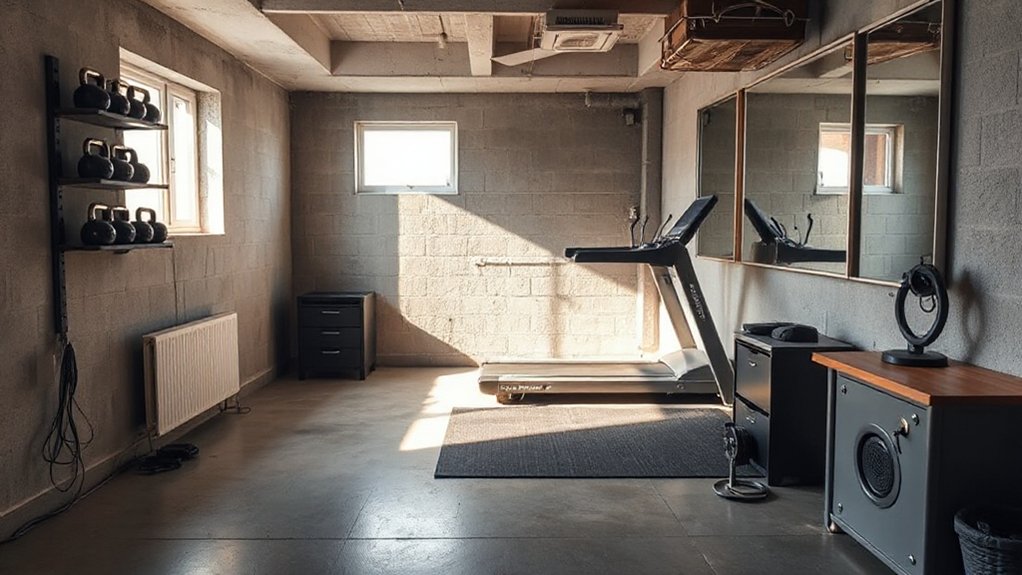
Equipment Placement Principles
Placing equipment with purpose keeps a basement gym safe and efficient. You map the space by zones: cardio, strength, mobility, and storage, then position each area for clear pathways and easy supervision.
Maintain at least 3 feet of clearance around machines and avoid door-blocking layouts. Align benches and racks to wall lines to reduce cord tangles and trip hazards.
Prioritize natural traffic flow from entry to focal workout zones, not around a cluttered center. Use vertical storage for smaller gear to keep floor space open.
Integrate decorative accents and practical storage solutions to create a cohesive look that still serves function. Reassess as your routine changes to preserve a clean, purposeful environment.
- Zone by function and clearance
- Align equipment with walls
- Keep a central traffic corridor
- Incorporate decorative accents, storage solutions
Equipment Essentials vs. Nice-to-Have: Smart Picks
A well-equipped home gym doesn’t require every gadget on the market; start with essentials that support core movements, then add extras as the space and your goals allow.
You’ll prioritize versatile basics: a solid squat rack or half rack, adjustable bench, a barbell with plates, a pair of kettlebells, and a dependable set of resistance bands. Prioritize quality over quantity, choosing equipment that accommodates progressive overload and safe, controlled form.
For cardio, pick one reliable option—stability-friendly and space-conscious.
Track maintenance needs: routine checks, tighten connections, lubricate moving parts, and replace worn grips promptly to prevent setbacks.
Balance function with gym decor—clean lines, organized storage, and clear zones.
With thoughtful picks, you’ll optimize space while supporting consistent routines and long-term equipment maintenance.
Comfort Matters: Lighting, Acoustics, and Temperature
You’ll want steady lighting levels and minimal glare to keep form and function in your workouts. Consider how sound can travel and bounce in the space, then choose acoustic measures that balance clarity with privacy.
Finally, set a comfortable temperature and airflow so you stay focused without distractions.
Lighting Comfort Tips
Even if you’ve set up a gym in a basement, good lighting isn’t optional—it’s essential for safety and momentum. You’ll prioritize lighting ambiance and fixture placement to guide focus and reduce eye strain during sets.
Use layered lighting: bright task light over key stations and softer ambient fills for overall visibility. Position fixtures to minimize glare on mirrors and screens, and avoid deep shadows in lifting zones.
Keep switches accessible and label zones so you switch modes quickly between cardio and strength work.
- Place bright task lighting directly above lifting platforms
- Integrate ambient fixtures to soften corners without creating glare
- Align fixture placement with mirrors to eliminate reflective distractions
- Use dimmable controls to adjust intensity as needed
Acoustic Balance Factors
Acoustic balance is about shaping sound so workouts stay productive and distractions stay low. You’ll optimize the room by identifying noise sources, then applying targeted fixes.
Start with the structure: seal gaps in doors and windows, use solid-core doors, and add weather stripping to reduce travel of footsteps and impact sounds.
Next, implement soundproofing techniques where walls contact adjacent spaces, focusing on shared ceilings and floors if possible. Choose dense, affordable barriers like mass-loaded vinyl or resilient channels to dampen reverberation without heavy remodeling.
For ongoing clarity, install acoustic treatment—templates, panels, or calibrated diffusers—at reflective hotspots such as walls behind equipment and the ceiling area above your loudest stations.
Regularly test sound levels and adjust placement to sustain calm, focused training.
Will It Help or Hurt Resale Value? Equity and Risk
If you’re converting a basement into a home gym, you should weigh the impact on resale value, equity, and risk before you commit. In practical terms, you’ll want a clear appraisal of added value, potential depreciation, and market appetite.
Equity hinges on quality build, proper compliance, and visible safety features. Risk focuses on structural integrity, insurance implications, and the possibility of deterring buyers who prefer flexible spaces.
Neighborhood perceptions can sway decisions; a well-executed gym may enhance appeal, while loud equipment or unfinished areas could harm it. Plan for a neutral finish, sound attenuation, and long-term maintenance to protect value.
- Market-fit assessment
- Compliance and safety
- Insurance implications
- Neighborhood perceptions
Budget in Phases: DIY vs Pros and Hidden Fees
Budgeting a basement gym in phases helps you control costs and timing, so you can decide what to DIY and what to hire. Start with a cost map: list core structure, electrical, insulation, and flooring first, then add equipment and accessories later.
Compare DIY efforts versus pro installs for critical tasks, like wiring and moisture control, where mistakes cost more later. Identify hidden fees upfront—permits, delivery, disposal, and storage solutions for bulky items.
Plan decorative accents in a separate, post-install phase to avoid budget creep. Use phased milestones: foundation prep, wall finishing, flooring, then functional zones.
Track time and material estimates against actuals to adjust scope. Prioritize safety and durability; document assumptions for future renovations.
This disciplined approach minimizes surprises while delivering a practical, functional space.
Alternatives to a Full Gym: Hybrid Setups and Smart Reclaims
Consider alternatives to a full gym by pairing compact equipment with smart reuse of space and items you already own; this hybrid approach delivers functional zones without doubling down on square footage.
You’ll prioritize versatility, choosing modular gear that tolerates heavy use and fits your layout. Focus on design aesthetics to keep visuals cohesive, and select items with strong equipment durability to survive regular sessions.
Map zones for cardio, strength, and mobility, using wall space, corners, and under‑stair areas.
Favor multi‑use pieces, foldable benches, and adjustable weights that store flush. Maintain a clear path to prevent overlaps, and label zones for quick shifts.
- Modular equipment with integrated storage
- Foldable benches and compact racks
- Wall-mounted storage and hooks
- Clear zoning and minimal decor visually cohesive
Your Personal Decision Framework: Criteria to Reclaim or Not
Turning the page from hybrid setups to your own decision framework means you actively decide what reclaims are worth pursuing. You define clear criteria before any conversion, so you don’t chase every trend.
Start with function: will the space support safe workouts, proper ventilation, and clear circulation?
Then assess impact: how much area must stay open for movement, and what’s the long-term maintenance cost.
Prioritize permanence over trend by measuring reversibility, budget, and disruption to daily life.
Consider decorative enhancements only after essentials—if aesthetics fail to improve motivation, skip them.
Evaluate storage solutions: can you consolidate equipment without converting living space into clutter?
Finally, set a decision deadline and document outcomes to refine future choices, ensuring deliberate, repeatable reclaim decisions.
Frequently Asked Questions
How Long Will a Basement Gym Project Typically Take?
A basement gym project typically takes four to eight weeks, depending on scope and finishes. You’ll schedule framing, electrical, and plumbing first, then insulation and drywall, followed by flooring options and lighting solutions.
You’ll allow extra time for permits and inspections. You’ll work methodically, lining up equipment installation after walls are finished.
You’ll test lighting, adjust acoustics, and finalize flooring choices for safety and comfort. You’ll stay on track by setting milestones and weekly progress checks.
What Hidden Costs Commonly Surprise Homeowners?
Hidden costs surprise you when you plan a basement gym. Expect overruns on subflooring, electrical, and insulation, plus permits and potential mold assessments. You’ll also pay for soundproofing options and ongoing maintenance.
Budget for dehumidification, durable flooring, and vibration isolation, then add delivery fees and contractor markups. To control surprises, track every change order, confirm warranties, and insist on a detailed scope.
Decorating ideas help you visualize, while precise budgeting keeps your project within reach.
Can I Monetize Excess Equipment From the Project?
Yes, you can monetize excess equipment from the project. Start with Equipment resale to recoup costs, listing items online or through local networks. Document each sale for tax purposes, noting depreciation if applicable.
Watch Tax implications like capital gains vs. ordinary income, and keep receipts for deductions. Price fairly, bundle unused items, and offer delivery where feasible.
Track inventory, set replacement value, and adjust budgets accordingly to maintain a precise project trajectory.
Will a Gym Increase Insurance Premiums or Require Permits?
A gym can raise home insurance costs and trigger building permits. For example, a basement gym added to a condo required a permit and increased premiums due to fire safety upgrades.
You’ll need to disclose equipment and workouts to your insurer. Expect higher premiums if you add plumbing, electrical work, or added moisture risk.
Check with your insurer about Home insurance implications and secure necessary building permits before starting. Plan, document, and compare quotes diligently.
How Do I Measure Return on Investment Realistically?
If you want to measure ROI, you do a practical cost analysis and project space optimization gains.
Start by listing all costs (equipment, permits if any, installation, insurance tweaks) and all benefits (increased home value, saved gym dues, time saved).
Calculate net annual benefit and divide by total investment, then compute payback period.
Use conservative estimates, track utilization, and adjust for maintenance.
This methodical approach gives realistic ROI and informs space optimization decisions.
Conclusion
So you stand at the basement door, plans in hand, margins tightening. You’ve weighed moisture, layout, cost, and resale risk, and the numbers don’t lie: the decision hinges on your discipline and timing. If you can seal, budget, and phase the build without derailing other goals, the gym becomes inevitable. If not, the reclaims you’ve imagined may stay dreams. Trust your data, set a clear go/no-go trigger, and either commit or pivot—your future flex depends on it.