
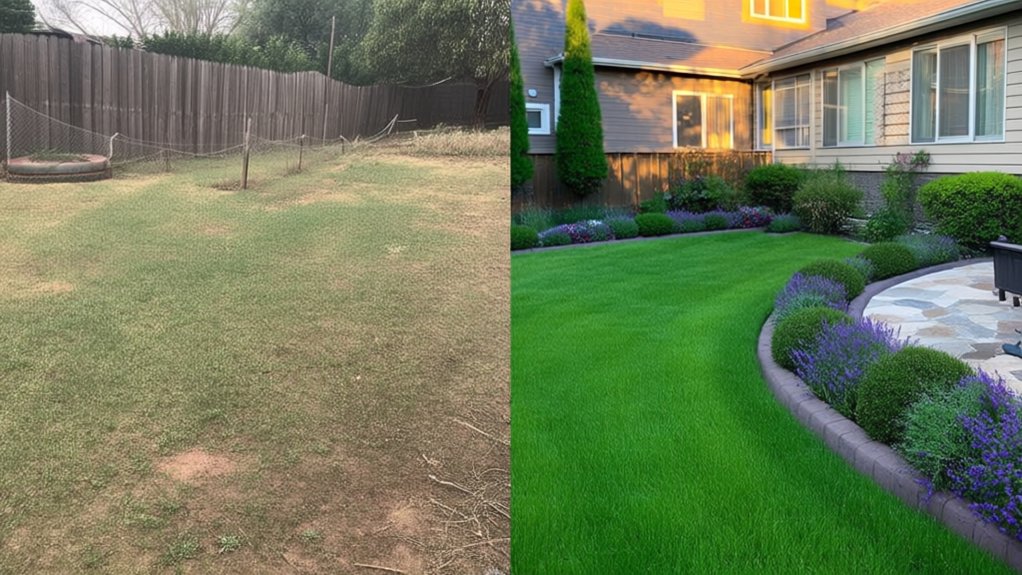
You’ll get the biggest before-and-after impact by tightening your layout first: define zones for lounging, dining, or play, then lock them in with crisp edging (steel, stone, or corten) and upgraded surfaces like porcelain pavers, resin-bound gravel, or composite decking. Formalize real “desire paths” at consistent widths, fix muddy low spots with permeable materials, and align routes to clean sightlines and focal points. Finish with layered planting and warm, shielded lighting. Keep going to see the fastest upgrades and smartest fixes.
Before-and-After Garden Landscaping: The 5 Biggest Levers
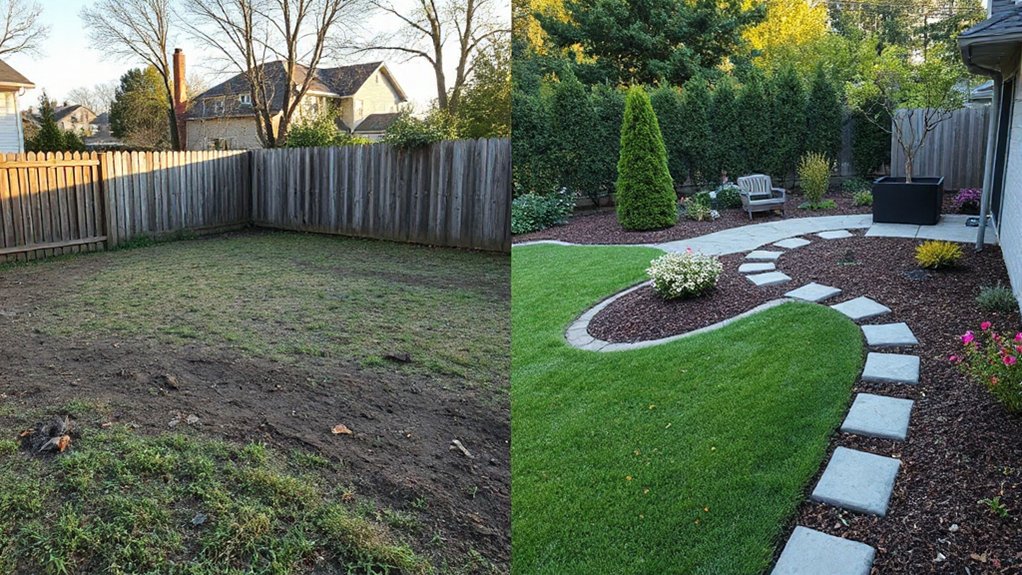
If you want a true before-and-after transformation, don’t start by shopping for plants—start by pulling the five biggest levers that change how your garden looks, feels, and functions.
First, define your purpose: entertaining, retreat, or play, then size zones accordingly.
Second, upgrade surfaces—porcelain pavers, resin-bound gravel, or composite decking—instantly modernize.
Third, set structure with hard-edged beds, corten or stone edging, and a tight material palette.
Fourth, anchor the space with garden furniture scaled to the area; choose modular, low-profile sets and add layered lighting for evening use.
Fifth, introduce water features for sound and cooling—thin rills, bubbling bowls, or wall spouts read high-end.
Then plant to soften, not to lead.
Start Here: Fix Traffic Flow and Sightlines
Start by mapping how you actually move through the garden, then define clear pathways and routes that connect doors, patios, and key destinations without awkward detours.
Tighten traffic flow with purposeful widths, stable surfaces, and clean edges so circulation feels effortless and contemporary.
Next, improve views and vistas by aligning paths and focal points, editing visual clutter, and framing sightlines to your best plants, features, and borrowed scenery.
Define Pathways And Routes
Before you plant a single perennial or set one paver, define your pathways and routes so people move through the garden naturally and sightlines land where you want them.
Map desire lines first: watch where you already walk, then formalize those routes with consistent widths (36–48 inches for primary paths, 24–30 for secondary).
Use Path curvatures to slow movement and soften tight corners, but keep arcs purposeful—avoid random squiggles that waste space.
Choose materials that match the home and feel current: decomposed granite, large-format steppers, and permeable pavers paired with Natural textures like gravel bands, timber edging, or stone mulch.
Separate service access from strolling routes, and tuck transitions at doors, gates, and patio edges for clean, intuitive circulation.
Improve Views And Vistas
Once your paths make sense, lock in the views and vistas by controlling where the eye lands at every turn. Stand at key thresholds—gate, patio, kitchen window—and map sightlines. Then frame focal points with layered planting, slim-trunk trees, or a clipped hedge that reads modern and clean.
Hide utilities and bins with vertical screens, but keep airy spacing so the garden doesn’t feel boxed in.
Create “pause points” using a bench, sculpture, or fire bowl aligned to Natural vistas beyond your property. Use repeating materials—matching pavers, edging steel, and restrained color palettes—to maintain Visual harmony.
Finally, edit: remove one distracting element per view, and your after-photo will look intentional, expansive, and high-end.
Before-and-After Garden Landscaping With Clearer Paths
You’ll start by spotting what’s failing in your current paths—pinch points, muddy low spots, and confusing turns that break the garden’s flow.
Then you’ll select materials that match today’s clean-lined looks and real-world traction, from compacted gravel to large-format pavers set on a stable base.
Finally, you’ll sharpen the “after” with crisp edging—steel, stone, or brick—to lock the path in place and make every route read clearly.
Assessing Existing Path Issues
Although a new hardscape can transform a garden fast, you’ll get better before-and-after results by first diagnosing what’s wrong with the existing paths: track the actual desire lines people take, flag pinch points and muddy low spots after rain, and note where surfaces crumble, heave, or turn slick.
Then document path deterioration and surface unevenness with photos and a quick sketch so you can compare “before” conditions later and prioritize fixes that deliver the biggest visual upgrade.
Walk the route at different times of day, and treat it like a performance audit, not a cosmetic critique. Focus on measurable issues: drainage, traction, alignment, and edge stability.
- Map traffic flow and shortcut wear.
- Probe soft subgrade and pooling zones.
- Measure slope, crossfall, and trip lips.
- Note edging failures and weed intrusion.
Choosing Path Materials
Because the “after” photo only looks crisp when the path reads as intentional infrastructure, choose materials by performance first and aesthetics second—then match them to your site’s moisture, freeze–thaw cycles, and traffic load.
For wet shade, favor compacted crushed stone with fines or permeable pavers that shed puddles without heaving. For high-traffic runs, set concrete pavers or natural stone on a well-compacted base to lock joints and maximize Path durability.
In hot, arid beds, stabilized decomposed granite delivers a modern look while resisting rutting when properly bound.
Keep Material aesthetics cohesive by echoing your home’s hardscape: warm bluestone for classic, charcoal pavers for contemporary, and tumbled brick for cottage gardens. Always sample in situ before committing.
Enhancing Pathway Edges
Once you’ve nailed the right path surface, sharpen the “after” look by defining the edges with the same level of intent. Crisp garden edging turns a wandering walkway into deliberate pathway definition, keeps gravel in place, and makes plantings look curated. Choose a profile that matches your home’s style—sleek steel for modern, brick soldier courses for classic, or natural stone for organic plots.
- Set a straight or flowing line with stakes and a string, then cut a clean trench.
- Install edging on compacted base, and pin or mortar it so it won’t heave.
- Maintain a 1–2 inch height reveal to visually frame the path and block spillover.
- Finish with a consistent border mulch or groundcover to soften without blurring edges.
Patio Before-and-After: Seating, Shade, and Borders
When your patio feels more like a paved afterthought than an outdoor room, a targeted before-and-after plan can fix it fast. Start by defining a seating zone: float a compact sectional or bistro set on an outdoor rug, then anchor it with a slim console for drinks and lighting. Add shade that looks intentional—a cantilever umbrella, pergola slats, or a sail aligned to your sun path—so midday use becomes realistic.
Next, sharpen the borders. Edge the slab with steel or stone to stop gravel creep and visually frame the space. Build a layered perimeter using planting diversity: upright grasses, mid-height bloomers, and low groundcovers for depth without blocking views. Finish with one bold piece of garden art to create a focal point and modernize the whole scene instantly.
Before-and-After Garden Landscaping With Low-Maintenance Plants
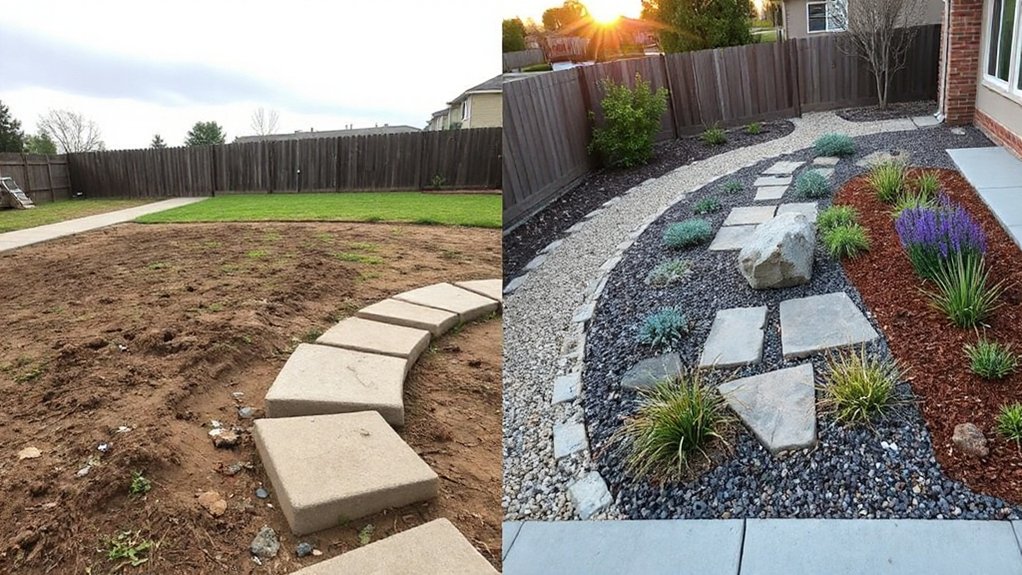
A polished patio sets the stage, but low-maintenance plantings make the “after” look stick by keeping beds full and clean with minimal weekly effort. You’ll swap fussy annuals for repeat performers that look intentional in every season, even when you skip a watering. Prioritize Drought resistant plants and native species so your design stays lush, resilient, and on-trend with water-wise landscaping.
- Replace patchy fillers with evergreen structure (dwarf conifers, compact hollies) for year-round “finished” edges.
- Mass one tough bloomer (salvia, yarrow, coreopsis) instead of mixing singles; it reads modern and reduces deadheading.
- Add ornamental grasses for movement and fewer pests, then cut back once yearly.
- Mulch 2–3 inches, define lines, and install drip to automate consistency.
Solve Tricky Spots: Shade, Slopes, and Drainage
Even if the rest of your yard looks photo-ready, shade pockets, steep slopes, and soggy low spots can break the “after” effect fast. Start by mapping sun and water after a rain; you’ll see where fixes matter most.
For shade solutions, swap struggling turf for shade-tolerant groundcovers, ferns, or layered understory shrubs, then top-dress with compost to boost soil biology.
On slopes, prioritize slope stabilization with terraced beds, stone or timber edging, and deep-rooted natives that knit soil together. Pin mulch with jute netting until roots establish.
For drainage, regrade to move water away from foundations, add a shallow swale, and amend compacted clay with organic matter. You’ll turn problem zones into intentional features.
Before-and-After Garden Landscaping With Layered Lighting
Although your planting beds may look finished in daylight, layered lighting is what makes the “after” reveal land at night. You’ll create depth, safer paths, and a curated mood by mixing fixture types and beam spreads, then aiming them with intention.
- Ambient: Wash fences or hedges with soft downlighting to extend the garden’s edge without glare.
- Task: Light steps, gates, and passages with shielded path lights so you see footing, not bulbs.
- Accent: Uplight specimen trees and highlight garden art with narrow beams for gallery-level focus.
- Moonlight + ecology: Mount warm, low-output lights in trees and avoid blue-white LEDs to protect wildlife habitats.
Test at dusk, adjust angles, then lock placements for a polished, trend-forward finish.
Budget-Friendly Before-and-After Landscaping Upgrades That Work
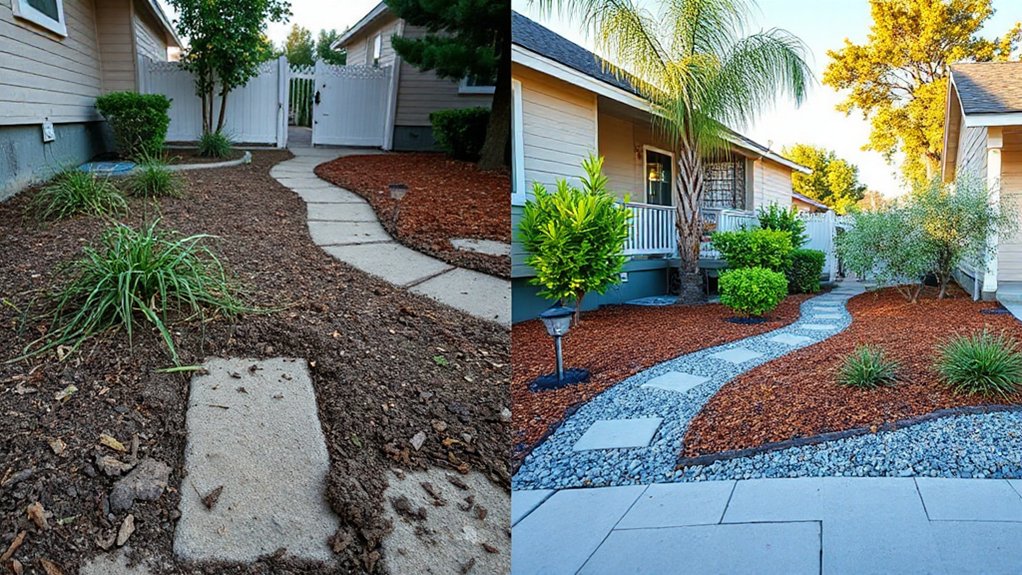
When you want a dramatic before-and-after without blowing your budget, focus on high-impact edits that fix structure first—clean edges, refreshed mulch, simplified plant groupings, and a few upgraded “touch points” like lighting, hardware, and containers. Recut bed lines with a spade, then top-dress with one consistent mulch color to instantly look designed and current.
Next, edit plants like you’d style a room: repeat three core species, mass them, and pull the leftovers into pots. Add gravel or decomposed granite paths where grass fails; you’ll cut watering and maintenance.
For punch, choose one bold piece of Garden art and anchor it with a tight ring of low perennials. Finally, build a Wildlife habitat cheaply with a shallow water dish, native blooms, and leaf-litter zones.
Frequently Asked Questions
Do I Need Permits or HOA Approval for My Garden Landscaping Makeover?
You probably do—check your city’s permitting requirements for grading, retaining walls, irrigation, or hardscape, and follow your HOA approval process for visible changes. Review covenants, submit plans early, and document approvals.
How Long Do Typical Before-And-After Landscaping Projects Take to Complete?
Most makeovers move from messy to magnificent in 1–6 weeks. You’ll finish faster with smart Plant selection and solid Soil preparation. Add 2–12 weeks for hardscapes, irrigation, inspections, and trending lighting installs, too.
What’s the Best Season to Start a Major Garden Landscaping Renovation?
Start a major garden landscaping renovation in early fall or spring, when soil works easily and temperatures stay mild. You’ll lock in modern garden design, optimize plant selection, and establish roots faster, reducing irrigation and transplant shock.
How Can I Protect Existing Trees and Roots During Landscaping Construction?
Start with Tree preservation: fence a wide dripline zone, avoid grading, and keep equipment out. Prioritize Root protection by air-spading, hand-digging near trunks, mulching, and bridging utilities. You’ll monitor moisture and hire an arborist.
What Questions Should I Ask a Landscaper Before Signing a Contract?
You should ask about scope, timeline, permits, and warranties; 30% of disputes come from unclear terms. Confirm Plant maintenance plans, Water features specs, subcontractors, insurance, change-order process, payment schedule, and who handles cleanup.
Conclusion
You’ve seen how five levers—flow, defined living space, low-maintenance planting, problem-spot fixes, and layered lighting—turn “drab” into “fab.” One client tracked it like a budget spreadsheet: after swapping a broken lawn path for gravel, adding three tough natives, and installing two warm LEDs, they used the patio 4 nights a week instead of once. That’s the point: treat your garden like infrastructure, and it starts performing—beautifully, reliably, year-round.





