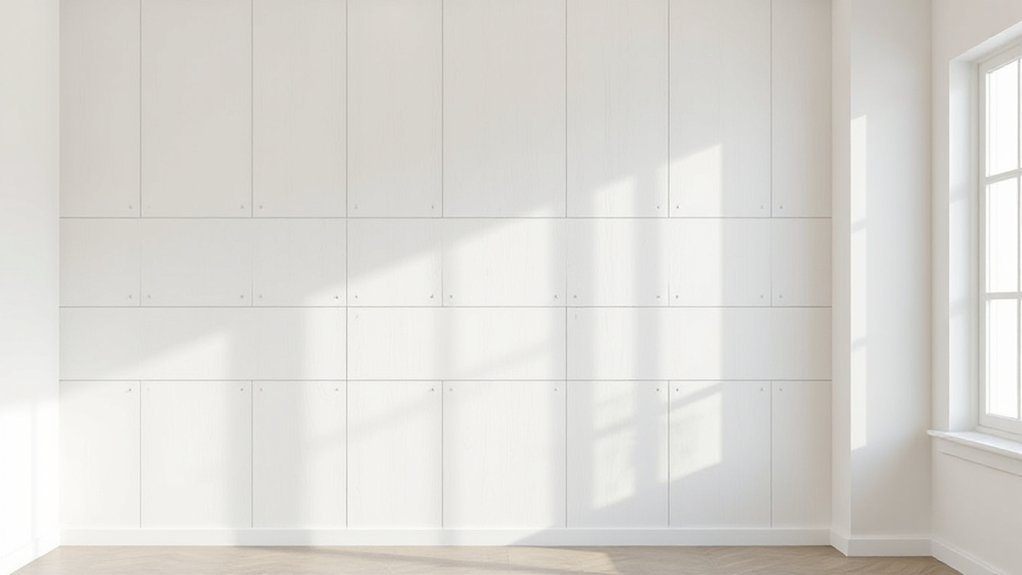
If you’re after a modern wall, start with clean lines, grid or herringbone patterns, and panels in neutral tones with a bold accent. Choose pre-cut plywood or MDF for ease, then finish with matte or semi-gloss paint to keep textures sharp. Plan joint tightness and edge sharpness, add subtle LEDs or wall-wash lighting, and choose contemporary art to anchor the backdrop. Ready to map your layout and pick a pattern that fits your space?
How to Choose a Modern Wall Paneling Style
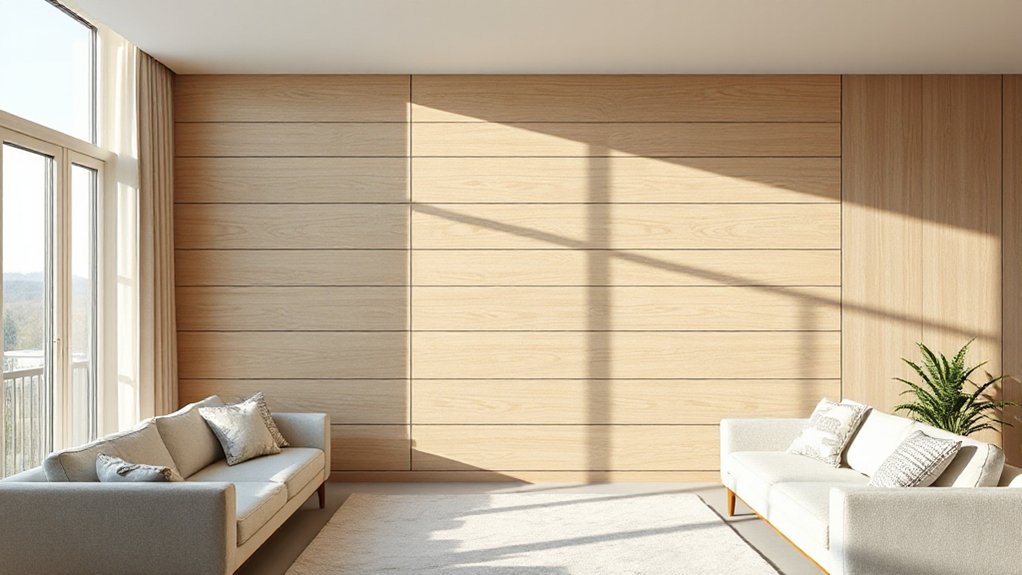
When choosing a modern wall paneling style, start by defining the room’s overall vibe and function. You’ll want a look that supports how you live, from family evenings to focused work.
Identify the scale—small panels for intimate spaces, larger boards for open rooms. Consider texture and contrast: smooth surfaces feel sleek, raised profiles add depth. Artistic accents cue the mood, so pick patterns or grain that reflect your style without overpowering the space.
Plan color as a unifying element; a neutral base with a bold accent can refresh furniture and art. Lighting integration matters, too—install panels with hidden led strips or gaps that host lamps, creating ambient glow and reducing clutter.
Finally, guarantee installation aligns with wall structure and maintenance expectations for long-lasting impact.
Which Materials Make DIY Easy and Durable
For durable results, choose materials that resist moisture and warping, like high-quality MDF or plywood with a weatherproof finish. Plus, use sturdy trim for a clean edge.
Easy install comes from pre-cut panels, tongue-and-groove joints, and simple fasteners you can scope out in advance.
To keep costs sane, weigh option combos—engineered woods, fiberboard, or lightweight vinyl—that still deliver a polished look.
Durable Material Options
What materials balance durability with DIY-friendly handling, and why do they work well for wall paneling? You’ll find that solid wood, high-quality fiberboard, PVC-free composites, and medium-density fiberboard (MDF) offer strong profiles that cut cleanly, finish smoothly, and resist everyday wear.
Solid wood ages gracefully, accepts stains, and can be repaired, but it needs sealing and acclimation. MDF and fiberboard are stable, finish evenly, and won’t warp easily with humidity when properly sealed.
Eco-friendly options include reclaimed wood and responsibly sourced panels, which support Historic preservation goals while reducing new-wood use.
For moisture-prone spaces, look at durable PVC-free composites with proper ventilation.
Prioritize formaldehyde-free cores and low-VOC finishes to maintain a healthy, long-lasting look.
Easy Install Techniques
Choosing materials that go in hard and clean, you’ll want options that cut true, finish evenly, and install with minimal fuss. Easy install techniques focus on alignment, fasteners, and surface prep so you stay efficient without sacrificing durability.
Use interlocking panels or tongue-and-groove boards for cleaner joints and fewer gaps, then pair with paintable backers to reduce telegraphing. Pre-cut sheets save time, while a level, spacer blocks, and a stud finder keep margins precise.
For color accuracy, test color palettes in lighting before committing; the right finish reads differently under daylight and warm lighting accents. Keep fasteners concealed with caps or trims to preserve a seamless look, and opt for lightweight materials when possible to reduce fatigue during installation.
Cost-Effective Choices
When you’re aiming for balance between cost and durability, opt for materials that pair affordability with performance. For DIY wall panels, choose alternatives like medium-density fiberboard with a quality veneer, or high-density fiberboard with crisp edge details, which install quickly and finish smoothly.
Wood-plank look laminates emulate real grain at a fraction of the price, while plywood sheets offer strength and flattening ease for larger panels. Consider Eco friendly alternatives such as recycled wood composites or responsibly sourced bamboo for sustainable panels that still read premium.
Seal and prime properly to prevent warping, then apply a simple bead or shaker profile for timeless appeal. Historical design influences guide proportions and spacing, ensuring your modern room nods to classic charm without excess cost.
Plan and Measure Your Weekend Paneling Project
To start your weekend paneling project, lay out a clear plan and take careful measurements to prevent surprises later. Begin by marking walls with a level and chalk line, noting baseboard heights and window recesses.
Create a simple cut list for panels, trim, and fasteners, then estimate materials with a small waste buffer. Measure ceiling height, wall length, and door openings, recording every dimension in a notebook.
Consider color coordination early; choose panel profiles and paint or stain that align with your room’s palette. Plan wiring and outlets for lighting, and note any switches that affect panel placement.
Visualize lighting enhancement—soft, layered light helps panels pop. Recheck all measurements twice, and confirm delivery dates align with your weekend schedule.
Prepare a clean workspace to minimize reworks.
8 Paneling Patterns for a Modern Look
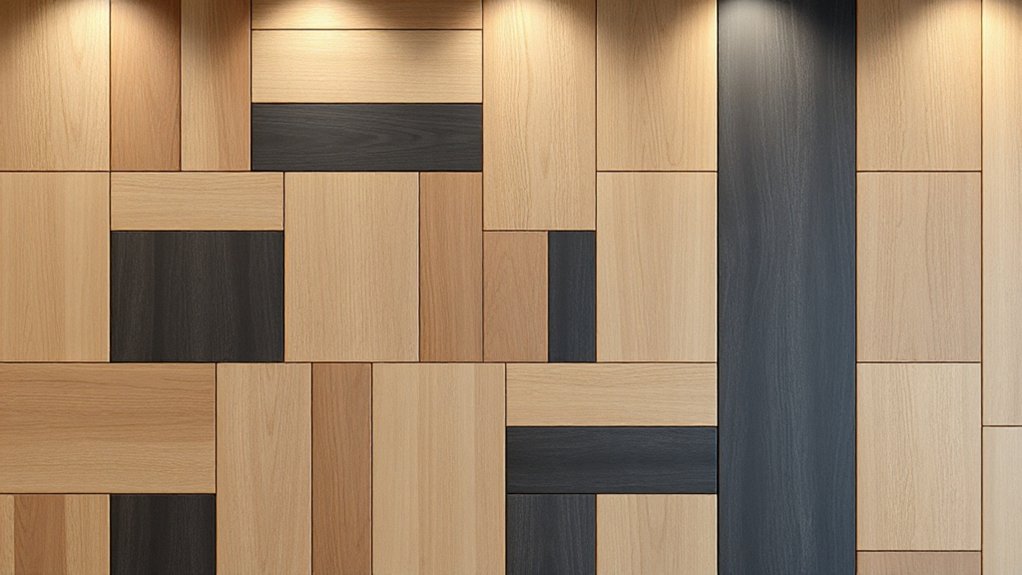
Paneling patterns for a modern look hinge on clean lines, balanced scale, and purposeful contrasts. You’ll pair wide boards with slimmer accents to create rhythm without crowding the space.
Use a restrained palette: two to three tones max, and let one hue dominate for cohesion. Alternate panel sizes thoughtfully—a grid or herringbone subtly signals structure while preserving open sightlines.
Keep joints tight and edges sharp to emphasize precision. Consider lighting as part of the pattern: wall-wash sconces or hidden LEDs can highlight verticals or horizontals, enhancing depth.
Color coordination matters: match trims to the primary wall color so the panels read as a unified field. For a modern touch, avoid busy borders; let negative space and consistent spacing do the talking.
Lighting enhancements elevate the overall impact.
Install Guide: Vertical vs. Horizontal Layouts
Vertical layouts emphasize height and formality, making ceilings feel taller and spaces more poised.
Horizontal layouts stretch a room, enhancing width and a relaxed, continuous visual flow.
Consider how each approach complements your panels, lighting, and furniture to guide the eye and mood.
Vertical Layout Pros
Are vertical layouts the simplest way to lift a room? Yes, they create a sense of height and airiness with minimal effort. You’ll notice cleaner sightlines, which makes small spaces feel taller without crowding the floor.
Installation tends to be straightforward: snap panels into elongated grooves, trim at doorways, and run uninterrupted boards for a sleek rhythm. Vertical panels emphasize architectural details, so you can pair them with molding or vintage hardware to evoke vintage charm.
They also offer practical benefits: faster hiding of imperfect walls, easier alignment along plumb studs, and reduced scrubbing of grout lines in damp rooms. Acoustic benefits can arise from maintained panel gaps and staggered seams, which help diffuse sound.
Horizontal Layout Pros
Horizontal layouts offer a grounded, wide impression that balances room width and flow. You’ll find that trim lines running horizontally create a calm, expansive feel, especially in narrower spaces.
To maximize the effect, choose panels with a consistent height and align seams with architectural features, avoiding cluttered interruptions.
Color coordination matters: pick a palette that echoes furniture tones and wall paint to unify the room, or use a lighter undertone to brighten shadows.
Lighting enhancement becomes your ally—install wall sconces or linear LEDs to emphasize horizontal lines and add depth.
Consider panel profiles with subtle grooves or bevels to catch light without visual noise.
Practical tip: test samples at eye level before committing, ensuring the finish supports your modern aesthetic and practical maintenance.
Finishes to Elevate Texture: Paint, Stain, and Sealers
You can transform plain panels into tactile, stylish walls by choosing finishes that highlight texture rather than conceal it. For texture enhancement, pick finishes that emphasize depth rather than flatten surface.
Paint can soften edge grain or create a matte backdrop that lets joints read as pattern; opt for semi-gloss for subtle reflectivity or a tactile eggshell to hide minor flaws.
Stain lets grain sing, with water- or oil-based formulas offering different sheens and resilience.
Sealers lock in color and protect high-traffic zones, while maintaining the material’s natural feel.
Test sample panels to compare sheen, color, and texture under your lighting.
Always follow manufacturer guidance for application and curing, and select surface coatings compatible with your panel material to guarantee lasting beauty and minimal maintenance.
Budget Hacks for Stylish Paneling on a Budget
If you’re chasing stylish paneling without breaking the bank, smart material choices and simple upgrades can make a big impact. Start with plywood or MDF panels painted in a matte neutral; they’re affordable, lightweight, and easy to cut to fit curves or corners.
Use lattice or beadboard for texture without a full rebuild, and mix widths to create visual interest. Prep clean walls, install with adhesive and a few nails, then caulk seams for a tight look.
Add wall art strategically to anchor focal points without clutter. Lighting fixtures matter too: install sconces or a slim track light to highlight panels and create depth.
Finish with a low-sheen seal to protect during daily use, keeping cost-per-view high and effort low.
Common Installation Mistakes and Quick Fixes
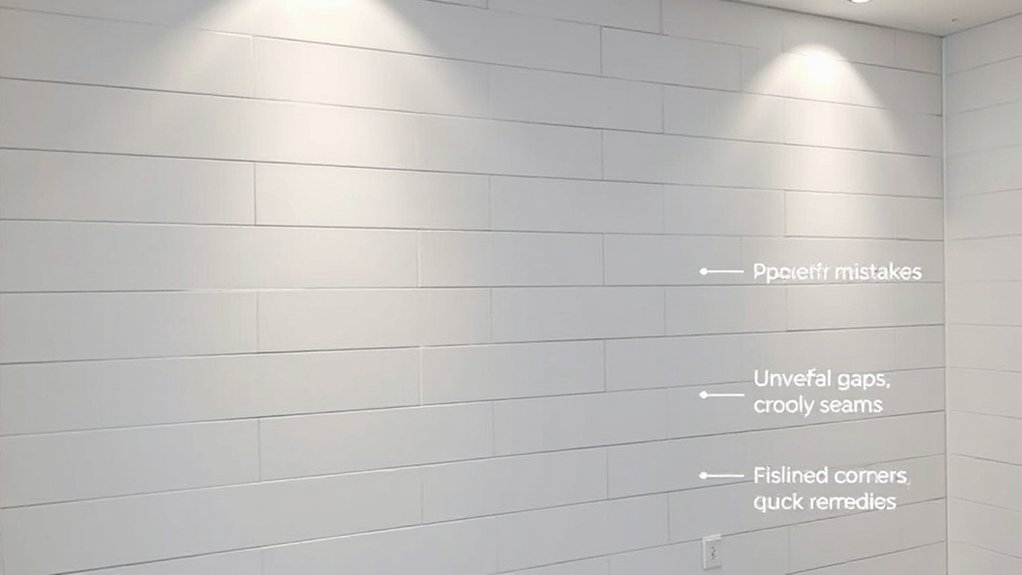
Common installation mistakes can derail a DIY paneling project, but quick fixes keep you moving. You’ll save time by prioritizing wall prep: clean surfaces, repair cracks, and seal gaps before any panel goes up.
Measure twice, cut once, and mark straight lines to avoid misalignment. When it comes to tool selection, choose a sharp utility knife, a quality tape measure, a level, and a miter saw or handsaw for precise bevels.
Don’t skip testing fit on scrap pieces—this reveals hidden issues and confirms spacing. Use adhesive and fasteners appropriate for your wall material, then lightly clamp while setting.
If panels bow, shim behind corners and use a level to guide placement. Quick fixes, like corner bead adjustments, keep your lines clean and your finish seamless.
Frequently Asked Questions
How Long Does a DIY Paneling Project Typically Take?
A typical DIY paneling project takes roughly 1–3 days, depending on wall size and prep. You’ll outline a clear project timeline, measure accurately, and complete paneling installation efficiently while preserving aesthetics and minimizing mistakes.
Can Paneling Be Installed Over Wallpaper or Concrete?
Yes, you can, but with caveats: remove wallpaper first, and make sure concrete is properly prepared. You’ll need to fix any damage, clean, and level the surface for secure paneling installation. Wallpaper removal and concrete preparation matter for success.
Is There a Best Height for Wall Paneling in Rooms?
Back in 1999, yes, there’s a best height: aim for about 48 inches for most rooms. Paneling height should respect room proportion, with eye-level lines around 60 inches, and taller ceilings forgivingly balanced.
What Common Tools Are Essential for Beginners?
You’ll need a few basics: a tape measure, utility knife, level, square, pencils, saw, drill, and clamps. Prioritize tool safety and measurement techniques, keeping blades sharp and steady. Work neatly, safely, and with precise, aesthetic results.
How Do I Repair Damaged Panels After Installation?
Address panel damage repair quickly, then evaluate whether you truly need panel replacement techniques; you’ll sand, fill, and refinish, you’ll reinforce seams, you’ll match stain, you’ll seal edges, you’ll test fit, you’ll restore seamless beauty.
Conclusion
As you step back, the room breathes in a new rhythm—clean lines, subtle shadows, and a surface that catches light like a quiet sculpture. You’ll feel the grid or herringbone breathing depth into flat walls, with edges crisp and joints barely whispering. Think of textures in paint and the glow of hidden LEDs guiding your gaze. Your space isn’t just paneling; it’s a modern mood, ready for art, conversation, and momentary, satisfying stillness.