You’ll start by judging wear and prioritizing floors that need the most attention, then plan a deep-clean that preserves grain while removing embedded grime. Next, you’ll prep with light sanding to even out defects, choosing a compatible finish and applying it in thin, even layers. Maintain proper environmental conditions and use precise techniques to prevent damage, then address any squeaks or cupping before final touches that keep the floor looking studio-ready—and you’ll want to see how the result holds up after the first few days.
Assess Wear and Prioritize Floors to Restore
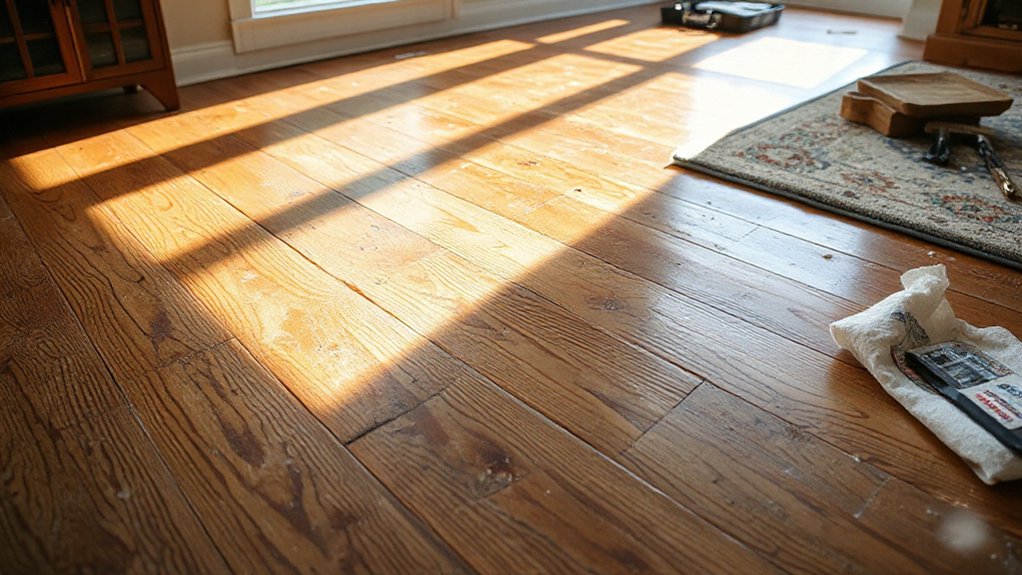
Evaluating wear and prioritizing floors to restore involves a systematic inspection to determine which boards most affect appearance and functionality. You begin by mapping high-traffic zones and noting visible damage, gaps, and selecting samples for closer review.
Conduct a floor assessment by cataloging wear patterns—satin sheen loss, scratches, and board cupping—then classify severity on a standardized scale. Prioritize restoration tasks by balancing impact on aesthetics with structural integrity, focusing first on areas that compromise walkability or exhibit wobble.
Record subfloor conditions, nail pops, and loose boards as potential indicators of moisture or flex. Use objective criteria to justify sequencing, ensuring that each step improves utility and visual coherence.
This disciplined approach tightens planning, enabling precise material estimation and a consistent finish. Wear prioritization guides the workflow efficiently.
Deep-Clean Without Hiding the Grain
To deep-clean hardwood floors without masking the grain, start with a targeted debris removal and a restrained cleaning approach that preserves wood texture. You remove loose dust with a microfiber sweep, then vacuum along grain lines using a soft brush attachment to prevent scratches.
Pre-wet a microfiber pad sparingly to lift embedded grime; never saturate, as moisture swells sapwood. Apply a neutral pH cleaner in small zones, agitating only as needed to lift residues without penetrating joints.
Rinse the pad frequently and avoid pooling. Dry immediately with a clean, lint-free cloth to maintain finish integrity.
Choose Eco friendly finishes for subsequent protection and value in historic restoration, ensuring compatibility with aged profiles. Documented steps minimize grain damage while restoring tonal clarity and depth.
Light Sanding Prep: Tools, Safety, and Step-by-Step Process
You’ll prepare the floor for a controlled, minimal-impact refinishing by selecting the right tools, enforcing safety measures, and outlining a clear, step-by-step process.
You begin with a Tools overview to guarantee the abrasive load, drum size, and pad type match the floor’s condition, avoiding gouges and dust creation.
Next, you implement Safety precautions: wear a respirator, eye protection, hearing protection, and a dust containment plan; seal adjacent rooms; remove obstacles.
Set up dust collection and test noise levels.
Proceed with light sanding: using a floor-edger or belt sander on underlayment, keep a low, even pressure, and maintain constant movement to prevent impressions.
Finish by vacuuming residue, wiping with a tack cloth, and inspecting for uniformity before staining or sealing.
Choose Your Finish: Stain, Sealant, and Topcoat Options
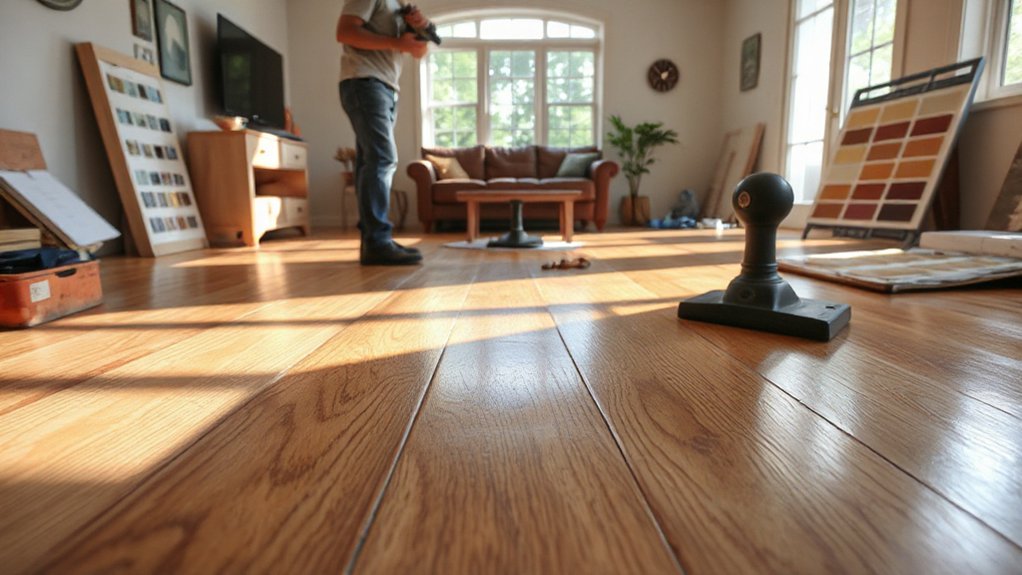
You’ll assess stain color choices to achieve the desired tone while considering wood species and existing color.
Then compare topcoat sheen options for durability and appearance, aligning with traffic patterns and maintenance needs.
Finally, evaluate how sealant compatibility and aging will influence long-term protection and touch-up routine.
Stain Color Choices
Selecting a stain color for old hardwood floors hinges on monitoring how the wood’s species, age, and existing finish interact with the color you choose. You assess the base tone, grain contrast, and color control before selecting a candidate shade.
Then you compare the color palette to the specifier’s requirements and lighting conditions, noting how undercoats alter perception. Execute a small sample test on an inconspicuous plank to confirm hue, contrast, and uniformity under future lighting.
Restrict the selection to colors that preserve legibility of grain and structural details, avoiding overly saturated tones that obscure character. Consider stain durability as you gauge wear patterns, exposure, and maintenance needs.
Document results, document formulas, and guarantee the final choice aligns with project goals and long-term stability.
Topcoat Sheen Options
Topcoat sheen options determine both the look and the durability of refreshed hardwood floors. You’ll choose sheen levels based on traffic, maintenance, and desired optical warmth.
Satin and semi-gloss finishes provide a balanced blend of color depth and glare control, while gloss yields maximum clarity, highlighting grain but showing wear sooner.
Assess three components: dry film thickness, cure time, and resistance to abrasion.
For color matching, select a neutral or slightly amber tint to harmonize with existing stains and surrounding trim.
Finish durability hinges on proper surface prep, including dust-free sanding and complete dust removal before application.
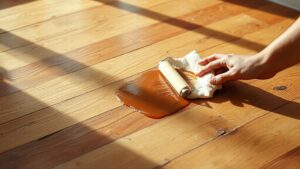
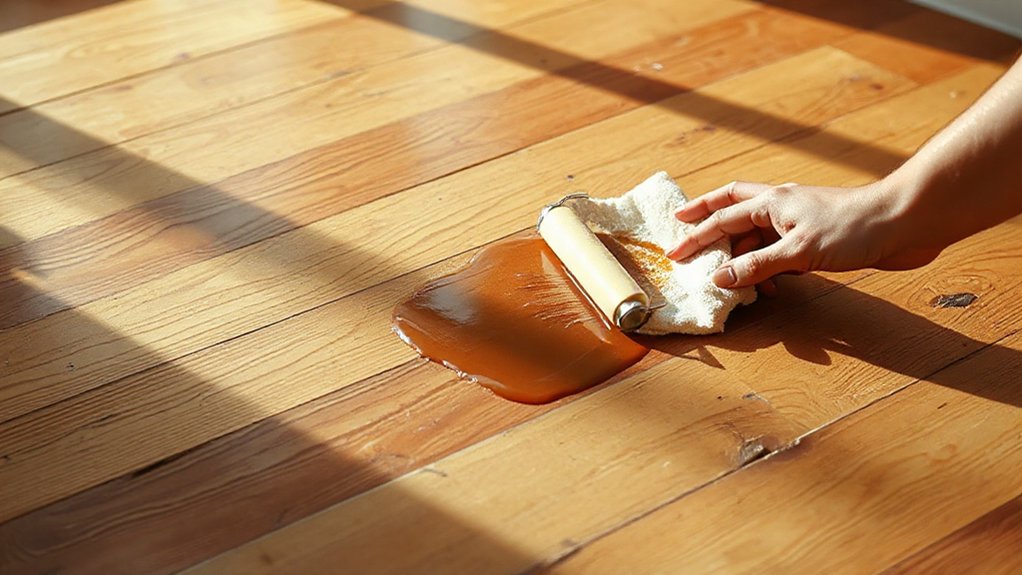
Apply thin, uniform coats with a quality roller or brush, allow full cure between layers, and cap with a protective topcoat.
Test in an inconspicuous area to confirm color matching and durability.
Stain for an Even, Consistent Color
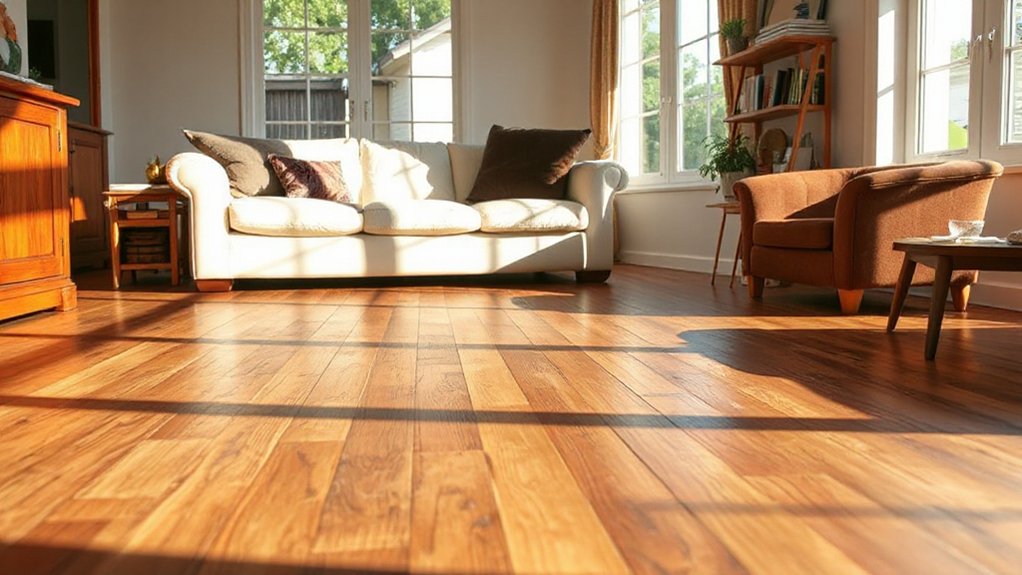
To achieve an even color, you’ll prioritize consistent stain absorption across all boards, starting with uniform surface preparation and conditioning where needed.
Use even application techniques, maintaining steady pressure and a wet edge to prevent lap marks or blotching.
We’ll evaluate coverage early and adjust technique to guarantee color consistency before moving to the next step.
Even Color Consistency
Even color variation can stand out after a floor is refinished, so achieve an even appearance by preparing a uniform stain base and applying it consistently. You assess the wood to map grain density and select a compatible stain system that promotes balance across boards.
Mix pigments to a target shade with careful ratio control, then validate the blend on test panels before full application. Use a universal admixture or reducer to optimize flow and reduce color drift between patches.
Apply a restrained, continuous coat, maintaining even pressure and overlap to minimize roller or brush marks. Monitor ambient conditions and work in small sections, rechecking for streaks or pooling.
Document your pigment blending results and adjust if early results indicate bias toward warm or cool undertones for true color consistency.
Even Application Techniques
Effective application hinges on maintaining a uniform tool technique and consistent coverage, so you should work in continuous, overlapping strokes that minimize lap marks and pressure variation.
To achieve an even color, choose a compatible stain and test on an inconspicuous area before full exposure.
Apply in manageable sections, maintaining a consistent pace and load to avoid thin edges.
Use a high-quality brush or applicator pad, aligning strokes with grain direction and rewetting only when necessary.
Wipe or back-brush excess at recommended intervals to reduce unevenness, especially in hard-to-reach zones.
Allow the stain to dwell per Finishing methods guidelines, then lightly sand between coats to smooth progressions.
Document application techniques for repeatability, and maintain a controlled environment to guarantee predictable color.
Seal for Durability: Protective Barriers Against Scratches
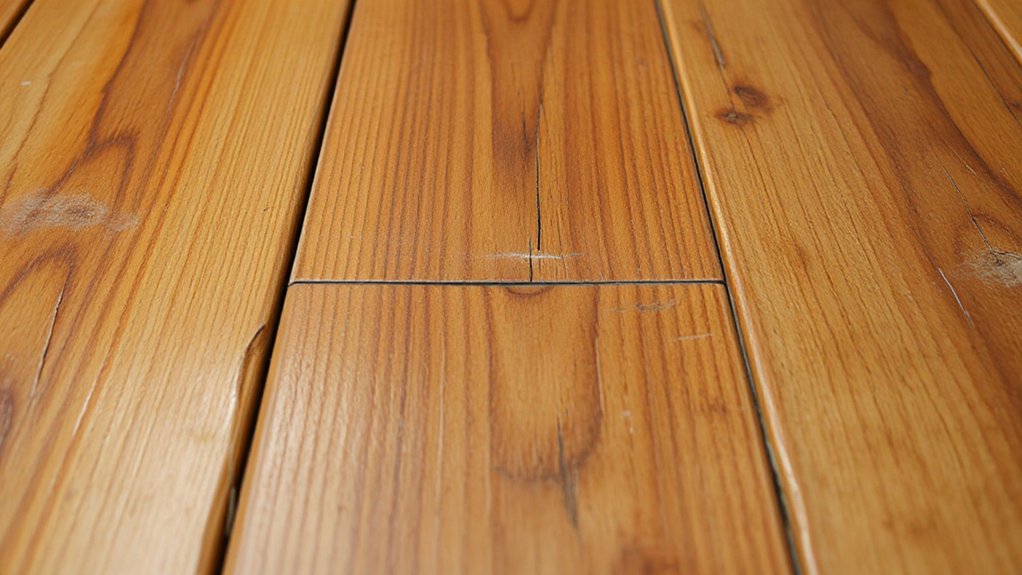
Seal a durable barrier against scratches by selecting a hard-wearing topcoat that dries clear and bonds firmly to bare or stained wood. You apply the coating in thin, even passes, allowing proper inter-coat flash times to prevent delamination.
Choose a film-forming system with high abrasion resistance and chemical stability, suitable for foot traffic and furniture impacts. Verify substrate moisture compatibility and ambient conditions before use; deviations undermine seal durability.
Use a microfiber roller or nylon brush to minimize fiber agitation, then back-roll for uniform thickness. Maintain a sealed edge along all planks to deter moisture ingress and edge-chipping.
After curing, test scratch protection with a controlled abrasive pad, documenting wear patterns. Re-coat at manufacturer-recommended intervals to sustain seal durability and long-term surface appearance.
Fix Squeaks, Crowning, and Cupping in Wood Floors
After addressing the surface seal, you’ll want to diagnose and correct common floor movements—squeaks, crowning, and cupping—by identifying the underlying causes and applying targeted fixes.
Squeak reduction begins with locating loose boards or subfloor fasteners, then re-fastening with appropriate screws or nails and shim adjustments to restore rigidity without overdriving.
For crowning correction, verify moisture balance across the plank edges and underside; adjust by planing high spots or substituting shorter, tighter boards in severe cases, ensuring even thickness.
Cupping mitigation involves equalizing moisture front-to-back through controlled acclimation and, if needed, sanding down high ridges after stabilization.
Document fix sequences, monitor ambient humidity, and re-check fastener seating.
Proceed only after confirming seal integrity, avoiding new voids or localized stress.
Quick Fixes and Touch-Ups for Uneven Boards
Uneven boards can undermine a floor’s appearance and feel, but you can tackle quick fixes and touch-ups without major disassembly. First, identify high spots with a straight edge or feeler gauge, then mark them with a pencil.
Lightly abrade the high areas using fine-grit sandpaper (120–150) mounted on a palm sander until the edge is flush with adjacent planks. Vacuum dust before applying touch-up putty in matching color; smooth with a plastic card and wipe excess immediately.
For minor gaps, apply color-matched filler sparingly, then blend with a calibrated scraper. Refinish only the touched zones to avoid sheen mismatch.
Arrange furniture to distribute traffic away from the repaired zones and maintain humidity control to prevent rapid board movement. Recheck after 24 hours and re-sand if necessary.
Maintenance Minute: Keeping Hardwood Floors Studio-Ready
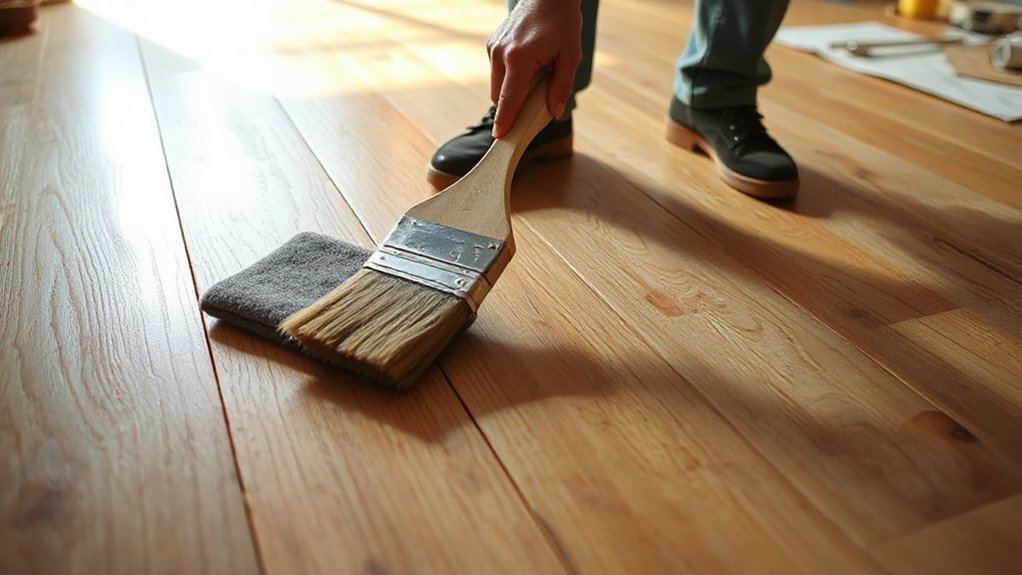
Restoring a studio-ready look begins with a disciplined routine of daily care and periodic checks. You’ll establish a maintenance calendar that aligns with traffic patterns and seasonal humidity shifts, document results, and adjust as needed.
Daily dusting with a microfiber pad prevents grit from embedding in joints and finish; use a lightly dampened microfiber cloth for high-traffic areas only.
Weekly inspections verify edge damage, missed spots, and micro-scratches, enabling timely touch-ups before they compound.
Control environment by maintaining 40–60% relative humidity and 65–75°F to support stability and minimize movement.
When selecting products, favor water-based finishes and low-VOC cleaners to support Flooring trends toward sustainability.
For historical preservation, document original materials and finishes, and perform targeted refurbishments that respect era-specific aesthetics while preserving structural integrity.
Regular storage, felt pads, and furniture reconfiguration finish the routine.
Frequently Asked Questions
How Long Does a Full Hardwood Floor Refresh Take?
A full hardwood floor refresh typically takes 1 to 3 days, depending on room size and finishes. You’ll apply floor stain, let dry thoroughly, then use polishing techniques to seal and achieve an even, durable shine.
Can You Refinish Floors Without Sanding Existing Finish?
You can’t refinish floors without sanding the existing finish; without sanding you’ll trap glaze and wear, affecting Floor sanding results, finish staining success. Think of it like restoring a keyboard: if keys stick, you must strip layers first.
Which Finishes Are Most Eco-Friendly and Low-Voc?
Eco finishes with low VOC levels are your best option; look for water-based polyurethanes and plant-based alkyds. You’ll find emissions lowest when you choose VOC-free or under 50 g/L and verify certifications. Test for odor and curetime.
How Do I Match New Boards to Old Color?
Color matching is precise: you’ll compare boards under consistent lighting, select stain with closest hue, then test on scrap. Use stain selection notes to adjust formulas; apply evenly, blend edges, and document steps for future color matching.
What’s the Best Approach for Concrete Slab Moisture?
You should perform moisture testing first, then install vapor barriers as required. You’ll measure slab moisture with RH probes, verify uniform readings, and follow manufacturer specs, documenting results and remediation steps for ideal adhesive performance and long-term floor integrity.
Conclusion
You’ve done the hard part: a pristine evaluation, a Deep-Clean that leaves the grain gleaming, and a meticulous prep that’s basically sanding with clinical precision. The finish, stain, and topcoat now await like disciplined interns. If you follow the steps, your floors won’t just look refreshed—they’ll pass a lab test for resilience. So, polish, seal, and maintain with the same rigor, and enjoy a surface that’s technically flawless, aesthetically tasteful, and forever ready for the next optional upgrade.