Keep a basic toolkit handy (hammer, tape measure, utility knife, 6-in-1 screwdriver, pliers, drill) plus PTFE tape, silicone caulk, and a non-contact voltage tester. For squeaky doors, pull and lube hinge pins, then tighten or replace screws. For slow drains, use boiling water, then baking soda and vinegar, and flush hot. Stop a running toilet by adjusting the float and replacing a bad flapper. Next, you’ll pick up more fast fixes and safety red flags.
Home Maintenance Quick Fixes: Tools to Keep Handy

Before you start tackling small home repairs, stock a basic tool kit that lets you diagnose problems fast and fix them safely. Keep a 16 oz claw hammer, tape measure, utility knife, and a 6-in-1 screwdriver plus a full set of bits.
Add adjustable pliers, needle-nose pliers, a small level, stud finder, and a cordless drill with assorted pilot and driver bits.
For plumbing and sealing, store PTFE tape, silicone caulk, a caulk gun, and an assortment of screws, anchors, and zip ties.
Include a non-contact voltage tester and headlamp for electrical checks.
For Smart home troubleshooting and energy efficiency, keep spare batteries, a Wi‑Fi tester app, and weatherstripping plus a putty knife.
Squeaky Doors: Quick Hinge and Latch Fixes
With your basic tool kit within reach, you can silence a squeaky door in minutes by targeting the hinge knuckles and the latch contact points.
Open the door halfway, tap each hinge pin up with a nail set, then pull it free with pliers. Wipe the pin clean, apply hinge lubrication (silicone spray or light machine oil), and reinstall it, cycling the door to work lubricant into the knuckles.
If door squeaks persist, tighten hinge screws; replace any stripped screws with longer ones that bite framing.
Next, address the latch: rub a little wax or dry lube on the latch bolt and strike plate. If it’s rubbing, loosen the strike screws and nudge the plate until the latch clicks cleanly.
Slow Drains: Safe Quick Fixes (No Harsh Chemicals)
When your sink or tub starts draining slowly, you can often clear buildup without harsh chemicals by flushing the line with a careful pour of boiling water.
If it’s still sluggish, you can follow with a baking soda and vinegar cleanse to loosen grime and break up residue in the trap.
You’ll finish by rinsing thoroughly with hot water to move debris through and restore steady flow.
Boiling Water Flush
Why start with something as simple as boiling water? Because heat softens grease, soap scum, and light buildup that cling to pipe walls, and it does so without harsh chemicals.
Boiling water also aligns with water purification principles: it’s a controlled, predictable method that uses temperature to change what’s in the line, not additives that can harm finishes or septic systems.
Bring a full kettle to a rolling boil. Clear standing water from the sink, then pour in a slow, steady stream for 20–30 seconds. Pause 30 seconds, then repeat once.
For PVC, don’t exceed one kettle; follow with hot tap water to reduce thermal shock. If the drain still gurgles or backs up, stop and inspect the trap.
Baking Soda Vinegar Cleanse
Although it won’t dissolve heavy clogs, a baking soda–vinegar cleanse can loosen light sludge and deodorize a slow drain using a controlled fizzing reaction instead of caustic chemicals.
For natural cleaning and eco-friendly solutions, clear standing water, then add 1/2 cup baking soda directly into the drain. Follow with 1/2 cup white vinegar, and immediately cover the opening with a stopper or wet rag to force the reaction down the pipe.
- Measure 1/2 cup baking soda
- Pour 1/2 cup vinegar and cap drain
- Wait 10–15 minutes for fizzing
- Flush with 1–2 quarts hot (not boiling) water
Repeat once if flow improves. If it doesn’t, stop and move to mechanical cleaning to avoid pushing debris deeper.
Running Toilet: Stop the Leak and Restore Flush
If your toilet keeps running long after a flush, you’re usually dealing with a flapper that isn’t sealing, a float that’s set too high, or a fill valve that won’t shut off—problems you can diagnose in minutes by removing the tank lid and checking whether water is spilling into the overflow tube and whether the flapper sits flat and snug over the drain.
First, shut the supply valve, flush, and sponge out the toilet tank so you can inspect parts.
If the flapper looks warped, slimy, or won’t cover the seat evenly, do a flapper replacement and reconnect the chain with slight slack.
If water spills into the overflow tube, lower the float or adjust the fill valve screw/clip until the waterline sits 1 inch below the tube.
Restore water and test.
Drafty Doors and Windows: Quick Weatherstrip Fixes
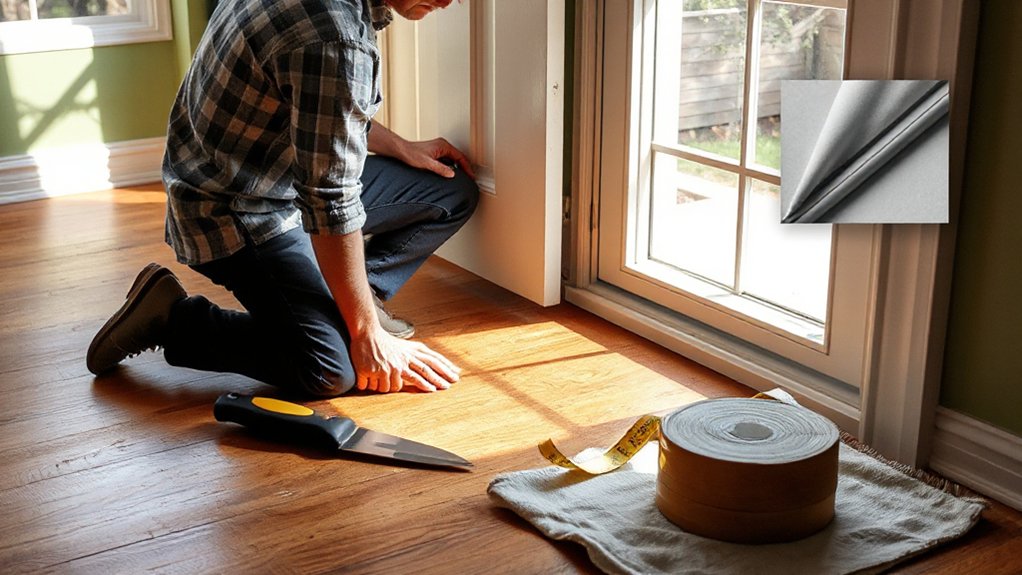
When cold air sneaks in around a door or window, worn weatherstripping and loose seals usually take the blame, and you can confirm it fast with a hand check for airflow or a flashlight test at night.
Start by tightening hinge and strike-plate screws so the door pulls snug. For doors, replace flattened foam with adhesive-backed EPDM and set a new sweep so it just brushes the threshold.
For windows, inspect window seals and lock hardware; a tight lock pulls sashes together and reduces insulation gaps. Clean surfaces before sticking anything down, and press firmly along the full run.
- Tighten hardware to improve closure pressure
- Replace cracked strips with quality EPDM/foam
- Install or adjust a door sweep
- Reseat sash locks to compress window seals
Peeling Caulk: Fast Bathroom and Kitchen Re-Seal
Because a failed caulk line lets water slip behind tile and counters, you should tackle peeling caulk in bathrooms and kitchens as soon as you spot gaps, lifting edges, or dark mildew stains along seams.
Cut out old caulk with a utility knife, then scrape residue with a plastic tool to avoid scratching. Clean with a degreaser, rinse, and dry completely; moisture ruins adhesion.
For Sealant selection, use 100% silicone for tubs and sinks, and siliconized acrylic for paintable trim areas.
Mask edges with painter’s tape for crisp lines.
During Caulk application, cut the nozzle at 45°, run a steady bead, then tool it with a damp finger or caulk tool.
Pull tape immediately, and let it cure per label before using the area.
Small Wall Damage: Patch Holes, Dents, Nail Pops
Even a thumb-sized hole or a single nail pop can turn into a recurring eyesore once paint starts telegraphing the damage. For clean Wall repair, cut away loose paper, then lightly bevel the edges so compound feathers smoothly. Drive popped nails or screws back into the stud, add a second fastener nearby, and dimple the surface with a nail set.
For dent filling, press joint compound firmly into the depression, scrape flush, then let it dry fully before sanding.
- Scrape loose drywall, wipe dust, and prime stained areas
- Use spackle for pinholes; setting compound for deeper patches
- Apply two thin coats, feather 6–8 inches, sand 220-grit
- Prime the patch, then repaint to match sheen and texture
Flickering Lights or Dead Outlets: Quick Safety Checks
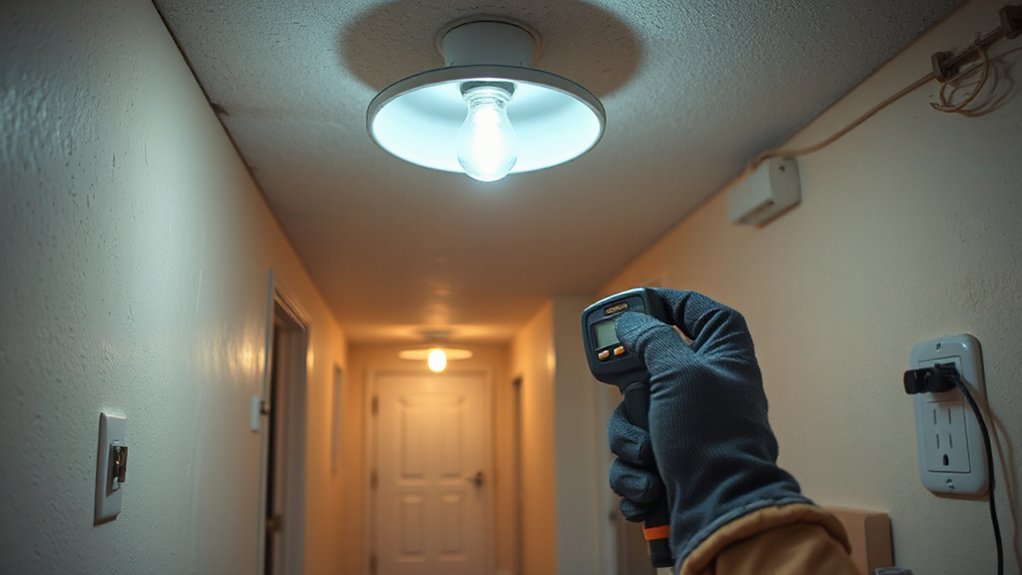
When lights flicker or an outlet goes dead, you should start at the service panel: check for a tripped breaker and press TEST/RESET on any nearby GFCI.
Next, shut off the circuit and inspect the device for loose terminal screws, backstabbed wires, or heat discoloration that signals a failing connection.
If the problem persists, you can verify power with a properly rated multimeter or plug-in tester—keep one hand clear, probe hot/neutral correctly, and stop if readings are erratic.
Check Breakers And GFCIs
If your lights flicker or an outlet suddenly goes dead, start with a quick, safe check of your breakers and GFCIs before you assume the wiring’s bad.
For Circuit breaker troubleshooting, open the panel, keep one hand behind your back, and look for a tripped breaker sitting between ON and OFF. Switch it fully OFF, then firmly back ON. If it trips again immediately, stop and call a pro.
For GFCI testing procedures, check kitchens, baths, garages, basements, and outdoor receptacles. Press RESET on the GFCI outlet, then TEST to confirm it clicks off, and RESET again to restore power.
- Identify the affected circuit using your panel directory
- Reset any tripped breaker (OFF, then ON)
- Locate and reset upstream GFCIs feeding dead outlets
- Verify power returns with a lamp or plug-in tester
Inspect Loose Connections
Breakers and GFCIs rule out the easy resets; the next step is checking for a loose connection that’s interrupting power or causing arcing. Turn off the circuit at the panel, then confirm the light or outlet goes dead by switching the load on and off.
Remove the cover plate and look for obvious heat damage, discoloration, melted insulation, or a burnt smell. Gently tug each conductor; it shouldn’t move under the terminal. Tighten terminal screws firmly, and move any backstabbed wires to the screw terminals for better circuit connections.
Check wirenuts in the box and remake any that feel loose. If flicker happens only with a specific device, inspect appliance wiring at the plug, cord, and strain relief.
Stop and call a pro if you find charring.
Test Outlet Voltage Safely
How do you confirm an outlet’s actually dead—or just suffering a bad connection—without taking unnecessary risks? Start with outlet safety: unplug everything, dry your hands, and stand on a dry surface.
Use a non-contact voltage tester first; it’s the quickest check for an energized hot conductor. If it reads live, stop and troubleshoot upstream (breaker, GFCI, loose neutral). If it reads dead, verify with a multimeter for proper voltage testing: hot-to-neutral should be ~120V, hot-to-ground ~120V, and neutral-to-ground near 0V.
Abnormal readings often mean a loose neutral or reversed wiring. Follow this sequence:
- Reset breaker and any GFCI
- Test non-contact at slots
- Meter hot/neutral/ground
- Reinstall cover, then retest under load
Stop and Call a Pro: The Red Flags to Watch For
Although plenty of home maintenance issues qualify as simple DIY wins, certain warning signs mean you should stop immediately and call a licensed pro to prevent injury, fire, flooding, or costly structural damage.
Treat burning smells, warm outlets, repeated breaker trips, buzzing panels, or melted insulation as Electrical hazards—shut off power at the main if it’s safe and back away. Call for help if you see arcing, aluminum wiring, or water near electrical components.
For plumbing, stop if you can’t locate the shutoff, a pipe is actively spraying, or sewage backs up.
Don’t DIY Structural issues: sagging joists, cracked foundation walls, doors suddenly sticking, or spongy floors.
If you smell gas, leave, don’t flip switches, and call the utility.
Frequently Asked Questions
How Often Should I Schedule Professional Inspections for Home Systems?
Schedule professional inspections yearly for HVAC, plumbing, and electrical; do Roof inspections annually and after major storms. For Appliance upkeep, get a pro check every 1–2 years, or sooner if performance drops.
Which Quick Fixes Can Raise My Home’s Resale Value the Most?
You’ll get the biggest resale bump from a few “polishing” moves: refresh paint, modernize lighting and hardware, deep-clean, stage with neutral interior decor, and boost curb appeal through garden upgrades, mulch, edging, and a crisp entry.
What Are the Best Maintenance Tasks to Do Seasonally?
You’ll get the best seasonal results by scheduling HVAC filter changes, Gutter cleaning each fall/spring, checking caulk and weatherstripping, testing smoke/CO alarms, draining exterior hoses before frost, and doing Painting touch ups after moisture-prone months.
How Can I Create a Simple Home Maintenance Checklist?
Build a simple checklist by listing monthly, quarterly, and annual tasks; 70% of homeowners miss one key task yearly. Add DIY repairs steps, note tools, schedule dates, and include safety precautions for ladders, electricity, and shutoffs.
What Should I Do if I Smell Gas or Suspect Carbon Monoxide?
If you smell gas or suspect carbon monoxide, leave immediately and call 911 or the utility from outside. Don’t switch electronics. Shut off gas if safe. Use Carbon monoxide detection alarms; treat every Gas leak as urgent.
Conclusion
Your home’s like a small ship: if you seal tiny leaks early, you won’t end up bailing all night. Keep your basics close, quiet squeaks at the hinge, clear drains gently, and stop a running toilet before it drains your budget. Block drafts, replace failing caulk, and patch wall dings so small damage doesn’t spread. Check outlets and lights with care. If you smell burning, see sparks, or find major leaks, dock and call a pro.