
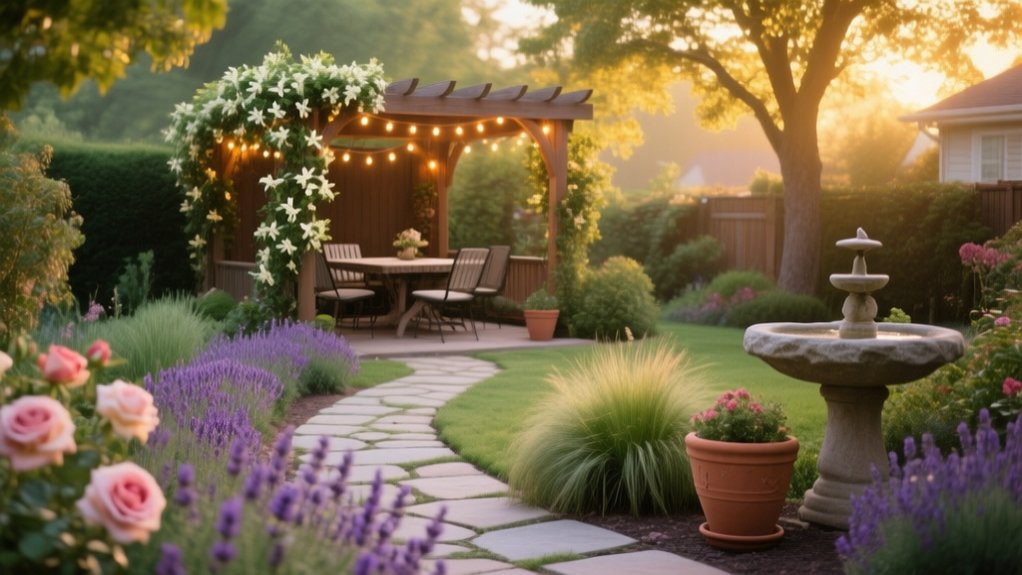
Start by deciding how you’ll use your garden oasis—dining, relaxing, play, or growing—then map sun, shade, wind, and overlooked boundaries for a layout that feels sheltered and calm. Measure accurately, sketch to scale, and fix drainage first with organic matter, raised beds, or a simple French drain. Add layers of planting for year-round interest, keep colours to two tones plus an accent, and boost charm with grouped containers and a small solar fountain. Continue for practical steps and easy upgrades.
Decide How You’ll Use Your Backyard Oasis
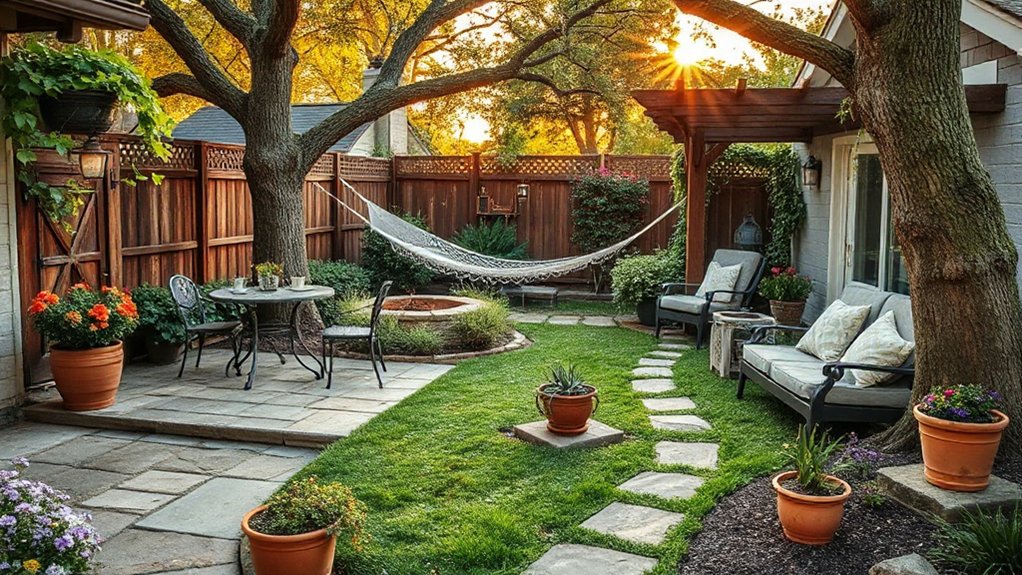
Before you buy plants or lay paving, decide exactly how you’ll use your backyard oasis so every choice supports your day-to-day needs. List your core activities: weekday dining, children’s play, quiet reading, container growing, or entertaining.
Map sunny and shaded zones, note overlooked boundaries, and check access from the house for carrying trays or bins.
Set aside space for storage, a compost area, and an outdoor tap to simplify garden maintenance.
If you host often, plan clear circulation routes and a sheltered spot for changeable British weather.
If you grow edibles, reserve a protected bed and plan pest control with barriers and netting.
Finally, confirm your budget and time, so upkeep stays realistic year-round.
Pick a Garden Oasis Style and Color Palette
Once you’ve settled how you’ll use the space, choose a clear garden style and colour palette so the whole oasis looks intentional rather than pieced together.
In the UK, start by matching your home’s character: cottage planting suits older terraces, while crisp contemporary lines complement new builds.
Limit yourself to two main colours plus one accent, then repeat them across planting and materials for cohesion.
Cool whites, blues, and silvers feel calm in bright sun; warm creams, apricots, and deep reds add richness in shadier corners.
Select Garden decor that reinforces the theme, not distracts from it.
Use ornamental accents sparingly—perhaps a glazed pot, corten screen, or stone bird bath—to create focal points and guide the eye.
Measure Your Yard and Sketch a Quick Layout
Although you might be tempted to start buying plants and furniture straight away, you’ll get a better result by taking accurate measurements of your yard and turning them into a simple sketch plan. Measure the full boundary, then note fixed features such as walls, fences, sheds, trees, drains, and existing patios.
Record widths of side returns and the location of gates, taps, and sockets, as these affect access and services. Transfer everything to graph paper, using a clear scale (for example, 1 cm to 50 cm), and mark circulation routes so you don’t block movement.
Block in zones for seating, storage, and planting beds, leaving space for Garden art as a focal point. Finally, reserve a discreet corner for Wildlife habitats, such as a log pile or small pond, without crowding paths.
Check Sun, Shade, and Wind Patterns
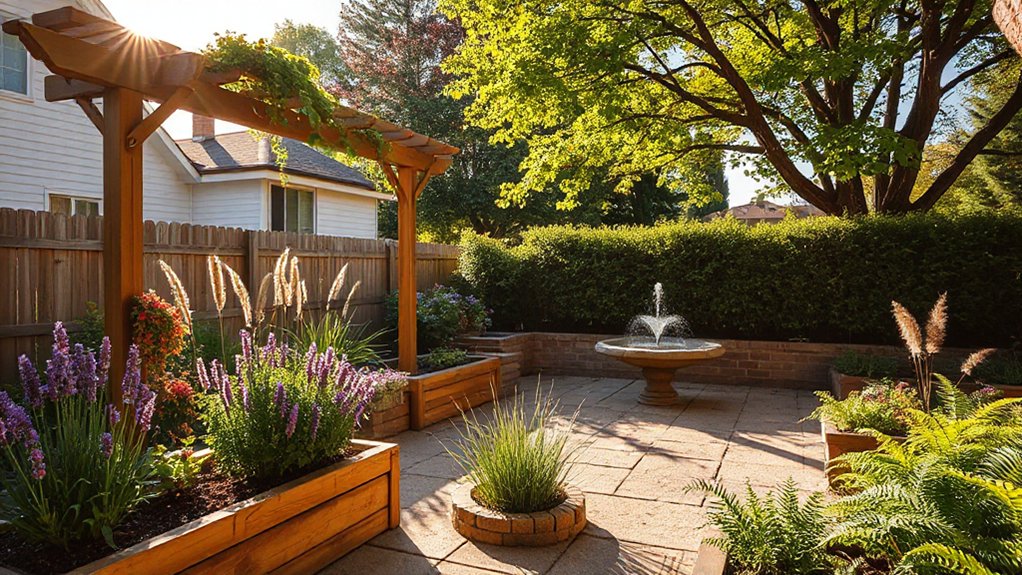
Since the amount of light your garden gets changes through the day and across the seasons, spend a week observing where sun and shade fall and how wind moves through the space. Note morning and afternoon Sun exposure, and record shade patterns cast by fences, sheds, and neighbouring trees. Repeat after a cloudy day so you don’t misread bright glare as full sun.
Stand in each area during typical weather and log wind direction and strength; even a light breeze can dry pots and stress new planting. Pay attention to warm, sheltered corners, cool north-facing strips, and spots beside brick walls that hold heat. These small differences create microclimates.
Use your notes to place seating, beds, and screening where conditions naturally suit them.
Fix Drainage Problems Before You Plant
Before you plant, you’ll need to identify how water moves through your garden after heavy rain and where it pools.
You can improve soil drainage quickly by incorporating organic matter and grit, and by avoiding compaction when the ground’s wet.
If pooling persists, you should install simple solutions such as raised beds, a shallow French drain, or a discreet soakaway to keep roots healthy.
Identify Water Flow Issues
Where does rainwater actually go in your garden after a downpour—does it soak in evenly, or does it collect in low spots and run towards the house? You’ll get better results if you map flow before planting, especially in the UK where heavy showers are common. Walk the site during rain, or hose hard surfaces to mimic it, then note where puddles persist after two hours.
- Trace run-off lines from patios, paths, and drives to confirm water circulation patterns.
- Check downpipes, gullies, and soakaways for blockages and overflow marks.
- Look for soil sheen, algae, or silt fans that signal frequent saturation.
- Inspect boundaries, sheds, and retaining edges for damp staining to support leak prevention.
Mark issues with pegs and plan around them.
Improve Soil Drainage Fast
Now that you’ve pegged the puddling zones and run-off routes, sort the drainage so your planting beds don’t sit waterlogged after every heavy shower. Start by loosening compacted ground with a garden fork, working in dry conditions so you don’t smear clay. Lift and turn to at least 20–30 cm, breaking pans and creating air spaces for roots and water.
Next, improve structure with Compost enrichment: incorporate well-rotted garden compost across the bed and mix it through, rather than leaving it as a surface mulch. If your soil is heavy, add sharp sand or fine grit sparingly to avoid creating a cement-like mix.
Finish with a simple soil test and pH adjustment using lime or sulphur, aiming for the range your chosen plants require. Keep foot traffic off beds.
Install Simple Drainage Solutions
How quickly you stop waterlogging often comes down to a few straightforward fixes you can install straight away. Tackle standing water before you plant, or you’ll waste compost and lose young roots. Aim to direct excess rainfall away from beds and into controlled outlets, especially in heavy UK clay.
- Cut shallow swales to guide runoff towards a soakaway, not your patio.
- Install a French drain with gravel and perforated pipe along the wet edge.
- Add a soakaway crate near downpipes, then link it to Rainwater harvesting butts.
- Raise planting areas with free-draining topsoil; keep composting systems on a firm, level base so leachate doesn’t re-wet beds.
Test after a downpour and adjust gradients promptly.
Test and Improve Your Soil the Easy Way
Although you can grow plants in almost any patch of earth, you’ll get stronger growth and fewer problems if you test your soil first and then make targeted improvements. Start with a simple DIY kit from a UK garden centre, or send a sample to a laboratory if you need accurate pH and nutrient readings.
Check texture by rubbing damp soil between your fingers: gritty means sandy, smooth means silty, sticky means clay.
If pH is low, apply garden lime sparingly; if it’s high, use ericaceous compost in beds that need it.
Feed soil microbiomes with organic amendments such as well-rotted manure, leaf mould, and homemade compost.
Add sharp sand and compost to heavy clay, and add compost to light soils to hold moisture.
Re-test annually.
Choose Climate-Tough Plants That Fit Your Style
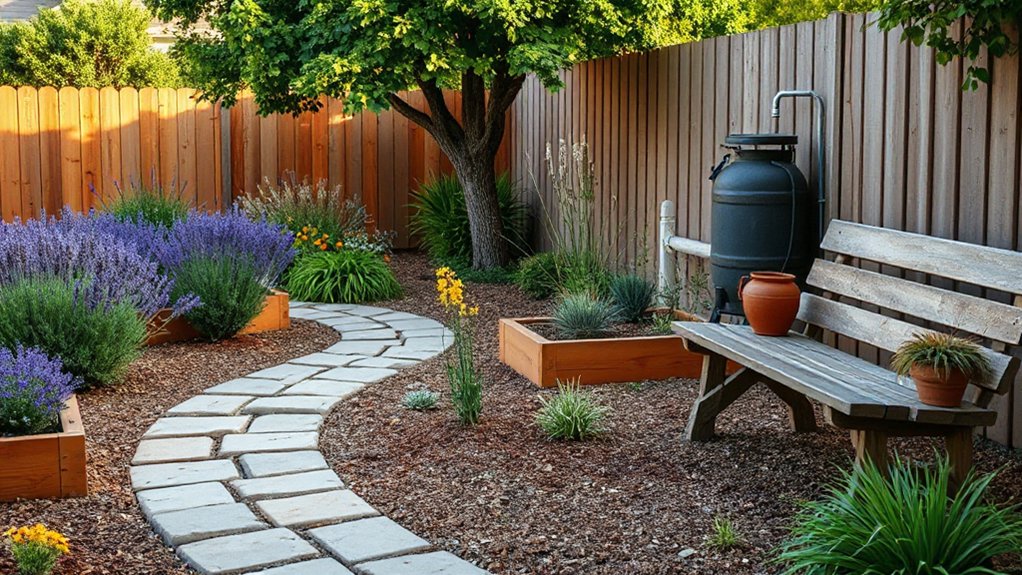
Whether you garden on an exposed, windy plot or a sheltered town terrace, you’ll get better results by choosing plants that suit your local conditions and the look you want. Sound Plant selection starts with observation: note sun, shade, drainage, and frost pockets, then match plants to those realities rather than forcing failures.
- Check your RHS hardiness rating and local microclimate before buying.
- Favour drought-tolerant, wind-resistant, and disease-resilient varieties for low-maintenance success.
- Choose a consistent palette—cottage softness, contemporary structure, or wildlife-friendly natives—so your planting feels deliberate.
- Prioritise Climate adaptability: pick plants proven in UK conditions, and confirm water needs and mature size on labels.
You’ll spend less on replacements, reduce watering, and keep your garden looking composed through unpredictable seasons.
Design in Layers: Canopy to Groundcover
Once you’ve chosen plants that suit your microclimate and preferred style, arrange them in layers so the space looks full, balanced, and easy to manage year-round.
Start with a canopy: a small tree or multi-stem shrub to cast dappled shade and frame views from the house.
Beneath it, add an understory of shrubs for structure and screening along fences.
Then thread in perennials to bridge gaps and soften edges around paths and patios.
Finish with groundcover to suppress weeds, hold moisture, and knit planting beds together.
Keep taller plants to the rear or centre of island beds, and step heights down towards lawn or paving.
Leave pockets for Garden art and log piles so you’ll support a richer wildlife habitat.
Plan for Year-Round Color and Texture
Because your garden rarely looks its best in every month, plan planting so colour and texture shift with the seasons rather than disappear between peaks. You’ll achieve continuity by combining reliable structure with carefully timed highlights, using Seasonal flower selection to bridge gaps and prolong interest in UK conditions.
Prioritise hardy, repeat-performing plants, and think in sequences rather than single “show” moments. Aim for Texture contrast in every border so the scene holds up even when little is in bloom.
- Start with evergreens and grasses for winter form and movement.
- Layer bulbs for late winter to spring, then follow with perennials.
- Choose summer colour that deadheads well, and add late-season asters.
- Finish with autumn foliage, seedheads, and berries to carry you through.
Add Privacy and “Rooms” With Screens and Hedges
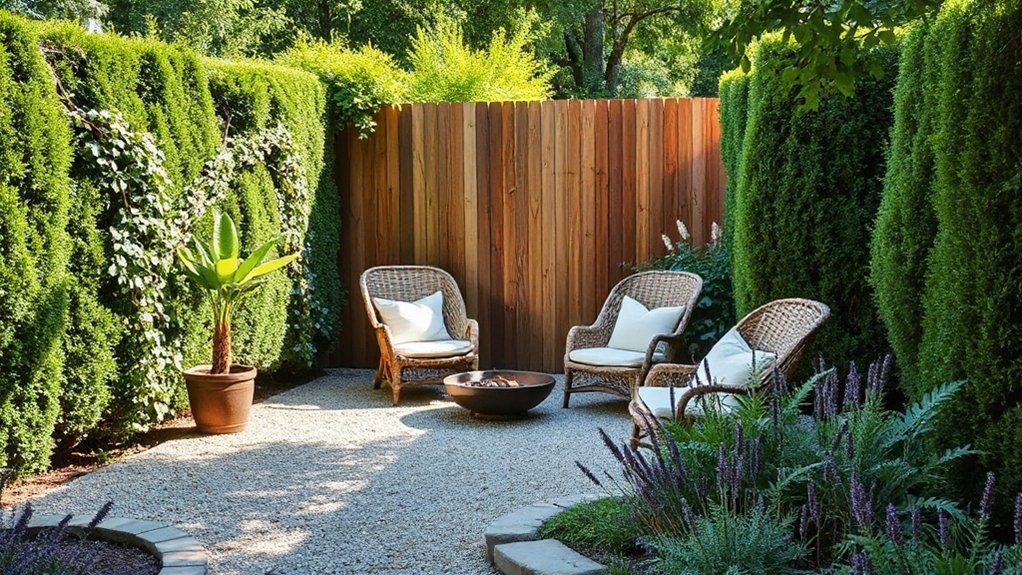
You’ll improve seclusion by planting layered hedges, combining taller evergreens with lower, softer shrubs to block sightlines without closing in the space.
You can also use garden screens—slatted panels, trellis, or woven hurdles—to break the plot into distinct “rooms” for dining, lounging, and planting.
Place each boundary to frame key views and guide movement, and check UK planning rules before adding anything close to a neighbour’s boundary.
Layered Hedges For Privacy
Even if your plot feels overlooked, layered hedging creates immediate privacy while dividing the garden into distinct “rooms” without resorting to harsh boundaries. You’ll gain shelter from wind and neighbours’ sightlines, while keeping the planting scheme cohesive and soft.
- Set a tall outer hedge on the boundary, using reliable Evergreen shrubs suited to your soil and aspect.
- Plant a mid-height secondary line 60–90cm inside it to deepen screening and reduce draughts.
- Add a low, clipped edge near paths to define circulation and keep views controlled.
- Keep lines crisp with scheduled Hedge trimming, favouring a slight taper so light reaches the base.
You should water well in the first two seasons and mulch annually to suppress weeds.
Garden Screens Create Rooms
When your garden needs privacy without feeling closed in, screens and hedges let you carve out clear “rooms” for dining, lounging, and planting. Position trellis panels, slatted timber, or willow hurdles to block sightlines while keeping light and airflow.
Anchor each zone with a paved pad or gravel circle, then edge it with clipped yew, hornbeam, or beech for year-round structure.
Create a progression: a sheltered dining nook near the house, a quieter reading corner, and a productive bed beyond. Add a gate or arch to signal movement between spaces, and mount Garden art on a screen to provide a focal point.
Leave gaps at ground level, and plant mixed native shrubs so your boundaries also serve as Wildlife habitat.
Lay Simple Paths That Connect Key Spots
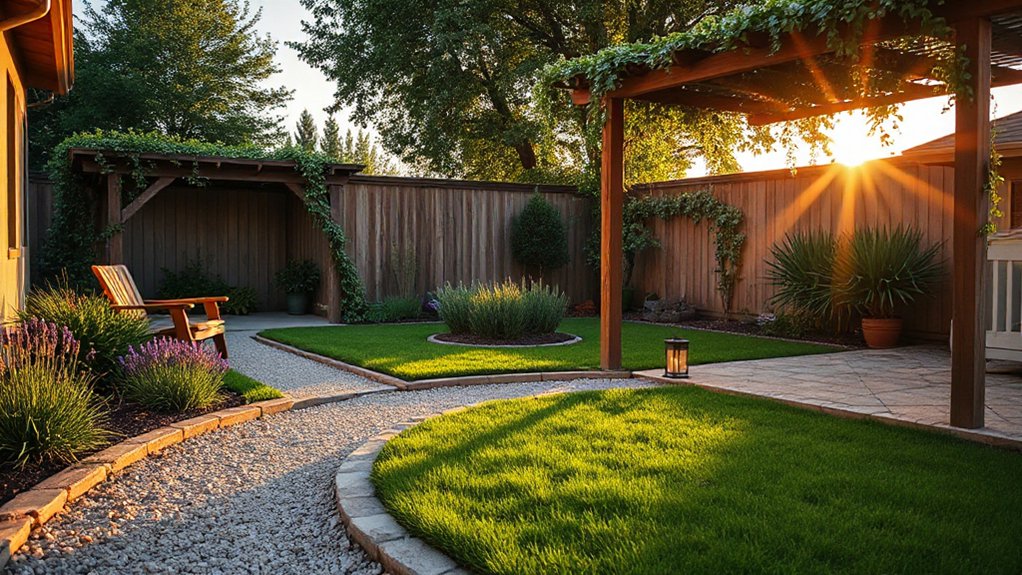
Although a lush planting scheme might steal the attention, simple paths keep your backyard garden usable by guiding foot traffic between key spots such as the patio, shed, compost bin, and main seating area. Begin by mapping desire lines after rainfall, then set a consistent route width so two people can pass comfortably. Choose Path materials that suit British weather, prioritising drainage and safe footing through winter.
- Use self-binding gravel for informal areas; edge it to prevent spread.
- Lay reclaimed brick or stone near thresholds for a tidy, slip-resistant approach.
- Keep walkway design gently curved, but avoid fussy zigzags that waste space.
- Install permeable sub-bases and slight falls to move water away from beds.
Finish with low planting at edges to soften lines and maintain access.
Create a Cozy Seating Nook That Gets Used
Because a seating nook only earns its keep if you reach for it daily, place yours where it feels sheltered, sunny for part of the day, and close enough to the house that popping out with a brew takes no effort.
Use a small bench, bistro set, or two sturdy chairs that suit your patio or lawn. Anchor the area with a weatherproof rug or gravel pad so legs don’t sink after rain.
Add Cozy cushions in wipe-clean fabric, plus a throw for cooler evenings. Keep a slim side table for books and mugs, and store extras in a lidded box.
For evenings, install Lantern lighting on hooks or a pergola beam; you’ll extend use without glare.
Finally, frame the nook with pots or a low screen for privacy.
Add Low-Cost Water Features That Actually Work
You can add a calming water element without major groundwork by building a DIY container fountain from a watertight pot, pebbles, and a simple spout.
You’ll keep running costs low by fitting a solar mini pond pump, which works well in smaller UK gardens with decent sunlight.
You should site it near a seating nook, level the base, and top up regularly to keep the flow reliable.
DIY Container Fountain Ideas
Where could a small splash of moving water make the biggest difference in your garden? With a DIY fountain, you can add gentle sound and movement without major groundwork, using simple container ideas that suit patios, courtyards, and small lawns.
- Choose a sturdy, frost-resistant pot or glazed urn; make sure it’s watertight or line it with a flexible pond liner.
- Conceal the reservoir with cobbles or a slatted lid, leaving a central opening for the water outlet.
- Fit a small mains-powered submersible pump and route the cable discreetly to an outdoor RCD-protected socket.
- Control splash and noise by topping with smooth pebbles, and adjust flow until it circulates cleanly.
You’ll maintain it easily: top up weekly, clear algae, and bring fragile pots indoors over winter.
Solar Mini Pond Pumps
How can a simple solar mini pond pump bring reliable movement to a small water feature without adding running costs or trailing mains cables across the patio? You place the panel in full sun, drop the pump into a bowl or half-barrel, and you’ve got instant circulation for a gentle jet or trickle.
Choose solar pumps with a separate panel and a 2–3 metre lead so you can hide the reservoir in shade while keeping the panel bright. Check the flow rate (L/h) and head height to match your nozzle and lift.
For basic pond filtration, add a small sponge pre-filter and rinse it weekly to prevent clogging. In the UK, bring the unit indoors in hard frost and descale with vinegar to keep performance steady.
Use Mulch, Gravel, or Groundcovers to Reduce Weeds
Although diligent weeding helps, a well-chosen mulch, gravel layer, or living groundcover does more to suppress weeds by blocking light and reducing bare soil.
For reliable weed control, prepare the bed first: remove perennial roots, edge borders, and water thoroughly so you can spot regrowth early.
Then choose a finish that suits your planting and drainage, and maintain it seasonally rather than battling weekly.
- Organic mulch (bark, leaf mould): apply 5–8 cm, keep it off stems, top up each spring.
- Gravel: lay a permeable membrane, add 3–5 cm, rake occasionally to disrupt seedlings.
- Living covers: select hardy groundcover options such as thyme, ajuga, or Vinca minor.
- Mixed approach: mulch around shrubs, use gravel on paths, and groundcovers at edges for continuity.
Boost Charm Fast With Outdoor Containers
Want an instant lift in a UK garden without digging up beds? Turn to outdoor containers. Choose frost-resistant pots in terracotta, fibreclay, or recycled plastic, and group them in threes for a composed look.
Use Container planting to add structure: place a clipped bay or dwarf conifer as your centrepiece, then underplant with trailing ivy, heuchera, or compact grasses.
For seasonal colour, swap in pansies and bulbs in spring, pelargoniums in summer, and cyclamen in autumn.
Create Color accents by repeating one strong hue across several pots and balancing it with silvers or deep greens.
Position containers by doors, patios, and paths, and keep them watered with a simple can or drip line. Feed fortnightly during active growth.
Avoid These Backyard Oasis Mistakes (and Fix Them)
Even if your space is modest, a backyard “oasis” can fall flat when you copy trends without planning for UK light levels, wind, drainage, and year-round use. Correcting a few common errors will make the garden feel settled, not staged, and reduce ongoing Garden maintenance.
- Overpaving: You’ll lose drainage and warmth; keep permeable gravel, slots, or planting pockets to prevent waterlogging.
- Wrong plant choices: Don’t force Mediterranean schemes in shade; choose hardy, moisture-tolerant perennials and structural evergreens.
- No shelter plan: Site seating with hedging, trellis, or screens to cut wind and create a microclimate.
- Ignoring problems early: Build Pest control into routines—inspect weekly, improve airflow, and remove debris to deter slugs and mildew.
Frequently Asked Questions
Do I Need a Permit for a Pergola, Deck, or Water Feature?
You often do, depending on size and location. Check Local regulations and Permit requirements with your local council. If you’re near boundaries, listed buildings, or drainage, you’ll likely need planning permission and building control approval.
How Much Does a Backyard Garden Oasis Typically Cost to Build?
Like fitting a suit, you’ll typically spend £3,000–£30,000+ to build a backyard garden oasis in the UK. Budget planning and Design considerations drive costs; prioritise hardscaping, planting, lighting, then water features, pergolas.
What’s the Best Way to Keep Mosquitoes Away Without Harsh Chemicals?
You’ll keep mosquitoes away by removing standing water, fitting fine mesh screens, and using Garden fans to disrupt flight. Apply Natural repellents like citronella, eucalyptus, or lemon balm, and wear long sleeves at dusk.
How Can I Make My Garden Oasis Pet-Safe and Kid-Friendly?
You’ll craft a pet-safe, kid-friendly haven like a prudent steward: choose pet safe plants, fence ponds, store tools, avoid cocoa mulch, and install child friendly decor—rounded edges, shatterproof lights, secure seating—meeting UK standards.
How Do I Protect Plants and Features From Frost, Hail, or Heat Waves?
Use Frost protection with fleece, cloches, and mulches; water beforehand and lift pots. Provide Hail shielding using netting or temporary covers. For heat waves, water early, add shade cloth, and mulch deeply.
Conclusion
Now you’ve shaped your backyard into a calm garden oasis: a clear purpose, a cohesive palette, and a layout that fits. You’ve watched the sun drift, felt the wind funnel, and sorted drainage before roots settle. Add a simple rill or bubbling bowl, then lay mulch, gravel, or groundcovers so weeds don’t take hold. Finish with containers for instant charm—terracotta, herbs, soft colour. Avoid haste, and you’ll enjoy it.





