
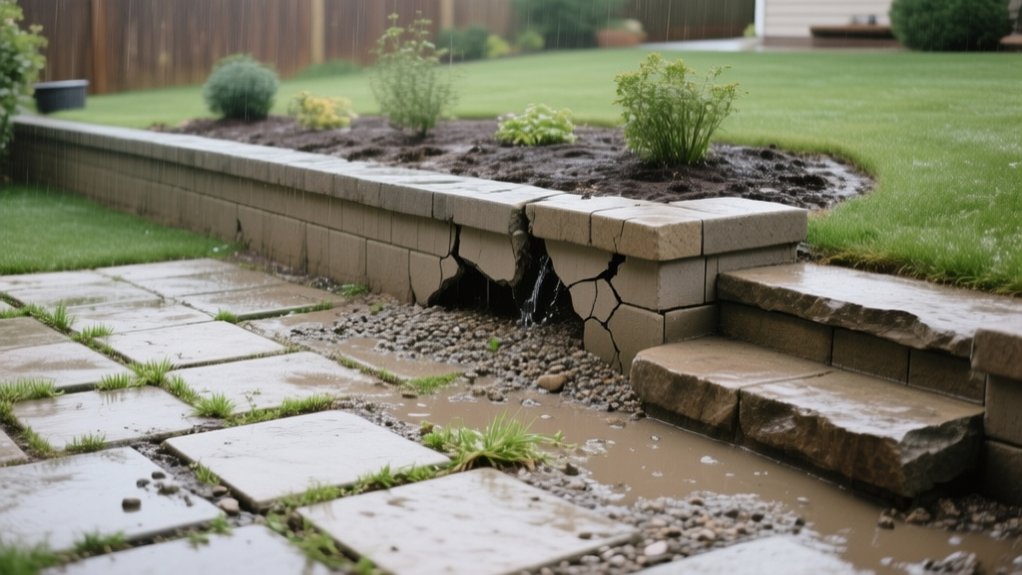
You’ll avoid the priciest hardscaping failures when you plan drainage first, then lock in elevations, swales, and discharge points before choosing patterns. Keep patios at a consistent 1–2% slope so water sheds instead of pooling, staining, or freezing. Don’t skimp on base prep: compact 4–8 inches of aggregate in lifts, add edge restraints, and use the right jointing materials. Choose climate-rated pavers or concrete, align paths with real foot traffic, and verify sun, wind, furniture fit, and service access—more practical fixes follow.
The Priciest Hardscaping Mistakes to Fix
Although you can patch plenty of outdoor issues with a weekend fix, the most expensive hardscaping mistakes usually hide in the base, drainage plan, and structural layout. You’ll pay most for settled pavers from under-compacted subbase, walls that lean from poor footing depth, and patios that crack from mismatched joints and rigid edges.
You also overspend when you ignore tolerances: inconsistent screed height, no edge restraint, or improper stone thickness forces full tear-out, not spot repairs.
Align hardscape elevations with doors, steps, and utility covers before you set grade. Plan conduit sleeves now if you’ll add lighting or water later.
Finally, coordinate Garden art anchoring points and Plant selection clearances so roots and hardware don’t destabilize surfaces or require invasive retrofits later.
Mistake: Planning Hardscape Without Drainage First
Before you pick paver patterns or wall heights, map how water will move across—and away from—your site, because drainage dictates every finished elevation and slope you’ll build. Start with a simple storm-path sketch: roof downspouts, swales, low points, and where discharge is legal.
Then size catch basins, trench drains, and permeable zones to intercept flow before it reaches footings, joints, or indoor thresholds. If you skip this, you’ll trap water behind seat walls, saturate base courses, and accelerate freeze-thaw heave and efflorescence.
Coordinate utilities early: sleeves under walks, conduit runs for Garden lighting, and access for cleanouts.
Your Plant selection should support the plan—deep-rooted grasses for swales, moisture-tolerant species near inlets, and drought plants on raised berms.
Mistake: Getting Patio Slope Wrong (1–2% Rule)
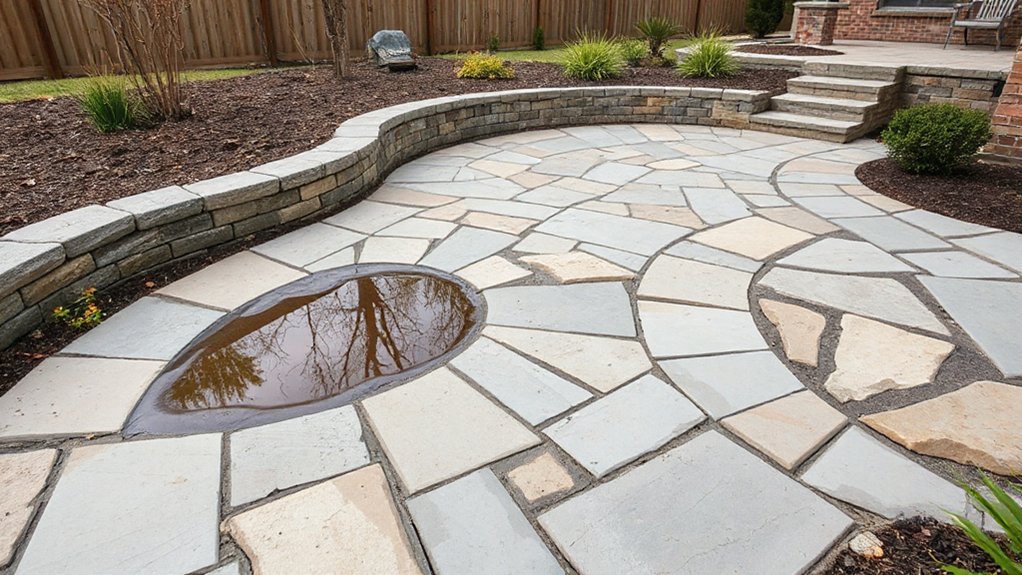
If you don’t pitch your patio at a consistent 1–2% away from the house, water won’t shed predictably and you’ll end up with pooling, staining, or moisture at the foundation.
You can spot a bad slope by birdbaths after rain, uneven joint washout, efflorescence, or pavers that rock underfoot.
Once you confirm the pitch with a level or string line, you’ll need to regrade the base, reset the surface, and add or correct edge drains where runoff can’t exit cleanly.
Why 1–2% Matters
When you dial in a patio’s slope to 1–2% (about 1/8–1/4 inch per foot), you control runoff without making the surface feel tilted underfoot. That range gives water enough energy to move toward a drain line, swale, or daylight edge, yet it won’t push furniture out of level or challenge accessibility.
You’ll protect joint sand, bedding layers, and the compacted base by reducing saturation and freeze-thaw stress that can shift pavers or crack slabs. Precise incline also supports garden aesthetics: edges stay crisp, patterns read flat, and progressions to steps or thresholds align cleanly.
With smart plant integration, you can direct discharge into planting zones designed to accept flow, while keeping root crowns and mulch from staying wet.
Signs Of Poor Slope
Although a patio can look level at a glance, poor slope shows up fast in how water and joints behave. After rain or irrigation, you’ll notice puddles that linger for hours, darkened pavers, or a slick film that forms where water can’t sheet off.
Sanded joints may wash out in low spots, while high edges stay dry and open, inviting weed seed. You may also see efflorescence bands, algae streaks, or ice glazing in winter concentrated in one area.
Doors or thresholds nearby can show splash marks, dampness, or swelling trim. Over time, furniture rocks, pavers “dish,” and the surface telegraphs subtle settlement lines.
These defects undermine Garden aesthetics and can disrupt Plant compatibility by keeping adjacent beds too wet.
Fixing Drainage Problems
Because water always follows the easiest path, you fix patio drainage by re-establishing a consistent 1–2% fall away from the house (about 1/8–1/4 in. per foot) and removing any low “birdbaths” that trap runoff.
If your surface is pavers, lift and re-bed them on compacted base, then re-screed bedding sand to grade using stringlines and a level.
For concrete, you can sawcut and re-pour sections, or add a bonded overlay only if you correct the base and joints.
Redirect discharge to a swale, trench drain, or dry well, keeping weep paths open.
Don’t bury Garden lighting conduits in low spots; sleeve and pitch them too.
Finish with Plant integration: grade adjacent beds slightly lower so mulch won’t dam flow.
Mistake: Skipping Base Prep Under Pavers
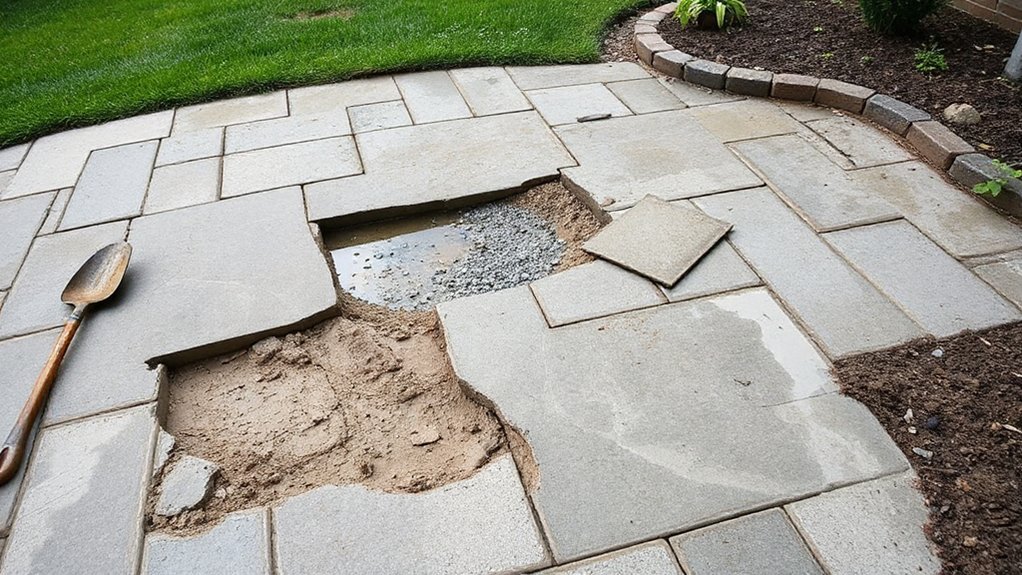
If you skip base prep under pavers, you’re building on a weak subgrade that can’t distribute loads or manage moisture, so movement is inevitable.
You’ll see the warning signs fast—settling, rocking pavers, widening joints, and low spots that hold water.
You prevent it by installing proper layers (compacted subgrade, graded aggregate base, and a thin bedding layer) and compacting each lift to spec.
Why Base Prep Matters
When you skip base prep under pavers, you’re not saving time—you’re building failure into the project. A proper base creates load distribution, drainage, and a stable plane, so pavers resist settlement and lateral creep.
You need excavation to undisturbed subgrade, then a geotextile where soils are weak, followed by 4–8 inches of compacted, well-graded aggregate installed in lifts and checked for slope.
Add a 1-inch bedding layer of screeded concrete sand, then edge restraints to lock the field.
Base preparation also supports adjacent Soil enhancement by keeping fines from migrating into planting beds.
For clean Plant integration, you’ll grade changes, protect root zones, and prevent irrigation runoff from saturating the base beneath the hardscape.
Common Failure Warning Signs
Although a paver patio can look perfect on day one, skipped base prep reveals itself fast through consistent warning signs: low spots that hold water, joints that open up and dump sand after rain, and pavers that rock or “click” underfoot. You’ll also notice edge creep where the field slowly spreads, creating uneven lines and trip points.
After freeze-thaw, individual units may sit proud or sink, and you’ll see hairline gaps that weren’t there before. If you’ve added Garden lighting, watch for fixtures tilting, conduit exposure, or lens misalignment as grades shift.
With Plant integration, soil washes onto the surface, mulch migrates into joints, and planting beds settle away from the hardscape, exposing roots and edging. Track these changes early before damage compounds quickly.
Proper Layering And Compaction
Those warning signs trace back to one root cause: the layers under your pavers aren’t built to carry load and shed water. If you skip base prep, freeze-thaw and traffic will pump fines, trap moisture, and telegraph every void to the surface.
Fix it with disciplined layering techniques: excavate to design depth, proof-roll weak subgrade, and correct grade for drainage. Achieve uniform soil compaction in lifts—don’t just tamp the top.
Add geotextile where soils are silty, then place 4–8 inches of well-graded crushed stone, compacting each 2–3 inch lift to refusal. Screed a thin bedding layer, set pavers tight, and vibrate in joint sand. Edge restraints lock everything in.
Mistake: Choosing Materials That Fail in Your Climate
Even the best-looking hardscape can fail fast if its materials don’t match your local weather. If you’re in freeze–thaw zones, porous stone and weak concrete spall, while heat-prone regions can warp thin pavers and soften asphalt binders. Salt spray and de-icers accelerate corrosion and surface scaling, so you’ll need higher-grade mixes, sealed finishes, or alternative aggregates.
Material failure also creates gaps that hold moisture and debris, inviting garden pests and complicating seasonal planting along borders and beds. Choose products rated for your exposure class, not just your palette.
- Verify freeze–thaw rating and absorption percentage
- Specify air-entrained concrete where required
- Use UV-stable polymers or dense, fired clay pavers in high sun
- Match jointing sand and sealers to rainfall and drainage
Mistake: Weak Edging That Lets Pavers Spread
If you skimp on edging, your pavers will creep outward under foot traffic and freeze–thaw cycles, opening joints, trapping water, and accelerating settling.
You’ll get better long-term restraint by choosing rigid edging such as concrete curb, steel, or heavy-duty PVC with proper stakes and fasteners for your base type.
Install it on a compacted base, keep it straight and tight to the paver field, anchor it at the specified spacing, and lock everything in before you sweep sand and compact.
Consequences Of Loose Borders
When your edging can’t lock the field of pavers in place, lateral loads from foot traffic, freeze–thaw movement, and minor settlement push the outer courses outward. You’ll see joints widen, lines drift, and the surface lose its intended geometry.
Poor border design or rushed border installation also lets bedding and joint sand migrate, so the edge loses confinement faster.
- Perimeter pavers tip and sit proud, creating trip points and mower snags
- Joint gaps open, inviting weeds, ants, and water intrusion into the base
- Herringbone or running-bond patterns “walk” sideways, breaking straight reveals
- Maintenance escalates: re-sanding, re-leveling, and partial relay become routine
Left unchecked, spreading concentrates loads on fewer units, accelerates chipping, and shortens the hardscape’s service life.
Best Edging Material Choices
Because the border does most of the containment work, you need edging that resists lateral shear, anchors solidly into the base, and won’t deform under seasonal movement.
Choose aluminum or galvanized steel when you want a thin profile with high stiffness and clean lines for pavers.
Use heavy-duty plastic only for light-duty paths, not driveways, and specify UV-stabilized, ribbed sections to limit creep.
For natural stone or clay brick, consider concrete curbing or mortared soldier courses where aesthetics and load demand rigidity.
If you’re adding garden lighting, pick edging with compatible conduit clearances or integrated chase options to protect wiring.
For plant integration, select flexible metal that arcs smoothly around beds without kinking, yet still holds aggregate and joints tight.
Proper Edging Installation Steps
Selecting the right edging is only half the fix; installation is what keeps pavers from walking outward under traffic, freeze-thaw heave, and base settlement.
Set edging after you’ve compacted the base and bedding, but before final joint sand. Keep it tight to the paver field, aligned to grade, and mechanically anchored into undisturbed soil—not loose aggregate.
- Excavate a clean edge trench, leaving full paver thickness plus 1/2 in. reveal if needed.
- Bed edging on compacted base; check straightness with a stringline.
- Drive spikes/pins at manufacturer spacing, angled away from the pavers for pullout resistance.
- Backfill and compact in lifts; coordinate Plant integration and sleeve Garden lighting conduit before closing.
Finish by re-sweeping joint sand and compacting to lock everything together.
Mistake: Walkways That Fight Natural Foot Traffic
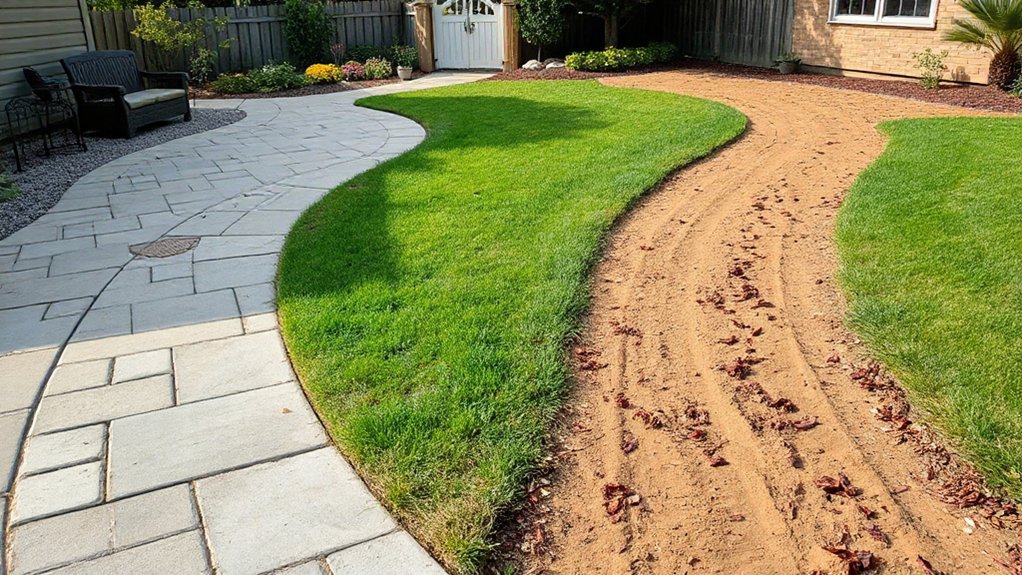
Even if your pavers and joints are perfectly installed, a walkway that ignores natural foot traffic won’t perform as intended. You’ll see “desire lines” worn into turf, displaced gravel, and edge failure where people cut corners.
Map how you actually move: from gate to door, driveway to bins, steps to garden zones. Then align the path’s centerline to those vectors and keep turning radii generous so you don’t force sharp pivots.
Size for real use: 36–42 inches for one person, 48 inches where two pass. Use Garden lighting to reinforce the preferred route at night, and plan plant integration so shrubs don’t pinch the clear width.
If runoff crosses the path, add slope and drainage so shortcuts don’t form.
Mistake: Patio Sizes That Don’t Fit Furniture or Flow
When a patio’s footprint doesn’t match your furniture layout and circulation, the space looks fine on paper but feels cramped in use. You’ll clip chair backs, block doors, and force detours that disrupt Garden pathways and daily routines.
Size the slab from the “use case” outward: place furniture to scale, then add clearance for pull-out and passing zones.
- Allow 36–48 in. clear paths around seating and to steps.
- Add 24–30 in. behind dining chairs for slide-back.
- Reserve landing space at thresholds and grill stations (minimum 42 in.).
- Plan Plant integration with planter edges that don’t pinch circulation.
Check dimensions before you excavate; paver cuts and border restraints can steal inches that matter.
Mistake: Placing Patios Without Sun and Wind Checks
Because microclimates change dramatically across a yard, you can end up with a patio that bakes in afternoon sun, sits in perpetual shade, or gets blasted by prevailing winds if you skip a quick site check.
Map sun angles for solstice and equinox, then verify with a week of observations at breakfast, midday, and dusk. Use ribbon or chalk to mark likely seating zones and note glare off paving.
Check wind by hanging survey tape and spotting eddies near walls, fences, and slopes.
If heat’s the issue, shift the pad, add a pergola, or specify lighter pavers.
For wind, orient screens or low walls to deflect, not funnel.
Coordinate Garden lighting with shade lines, and use Plant integration—trees, hedges, grasses—as living baffles and coolers.
Mistake: Blocking Access for Maintenance and Repairs
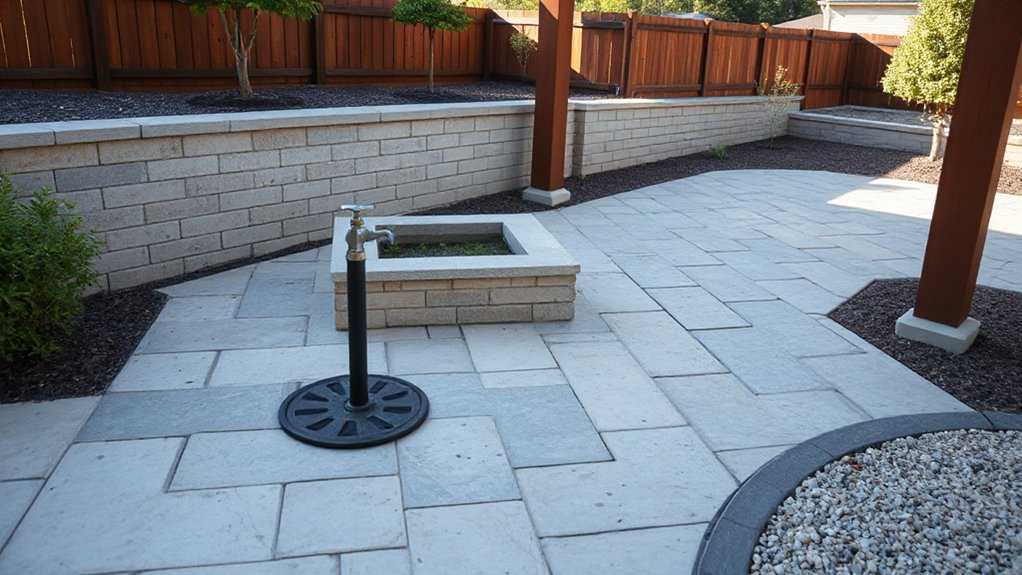
A patio can sit in perfect sun and still fail if your hardscape traps utilities and building components behind permanent stone. You’ll pay later when you can’t service hose bibs, cleanouts, irrigation valves, or garden lighting transformers without demolition.
Design for access now by planning removable panels, sleeves, and clear service corridors, then coordinate those zones with plant integration so roots don’t invade shutoffs or conduit. Keep grades and joints readable so crews can locate lines fast and reseal penetrations properly.
- Specify flush access hatches for valves and cleanouts
- Run conduit in sleeves with pull strings and marked endpoints
- Leave 24–36 inches of clearance at meters, HVAC, and drains
- Use modular pavers near service runs for quick lifting and reset
Frequently Asked Questions
How Long Does a Typical Hardscape Project Take From Start to Finish?
You’ll typically finish a hardscape in 1–6 weeks, depending on scope, permits, and weather. You’ll speed delivery by coordinating landscape lighting rough-ins and plant integration early, minimizing rework during base prep and final grading.
Do I Need a Permit for a Patio, Retaining Wall, or Walkway?
You might need a permit for a patio, retaining wall, or walkway—permit requirements vary by municipality, wall height, drainage changes, and lot coverage. Confirm design considerations like setbacks, utilities, grades, and stormwater management before building.
What’s the Best Season to Install Pavers or Pour Concrete?
Measure twice, cut once: You’ll get best results installing pavers or pouring concrete in late spring or early fall. Seasonal considerations matter; avoid freeze-thaw and extreme heat. Account for climate impact, soil moisture, and curing windows.
How Do I Estimate Total Hardscaping Costs Before Hiring a Contractor?
Start with Budget planning: measure square footage, define scope, then price line items—demo, base, edging, drainage, labor, permits. Add 10–20% contingency. Refine Material selection with unit costs, delivery, and equipment rentals.
What Maintenance Schedule Keeps Hardscapes Looking New for Years?
An ounce of prevention beats a pound of cure: you’ll sweep weekly, rinse monthly, inspect joints and drainage quarterly, and reseal stone/concrete every 2–3 years. You’ll align Landscaping design with Material durability, controlling weeds and stains.
Conclusion
If you want hardscape that lasts, you’ve got to plan like an engineer and build like it matters. Start with drainage, then lock in a 1–2% slope, and don’t cheat on base prep. Match materials to freeze-thaw, heat, and salt. Lay paths where people actually walk, and size patios for furniture clearances and circulation. Check sun and wind before placement, and keep service access open. Otherwise, your patio becomes a money pit.





