You can refresh your bathroom in a weekend by measuring up, setting a firm budget, and booking a tip run or council bulky-waste slot. Wash walls with sugar soap, fill dents, then repaint with mould-resistant bathroom paint. Strip tired silicone, wipe joints with isopropyl alcohol, and re-caulk neatly. Scrub grout, regrout gaps, and seal tiles to stop mildew. Swap a tap or showerhead with PTFE tape, and fit brighter IP-rated LED lighting—there’s more ahead.
Plan Your Weekend Bathroom Refresh Fast
In just one evening, you can map out a weekend bathroom refresh that won’t run over time or budget. Measure the room, note awkward corners, and list what must stay. Set a firm spend limit, then price essentials at Screwfix, B&Q, or Wickes, allowing delivery lead times.
Book a tip slot or check your council’s bulky waste rules if you’re clearing clutter.
For Bathroom organization, sketch storage zones: daily items at hand height, spares in labelled boxes, and cleaning kit in a caddy.
Plan Plumbing maintenance early: shut-off valve location, dripping taps, loose traps, and slow drains.
Gather tools, PTFE tape, washers, silicone remover, and a torch.
Write a simple hour-by-hour schedule and stick to it.
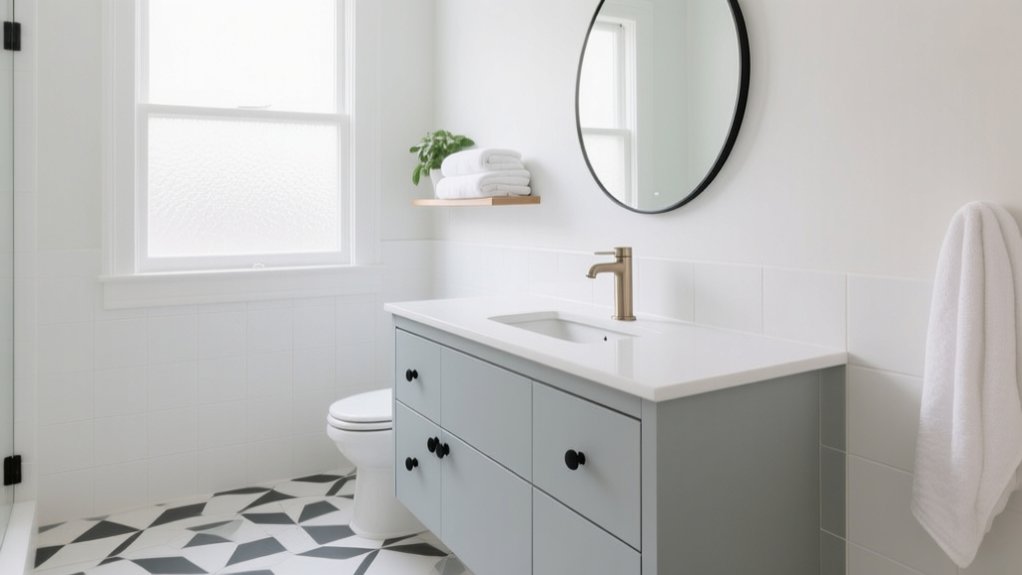
Paint Walls and Recaulk Seams for a Clean Finish
Before you swap fixtures or chase bigger jobs, fresh paint and new silicone instantly make a bathroom look cleaner and newer. Start with wall preparation: wash down soap film with sugar soap, rinse, dry, then fill dents and sand smooth. Mask tiles, fittings, and the ceiling line with low-tack tape.
Use a mould-resistant bathroom paint and cut in with a 2-inch brush, then roll with a short-pile sleeve for a flat finish. Keep a window open and run the extractor.
Next, recaulk seams around the bath, shower tray, and basin. Slice out old silicone, wipe with isopropyl alcohol, and let it dry.
Apply steady pressure and use simple caulking techniques: smooth with a profiling tool and pull tape before skinning.
Regrout, Reseal, and Brighten Tile Lines
Why do tiles still look tired even after a fresh coat of paint? It’s usually the grout. Start with grout cleaning: spray a bicarbonate-and-water paste or a UK bathroom cleaner, scrub with a stiff nylon brush, then rinse and dry fully.
If joints are cracked or missing, rake out loose grout with a grout saw, vacuum the dust, and regrout with a ready-mix or powder suited to your tile width. Tool it smooth, wipe diagonally with a damp sponge, and buff haze with a microfibre cloth.
Once cured, finish with tile sealing and a grout sealer to stop stains and mildew. Keep ventilation on and avoid showering for 24–48 hours afterwards.
Swap the Faucet and Showerhead (DIY-Friendly)
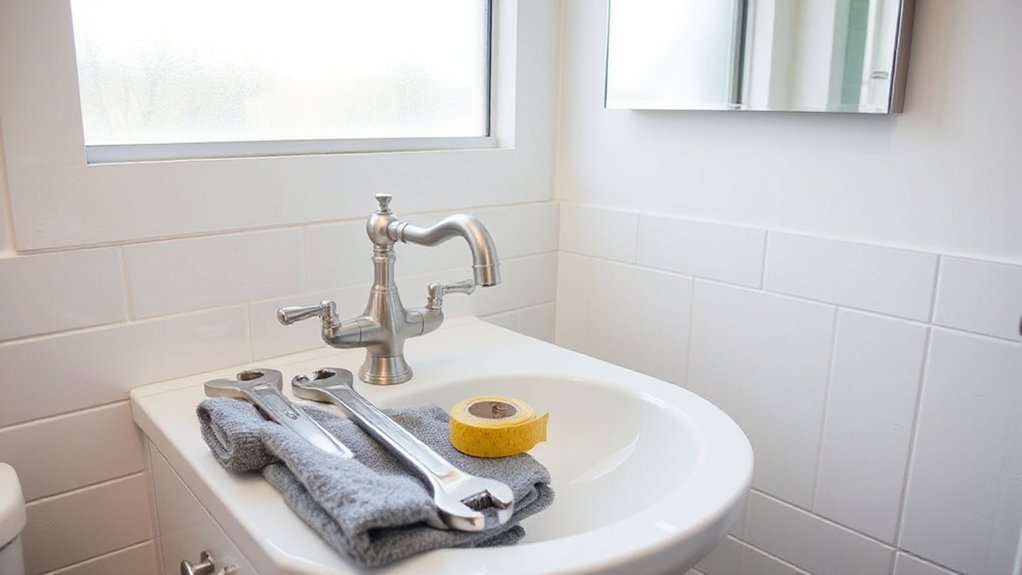
You can smarten up your bathroom fast by choosing a stylish, water-efficient tap and showerhead that suit your basin fittings and existing pipework.
Turn off the isolating valves, remove the old tap hardware with an adjustable spanner and cloth to protect the chrome, and clean the threads before fitting new washers or PTFE tape as needed.
Once installed, turn the water back on, check every joint for leaks, and test flow and temperature to make sure everything’s working properly.
Choose Stylish Water Fixtures
Want a quick bathroom upgrade that feels high-end without tearing anything out? Choose stylish water fixtures that suit your basin and shower layout, then swap them in for an instant refresh.
Go for Modern design finishes like brushed nickel, matt black, or chrome to match typical UK tiles and towel rails.
Check compatibility first: measure tap hole centres, confirm whether you’ve got a mono mixer or pillar taps, and match the connector size (often 1/2″ BSP).
For the shower, pick a head that fits your hose thread and works with your system—combi, gravity-fed, or pumped.
Prioritise Water efficiency by choosing WRAS-approved fittings and aerated taps, plus a low-flow showerhead that still feels powerful.
You’ll cut bills without sacrificing comfort.
Remove Old Faucet Hardware
Three basic checks and the right tools make removing old faucet hardware a clean, DIY-friendly job: isolate the water at the service valves (or the stopcock), open the taps to relieve pressure, then protect the basin and chrome with a cloth before you start.
For faucet replacement, get under the basin with an adjustable spanner, basin wrench, and a torch. Loosen the flexi tails at the isolation valves, keeping a bowl and towels handy for drips. If nuts are seized, spray penetrating oil and wait ten minutes; avoid brute force that can crack a ceramic basin.
Undo the backnut or horseshoe clamp, then lift the tap free, cutting old silicone with a sharp knife.
For showerhead hardware removal, grip the collar with slip-joint pliers over a rag and unscrew anticlockwise.
Install And Test Upgrades
With the old hardware off and the area cleaned up, fitting upgrades is mostly a matter of careful sealing and correct alignment before turning the water back on.
Wrap 6–8 turns of PTFE tape clockwise on exposed threads, then hand-tighten your new tap tails or shower arm before finishing with a spanner. Use a cloth to protect chrome, especially on luxury fixtures.
If your fittings include fibre washers, don’t add tape on those joints.
For the showerhead, check the flow restrictor and choose eco-friendly materials where possible.
Turn the isolation valves on slowly, then run hot and cold for a minute.
Check every joint with dry tissue for leaks, re-seat, and re-tighten in small increments.
Upgrade Bathroom Hardware: Pulls, Hooks, and Bars
Even if you’re not changing tiles or the layout, swapping out bathroom hardware can quickly modernise the space and make day-to-day use easier. Start by choosing coordinated Bathroom hardware styles—brushed brass, matte black, or polished chrome—so pulls, hooks, and towel bars match your taps and shower frame.
Measure your existing fixings first; many UK cabinets use standard centres, but older units vary. If holes don’t line up, pick backplate designs to cover marks or fill and redrill with wall plugs suited to plasterboard or tile.
Prioritise durable material options like stainless steel, solid brass, or zinc alloy with a PVD finish to resist corrosion.
Fit robe hooks near the shower, a shorter bar by the basin for hand towels, and longer rails for bath sheets.
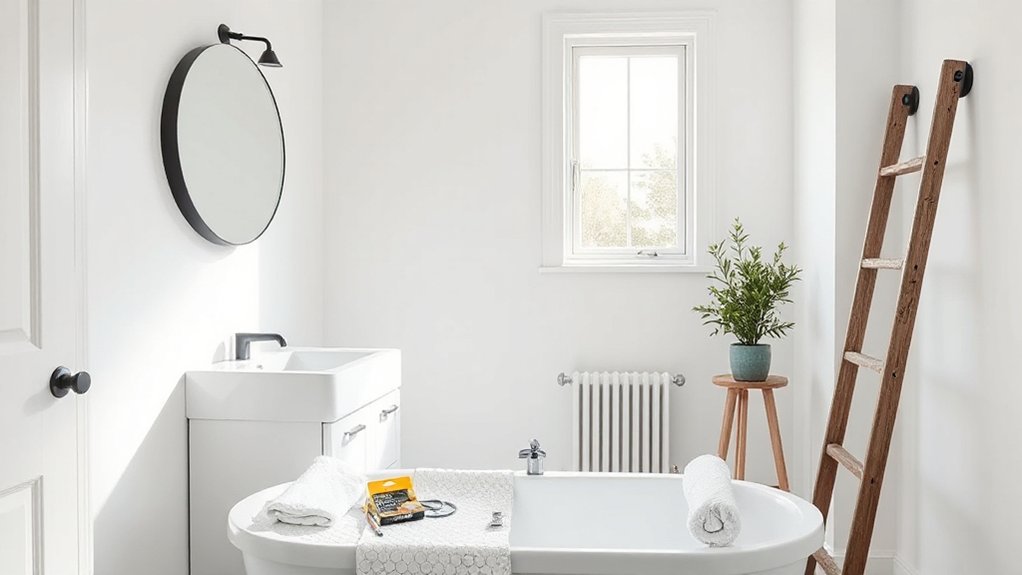
Fix Bad Bathroom Lighting With Simple Swaps
If your bathroom feels dingy or harsh, swap out the vanity light fixture for one that throws even light across the mirror, ideally with a suitable IP rating for the zone.
Switch to LED bulbs in a warm-to-neutral white to cut energy use and stop flicker, and choose the right brightness for your space.
Add a dimmer switch so you can keep it bright for shaving and make-up, then soften it for evening baths.
Upgrade Vanity Light Fixtures
Why struggle with dim, shadowy mirror light when a simple fixture swap can transform your bathroom? Upgrade your vanity lighting by replacing dated fittings with a brighter, better-placed unit that suits your layout.
In the UK, choose fixtures with an appropriate IP rating for bathroom zones, and isolate the circuit at the consumer unit before you start. Measure your existing fixing points, then pick fixture styles that spread light across your face, not just downwards.
If you’re unsure about wiring, book a NICEIC electrician for a quick, safe install. You’ll feel the difference immediately:
- Relief when your mirror finally shows true detail
- Confidence during early starts and late nights
- Calm from a cleaner, smarter wall line
- Pride when the room looks finished
Switch To LED Bulbs
How quickly can you fix harsh, gloomy bathroom light without touching the wiring? Swap in quality LED bulbs and you’ll notice the difference in minutes.
Check your current fitting (E27, E14, GU10, or G9 are common in the UK) and match the cap type and wattage equivalent.
Aim for 2700–3000K for warm, flattering light at the mirror, or 4000K if you prefer a cleaner, daylight feel.
Choose 800–1,100 lumens for main lights, and look for an 80+ CRI rating so skin tones don’t look grey.
LEDs boost energy efficiency, last longer, and run cooler—handy in small bathrooms.
Compare lighting options in store, then replace, test, and adjust placement.
Add Dimmer Switches
Ever wish your bathroom lights could shift from bright-and-practical to soft-and-relaxing in seconds? Add a dimmer switch and you’ll fix harsh glare while boosting Lighting ambiance for early starts or late soaks.
Choose an LED-compatible dimmer (look for trailing-edge models common in the UK) and match it to your bulb load to stop flicker or buzzing. For electrical safety, isolate the circuit at the consumer unit, confirm it’s dead with a tester, and follow the wiring diagram.
If your bathroom switch is inside the room, guarantee it’s correctly zoned or move control to a pull cord.
- Enjoy calmer evenings after stressful days
- Feel confident doing makeup without shadows
- Create spa-like baths on a budget
- Love your bathroom again, instantly
Frequently Asked Questions
Do I Need Permits for a Weekend Bathroom Renovation?
You’ll usually need permits only for plumbing reroutes, electrical work, or structural changes; cosmetic swaps don’t. Check your local council’s permit requirements and renovation regulations, and use Part P electricians plus certified plumbers.
How Much Should I Budget for a DIY Weekend Bathroom Refresh?
You should budget £150–£600 for a DIY weekend bathroom refresh, depending on cost estimation and material selection. You’ll spend on paint, sealant, fittings, and accessories; keep 15% contingency for surprises and UK delivery costs.
What Should I Do if I Find Mold Behind the Caulk?
Stop using the shower, ventilate, and wear gloves and a mask. Scrub with a UK-approved mould remover for mold removal, dry thoroughly, fix leaks, then do caulk replacement with sanitary silicone and cure fully.
Can I Renovate a Bathroom in a Rental Without Violating My Lease?
Like a town crier, you can renovate, but you must follow lease restrictions and get tenant permissions in writing. Stick to reversible upgrades, notify your landlord/agent, keep receipts, and restore on checkout.
How Do I Protect Bathroom Floors From Water Damage During Updates?
You protect bathroom floors by sealing subfloors, taping joints, and using waterproofing techniques like tanking kits. Choose moisture resistant flooring, silicone edges, and fit a bath mat. Check leaks, keep ventilation running, and reseal annually.
Conclusion
You’ve proven you don’t need a month-long project (or a trip to B&Q every hour) to refresh your bathroom. With a quick plan, fresh paint, neat caulk, brighter grout, and a new tap or showerhead, the whole room feels cleaner and more modern. Finish by swapping handles, hooks, and towel rails, then upgrade the lighting for safer, clearer mornings. By Sunday night, you’re back in business—like sending a fax, but faster.