
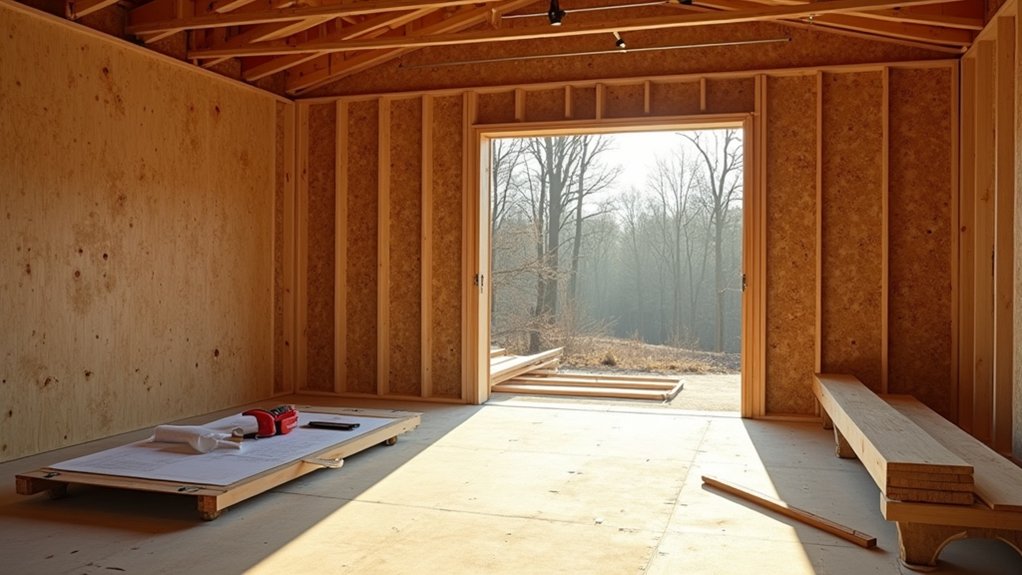
Did you know that a well-planned garage addition can add up to 120% of its cost in home value? You’ll want to lock in goals, budget, and timeline first, so every detail—from site access to permits—lines up. Consider size and layout for both vehicles and storage, choose durable materials, and map utilities early. Keep documentation tight and milestones clear, because missing steps now can cost you later—and you’ll want to know what to prioritize next.
Garage Addition Planning: What to Confirm Before You Start
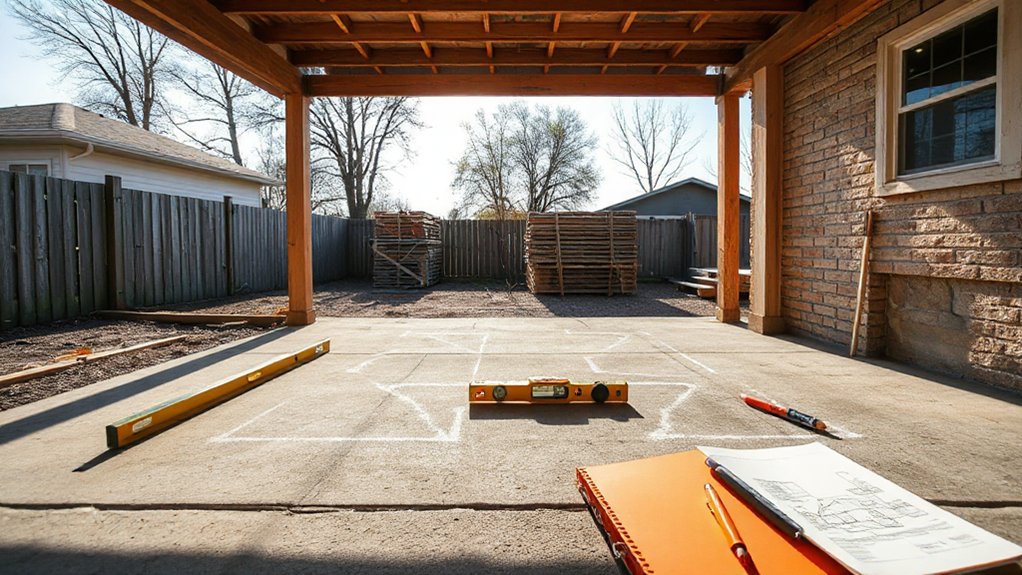
Before you start, confirm your project goals, budget, and timeline. You’ll map requirements clearly before committing resources.
Define scope: determine attached vs. detached, integration with existing systems, and required load-bearing changes.
Verify local codes, permits, and setback rules, plus HOA constraints if applicable.
Assess site access, drainage, and utilities, ensuring future flexibility for HVAC, electrical, and plumbing needs.
Decide on garage door styles early, since exterior alignment impacts curb appeal and insulation plans.
Align window placement, ceiling height, and storage layout with intended use.
Plan lighting options that support safety and function: task lighting for work zones, ambient lighting for general use, and weatherproof fixtures for exterior areas.
Document approvals and milestones to maintain momentum and prevent scope creep.
Choose the Right Garage Size for Your Needs
Start by listing how many vehicles you’ll park and what size they are.
Then add space for gear, tools, and seasonal items.
Consider clearances for doors, workbenches, and future needs so you can move freely without clutter.
Plan the layout to optimize access and storage, ensuring you can open doors and walkways with ease.
Determine Vehicle Count
How many vehicles will you park in the garage? Start with a clear count of primary drivers, guest cars, and any seasonal vehicles. Your goal is a practical footprint that fits daily needs without wasting space.
Consider standard widths: a single car bay around 9 to 10 feet wide, a standard two-car bay about 18 to 20 feet, and deeper profiles for SUVs or trucks.
Plan for future changes, like a family with growing space requirements, or the option to repurpose a bay.
Balance convenience with safety: leave room for door swing, storage, and a clear path. This approach supports garage organization and vehicle maintenance, ensuring efficient use of square footage without overbuilding.
Assess Storage Needs
- Inventory items and volumes to estimate footprint and vertical storage
- Prioritize storage solutions that maximize reachable access and safety
- Plan lighting and workflow zones to support tasks without clutter
Think about Garage lighting and clear access for tools, seasonal gear, and bulk items. An efficient layout reduces misfires during project days and preserves drive-through clearance.
Don’t overbuild for today’s needs; instead, align size with current inventory and expected growth. Aim for a plan that accommodates cabinets, shelves, and workbenches without starving circulation, so you maintain steady, safe operations once you move in.
Plan Clearances & Access
To plan clearances and access, size your garage so doors, drives, and pathways stay unobstructed as you move between vehicles, storage, and work zones. You’ll optimize workflow by leaving ample space for opening doors, swinging hatches, and loading gear without scraping walls or hitting overhead items.
Consider driveway access from multiple angles to simplify entry and exit, especially for larger trucks or SUVs. Plan for clearance height above stalls and doors, accounting for roof racks, antennas, and seasonal equipment.
Guarantee interior clearances match your longest vehicle plus a buffer for maneuvering. Allocate dedicated zones for storage, tools, and maintenance routines to reduce congestion.
Confirm exterior dimensions align with property constraints and allow safe, efficient egress during emergencies. Finalize with precise measurements and labeled access routes.
Site, Zoning, and Permits: Your Paperwork Roadmap
You’ll want to start by confirming the permit requirements and building codes that apply to your project, so you don’t run into unexpected hold ups.
Next, verify zoning and setbacks for your lot to ensure a garage addition is permitted and aligned with neighborhood rules.
Finally, map out the exact paperwork you’ll need—from permits to plan reviews—so you can plan, submit, and track approvals efficiently.
Permit Requirements Checklist
Are you clear on the permits you’ll need before breaking ground? Here’s your Permit Requirements Checklist to keep the project on track.
- Confirm site permits: utility access, property setback, and demolition (if any).
- Verify zoning and building approvals: use, setbacks, maximum height, and garage-specific provisions.
- Gather permits and inspections: building, electrical for lighting fixtures, and ventilation if required.
Keep these notes tight:
- Garage door compatibility: confirm header support and overhead rail clearances with permitting.
- Electrical scope: document wiring, outlets, and lighting fixtures early to avoid revisions.
- Documentation trail: keep plans, approvals, and inspection records organized for audits and scheduling.
With this roadmap, you’ll submit confidently and avoid delays.
Zoning Verification Steps
Before you break ground, verify the site’s zoning and permit requirements to keep the project on track. Zoning Verification steps help you avoid delays and costly redesigns.
Start by confirming current zoning classifications and any overlays that apply to your property. Check setbacks, height limits, and lot coverage to ensure your garage addition fits within allowed dimensions. Review zoning restrictions for changes in use or accessory structures, and note parking or landscaping conditions tied to approvals.
Next, confirm property boundaries with a professional survey to prevent encroachment issues and ensure accurate setbacks. Collect all required documents, including site plans, parcel data, and applicant notices.
Finally, align your plan with the permitting authority’s submission checklist, timetables, and follow-up procedures to secure approvals efficiently.
Garage Layouts That Maximize Space and Strength
To maximize space and strength, start with a layout that keeps the garage door clear and traffic flowing. You’ll optimize utility by pairing clear zones with strong storage walls and a reinforced work area. Choose configurations that minimize cross-traffic and maximize vertical storage.
Consider these core layouts:
1) Front-to-back with a central aisle for machine and tool access
2) L-shaped with a defined workshop corner and vehicle bay
3) Zone-based, separating storage, work, and parking
Key considerations include Garage door styles and Paint color options, which influence perception of space and mood but don’t sacrifice function.
Implement recessed cabinets, wall-mounted racks, and ceiling hooks to keep floors uncluttered while preserving structural integrity and load capacity. Plan for load paths, lighting, and future expansion.
Budget-Smart Materials: Where to Save Without Sacrificing Quality
Smart budgeting starts with prioritizing where you can save without compromising performance. In this phase, you focus on materials that meet code and longevity while trimming excess. Prioritize products with proven material durability and documented performance, then compare costs across suppliers to spot true value, not just the sticker price.
Look for mid-range options from reputable brands rather than peak-tier items you’ll rarely justify. Where possible, opt for standard sizes and common profiles to minimize waste and fabrication fees. Consider long-term savings, such as lower maintenance and fewer replacements, when evaluating a cost comparison.
Don’t sacrifice critical features like weather resistance or load capacity; instead, negotiate bulk or trade discounts and select coatings or finishes that extend life at a modest premium.
Foundation and Structural Essentials for a Solid Garage
A solid garage starts with a proven foundation and robust framing, because stability underpins every function you’ll rely on. You’ll guarantee foundation considerations address soil conditions, frost depth, drainage, and load paths, so the structure remains true over time.
Structural integrity hinges on precise member sizing, proper anchorage, and continuous bracing from sill to roof.
- Verify soil report and frost line depth before pouring concrete
- Design footing and wall systems to handle anticipated loads
- Install continuous reinforcements and robust connections at joints
Keep these practices in mind: use code-compliant materials, maintain strict quality control, and coordinate underlayment with the framing plan.
With solid foundation and framing, your garage stays level, durable, and safe for decades of use.
Insulation, Utilities, and Climate Comfort for a Liveable Garage
Insulation, utilities, and climate control matter because a liveable garage hinges on steady temperatures, efficient energy use, and reliable services. You should plan insulation installation to minimize heat loss, maximize comfort, and reduce bills, choosing appropriate materials for walls, ceiling, and floors. Pair that with a practical vapor barrier and air-sealing strategies to prevent drafts.
For utilities, guarantee dedicated circuits, proper wiring, and access to power, water, and drainage where needed, while complying with code requirements.
Climate control should emphasize versatility: consider a heat source suitable for winter and an efficient cooling option for summer, plus programmable thermostats to regulate comfort automatically.
Keep future needs in mind, avoiding overbuilds yet prioritizing reliability, efficiency, and easy maintenance.
Timeline and Milestones: Common Pitfalls and How to Avoid Them
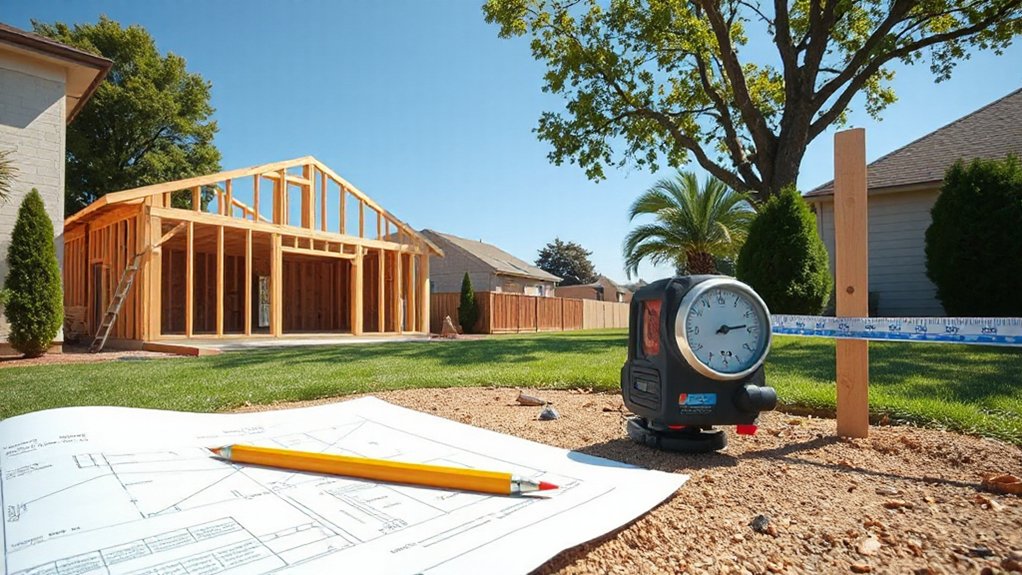
Planning a garage conversion or addition has clear milestones, but you’ll hit fewer snags if you map a realistic timeline and flag common pitfalls up front. You’ll minimize disruption by anticipating issues and staying disciplined with your schedule.
- Align contractor selection with detailed milestones, confirming permits, inspections, and approvals early to prevent backlogs.
- Build in buffers for construction delays and weather, and set fixed decision points to avoid scope creep.
- Track progress with weekly check-ins, documenting changes and re-committing timelines when needed.
Common pitfalls include over-optimistic dates, late design decisions, and underestimating permitting challenges. Maintain a transparent calendar, appoint a primary point of contact, and publish a decision log so every stakeholder stays aligned throughout the project.
Frequently Asked Questions
How Long Does a Typical Garage Addition Project Take?
A typical garage addition takes about 4 to 8 weeks, depending on size, permits, and site conditions. You’ll notice stages from design and material selection to framing, roofing, and finishes, with inspections shaping the timeline.
If you’re choosing Garage design options and materials early, you can avoid delays.
Expect longer timelines for custom features or tricky Geo work.
You’ll finish faster by coordinating trades and staying on top of approvals and weather-related interruptions.
Can I Add a Garage Without Expanding the Driveway?
You can add a garage without widening the driveway, with careful design. To keep traffic smooth, opt for a side-entry or rear attachment that doesn’t encroach on existing paths.
You’ll want proper garage insulation and efficient garage lighting to maintain comfort and safety. Coordinate with grading and setback rules, and consider a narrow curb approach.
In short, a well-planned, compact addition can work, while preserving your current driveway flow.
Do I Need a Structural Engineer for the Build?
Yes, you’ll likely need a structural engineer for the build. They assess structural load, foundation needs, and connection details, ensuring safety and code compliance.
Structural considerations include beam sizing, framing design, and long-term durability. They also help navigate safety regulations, such as seismic or wind requirements, anchor points, and inspection milestones.
If unsure, consult early; a pro’s involvement often prevents costly revisions and protects your family and property.
What Are Common Hidden Costs in Garage Projects?
Hidden costs sneak in around budget considerations and permit requirements. You’ll likely face site prep, utility upgrades, and insulation upgrades you didn’t anticipate, so picture these upfront to avoid sticker shock.
You’ll also encounter drainage tweaks, pro inspections, and potential foundation tweaks. Budget for design alignments, storage during work, and temporary power.
Permit requirements can trigger fees and delays, so account for plan revisions. Stay disciplined with contingencies, contractor invoicing, and material price swings.
How Can I Future-Proof for EV Charging and Storage?
You should plan for an electric vehicle charger now, wiring for future upgrades, and ample storage solutions.
Position the panel and conduit to support at least 40–60 amps, with dedicated circuits for an EV charger and a future battery or solar integration.
Install ceiling and wall storage solutions, pegboard, and adjustable shelving to maximize space.
Include robust lighting, ventilation, and weatherproof external outlets to future-proof for growth and convenience.
Conclusion
Consider your goals, budget, and timeline upfront, then lock in permits, surveys, and utility plans to prevent delays. Choose a garage size that fits both vehicles and storage, and design layouts that maximize strength without wasting space. Use durable, cost-efficient materials and plan foundations early. A well-documented process with clear communication saves time. Fun fact: well-planned garages can boost property value by up to 6–12%. Stay disciplined, and you’ll finish on schedule with fewer surprises.





