
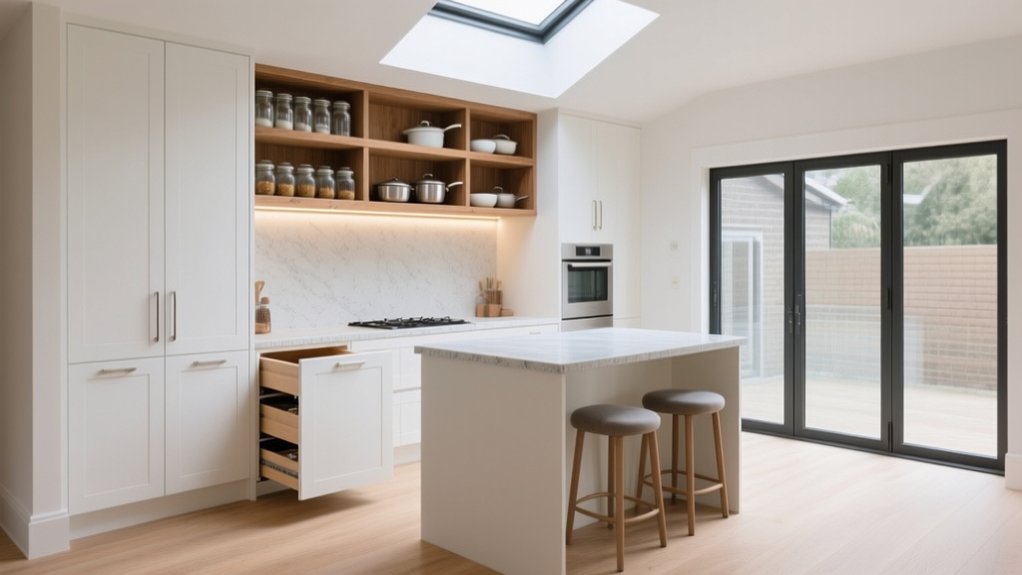
You’ll maximise space in a small kitchen extension by choosing a tight L-shaped run or a single wall with tall units grouped at one end, then keeping walkways at 900mm (800mm minimum). Don’t oversize an island; prioritise deep drawers and a 1,000mm circulation route. Run cabinets to the ceiling, add pull-outs and plinth drawers, and use compact appliances like a 45cm dishwasher or combi oven. Next, you’ll see how lighting, doors, and sightlines make it feel bigger.
Choose the Best Layout for a Small Kitchen Extension
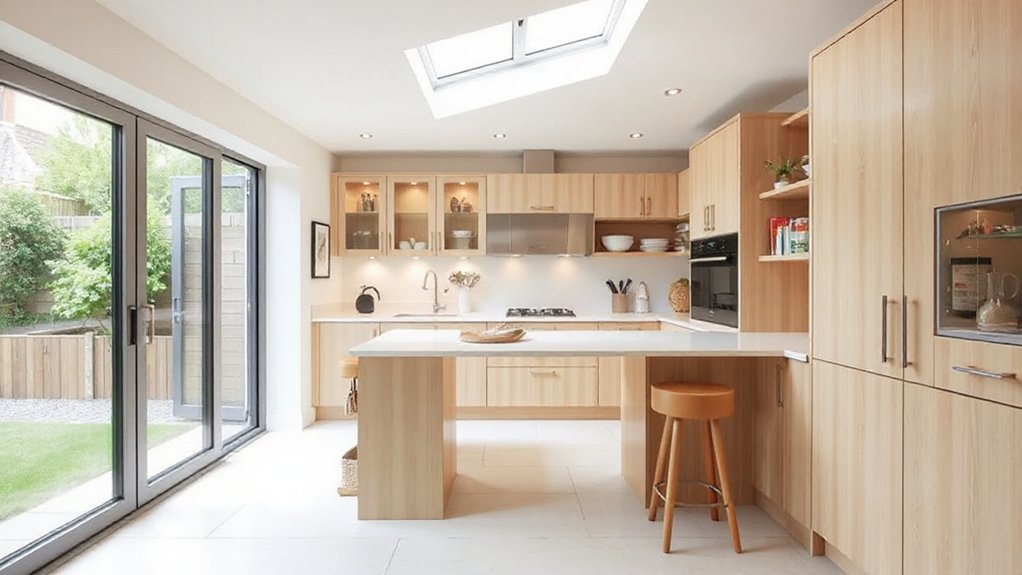
If you’re extending a small kitchen, the layout you choose will do more for usable space than any single cabinet upgrade. Start by mapping where your services already run; keeping the sink and hob close to existing plumbing and electrics usually saves cost in UK builds and frees budget for smarter storage.
In tight extensions, an L-shape often beats a U by reducing corner dead space, while a single-wall run suits narrow terraces when paired with a compact return for prep.
Position tall units at one end to avoid boxing in the room, and stack functions: oven plus microwave tower, integrated bins, and full-height larder.
Use light color schemes and consistent material choices to prevent visual clutter and make the layout feel larger.
Plan Clear Walkways, Seating, and Door Swings
You’ll get more usable space in a small kitchen extension by keeping walkways clear and wide enough for two people to pass without bumping into worktops.
Plan seating so stools tuck fully under the counter and don’t block routes to key zones like the hob, sink, and fridge.
Check every door swing—appliances, cupboards, and the back door—so nothing clashes, and switch to sliding or pocket doors where it helps.
Maintain Uncluttered Walkways
Although a small kitchen extension can feel like it adds instant breathing room, it won’t work well unless you protect clear, straight walkways through the space. Aim for at least 900mm between runs and around the island so two people can pass comfortably, as UK kitchen designers typically recommend.
Keep tall units and appliances out of main routes, and avoid placing bins, stools, or freestanding trolleys where you’ll open drawers. Use Decorative lighting to visually “mark” circulation lines—continuous under-cabinet strips and well-placed pendants help you see obstacles quickly.
Reinforce flow with calm Color schemes: lighter floors and consistent finishes reduce visual clutter and make the route feel wider. Store everyday items within arm’s reach, not underfoot.
Optimize Seating And Door Swings
When seating and door swings compete for the same floor area, a small kitchen extension quickly feels awkward to use. Start by mapping your main route from hob to sink to back door, then keep it clear at 900mm where possible, or 800mm minimum in tighter UK layouts.
Check Door clearance for every hinged door, fridge, dishwasher, and base unit; allow the door to open fully without clipping stools or knees.
Choose Seating arrangements that tuck away: a slim breakfast bar with backless stools, a wall bench, or a fold-down perch. If you want a table, go for a round top and position it outside appliance arcs.
Consider pocket or sliding doors to the garden or utility to remove swing conflict. Test with tape before you buy.
Keep Sink, Hob, and Fridge Within Easy Reach
If you keep the sink, hob, and fridge close together, you’ll cut wasted steps and make a small kitchen extension feel far more workable. Aim for a tight work triangle: about 1.2–2.1m between each point, with clear routes that don’t cross the main walkway.
Put the sink under the window if you can, keep the hob on an external wall for straightforward ducting, and place the fridge at the edge so family can grab food without blocking cooking.
Support utensil organization by keeping pans, knives, and prep tools in drawers beside the hob and sink.
Plan lighting enhancement with bright task lights over the sink and hob, plus under-unit strips to reduce shadows on the worktop.
Use Space-Saving Cabinets That Go to the Ceiling
Run your cabinets right up to the ceiling so you capture every bit of vertical storage and cut down on dust-trapping gaps.
Choose slim-profile units and internal pull-outs so you don’t eat into walkways, which matters in compact UK extensions.
Add an integrated ladder or a fold-away stepstool so you can safely reach the top shelves without cluttering the floor.
Ceiling-Height Storage Benefits
Although wall space is often limited in a small kitchen extension, you can reclaim a surprising amount of storage by taking cabinets right up to the ceiling. This ceiling height storage keeps rarely used kit—party platters, slow cookers, spare mugs—out of your everyday zones, so worktops stay clear and your kitchen feels calmer.
You’ll also cut down on dust-collecting dead space above units, which is a common gripe in UK homes.
Add vertical shelving inside tall cupboards to separate baking trays, chopping boards, and tins, so you can grab items without unloading a whole stack.
Put heavier cookware at waist height, and keep the highest shelves for light, seasonal items. Finish with a small step stool stored nearby, and you’ll use every inch safely and efficiently.
Slim Profile Cabinet Design
When every centimetre counts, slim-profile cabinets that rise to the ceiling give you full-height storage without stealing walkway space. Keep depth tight (around 300–350mm) on runs near doors or narrow extensions, and reserve standard-depth units for the main prep wall.
Specify tall larders with internal drawers so you can access tins and spices without rummaging. Choose minimal hardware, like push-to-open or slimline pulls, to prevent catches in a tight galley.
For light and openness, mix in glass front cabinets on upper sections and add warm LED strips inside; they help you find items during darker UK afternoons. Finish with a light, wipe-clean laminate or painted MDF, and box in the top to stop dust traps.
Integrated Ladder Or Stepstool
To make ceiling-height cabinets genuinely usable, build in an integrated ladder or stepstool so you can reach the top shelves safely without dragging a bulky stool out from the utility.
In a small UK extension, you’ll protect floor space and keep the run looking tidy, while still accessing rarely used kit like platters and preserving jars.
- Specify a slim folding ladder that parks in a 150–200mm pull-out slot.
- Choose non-slip treads and a handhold rail to meet everyday safety expectations.
- Add soft-close hardware so it won’t slam against cabinet ends or worktops.
- Plan landing space: keep 600mm clear in front of the tall units.
- Use stepstool versatility: a two-step perch also helps with cleaning, bulbs, and extractor filters.
Add Hidden Storage to Your Small Kitchen Extension
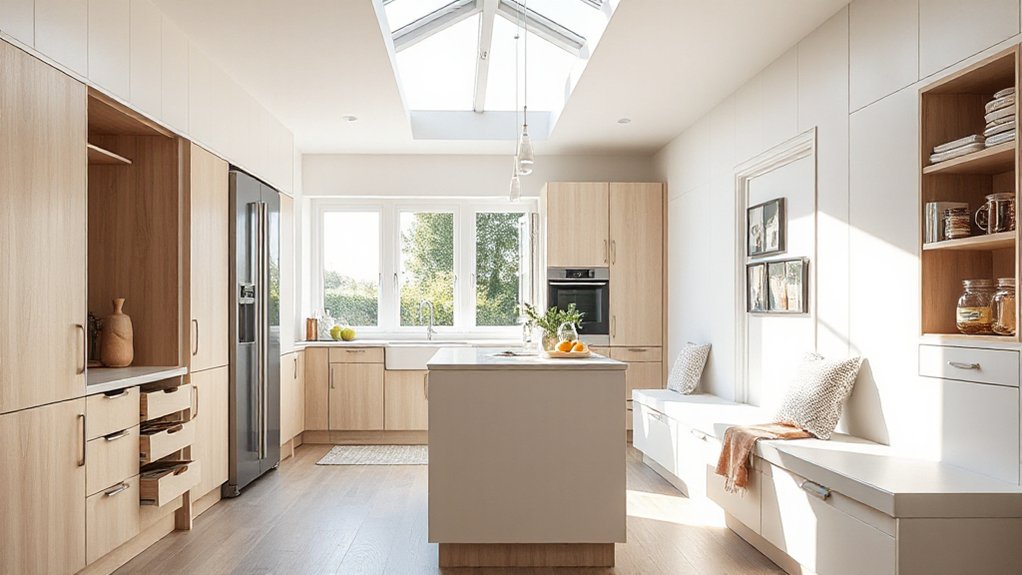
Even if your extension adds only a modest amount of floor area, you can claw back valuable working space by building storage into places you’d normally ignore. Ask your joiner to add concealed drawers under plinths for trays, foil, and cleaning cloths, with push-to-open fronts so they don’t snag shins in tight walkways.
Create hidden compartments in bench seating, a breakfast nook, or an island end panel for seldom-used kit like cake tins and picnic gear. Use the void above tall units for a shallow, hinged cupboard, and fit pull-out larders in 150–300mm gaps beside ovens or fridge housings.
Inside cupboards, add toe-kick bins, door-mounted racks, and under-shelf baskets to stop vertical space going to waste. Mark contents and keep access simple.
Pick Compact Appliances and Smart Ventilation
Although you might be tempted to squeeze in a full-size kit, compact appliances usually give you the best return in a small kitchen extension because they free up base units and worktop runs without sacrificing day-to-day performance.
Choose 45cm dishwashers, slimline wine coolers, combi microwaves, and under-counter fridge drawers so doors don’t clash and you keep clear prep space.
Prioritise Energy efficient appliances with good UK energy ratings, and site them near services to avoid awkward boxing-in.
Pair them with smart ventilation so steam and odours don’t linger, especially in open-plan layouts.
Aim for quiet extraction, easy-to-clean filters, and proper ducting to an external wall.
Consider:- 2-in-1 oven/microwave- 45cm dishwasher- Induction hob with extractor- Recirculating hood with carbon filters– Integrated bins and sockets
Make Your Small Kitchen Extension Feel Bigger and Avoid Mistakes
When your extension’s footprint is tight, you can still make it feel generous by controlling sightlines, light, and layout—and by avoiding the classic small-kitchen errors that lock up usable space.
Keep tall units to one run, and align worktops so you don’t create awkward pinch points by the back door.
Choose calm Color schemes: one main tone on walls and cabinetry, then add contrast with hardware or splashback so edges read cleanly.
Maximise glazing where planning allows, and use mirrors or glossy tiles to bounce daylight.
Layer lighting options: dimmable ceiling spots for general light, under-cabinet LEDs for prep, and a pendant over the table or island.
Don’t oversize an island; prioritise 1,000mm walkways and deep drawers instead.
Frequently Asked Questions
Do I Need Planning Permission for a Small Kitchen Extension?
You might not need planning permission if your extension meets UK permitted development limits, but check property boundaries, neighbours, and prior restrictions. You’ll still need Building regulations approval. Confirm with your council’s planner or use the Planning Portal.
What Is the Typical Cost per Square Metre for a Kitchen Extension?
You’ll typically pay £2,000–£3,500 per m² in the UK for a kitchen extension, depending on finish and structure. For cost estimation, get itemised quotes; budgeting tips include 10–15% contingency and VAT checks.
How Long Does a Small Kitchen Extension Usually Take to Build?
You’ll usually need 8–12 weeks on site for a small UK kitchen extension, plus 4–8 weeks for design, approvals, and ordering. Confirm Kitchen layout early and finalise Storage solutions to avoid delays and rework.
What Lighting Plan Works Best for a Small Kitchen Extension?
Since UK homes use around 16% of electricity on lighting, plan layered LEDs: ambient lighting via dimmable downlights, plus task illumination under wall units and over worktops. Add pendants above islands, warm 2700–3000K.
How Can I Improve Insulation and Reduce Noise in the Extension?
Use Soundproofing techniques: add acoustic plasterboard, resilient bars, and seal gaps with acoustic mastic. Choose Insulation materials like PIR boards or mineral wool in walls and roof. Fit double-glazed units and a solid core door.
Conclusion
If you’re wondering whether “bigger rooms feel bigger” is true, it’s often the opposite in a UK small kitchen extension: a tighter, well-planned layout can feel larger because you move smoothly. Keep walkways clear, check door swings, and stick to a tight sink–hob–fridge triangle. Run cabinets to the ceiling, add pull-outs and toe-kick drawers, and choose slim appliances with proper extraction. Avoid oversized islands and cluttered worktops.





