
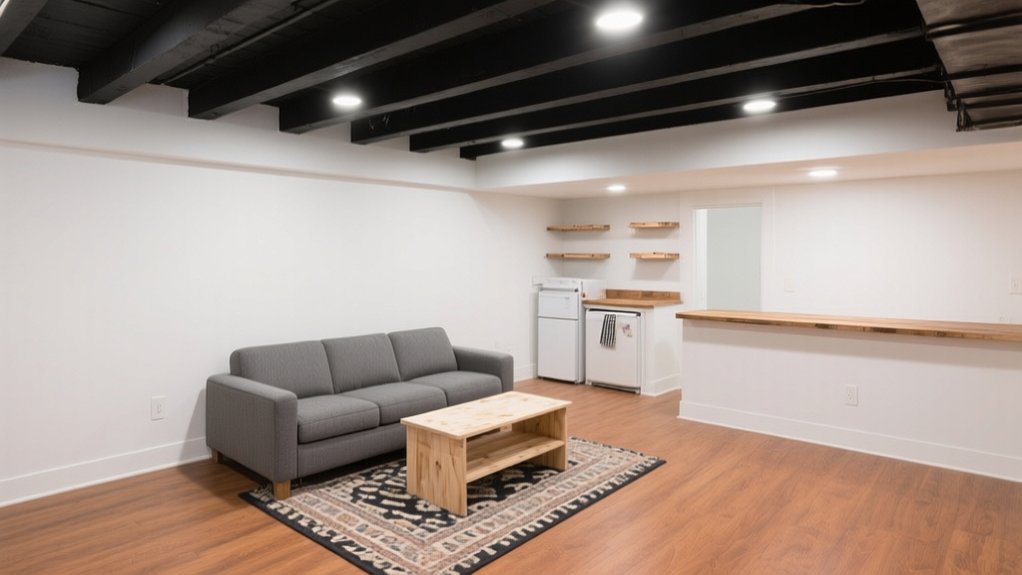
Start by fixing a firm budget with 10–15% contingency and a simple timeline, then choose one clear use (office, gym, guest space) to avoid scope creep. Check planning, Building Regs, egress, and Part P electrics early, and get three VAT-included quotes. Test for damp (polythene/foil, hygrometer, salts), seal leaks with hydraulic cement and foam, then add ventilation. Keep costs down with a suspended ceiling, layered LEDs, high-LRV paint, and secondhand storage—there’s more that makes it work.
Set Your Budget and a Simple Timeline
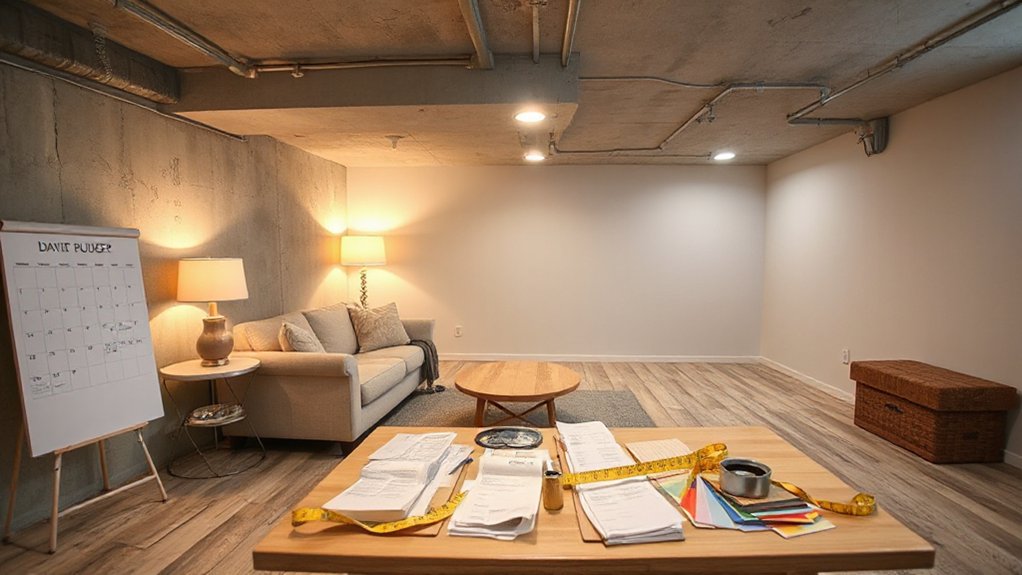
Before you buy materials or book a tradesperson, set a hard budget and a simple timeline so you can control costs and avoid stop–start work.
Start with Budget planning: list fixed items (damp survey, Building Control fees, skip hire) and variable items (insulation, plasterboard, electrics). Add a 10–15% contingency for hidden defects, especially moisture and wiring.
Get at least three UK quotes and check they include VAT, waste removal, and making good.
Prioritise compliance costs first, then finishes.
For Timeline management, map tasks in order: survey, design, approvals, first fix, waterproofing, insulation, plastering, second fix, decoration.
Build in lead times for materials and inspections, and lock payment stages to measurable milestones.
Keep a weekly cost tracker.
Pick a Basement Use (Office, Gym, Guest)
With your budget and timeline pinned down, choose exactly how you’ll use the basement, because the function drives the spec and cost.
A home office needs quiet, stable temperatures, and strong data: plan Basement insulation first, then budget for a couple of extra sockets and Cat6 runs.
For a gym, prioritise impact and moisture control: rubber flooring over a levelled slab, wipe-clean finishes, and higher air changes; modest HVAC upgrades (extract fan or MVHR boost) beat opening windows in winter.
For a guest room, aim for comfort per pound: warm surfaces, soft lighting, and practical storage, not bespoke joinery.
Lock one primary use, then design everything around it to avoid costly rework later.
Check Permits, Egress, and Electrical Early
Once you’ve fixed the basement’s purpose, sanity-check the legal and safety basics early—planning permission (if you’re altering the exterior), Building Regulations sign-off, compliant means of escape/egress, and the electrical spec—because these items set hard constraints on layout and cost.
Confirm with your local council whether light wells, new windows, or external stairs trigger planning, then align drawings to UK Building codes and safety regulations (Approved Document B for escape and fire separation).
If you need an egress window, budget for cutting, lintels, and drainage rather than guessing later.
For electrics, decide loads, socket counts, and lighting zones now; a new ring, extra RCD/RCBO protection, or consumer unit work can dominate costs.
Use a Part P electrician and get certification for resale.
Test Basement Moisture Before You Build
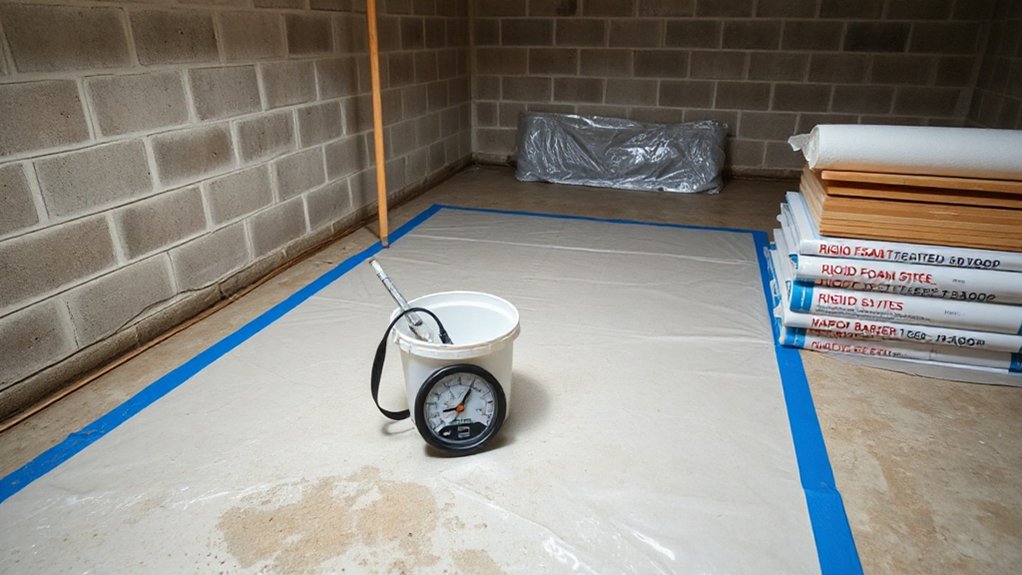
Before you frame walls or lay flooring, you need to confirm the basement’s actually dry, because moisture will ruin plasterboard, insulation, and finishes.
You’ll spot typical UK sources like rainwater tracking through masonry, high water tables, leaking services, and condensation. Then run cheap checks (foil/tape test on the slab, hygrometer readings, and a quick visual salts/mould survey).
Once you know the cause, you can pick the lowest-cost fix that works—better drainage and gutters, repointing, a DPM or tanking where justified, plus ventilation or a small dehumidifier.
Identify Common Moisture Sources
Even if your basement looks dry, moisture can still track in through several predictable routes, so you’ll save money by identifying the source now rather than fixing failed plasterboard later.
Start outside: leaking gutters, broken downpipes, and poor grading let rainwater load the wall and floor slab. Check for bridged DPC, high external ground levels, and blocked air bricks that trap damp against masonry.
Inside, look for condensation drivers: uninsulated cold walls, tumble dryers, and bathing/kitchen extract ducted poorly. Pipework weeps at joints, PRV outlets, and stopcocks; even a slow drip keeps relative humidity high.
Build your plan around Humidity control and Ventilation strategies: fix water entry first, then reduce vapour generation, and ensure air movement matches occupancy and heating.
Perform Simple Moisture Tests
Because damp can hide behind paint and skim, you should run a few quick, low-cost tests to confirm what you’re dealing with before you buy timber, insulation, or plasterboard.
Tape a 300mm square of clear polythene (or a freezer bag) to bare concrete for 48 hours. Beads on the underside suggest moisture from the slab, while beads on the room side point to condensation.
Log relative humidity with a £10–£20 hygrometer over a week. Aim to spot peaks after showers, laundry, or heavy rain, and plan Humidity control accordingly.
Check walls for salt bloom and dark tide marks, then map readings with a cheap pin-type moisture meter.
Finally, smoke-test draughts at vents to assess Basement ventilation and stale air zones.
Choose Budget Moisture Fixes
Once you’ve pinned down whether you’re dealing with rising damp, lateral seepage, or simple condensation, you can pick a fix that tackles the cause without blowing your budget.
For condensation, start with Dehumidifier selection: choose a desiccant unit for cooler UK basements, sized by litres/day and with a humidistat and continuous drain.
Improve Ventilation options next—fit a 100mm intermittent extractor on a humidistat, or add trickle vents and keep air paths clear under doors.
For lateral seepage, seal cracks with hydraulic cement and apply a cementitious tanking slurry to bare masonry; don’t plaster over wet walls.
For rising damp, check external ground levels, clear air bricks, and repoint with breathable mortar before considering chemical injection.
Keep cables off floors and monitor RH weekly.
Seal Small Leaks With Low-Cost Fixes
You’ll save money fast by tracing small leaks to the usual suspects: hairline cracks, wall–floor joints, pipe penetrations, and around window wells.
Patch active weeps with hydraulic cement (it sets even damp) and force it hard into the crack to stop water under light pressure.
Then finish with expanding foam and a decent builders’ sealant to close gaps and prevent draughts without paying for major waterproofing.
Identify Common Leak Sources
Although a full damp survey can cost a fair bit, you can spot most basement leak sources yourself by checking the usual failure points: the wall–floor joint, hairline cracks in blockwork or concrete, gaps around service penetrations (pipes, cables, vents), and leaky window wells or air bricks after heavy rain.
Work methodically with a torch and chalk, then confirm with a moisture meter or taped-up foil squares overnight to see where vapour or liquid water appears. Don’t waste money yet on big Drainage solutions; first prove the entry point.
- Tide marks and salt blooms at skirting height
- Darkened mortar joints after rainfall
- Drips tracking along pipework (improve Pipe insulation)
- Puddling at thresholds, drains, and window-well bases
Apply Hydraulic Cement Patches
When water’s seeping through a pinhole crack or the wall–floor junction, hydraulic cement gives you a fast, low-cost patch that sets even against active leaks. You’ll get best results by chasing the crack into a V-groove (about 20mm deep) with a bolster and club hammer, then brushing out dust and dampening the masonry (don’t leave standing water).
Mix small batches to a putty consistency; it’ll go off in minutes. Wearing gloves, press it firmly into the groove, working from the leak point outward, and hold pressure for 2–3 minutes until it warms and hardens. Feather edges with a trowel for a neat finish.
These Hydraulic patches won’t replace structural Foundation repairs, but they’re ideal for stopping minor seepage cheaply.
Use Foam And Sealant
After you’ve stopped active seepage with hydraulic cement, tackle hairline gaps and draughty penetrations using expanding foam and a decent sealant. You’ll cut moisture paths and cold bridging cheaply, before you frame or plasterboard.
Choose low-expansion foam for tight cavities so you don’t bow pipework or window liners, and finish with a flexible, paintable sealant where movement’s likely. Foam insulation works best when surfaces are dry and dust-free; wipe, vacuum, then prime crumbly masonry first.
Keep a sharp knife handy to trim flush once cured, then inspect after the next heavy rain.
- Rim-joist voids: foam to seal, then tape
- Pipe/cable penetrations: foam collar plus sealant bead
- Floor–wall junctions: continuous sealant application line
- Around windows: low-expansion foam, then caulk and paint
Air-Seal and Insulate for a Warmer Basement
Why does a finished basement still feel chilly and damp? You’re leaking air and missing proper thermal barriers. Start by sealing the rim joist, service penetrations, and the wall-to-slab joint with expanding foam and mastic.
Then insulate: use PIR boards (50–75mm) on masonry, taped at joints, and add a continuous vapour control layer where required. On walls, keep insulation tight to avoid convection loops; on ceilings, insulate between joists if you’re not heating upstairs.
Don’t block airflow entirely—plan basement ventilation with a small extract fan or passive vents to manage moisture without wasting heat. In UK climates, prioritise airtightness before extra thickness; it’s cheaper and improves comfort quickly.
Check for draughts using a smoke pen.
Choose Mold-Resistant, Budget Basement Flooring
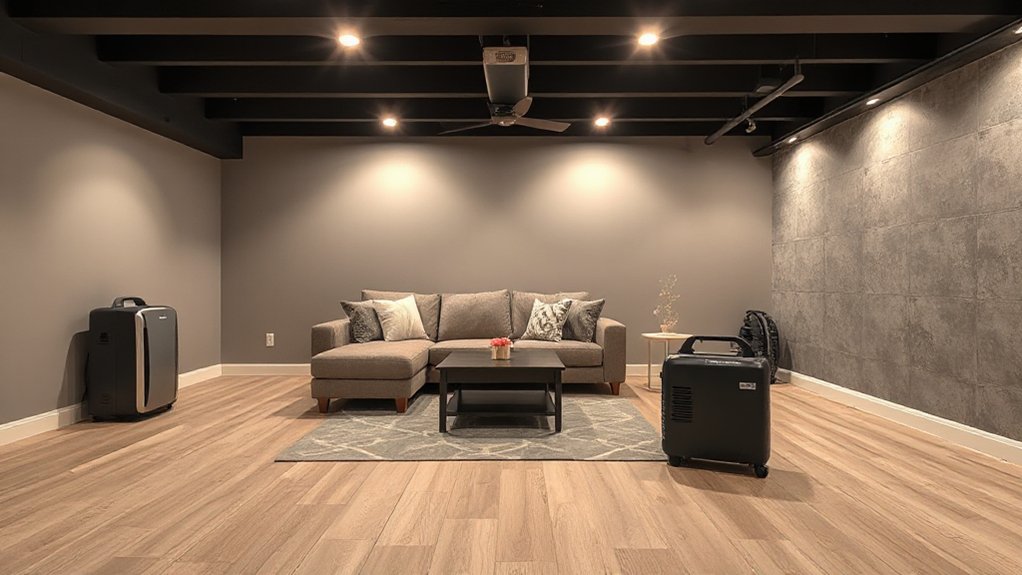
Even if you’ve insulated well, the wrong floor build-up will trap moisture at slab level and invite mould, so choose finishes that tolerate damp and still fit a tight budget. Start by checking the slab with a taped-down polythene test; if condensation appears, skip carpets and underlay.
Use Mold resistant finishes and keep the build-up thin so you don’t lose headroom.
- Click LVT or vinyl sheet over a dimpled membrane for a dry, serviceable layer.
- Interlocking rubber tiles suit utility zones and cope with occasional seepage.
- Sealed concrete with a water-based epoxy is cheap, tough, and easy to mop.
- Porcelain tiles on a decoupling mat work where you’ve got stable levels.
Choose Budget friendly adhesives labelled moisture-tolerant, and follow British Standard cure times.
Frame Affordable Basement Walls the Smart Way
When you frame basement walls, you’ll save money long-term by choosing moisture-resistant timber or metal studs and using treated sole plates where they meet the slab.
You can cut costs fast with simple, straight runs, pre-cut studs, and batten-and-board or service-wall methods where a full stud wall isn’t required.
Plan stud spacing to suit plasterboard sizes (typically 400 or 600mm centres in the UK) so you waste fewer sheets and keep the wall stiff.
Choose Moisture-Resistant Materials
Because basements in the UK often sit against damp masonry, you’ll save money long-term by choosing wall materials that tolerate moisture instead of trying to fight it with paint later.
Start with breathable systems that manage vapour and allow inspection, and avoid standard plasterboard where condensation risk is high.
Use Waterproof barriers only where they’re specified for your wall type, and tape/seal them properly so moisture doesn’t track behind.
- Foil-backed PIR insulation with taped joints to limit vapour ingress
- Moisture-resistant (MR) plasterboard or cement board in splash-prone zones
- Treated timber battens and stainless fixings to reduce rot and staining
- Mold resistant finishes like kitchen/bathroom emulsion or anti-fungal primer
Pick products stocked at UK builders’ merchants to keep delivery and returns cheap.
Use Cost-Saving Framing Methods
Moisture-tolerant boards and finishes only pay off if you fix them to a wall build-up that stays straight, dry enough, and cheap to assemble. Start with a treated timber sole plate on a DPM strip, and isolate it from the slab with closed-cell foam to reduce cold bridging.
Keep your framing materials simple: CLS timber or light-gauge metal studs, whichever your supplier prices best locally. Use metal track where walls are uneven; it’s faster to plumb and wastes less packer.
For insulation techniques, fit PIR boards between studs only if you can cut cleanly; otherwise use continuous PIR over the frame to reduce offcuts. Fix with masonry screws and brackets instead of over-ordering timber.
Plan for services early to avoid rework.
Plan Stud Spacing Smartly
Although 600mm centres look tempting for speed, you’ll usually save more overall by matching stud spacing to whatever you’re fixing—typically 400mm centres for 12.5mm plasterboard and common board sizes—so sheets land on studs without extra noggins, wasteful rip cuts, or wavy joints.
Set out your sole and head plates with a tape and square, then mark every stud, opening, and service run before you cut timber. This simple stud spacing plan tightens your material take-off and reduces fixings, scrim, and jointing compound.
Keep your framing techniques consistent so boards, skirting, and sockets all hit solid timber. Aim for:
- full 2400mm sheets breaking on studs
- fewer offcuts and landfill charges
- straighter walls, less finishing time
- easier insulation cutting between studs
Pick a Low-Cost Ceiling That Still Looks Good
If you plan your ceiling early, you can save money without ending up with a gloomy “utility” finish. Check your headroom and pipe runs first; Building Regs and resale value both favour a tidy, accessible void.
For the best cost-to-finish ratio, fit a simple grid with Suspended panels. You’ll hide services, keep access for stopcocks and cable joints, and you can replace a single panel after leaks.
Choose moisture-resistant Ceiling tiles rated for basements; they resist sagging and staining better than standard mineral fibre. Keep the grid tight to joists to maximise height, and use perimeter trim for a clean shadow line.
If height’s tight, paint the joists and services in one colour, then use acoustic rafts only where you sit. Compare prices at Wickes, Screwfix, or local merchants.
Plan Basement Lighting (Lumens, Layers, Fixtures)
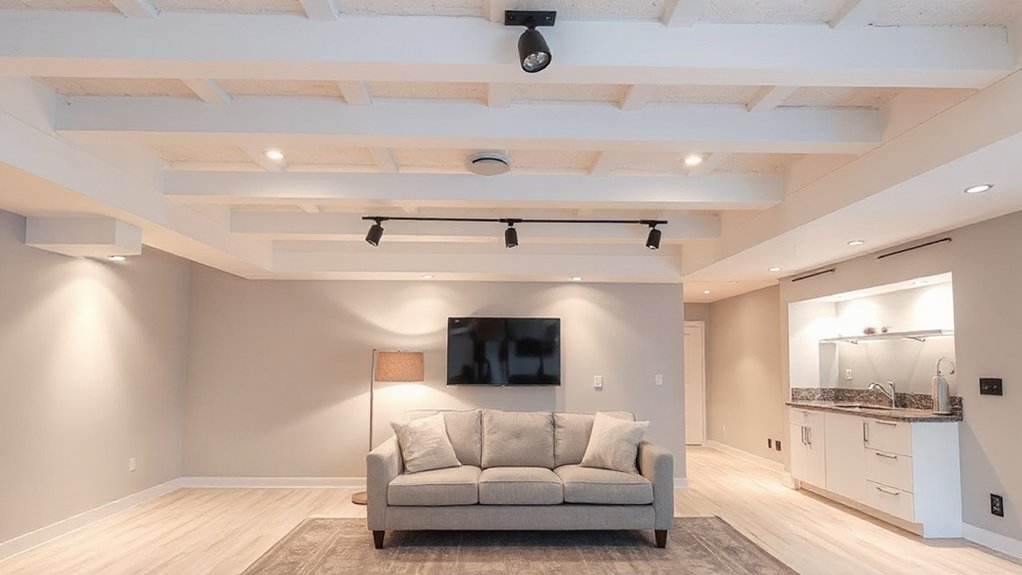
Because basements swallow daylight and bounce less light off darker surfaces, you’ll need a lighting plan that starts with lumens, then adds layers: general (ambient) light to fill the room, task light where you work or read, and accent light to stop the space feeling flat.
Do a quick lumen calculation: floor area (m²) × 150–250 lux for lounge use, 300–500 lux for desk/gym zones.
Then choose efficient Lighting fixtures—LED battens, slim downlights, and plug-in lamps—to keep running costs low.
- Ceiling LED batten for cheap, even ambient spread
- Under-shelf LED strip to light a workstation or bar
- Floor lamp by the sofa for flexible task light
- Wall uplights to add depth without glare
Keep circuits simple and use warm 2700–3000K LEDs.
Use Paint to Brighten and “Raise” the Ceiling
Since paint changes how light behaves, it’s the cheapest way to make a basement feel taller and brighter. Choose a high-LRV (light reflectance value) matt for walls to bounce light without glare. Then use a flat, brilliant white on the ceiling to push it visually upward.
For ceiling illusions, carry the wall colour 2–5cm onto the ceiling line, or paint coving the same as the ceiling to blur edges. Keep sheen low overhead; silk highlights defects and pipes.
Apply a stain-blocking primer on bare masonry, then two coats. You’ll get better coverage and fewer litres.
Use Colour psychology: cool whites and pale greys read airy, while warm creams feel cosy under LEDs. Stick to washable, mould-resistant emulsion for UK basements.
Add Cheap Storage and Furnish With Secondhand Finds
While you’re keeping costs down, you can make a basement feel finished fast by adding storage that works double-duty and furnishing it with solid secondhand pieces. Start with affordable organization: modular shelving, stackable crates, and lidded tubs that fit under benches. Fix battens to masonry with plugs and screws, then hang pegboard to keep tools and cables off the floor and away from damp.
Source secondhand furniture from Facebook Marketplace, British Heart Foundation shops, and local reuse centres; prioritise hardwood frames and removable covers.
- A lift-up storage bench under the window for games and linens
- Cube units with baskets to hide clutter and dehumidifier kit
- A reclaimed desk plus task lamp for a compact WFH nook
- A washable rug and slipcovered sofa to soften echoes
Frequently Asked Questions
How Can I Reduce Basement Noise Transfer to the Floors Above?
You’ll cut basement noise by adding acoustic mineral wool between joists, resilient bars and two plasterboard layers, sealing gaps with acoustic mastic, plus dense carpet underlay upstairs. Use Soundproofing techniques and Flooring insulation to control costs.
Will Finishing the Basement Increase My Home’s Resale Value?
Yes, it can—if done properly. For example, you spend £18k adding Basement lighting and choosing insulation options, then buyers pay more for a warm office. You’ll boost appeal, not always recover 100%.
What’s the Best Way to Add a Bathroom in a Basement Cheaply?
You’ll save most by fitting a macerator toilet and compact shower near existing drains, limiting excavation. Do basement waterproofing first, and plan egress window installation if it’s a habitable room—comply with Building Regulations.
How Do I Handle Radon Mitigation Costs in a Finished Basement?
Better safe than sorry: you’ll control radon mitigation costs by starting with Radon testing, then pricing Mitigation solutions like a sump fan or sub-slab pipe. Get three UK quotes, check warranties, and bundle works.
Can I DIY Most of the Work, or Should I Hire Key Trades?
You can DIY finishes, Basement lighting and Storage solutions, but hire key trades. Use a Part P electrician, Gas Safe engineer, and certified damp/radon specialist. You’ll save labour, avoid rework, and pass Building Control.
Conclusion
Keep your basement conversion lean: stick to your budget, lock a basic schedule, and solve compliance, electrics, and damp before you buy finishes. When I priced my own 18 m² cellar, the £12 hygrometer proved more valuable than any sofa—it was a “canary in the coal mine”, flagging moisture before plasterboard went up. Use paint, layered LEDs, and a tidy low-cost ceiling to lift the space, then furnish from Gumtree and IKEA storage.





