
Protect your property from damage by prioritizing preventative maintenance and smart preparedness. Start with a methodical exterior inspection, seal cracks, and guarantee proper drainage to protect foundations and prevent moisture intrusion. Fortify entry points with secure hardware, upgrade seals and insulation, and monitor roofs, gutters, and siding regularly. Develop seasonal checklists, document findings, and log repairs for data-driven decisions. Invest in durable materials and smart upgrades that save money over time. If you keep going, you’ll uncover more actionable steps.
What Protects a Home From Damage (Foundations, Exterior, Belongings)
Protecting a home from damage hinges on understanding three core areas: foundations, exterior, and belongings.
You examine foundation protection by inspecting for cracks, water intrusion, and soil movement, then address issues promptly to prevent subsidence.
You map exterior durability through material performance, drainage effectiveness, and sealant integrity, prioritizing upkeep that resists moisture, wind, and temperature shifts.
You assess belongings with climate control, moisture management, and secure storage to minimize loss from pests, mold, or damage.
You implement systematic routines: schedule seasonal checks, log findings, and verify repairs with documented evidence.
You balance risk and cost, choosing targeted, durable interventions over speculative fixes.
Your approach blends data, observation, and preventive action to sustain structural reliability, environmental resilience, and asset preservation over time.
Prioritize Preventative Maintenance This Year
To prioritize preventative maintenance this year, start with a structured schedule that targets high-risk components across foundations, exterior, and belongings. You’ll map tasks by season, assign owners, and track completion to reduce surprises and costs. This systematic approach enables data-driven decisions and minimizes downtime.
- Prioritize early-year inspections for drainage, grading, and foundation cracks, then address issues before they escalate.
- Schedule exterior checks—roofing, siding, windows, and landscaping—to prevent moisture intrusion and improve security postures with upgraded sensors.
- Integrate ongoing maintenance for belongings, including inventory, backups, and security upgrades, plus landscaping tips to deter pests and intruders.
This method emphasizes discipline, documentation, and proactive risk reduction, delivering measurable resilience and meaningful cost savings.
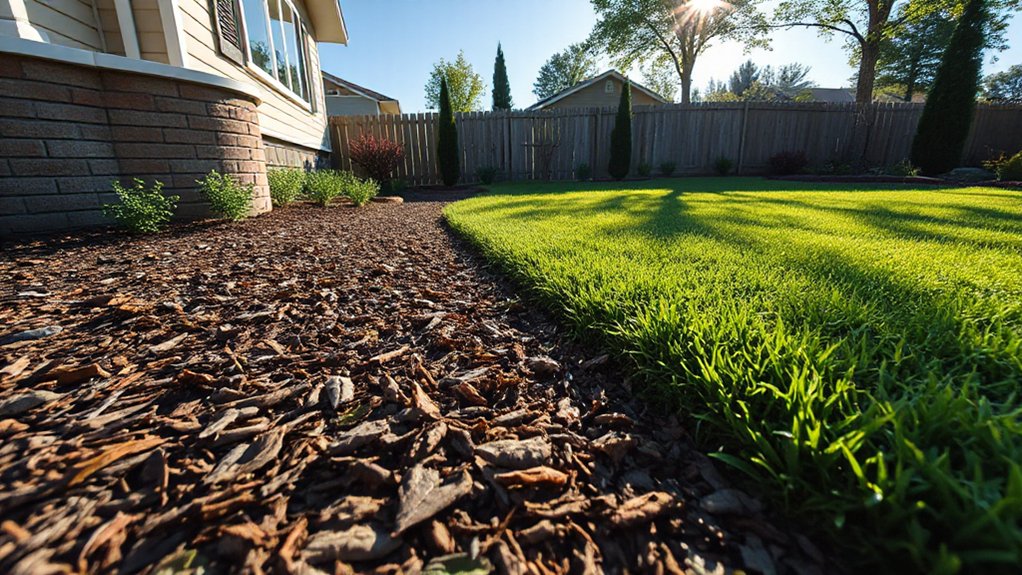
Inspect and Seal Your Home’s Exterior
Inspect exterior surfaces for wear and potential entry points, documenting any areas that show peeling paint, warped siding, or damaged masonry.
Seal cracks and gaps promptly to prevent moisture intrusion and pest access, prioritizing joints around windows, doors, and utility penetrations.
Guarantee proper drainage around the foundation by grading soil away from the house and keeping gutters clear, so water funnels away from the structure.
Inspect Exterior Surfaces
Before taking action, assess every exterior surface for signs of wear, damage, or moisture intrusion. You’ll want a systematic scan that notes peeling paint, warped siding, loose trim, efflorescence, and flashing corrosion. Prioritize issues that could worsen with weather, then plan targeted maintenance.
- Inspect for surface irregularities, including cracks, gaps, or staining, and document with notes and photos.
- Check caulking and joints around doors, windows, and vents, recording spacing and failures for timely reseal.
- Evaluate moisture indicators, such as mildew or soft substrates, and determine drainage or ventilation improvements if needed.
In this phase, focus on exterior paint and siding maintenance signals, ensuring accurate diagnosis before any sealing or refinishing steps.
Seal Cracks And Gaps
Cracks and gaps aren’t just cosmetic defects—they’re pathways for moisture, air, and pests. When you seal them, you reduce infiltration, maintain insulation, and protect structural integrity. Begin with a precise inspection, identifying all openings no matter how small.
Prioritize high-traffic joints, windows, doors, and siding connection points, then categorize each as structural or cosmetic to guide the approach.
For crack prevention, choose appropriate sealants based on material compatibility, weather exposure, and movement expectations. Gap filling requires a compatible filler that remains flexible yet durable over seasonal cycles.
Apply with clean surfaces, using painter’s tape to guarantee clean lines, and tool smooth before curing. Reassess after weather events and re-seal as needed to sustain a tight exterior and deter deterioration.
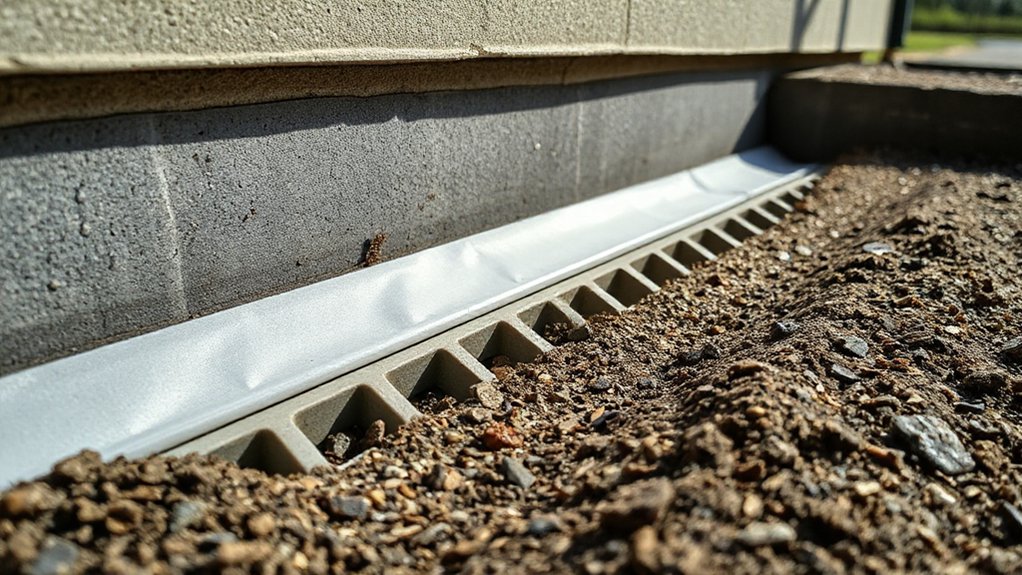
Maintain Drainage Around Foundation
Efficient drainage around your foundation starts with a precise assessment of how water moves away from the structure and where it pools. You’ll evaluate grading, gutters, downspouts, and surface materials to identify flow patterns and problem zones.
Then you implement targeted drainage solutions that redirect water away from walls and foundation.
- Map water paths and note signs of pooling or erosion.
- Repair or replace damaged gutters, extend downspouts, and install splash blocks.
- Create a drainage plan that channels runoff to appropriate runoff destinations, balancing soil absorption.
This approach emphasizes foundation drainage as a system, not isolated fixes.
Regularly inspect after heavy rainfall, reseal exterior joints, and monitor for new cracks. Maintain drainage around foundation to minimize moisture intrusion and long-term deterioration.
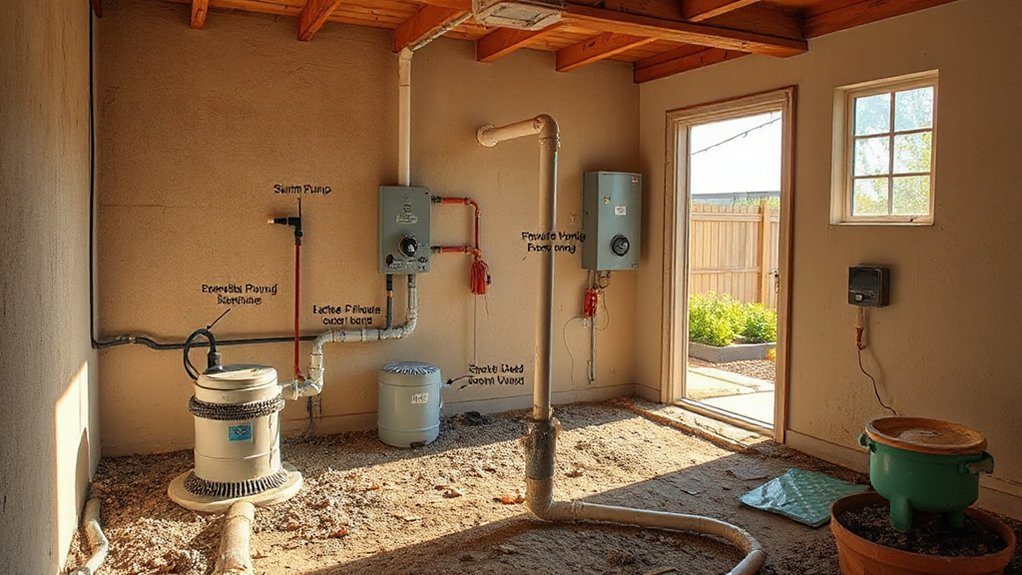
Manage Water to Stop Leaks and Flooding
To manage water effectively, start by evaluating your property’s slope and grading to guarantee runoff directs water away from foundations.
Then, identify potential leak sources and seal them efficiently, prioritizing joints, seams, and penetrations that commonly fail under pressure.
Water Slope and Grading
Proper water management starts with grading and slope design that directs runoff away from the foundation. You’ll assess soil type, compaction, and existing drainage to determine effective slope angles and swale placement, prioritizing long-term slope stability to prevent erosion.
- Make certain a minimum slope away from the structure, typically 5% or more, to promote rapid water exit.
- Create swales and crown lines that guide flow and reduce ponding near walls.
- Verify soil depth and compaction, addressing soil erosion risks with appropriate amendments and stabilization measures.
Seal Leaks Efficiently
Even small leaks can escalate quickly if you don’t address the source and path of water. To block leaks efficiently, map water entry points via careful inspection of seams, joints, and penetrations. Prioritize high-risk areas such as basements, crawl spaces, and around windows where temperature shifts create gaps.
Use a logical sequence: identify, verify, repair, test. For leak detection, rely on a controlled, repeatable process—mark suspect zones, monitor for moisture, and confirm with temporary containment before permanent work.
When selecting a sealant, consider substrate compatibility, expected movement, and environmental exposure. Sealant selection should align with material type (concrete, metal, wood) and UV, temperature, or moisture demands.
Apply per manufacturer guidance, cure fully, and recheck after rainfall to ensure lasting integrity.
Shield Foundations From Moisture and Pests
Maintaining a dry, pest-free foundation starts with a clear, proactive plan: inspect and seal the perimeter, manage drainage, and choose durable materials designed to resist moisture and infestation. You’ll implement targeted moisture barriers and effective pest deterrents, then verify ongoing performance through monitoring.
This approach minimizes intrusion paths and reduces mildew risk, while preserving structural integrity.
1) Inspect and seal: identify gaps, joints, and utility penetrations; use high-quality sealants and flashing.
2) Manage drainage: ensure slope away from the foundation, install gutters and downspouts, and perforate drainage trenches as needed.
3) Material selection: choose concrete, coatings, and membranes with proven moisture resistance and pest resistance.
Maintain documentation, schedule seasonal checks, and adjust strategies to address shifting moisture or tunneling activity.
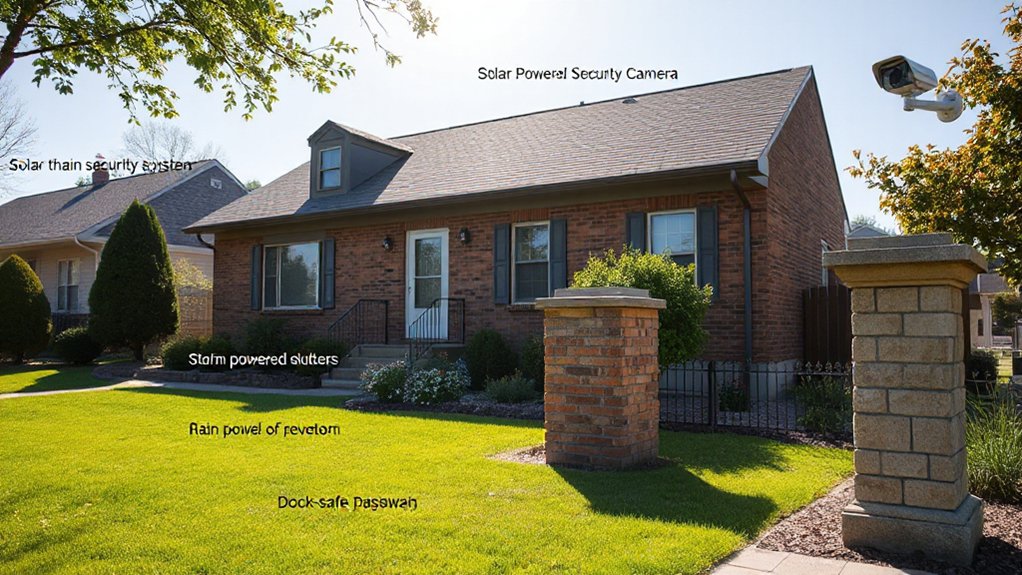
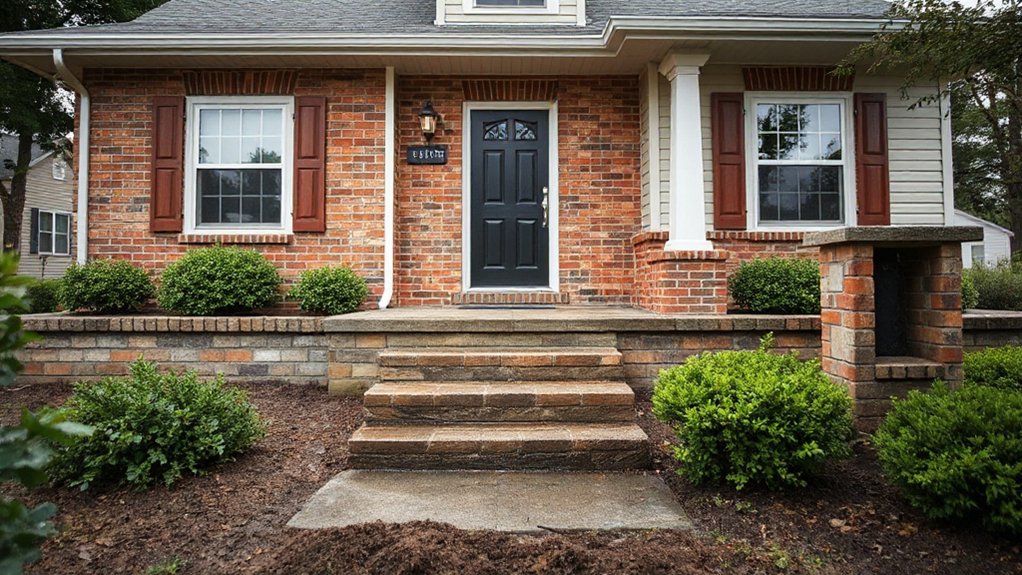
Fortify Doors, Windows, and Vents Against Intrusion
To deter intrusion, you should systematically assess and strengthen every entry point—locks, latches, hinges, and frames—and identify any vulnerabilities.
Reinforce latches and hinges with high-quality, tamper-resistant hardware and guarantee doors and windows seal tightly against frames.
This measured approach sets the stage for targeted improvements and ongoing vigilance.
Strengthen Entry Points
How strong are your entry points when threats loom? You assess resilience with clear benchmarks, focusing on structure, hardware, and usable defenses. Your approach prioritizes entry security, minimizing vulnerability through deliberate reinforcement and inspection. A methodical plan keeps you ahead of intruders and weather alike.
- Inspect doors and frames for cracks, test locks, and replace weak components with high-security variants.
- Install reinforced hinges and strike plates, ensuring alignment and proper screws into solid studs.
- Upgrade gaps around doors and windows with weatherstripping and blocking devices to deter forced entry.
Maintain documentation of materials, installation dates, and performance checks. Regular audits prevent complacency, guiding proactive updates rather than reactive fixes.
Door reinforcement remains central to your overall strategy, tightening defense while preserving accessibility.
Reinforce Latches and Hinges
Are your latches and hinges truly battlefield-ready, or do hidden vulnerabilities persist? You’ll assess each component with a methodical lens, prioritizing concrete fixes over guesswork.
Begin by inspecting current latch mechanisms; identify gaps where the bolt can slip or misalign. Reinforce latches with longer screws into solid studs, and consider strike plates reinforced with metal armor for added resistance.
Next, examine hinges for loose pins or weak mounting. Reinforce hinges by upgrading to heavy-duty, stainless steel or concealed-hinge designs, and attach with properly sized, high-strength screws that reach the stud behind the frame.
Test door operation after every upgrade, ensuring smooth travel without binding. By systematically reinforcing latches and hinges, you reduce intrusion risk and improve overall door integrity.
Reinforce latches, Reinforce hinges.
Weatherize Your Home for Energy Savings and Resilience
Weatherizing your home reduces energy waste while boosting resilience against weather-related damage. To methodically improve performance, you’ll execute targeted steps that address both insulation and envelopes.
- Insulation improvements: assess gaps, add batt or spray insulation where needed, and seal through walls, attics, and crawls to minimize drafts.
- Window upgrades: upgrade seals, install weatherstripping, and consider double-pane or low-E panes to reduce heat transfer and moisture buildup.
- System calibration: balance HVAC, program thermostats, and schedule efficiency audits to ensure steady, conditioned comfort with minimal energy loss.
This approach emphasizes measurable gains: reduced utility usage, fewer thermal losses, and greater resilience during storms or cold snaps.
Protect the Roof and Gutters From Wear
You should start by inspecting your roof for wear, noting any loose shingles, curling edges, or granular loss that could signal underlying damage.
Next, establish a routine to clean out gutters regularly, removing leaves, moss, and debris that can block drainage and accelerate wear.
This careful, systematic check and maintenance will help you prevent water intrusion and prolong both the roof and gutter system.
Inspect For Roof Wear
Inspecting for roof wear starts with a systematic, visual audit of shingles, flashing, and gutters to identify early signs of damage before leaks develop. You’ll evaluate shingle granule loss, curling edges, and brittle tabs, noting any worn or missing components.
Next, you assess flashing integrity around vents and chimneys, looking for rust, lifts, or gaps that could channel water inward.
Finally, you scrutinize gutter attachment and slope, spotting sagging joints or sediment buildup that signals compromised water flow.
Wear assessment requires documenting defects and prioritizing urgent repairs.
1) Shingle condition and adhesion.
2) Flashing seams and fasteners.
3) Gutter alignment and debris.
This approach supports a precise roof inspection, guiding timely maintenance decisions and reducing leakage risk.
Clean Out Gutters Regularly
Gutters clogging with leaves, dirt, and algae create standing water and increased weight that stress fasteners and seams; regularly clearing them prevents blockages that can overflow onto roofing edges. You should implement a scheduled gutter cleaning routine, aligning frequency with your tree cover and weather patterns.
Start by inspecting the downspouts for obstructions, then remove loose debris with a scoop or gloved hand, placing it into a container. Next, flush the gutters with a hose to verify flow and identify leaks or sagging sections. Address any kinks or loose hangers promptly.
Debris removal during cleaning minimizes corrosion risks and avoids ice dam formation in colder months. Document procedures, noting which areas accumulate sediment. This disciplined approach improves water discharge efficiency and protects roof integrity over time.
Shield Land and Landscaping From Erosion
To safeguard land and landscaping from erosion, start with a precise assessment of soil type, slope, and drainage patterns to identify critical risk areas. You’ll then implement targeted measures that minimize runoff, enhance stability, and preserve aesthetics. Plan with data, observe site specifics, and verify assumptions before acting.
- Conduct soil stabilization techniques tailored to texture and structure, focusing on infiltration rates and compaction limits.
- Establish vegetative buffers along vulnerable edges to absorb energy and slow flow, selecting native species suited to local moisture.
- Install precise grade control and drainage management to redirect water away from sensitive zones while maintaining soil integrity.
Apply monitoring and adjustments seasonally, documenting performance metrics to ensure durable protection against erosion.
Stop Pests Early With Proactive Landscaping
Proactive landscaping stops pests before they become a problem by aligning plant choices, maintenance routines, and site design with pest biology and behavior. You translate risk into action by selecting resilient species and configuring beds to interrupt pest pathways.
Assess microhabitats, moisture, and sun exposure to deter breeding sites; implement spacing that reduces crowding and disease transmission. Natural pest barriers form when you blend functional plants, repellents, and habitat features to discourage pests without chemicals.
Regular monitoring detects early shifts in pest activity, enabling timely adjustments to irrigation, pruning, and weed control. Landscape diversity supports ecological checks and balances, increasing beneficial insects while hindering specialized pests.
Careful sequencing of tasks minimizes disruption, ensuring ongoing protection without compromising landscape aesthetics or plant health.
Safeguard Belongings With Proper Storage
Safely storing belongings begins with a systematic assessment of what needs protection, then applying targeted storage solutions that minimize exposure to moisture, pests, and physical damage.
You optimize outcomes by choosing Secure storage setups and Organized shelving that support clear access, inventory control, and consistent protection. This approach reduces clutter, speeds retrieval, and informs maintenance checks.
1) Assess items by category and fragility to determine enclosure and ventilation needs.
2) Choose moisture barriers, pest deterrents, and sturdy, labeled containers.
3) Arrange on accessible shelves with clear pathways to minimize handling risk.
Plan for Seasonal Hazards: Storms, Floods, and Heat
Storm season demands a precise, methodical plan: anticipate scenarios, identify vulnerable areas, and implement targeted protections before storms, floods, or extreme heat arrive. You map risks across your property, noting entry points, drainage, and weak structures.
You prioritize storm preparedness by securing loose items, reinforcing roofs, and validating backup power needs, while keeping visibility on critical possessions.
For flood resilience, you review elevations, install barriers or sandbags where feasible, and ensure sump pumps and drains are functional.
Heat considerations prompt you to shade sensitive equipment, insulate attics, and ventilate spaces to prevent condensation and stress.
You document actions, assign responsibilities, and rehearse response steps, so responses stay swift and deliberate under pressure.
This disciplined approach guarantees damage mitigation and accelerates recovery.
Smart Upgrades That Save Money Over Time

Smart upgrades not only shield your property from future damage but also reduce ongoing costs, turning protection into a sustainable financial habit. You’ll evaluate lifespan, maintenance, and energy impact with disciplined rigor, aiming for measurable savings rather than vague assurances.
Smart sensors and automated systems streamline decision-making, lower risk exposure, and improve response times.
To implement effectively, follow a structured approach:
- Assess current vulnerabilities, then map how smart sensors and automated systems reduce each risk niche.
- Prioritize changes with the highest recurring cost savings and quickest payback.
- Track performance metrics monthly to verify that improvements persist and scale over time.
Create a Quick-Reply Emergency Kit and Plan
To prepare for emergencies, assemble a Quick-Reply Emergency Kit and establish a concise plan that you can deploy within minutes. Your kit should include essential items: water, nonperishable food, a flashlight, spare batteries, a whistle, a first-aid kit, copies of important documents, and a portable charger.
Add a small, weatherproof bag to keep contents dry and organized. Define a two-page plan: a 30-second alert you can use to initiate actions, and a 5-minute checklist to secure spaces and shut down utilities if needed.
Label roles, passive and active safety protocols, and a contact tree with local emergency numbers. Regularly verify contents, update dates, and rehearse the sequence to guarantee the best emergency preparedness and rapid response.
Build a Routine: Seasonal Checklists That Stick
Seasonal checklists turn maintenance into a repeatable habit rather than a sprawling project. By framing routine tasks around seasons, you create a predictable cadence that supports proactive protection. You’ll reduce surprises and extend asset lifespan through deliberate, data‑driven routines.
Use Seasonal planning to map essential actions, assign responsibilities, and track completion. Your approach should be consistent, not chaotic.
- Identify core tasks for each season, prioritizing safety, weather resilience, and moisture control.
- Schedule reminders and review criteria to ensure tasks stay on cadence.
- Reassess outcomes quarterly, adjusting for changes in climate, property upgrades, and risk exposure.
This method sharpens routine maintenance discipline, lowers costs over time, and strengthens decision confidence during adverse conditions.
When to Call Pros: Knowing Your Limits and Costs
Knowing when to call in professionals is essential for cost control and long-term protection. You assess risk clusters first, separating minor issues from those signaling real deterioration. If you’re unsure after a basic inspection, a professional assessment becomes prudent: objective measurement, documented findings, and expert recommendations.
You’ll want to compare two metrics: safety implications and future expense. Conduct a preliminary cost analysis by estimating repair versus replacement timelines, energy efficiency gains, and insurance impacts.
When systems show recurring failures, escalating damage, or obscure water intrusion, delays compound risk and costs. Don’t hesitate to seek help for complex tasks like structural, electrical, or mold concerns.
Timely interventions preserve value, ensure compliance, and limit liability, while maintaining budget flexibility for prioritized improvements.
Frequently Asked Questions
What Are Hidden Signs of Moisture Damage Homeowners Often Miss?
Hidden signs you miss include subtle musty odors, peeling paint, warped trim, and drywall staining; you should inspect for condensation patterns and mineral deposits. Mitigation strategies rely on thorough detection methods, moisture meters, and vigilant seasonal inspections to prevent unseen damage.
How Can Micro-Cracks Indicate Larger Foundation Problems?
Crack monitoring reveals micro-cracks often precede larger shifts; you should schedule Foundation inspections promptly, documenting dimensions over time. Track widening, vertical growth, and patterns, then compare against baseline. Your methodical approach helps identify mounting foundation issues early.
Do Concrete Cures Affect Long-Term Durability and Safety?
When you observe a cured slab behaving oddly, you’ll notice that concrete curing directly impacts long term durability and safety. For instance, a real-case study showed proper curing reduced crack density, enhancing structural reliability and load resilience over decades.
Can Landscaping Choices Impact Indoor Air Quality?
Landscaping choices can influence indoor air quality. You’ll improve air quality factors by selecting native, low-emission plants and avoiding turf pesticides; landscaping benefits include improved ventilation microclimates and reduced indoor pollutants when properly maintained.
What Constitutes a Cost-Effective Emergency Water Backup Plan?
A sharp simile opens your plan: you’ll map a cost-effective emergency water backup plan. You need water filtration and reliable backup systems, with quantified costs, testing schedules, maintenance routines, and clear decision criteria for rapid, informed responses.
Conclusion
Protecting your property starts with steady habits and smart choices. Track upkeep, seal the exterior, and manage water to prevent leaks and floods. Shield foundations, upgrade wisely, and keep emergency plans at hand. Build routines with seasonal checklists you actually follow. Know when to call pros to avoid costly mistakes. Stay disciplined: an ounce of prevention beats a pound of cure, because “A stitch in time saves nine.” Your methodical approach pays off in lasting peace of mind.


