
Set a firm budget with a 10% cushion, then lock in a modern palette (warm white, soft gray, or greige) plus one metal finish like matte black. Swap cabinet hardware first for fast impact, keeping hole spacing consistent. Add a peel-and-stick backsplash, sealing seams with gentle heat and removable caulk. Upgrade lighting with under-cabinet LEDs and dimmable bulbs. If you paint cabinets, degrease, sand, prime, and use thin enamel coats—more practical tips are ahead.
Pick a Budget and a Simple Modern Style

Start with two quick decisions: your budget range and a simple modern style you can stick to. For Budget planning, set a hard ceiling, then split it into paint/surfaces, lighting, storage, and a 10% cushion.
Measure everything, list what stays, and price materials before you fall for inspo photos. Keep modern aesthetics cohesive by choosing one palette (warm white, soft gray, or greige) and one accent (matte black or brushed nickel) across the room.
Aim for clean lines, uncluttered counters, and a consistent finish level—matte for a calm look, satin for easy wipe-downs. Use peel-and-stick samples to test undertones under your actual lighting.
Document decisions in a one-page plan so you don’t drift mid-project.
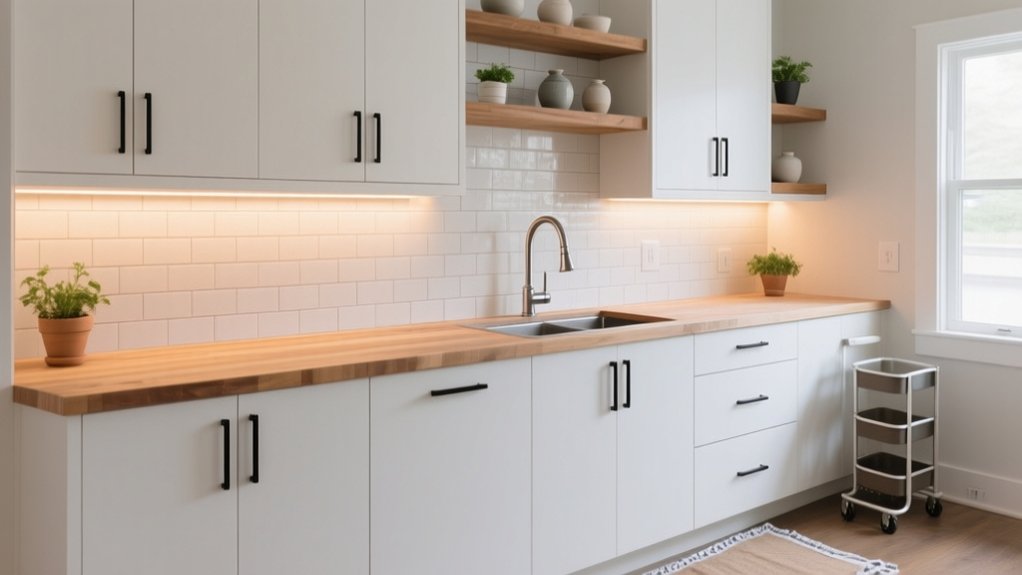
Swap Cabinet Hardware for an Instant Update
Because cabinet hardware sits at eye level and gets handled every day, swapping it delivers one of the fastest “new kitchen” upgrades for the least effort. Start by counting doors and drawers, then choose a finish that matches your faucet and lighting: matte black for modern contrast, brushed brass for warmth, or polished nickel for a clean, tailored look.
Measure hole spacing (center-to-center) and stick with the same size to avoid drilling; if you must change, use a drill guide and fill old holes neatly.
Mix knobs on uppers with pulls on lowers for a designer balance. If you’ve got custom cabinetry, consider longer pulls to emphasize sleek lines.
For character, pair modern shapes with Vintage fixtures-inspired detailing. Replace screws, align carefully, and tighten evenly.
Add a Peel-and-Stick Backsplash (Renter-Safe)
If you want a high-impact refresh without risking your security deposit, a peel-and-stick backsplash delivers instant pattern and polish in an afternoon. Choose faux zellige, marble, or matte subway for a modern look, then plan your layout around outlets and corners so seams disappear. You’ll also protect walls behind sinks and ranges while visually tying together kitchen storage zones and appliance upgrades.
- Clean and degrease the wall; dry it fully for maximum tack.
- Measure, mark a level line, and dry-fit sheets to avoid awkward slivers.
- Cut with a sharp utility knife; wrap edges under trim for a finished look.
- Press from center outward, then warm lightly with a hair dryer to seal corners.
Paint Cabinets: Modern Colors and Prep Basics
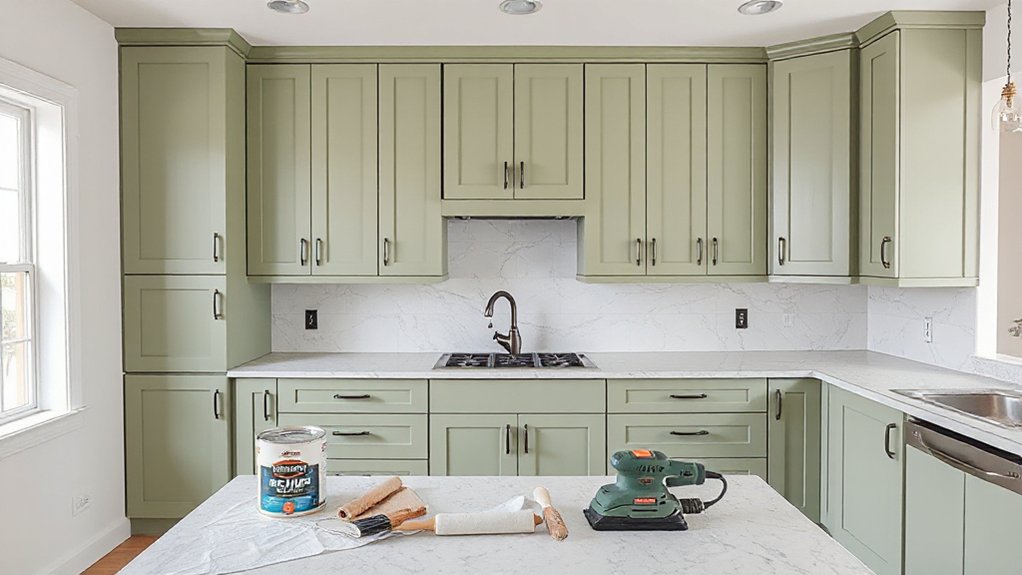
While new hardware helps, nothing modernizes a kitchen faster than freshly painted cabinets in an on-trend shade like warm white, greige, muted sage, inky navy, or soft black. Follow current color trends by pairing light uppers with deeper lowers, or go monochrome for a sleek, built-in look.
Prep drives paint durability, so don’t rush it. Remove doors and label hinges, then degrease with a strong cleaner. Scuff-sand to dull the sheen, vacuum, and tack-cloth every surface. Fill dings, caulk gaps, and spot-prime bare wood or stains.
Use a bonding primer, then apply two thin coats of cabinet enamel with a foam roller and angled brush, sanding lightly between coats. Let paint cure several days before heavy use and reinstalling hardware.
Budget Lighting Swaps That Look High-End
Even on a tight budget, you can make your kitchen feel custom by swapping dated fixtures for a few high-impact lighting upgrades that read designer. Focus on scale, finish, and light quality, and you’ll get that high-end glow without a full reno.
Mix warm 2700–3000K bulbs with targeted task lighting to flatter counters and cut shadows.
- Replace a tired flush mount with a semi-flush or small chandelier in matte black, aged brass, or mixed metals for instant statement fixtures.
- Add plug-in pendants over an island to avoid rewiring and still look built-in.
- Install under-cabinet LED strips with diffusers for seamless, dot-free light.
- Upgrade to Smart lighting dimmers and bulbs to tune brightness and color for cooking or hosting.
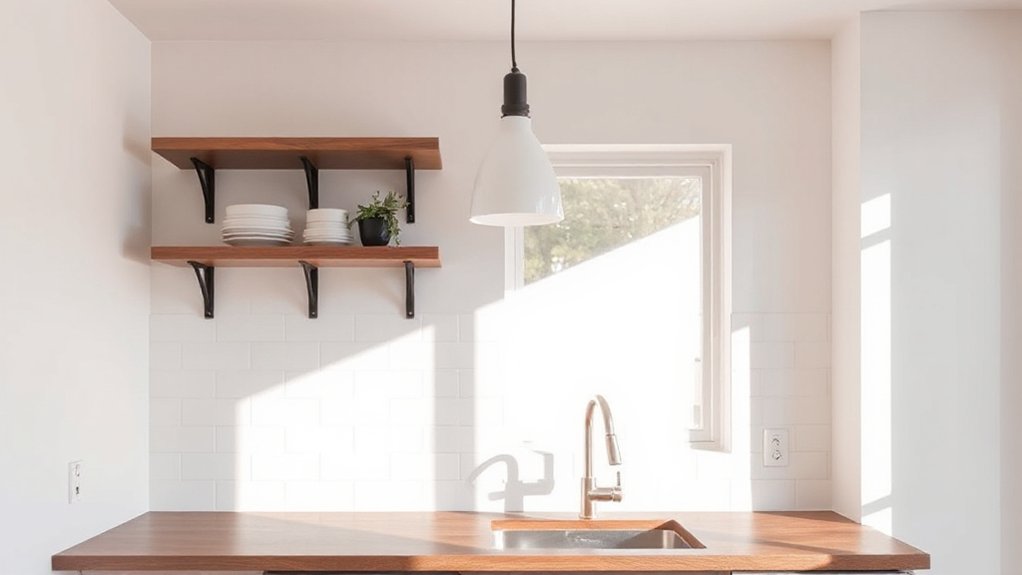
Open Shelving: What to Remove and How to Style
Because open shelving puts your everyday stuff on display, start by removing anything bulky, mismatched, or rarely used so the shelves read intentional instead of cluttered. Box up novelty mugs, extra plastic, chipped plates, and overprinted packaging; keep only what you reach for weekly and what stacks neatly.
Then style with a tight palette: two to three dish colors, one metal finish, and consistent glassware. Use vertical variety—plates upright on a rack, bowls in short piles, canisters in a row.
Add Decorative accessories sparingly: a small plant, a wood board, or a stoneware vase. Leave breathing room between groupings.
Finish the wall behind with simple wall art or a framed recipe, aligned to shelf edges for a modern, curated look.
Refresh Countertops With DIY Overlays (Costs + Pros/Cons)
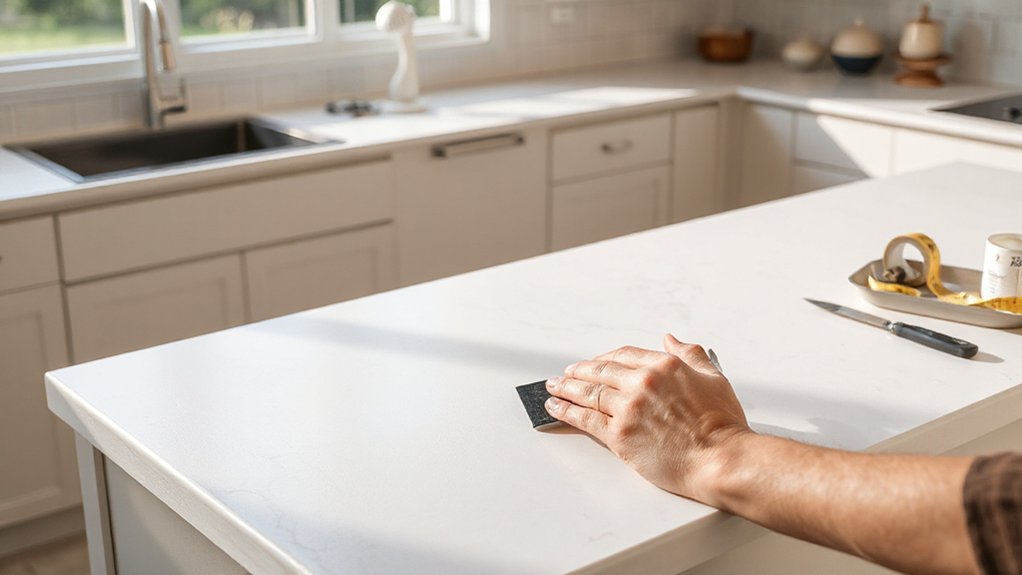
If your counters look dated, you can refresh them fast with a DIY overlay—think peel-and-stick vinyl, laminate sheets, microcement, or epoxy kits.
You’ll typically spend about $2–$5/sq ft for vinyl, $10–$30/sq ft for laminate, $8–$15/sq ft for microcement, and $50–$150/sq ft for epoxy.
Each option trades off realism, durability, and repairability.
Next, you’ll weigh heat and scratch resistance, seam visibility, and how much prep work you’re willing to do before you commit.
Overlay Material Options
While a full countertop replacement can blow up your budget and timeline, a DIY overlay lets you change the look fast by covering what you already have with a new finish layer. Choose an option that suits your traffic level, edge profile, and how your countertop materials coordinate with your kitchen flooring options.
- Peel-and-stick film: Faux marble/concrete patterns, best for low-use zones and quick style tests.
- Epoxy pour kits: Glossy, seamless “stone” looks; add metallic veining or terrazzo chips.
- Cement/microtopping: Matte, modern, and repairable; works well over laminate with proper primer.
- Wood or butcher-block veneer: Warm, Scandinavian vibe; finish with hardwax oil for a low-sheen, tactile surface.
Prep matters: degrease, scuff-sand, and mask edges for crisp lines.
Costs And Tradeoffs
Although DIY countertop overlays cost far less than a full slab swap, you still need to budget for more than the kit price—think primers, sanding pads, edge trim, sealers, and a few specialty tools. Then weigh that total against the tradeoffs: shorter lifespans on high-use prep zones, a bit more maintenance (especially for films and cement finishes), and the reality that mistakes show fast on large, glossy surfaces like epoxy.
For budget planning, price out repairs too: extra topcoat, color tints, and a spare roller can save a redo.
Material durability varies: epoxy resists stains but can scratch; microcement looks luxe yet needs periodic sealing; peel-and-stick wins speed but hates heat. If you cook hard daily, protect seams, use trivets, and expect touch-ups.
Make It Removable: Renter-Friendly Upgrades That Peel Off Clean
If you’re renting, you can still upgrade your kitchen fast with peel-and-stick backsplash tiles that handle splatters and wipe clean.
Add removable wallpaper accents on a pantry door or fridge surround for a trend-forward hit of pattern without risking paint.
Finish with temporary cabinet hardware updates—swap in modern pulls using existing holes, then store the originals so you can revert in minutes.
Peel-And-Stick Backsplash Tiles
Want a high-impact backsplash upgrade that you can undo when you move out? Peel-and-stick tiles deliver instant polish with zero grout, making them perfect for busy rentals. Choose matte subway for modern minimalism, or faux zellige for that handcrafted look, then line up seams with a level and a sharp utility knife.
- Clean and degrease the wall; dry fully so adhesive bonds tight.
- Keep tiles 6–8 inches from burners and prioritize Kitchen ventilation to limit heat and steam.
- Cut around outlets, then seal edges with clear removable caulk for splash zones.
- Pair the new backsplash with appliance upgrades like a sleek faucet or pull-out sprayer for a cohesive refresh.
When it’s time to leave, warm tiles with a hair dryer and peel slowly.
Removable Wallpaper Accents
Where can you add serious style in a rental without committing to paint or permanent tile? Try removable wallpaper accents. Use them on a single wall, inside open shelving, or on the side of a peninsula for a designer hit that peels off clean.
Choose vinyl or fabric options labeled Temporary wall coverings, and check that they’re heat- and moisture-resistant for kitchens. Measure twice, then cut panels with a sharp blade and align patterns from the center out to avoid bubbles.
Smooth with a plastic squeegee and trim around outlets for a custom look. If you’re working around non-permanent fixtures, keep seams away from edges you’ll bump or wipe.
For removal, warm lightly, pull slowly, and wipe residue with mild soap.
Temporary Cabinet Hardware Updates
How do you give tired cabinets a high-end look without drilling new holes or risking your deposit? You swap in temporary cabinet hardware that sticks on and peels off clean. Look for adhesive-backed pulls, magnetic knobs, or strap handles that align with your current furniture arrangement and don’t fight your appliance placement. Choose finishes that feel current—brushed brass, matte black, or warm nickel—and keep shapes simple for a modern read.
- Degrease doors with isopropyl alcohol, then dry fully.
- Use a spacing jig and painter’s tape to mark consistent heights.
- Press hardware firmly for 30 seconds; let adhesive cure overnight.
- To remove, warm with a hair dryer and roll off residue with your thumb.
Frequently Asked Questions
How Can I Improve Kitchen Ventilation Cheaply Without Major Renovations?
Boost airflow cheaply: run a window fan, clean/replace hood filters, and add a ductless charcoal hood. Pair Kitchen lighting with lower-heat LEDs, and use Decor accessories like open shelves to avoid blocking vents.
What Low-Cost Options Exist for Upgrading or Repairing Kitchen Flooring?
You’ve got budget-friendly flooring fixes: lay Vinyl tiles over sound subfloor, patch chips with filler, or refresh worn spots using peel and stick decals. Seal edges, add connection strips, and choose waterproof, matte finishes for durability.
How Do I Organize a Small Kitchen Without Adding New Cabinets?
In a 600‑sq‑ft apartment, you organize a small kitchen by zoning: corral pantry organization into labeled bins, add door hooks, stackable shelves, and prioritize countertop decluttering. You’ll rotate daily tools forward and stash backups.
Which Budget-Friendly Appliances Look Modern and Save Energy?
Choose an ENERGY STAR stainless induction cooktop, slim over-range microwave, and inverter fridge; they look sleek and cut bills. Add Smart lighting and Energy efficient gadgets like a smart plug or aerator-equipped dishwasher.
What Inexpensive Soundproofing Reduces Noise in Open-Plan Kitchens?
Silence feels like a superpower: you’ll cut open-plan kitchen noise cheaply with peel-and-stick Acoustic panels on echoing walls and thick Soundproof curtains over openings. Add rug pads and door sweeps; you’ll notice calmer conversations instantly.
Conclusion
You don’t need a full remodel to get a modern kitchen that feels custom—you just need smart, low-cost moves. Set a tight budget, then work in layers: swap hardware, add peel-and-stick backsplash, and paint cabinets with clean prep. Upgrade lighting for instant polish, try open shelving with edited styling, and test DIY countertop overlays where it counts. Keep renter-safe options removable. It’s like tailoring a blazer: small tweaks, big impact.


