
Start by checking your attic’s headroom (aim for 2.0m+), joist strength, and rafter condition, and fix any leaks, rot, or sagging before you design anything. Plan a compliant fixed stair and protected escape route early, because fire doors, alarms, and Building Regs upgrades can blow budgets later. Expect roughly £25,000–£70,000+ and keep a 10–15% contingency. Lock in insulation, ventilation, electrics, and skylight locations upfront to avoid costly changes—more key decisions come next.
Confirm Your Attic Is Safe to Convert
Before you spend money on drawings or materials, make sure your attic can safely take the load and meet UK basics for access and escape.
Check you’ve got a compliant route up (typically a fixed stair, not a ladder) and a clear protected escape route to an external door, as Building Regulations will focus on fire safety.
Look for signs of water ingress, rot, woodworm, or sagging that could make the space unsafe until repaired.
Confirm electrics are suitable and not overloaded, and plan safe lighting and smoke/heat alarms.
Review ventilation and moisture control, because poor airflow can ruin Attic insulation and roof insulation.
If anything looks questionable, book a surveyor or structural engineer before you commit.
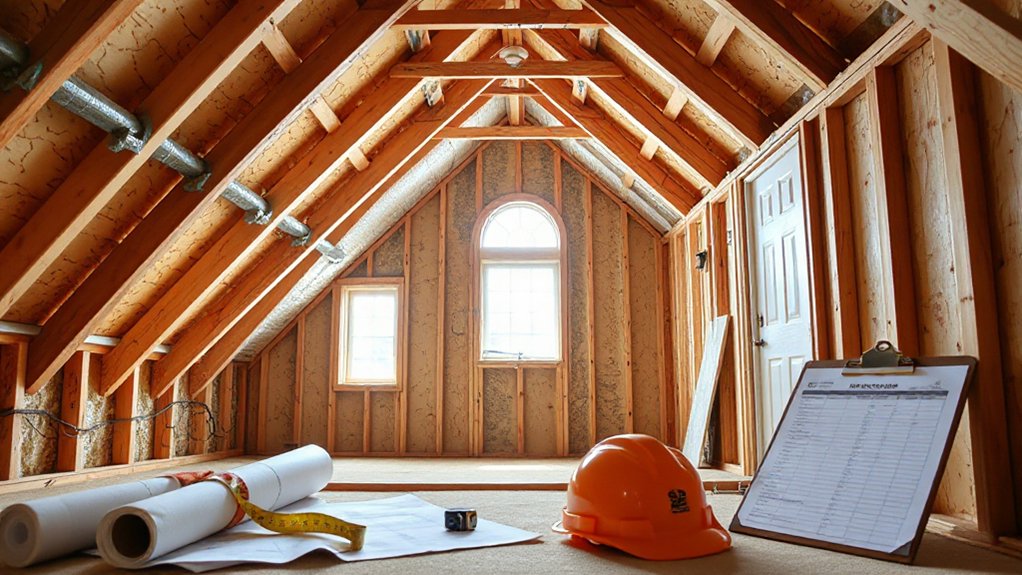
Check Headroom, Floor Strength, and Roof Framing
Next, you’ll need to measure the clear headroom in your attic from the top of the joists to the underside of the ridge or rafters, as UK Building Regs and staircase layout can quickly limit what’s usable.
You should also check the floor joists and existing rafters for size, span, and any signs of sagging or cracking, because many lofts weren’t designed for habitable loads.
If anything looks borderline, you’ll save money long-term by getting a structural engineer or experienced loft specialist to confirm what needs strengthening before you plan the layout.
Measure Clear Headroom
Although your attic might look spacious at first glance, you need to confirm you’ve got usable clear headroom, a floor that can take the load, and roof framing that won’t get in the way.
Start with a headroom measurement at the highest point and along the line where you’d place the stairs and main walkway. Use a tape measure from the top of the existing joists to the underside of the ridge or collar area, then check several points to catch dips.
In the UK, aim for at least 2.0m of clear headroom over a sensible route; less can still work, but it tightens design and may affect resale.
Note the attic height where dormers or rooflights might sit, and sketch these measurements onto a simple plan for quotes.
Assess Floor And Rafters
Once you’ve confirmed you’ve got workable headroom, check whether the attic floor and roof structure can actually support a room rather than just storing boxes. Lift a couple of boards and look at joist depth, span, and spacing; typical ceiling joists aren’t sized for habitable loads. Watch for bounce, cracked plaster below, or sagging timbers—signs Floor stability needs upgrading with new joists or steel beams.
Next, do a Rafters inspection. Identify whether you’ve got traditional rafters and purlins or a trussed rafter roof (common in post‑60s UK homes), which usually needs engineered alterations. Check for rot, woodworm, splits, and previous cut members around tanks or cables. If anything looks questionable, get a structural engineer before pricing works.
Choose the Best Room for Your Attic Conversion
Before you draw up plans or get quotes, decide what room you’ll create in the attic, because the best choice depends on your roof height, stair access, and how you’ll use the space day to day.
If you’ve got good headroom across the centre, a bedroom with an en-suite can work; if the height’s tight at the eaves, a home office or snug suits better.
Put noisy uses away from neighbouring walls, especially in terraces and semis.
Check where the stairs can land without stealing a whole bedroom below and keep a clear route that meets UK Building Regulations for headroom and fire escape.
Plan storage solutions into the eaves and consider insulation options early so the room stays warm, quiet, and usable year-round.
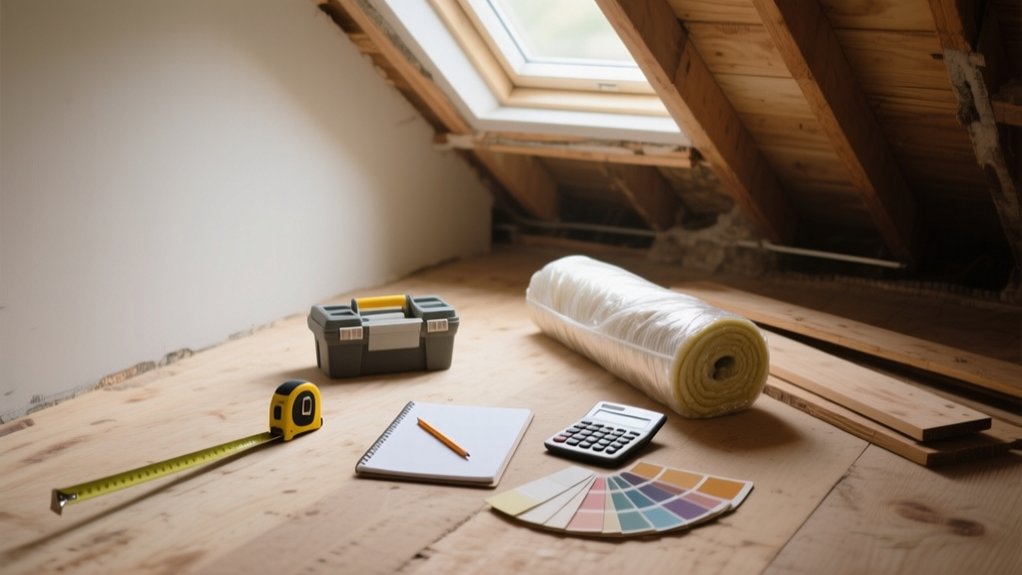
Set a Realistic Attic Conversion Budget (With Ranges)
You’ll need a clear budget before you get quotes, because UK attic conversions typically run from about £25,000–£70,000+ depending on whether it’s a simple rooflight upgrade or a full dormer with an en‑suite.
Your final figure will shift with key cost drivers like structural steel, staircase layout, roof alterations, insulation upgrades, and plumbing/electrics.
Build in a 10–15% contingency and watch for hidden costs such as surveys, planning and Building Control fees, party wall matters, scaffolding, and making good ceilings and finishes below.
Typical Cost Ranges
- Roof-light: best for simple bedrooms or studies
- Dormer: adds headroom and more usable floor area
- Mansard/hip-to-gable: suits tight terraces and bigger layouts
Key Cost Drivers
How do attic conversion costs climb from a straightforward roof-light room to a full dormer or mansard? The biggest driver is structural work: strengthening joists, adding steel, altering the roof, and upgrading stairs to meet Building Regulations headroom and pitch.
Design complexity matters too—rear dormers, hip-to-gables, and mansards increase labour, scaffolding time, and materials.
Then you’ve got performance specs. Better Attic insulation (between and under rafters) plus careful roof ventilation adds materials and detailing but helps you hit Part L and avoid condensation.
Openings also move the needle: larger rooflights, Juliet balconies, or new gable windows cost more and can trigger planning input.
Finally, your fit-out choices—bathroom, electrics, bespoke storage, and fire doors—set your finish level and spend.
Contingency And Hidden Costs
Although you can price the main build fairly accurately, a realistic attic conversion budget in the UK needs a contingency for the surprises that crop up once the roof’s opened up—so ring-fence around 10–15% for a straightforward roof-light conversion (often £25,000–£45,000), and 15–20% for dormer/hip‑to‑gable or mansard schemes (commonly £45,000–£90,000+).
Treat it as protected cash, not spare money. It helps you avoid unexpected expenses becoming stressful variations or, worse, project overruns. Build in time contingency too, as scaffolding hire and labour can tick up if materials are delayed.
- Upgrading rafters/joists or adding steels after structural checks
- Rewiring, moving pipework, or fitting compliant fire doors/smoke alarms
- Party wall surveyor fees, Building Control extras, and skip/scaffold extensions
Permits, Fire Rules, and Egress Requirements
Before you price up insulation or plasterboard, you’ll need to check what permissions and safety standards apply, because they can dictate your layout, costs, and even whether the conversion’s viable. Start by confirming if you’re within Permitted Development; dormers, roof height changes, or flats often trigger planning permission. Your local council’s portal shows constraints like conservation areas.
Next, follow the Permitting process for Building Regulations approval (plans or building notice). Budget for application fees and inspections.
Fire safety usually means a protected escape route to an external door, upgraded fire doors on the stair enclosure, interlinked mains smoke alarms, and, sometimes, mains heat detection in the kitchen.
Egress matters too: you’ll need compliant stairs, headroom where possible, and an escape window if it’s a loft room without a protected stair.
Decide If You Need an Architect or Engineer
Next, you’ll need to decide whether you can plan the attic conversion yourself or if you should hire an architect or structural engineer to keep costs and risk under control.
You’ll typically bring in an architect when you need a layout that meets UK Building Regulations, maximises headroom, and supports a planning or permitted development application.
You’ll hire a structural engineer when you’re altering rafters or joists, adding steels (RSJs), or you need structural calculations for Building Control.
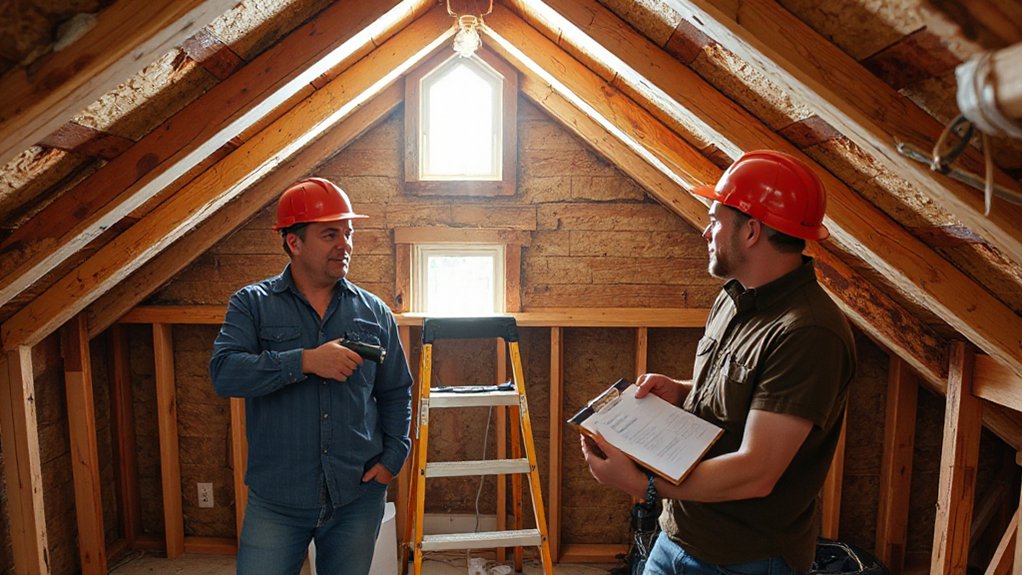
When To Hire Professionals
If your attic conversion touches the roof structure, load-bearing walls, or party wall, you’ll usually save money and avoid delays by bringing in the right professional early. Book a Professional consultation before you finalise layouts or request quotes, so you can confirm feasibility, head height, stairs position, insulation, and fire safety expectations under UK Building Regulations.
Hire help when you face any of the following:
- You need structural calculations for steels, joists, dormers, or roof alterations
- You’re close to neighbours and may trigger the Party Wall etc. Act 1996
- Your builder asks for detailed drawings for pricing and Building Control sign-off
Use their drawings to tighten contractor selection: you’ll compare like-for-like quotes, reduce “extras”, and keep the build on programme. Also, align with your local council on planning limits.
Architect Vs Structural Engineer
Once you’ve accepted you may need professional input, the main decision is whether you need an architect, a structural engineer, or both for your attic conversion.
If you’re changing the layout, adding dormers, or want better light and storage, an architect can design the space, guide planning permission (if needed), and support Building Regulations drawings. You’ll also benefit from architect collaboration with your builder to keep details buildable and costs controlled.
If you’re adding steels, altering rafters, or you’re unsure about joists and load paths, you need a structural engineer for a structural assessment and calculations.
In many UK lofts, you’ll use both: the architect sets the design, then the engineer sizes beams and specifies connections. That combination reduces redesigns, delays, and costly site fixes.
Price Structural Work First (Joists, Dormers, Beams)
Because the structural elements drive both cost and feasibility, you should price them before you get distracted by finishes and fittings. Get a builder to quote from engineer-led sketches so you’re not guessing.
In many UK lofts, joist reinforcement and new steel beams (RSJs) are the biggest variables, especially where you’re opening spans or altering load paths.
- Joists: confirm whether you need sistering, deeper joists, or a full new floor structure, plus padstones and connections.
- Beams: price supply, lift access, cranage if required, and making-good to party walls and ceilings.
- Dormers: budget dormer installation, including structural framing, roof alterations, lead flashing, and scaffold duration.
Lock these costs early, then you’ll know what’s left for insulation, plastering, electrics, and joinery.
Plan Code-Safe Stairs and Railing Access
Next, you’ll need to plan stairs that meet UK Building Regulations, because stair code dimensions (rise, going, pitch, and clear headroom) can dictate your attic layout and costs.
You should also specify compliant handrails and guarding early, as minimum railing height and gaps affect landing sizes and how you finish the stairwell opening.
If you get these measurements wrong, you’ll face redesigns, delays, and avoidable spend.
Stair Code Dimensions
Before you finalise your attic layout, lock in code-safe stair and guarding dimensions, since the staircase will often dictate what’s actually achievable in the space.
In the UK, check Approved Document K and your local building control early, because stair code limits affect headroom, landing space, and the opening you must form in the existing ceiling.
- Aim for a consistent rise and going; Building Control typically expects about 150–220mm rise and 220mm+ going.
- Keep pitch comfortable; you’ll usually need 42° or less, which can drive stair length and cost.
- Provide adequate width and landings; allow clear passage, and ensure landings match stair width so you can turn safely.
Tight lofts may need alternates, but get written approval before you build, to safeguard dimensions safety.
Railing Height Requirements
Once your stair rise, going, pitch, and landings stack up, set the guarding and handrail heights that will run alongside them, as these details affect comfort, safety, and how Building Control signs the job off.
In the UK, you’ll typically need a handrail on stairs at 900–1000mm above the pitch line, so it’s easy to grip without forcing your wrist angle.
For landings and any open edges, target a guarding railing height of at least 1100mm, especially around the new attic floor void.
Keep baluster gaps tight (generally 100mm max) to meet safety regulations and reduce child-fall risk.
Don’t forget the handrail must be continuous where possible and return neatly at ends.
Insulate for Comfort Without Overspending
Although insulation can feel like an unglamorous expense, it’s one of the smartest places to spend your money in a UK attic conversion because it directly affects comfort, running costs, and whether your space meets Building Regulations.
Price up attic insulation early so you don’t blow the budget later, and focus on performance per pound. Aim for compliant U-values with sensible build-ups, not premium add-ons you won’t feel.
- Use mineral wool between and over joists where you can; it’s cost-effective and widely available.
- Choose rigid PIR only where depth is tight, such as sloping rafters, and tape joints for continuity.
- Seal obvious gaps around hatches, eaves, and service penetrations to boost comfort enhancement without extra thickness.
Ask your contractor for itemised quotes and specified thicknesses, not vague “insulate roof” lines.
Prevent Condensation: Ventilation and Moisture Control
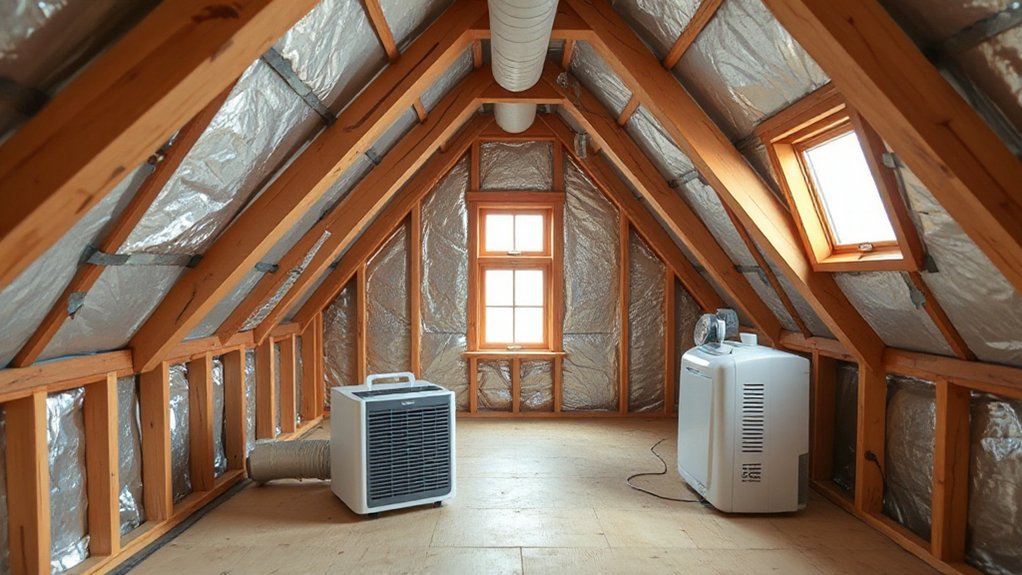
If you trap warm, moisture-laden air in your new loft room, you’ll quickly invite condensation, mould, and damp patches that cost far more to fix than preventing them.
Build in a clear airflow path: continuous eaves ventilation, a ridge vent (or high-level tile vents), and a 50mm air gap above insulation where your roof build-up needs it.
Fit a vapour control layer on the warm side, tape all laps, and seal around penetrations to stop moisture buildup reaching cold timbers.
In bathrooms or en-suites, use humidistat-controlled ventilation fans ducted to an external grille, not into the loft void. Keep ducts short, insulated, and falling slightly to the outside so water can’t pool.
Check soffit and tile vents stay clear after boarding and storage.
Plan Electrical, Outlets, and Lighting Layout
Before you close up the new loft room with plasterboard, map out every socket, switch, light point, and data run so the electrician can route cables neatly and you won’t pay later to cut and patch finished walls.
Start Electrical planning by listing how you’ll use the room: desk, TV, chargers, heaters, and any ensuite kit.
Then fix Outlet placement to suit furniture, not guesses, and keep sockets accessible above skirting.
In the UK, new circuits and bathroom zones fall under Part P, so use a registered electrician and allow for an RCD-protected consumer unit upgrade if needed.
Keep lighting flexible with separate switching for main and task lights, and plan smoke/heat alarm interlinking.
- Double sockets by bed and desk
- Cat6 and TV aerial points
- Dedicated feed for electric radiators
Add Daylight: Skylights, Dormers, and Roof Windows
Once you’ve fixed the sockets and lighting points, sort out how you’ll get proper daylight into the new loft because it affects everything from room feel to where you place furniture. For tight budgets, a roof window usually beats a full dormer on cost, disruption, and planning risk.
Check your roof pitch and rafter spacing early so Skylight installation doesn’t trigger expensive structural changes. Position openings on the sunniest elevation (often south or west in the UK), but add blinds to control glare and overheating.
Pick centre-pivot for easy cleaning, or top-hung if you want better headroom and views. Good Roof window design includes trickle vents and compliant escape sizes where required. Use flashing kits matched to your roof covering (slate, tile) to avoid leaks and callbacks.
Decide on Plumbing: Worth It or Skip It?
Where would plumbing actually earn its keep in your loft—an occasional guest shower room, a teen suite, or a home office that doesn’t need it? If you’ll use water daily, plumbing upgrades can be worth the disruption; if not, you might skip it and keep the layout simpler.
In UK homes, stacking a new bathroom above the existing one usually shortens pipe runs and helps drainage falls, making bathroom installation more straightforward.
- Site the bathroom near the soil stack and existing hot/cold feeds to reduce labour and boxing-in
- Check water pressure and cylinder capacity; you may need a booster or unvented upgrade
- Plan ventilation and waste routes early so you don’t lose headroom to bulky pipework
If you’re undecided, rough-in capped pipes now so you can add fixtures later without reopening floors.
Avoid the Biggest Attic Conversion Cost Blow-Ups
Three cost blow-ups catch most loft conversions in the UK: changing the structural design mid-build (steel sizes, dormer shape, stair position), underestimating “hidden” compliance items (fire doors, mains-linked smoke alarms, upgraded insulation, party wall work), and leaving key finishes as vague allowances (windows, bathroom tiles, electrics).
Lock the design before you start: sign off engineer calcs, dormer drawings, and stair layout, then treat changes as priced variations. Ask your builder for a compliance checklist and confirm what’s included for attic insulation, roof ventilation, and any fire-protection upgrades to existing floors and doors. Don’t accept “PC sums” without specs; choose window type, sanitaryware, tile ranges, and electrical points early.
Finally, get a staged payment plan linked to inspections and Building Control sign-off, not arbitrary dates.
Frequently Asked Questions
How Long Does a Typical Budget Attic Conversion Take From Start to Finish?
You’ll typically finish a budget attic conversion in 6–10 weeks in the UK. You’ll save time by planning Attic insulation early, coordinating Ventilation systems, securing Building Control sign-off, and avoiding structural changes or delays.
Can I Live in the House During the Attic Conversion Work?
Yes, you usually can, but test the theory that it’s “barely disruptive”—it isn’t. You’ll juggle dust, noise, access limits. Confirm Attic insulation plans and Ventilation considerations, and arrange safe electrics, fire routes.
What DIY Tasks Are Safe to Do Without Voiding Insurance or Warranties?
You can DIY only non-structural, non-electrical tasks: painting, insulation tops-up, fitting skirting, and flat-pack storage. Follow DIY safety tips, keep receipts, photograph stages, and check insurers, building control, and warranties for insurance compliance.
How Do Attic Conversions Affect Home Insurance Premiums and Coverage?
Your premium may rise and cover can change once you convert, especially if you add bedrooms or electrics. Tell your UK insurer, update rebuild value, document attic insulation and ventilation improvements, and get completion certificates.
Will an Attic Conversion Increase Property Taxes and by How Much?
Yes, it can—like turning your loft into Narnia, you’ll likely trigger a tax assessment uplift. UK council tax depends on banding; higher property valuation may shift bands. Ask your council, check VOA, estimate modest rises.
Conclusion
If you plan carefully, you’ll turn wasted loft space into a comfortable room without wrecking your budget. Start by confirming head height, joist strength and a safe stair route, then price up insulation, electrics and windows before you commit. Don’t forget Building Regulations, fire doors and compliant egress. One useful stat: in the UK, a typical loft conversion costs about £45,000 on average, so small spec changes add up fast. Keep decisions tight and get fixed quotes.


