Set a budget first, add 10–15% contingency, and keep the layout to avoid costly plumbing moves. Spend on three high-impact swaps: a new shower head/mixer, basin tap and waste, and a better mirror or lighting. Refresh walls with moisture-resistant, anti-mould paint after proper cleaning and prep. Use peel-and-stick only on smooth, dry zones like a WC wall, not inside showers. Finish with matched hardware, smart storage, and budget accessories from IKEA, Dunelm, B&M, or TK Maxx—there’s more to try next.
Set a Budget and Pick Your Top 3 Upgrades
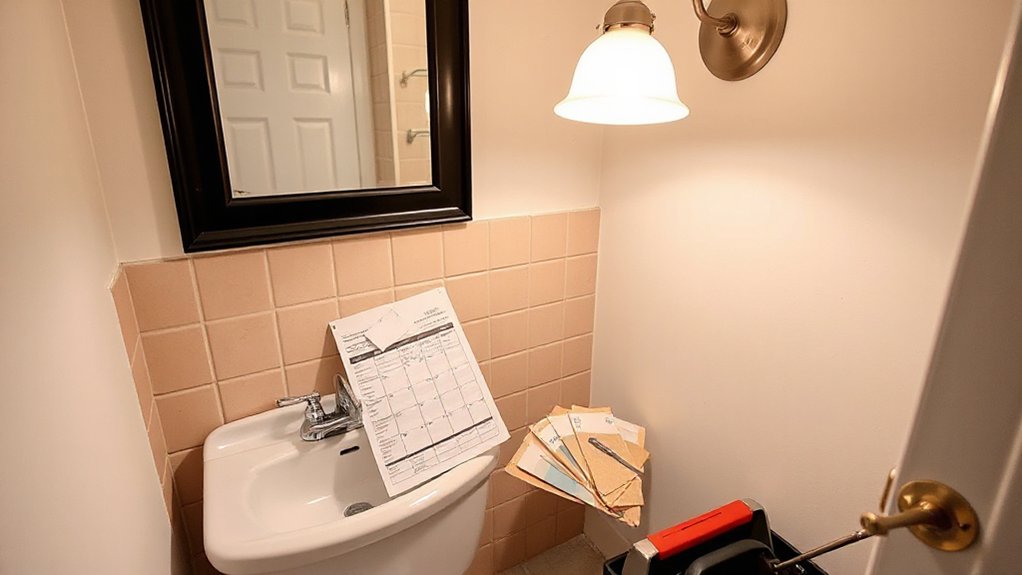
Before you buy a single tile or tap, set a realistic budget and decide what matters most, because bathroom costs can spiral quickly in the UK. Do your Budget planning first: measure the room, list what must stay, and price labour alongside parts. Add a 10–15% contingency for hidden issues like rotten floors or tired pipework.
Next, pick your top 3 upgrades and rank them by impact. For most dated bathrooms, you’ll get the best value from: replacing the shower mixer or head, swapping the basin tap and waste, and updating lighting and the mirror. Keep existing sanitaryware if it’s sound.
Make smart material selection choices: choose mid-range chrome, standard sizes, and off-the-shelf panels to avoid custom costs. Shop end-of-line deals at DIY sheds and local merchants.
Refresh an Outdated Bathroom With Paint
A fresh coat of paint is one of the cheapest ways you can modernise a tired bathroom, but you’ll need a moisture-resistant finish so it doesn’t peel.
You’ll get a longer-lasting result if you prep properly—clean off soap scum, lightly sand, and prime where needed.
For maximum impact on a small budget, paint accents like the vanity, shelving, or a feature wall to sharpen the whole space.
Choose Moisture-Resistant Paint
Since bathrooms in the UK deal with constant steam and condensation, you’ll get a longer-lasting refresh by choosing a moisture-resistant paint rather than a standard matt emulsion.
Look for products labelled bathroom or kitchen & bathroom, with anti-mould additives and a wipeable finish (often satin or soft sheen). They cost a bit more per litre, but you’ll repaint less often and you can clean splashes without scuffing the colour.
Match the paint to your room’s conditions: if your shower steams the whole space, prioritise mould resistance; if the room stays bright, choose a finish that won’t yellow.
Don’t forget bathroom ventilation—run the extractor during showers and for 20 minutes after—so the coating can actually do its job properly.
Prep Surfaces For Durability
Although moisture-resistant paint handles steam better, it won’t stick or stay smart if you slap it over soap scum, limescale, or flaking gloss. Start surface prep by degreasing with sugar soap, then rinse and let everything dry fully; a cheap fan heater helps in cold UK homes.
Scrape loose paint, sand glossy tiles or woodwork with 120–180 grit, and hoover the dust. Fill chips with a ready-mix filler and sand flush once cured.
Treat mould with a fungicidal wash, not just bleach, so it doesn’t creep back under paint.
Tape edges and protect fittings to avoid costly clean-ups.
Finish with primer application: use a bonding primer on tiles and a stain-blocking primer on nicotine or water marks. Let primers cure.
Paint Accents For Impact
If you can’t stretch to new tiles or a vanity, paint accents will modernise the room fast for the cost of a tin. Pick a moisture-resistant bathroom paint and target one feature: the bath panel, a dated cabinet, or an accent wall behind the mirror.
Keep the rest light to bounce UK daylight and make small spaces feel bigger. Use colour psychology to steer the mood: soft greens calm, warm off-whites feel clean, and deep navy adds hotel-style contrast without new fittings.
Mask edges with decent tape, cut in with a sash brush, then roll for a smooth finish. Finish with a clear sealant on high-splash zones.
You’ll get impact in a weekend and save for bigger upgrades later.
Where Peel-and-Stick Works (and Won’t)
Peel-and-stick can give you a quick, low-cost bathroom upgrade, but you’ll get the best results on smooth, clean, sealed surfaces like gloss-painted walls, tiles in good condition, or sealed laminate.
You’ll want to avoid high-moisture zones such as inside the shower, around the bath rim, and any area that gets regular direct spray or heat.
Get the placement right and you’ll save money by skipping failed adhesive and early replacement.
Best Surfaces For Stick-On
Before you spend money on peel-and-stick tiles, panels, or vinyl, check what you’re sticking them to, because the surface matters more than the product. Aim for a smooth, clean, fully dry base: primed plaster, painted plasterboard, sealed MDF, or existing tiles that are sound and well-glazed.
Surface texture is key—matte, chalky, flaky paint or textured wallpaper will weaken the bond and telegraph bumps through thin vinyl. For best adhesive strength, degrease with sugar soap, rinse, and let it dry; then lightly sand gloss paint and wipe dust away.
Fill dents, caulk gaps, and spot-prime repairs so you don’t waste sheets. If the wall flexes, fix it first; stick-ons won’t hide movement.
Moisture Zones To Avoid
Although many peel-and-stick products claim they’re “water-resistant,” they don’t belong in true wet zones: inside the shower enclosure, along the bath/shower splash line, on the shower tray upstand, or anywhere that gets regular direct spray and steam. Heat, shampoo residue, and daily condensation can lift edges, trap water, and stain grout lines you’re trying to fake.
Use peel-and-stick on drier areas instead: the basin backsplash, WC wall, vanity sides, and half-height feature panels away from towels and splashes. Keep at least 300mm from the shower opening where possible.
If your bathroom’s steamy, improve ventilation systems first (a decent extractor with a humidistat is a smart spend). Good airflow supports mold prevention and helps adhesives cure properly, so your upgrade lasts longer.
Upgrade Bathroom Lighting for a Modern Look
When you swap out tired fittings for brighter, better-placed light, your bathroom can look instantly more modern without a full refit. Start by layering ambient lighting with a ceiling LED panel or slim flush mount. Then add task lighting at the mirror so shaving and make-up feel easier.
Pick IP-rated light fixtures for UK bathroom zones, and stick to warm-white LEDs (around 2700–3000K) for a clean, flattering tone.
To keep costs down, replace bulbs with LED versions first, then upgrade one fitting at a time. Consider a PIR sensor for the main light to cut wasted energy, and add a dimmer where permitted to shift from bright mornings to relaxed evenings.
Always use a qualified electrician for wiring changes.
Modernize an Outdated Bathroom With New Hardware
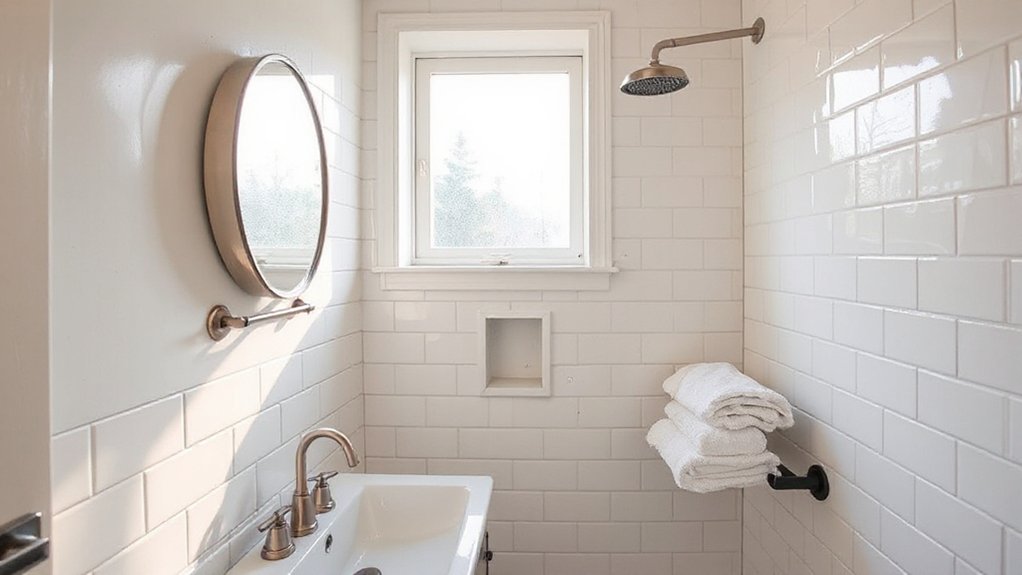
If your bathroom still has dated chrome knobs, tired taps, and a chunky toilet handle, swapping the hardware is one of the cheapest ways to make everything feel current. Pick one finish—matt black, brushed brass, or stainless—and stick to it across the basin, bath, and WC so the room looks intentional.
Measure centres on handles and check tap hole spacing before you buy, and favour WRAS-approved taps for UK plumbing peace of mind.
You don’t need a full refit: change robe hooks, towel rings, and the mirror’s brackets, too.
If you like character, mix modern pieces with Vintage fixtures or lean into antique accessories, but keep shapes simple so it feels updated, not fussy.
Shop Screwfix, B&Q, and eBay for deals.
Budget Vanity Upgrades: Paint, Top, or Swap
Even a dated vanity can look showroom-fresh on a tight budget, so start by choosing whether you’ll paint the unit, replace the worktop, or swap the whole basin-and-cabinet set. Check what you’ve got: MDF, laminate, solid wood, or vinyl-wrapped fronts affect prep and paint choice—Vanity material options matter.
- Paint it: Degrease, sand, then use primer plus durable eggshell. Add new handles for a crisp finish.
- Top it: Update with affordable countertop styles like laminate, compact laminate, or a slim oak worktop, then seal around the basin.
- Swap it: If the carcass is swollen or chipped, fit a flat-pack vanity and semi-recessed basin from DIY sheds; you’ll save on labour.
Keep plumbing positions the same to avoid extra call-out costs.
Add Smart Storage to Modernize an Outdated Bathroom
Because clutter makes any suite look tired, adding smart storage is one of the quickest, cheapest ways to modernise an outdated bathroom without moving pipes or ripping out tiles.
Start by purging duplicates, then give everything a “home” you can reach one-handed.
Choose smart storage solutions that use dead space: fit a slimline mirrored cabinet over the basin, add a shelf above the door, and stick up adhesive corner caddies in the shower (great for renters).
Swap a pedestal basin for a small vanity unit if you can, or slide a narrow freestanding tower beside it.
Use stackable drawer organisers for make-up and first-aid, and add under-sink pull-out baskets to stop wasted depth.
Finally, hang hooks behind the door for towels and robes—simple space saving ideas that instantly feel newer.
Finish Strong With Modern, Affordable Bathroom Decor
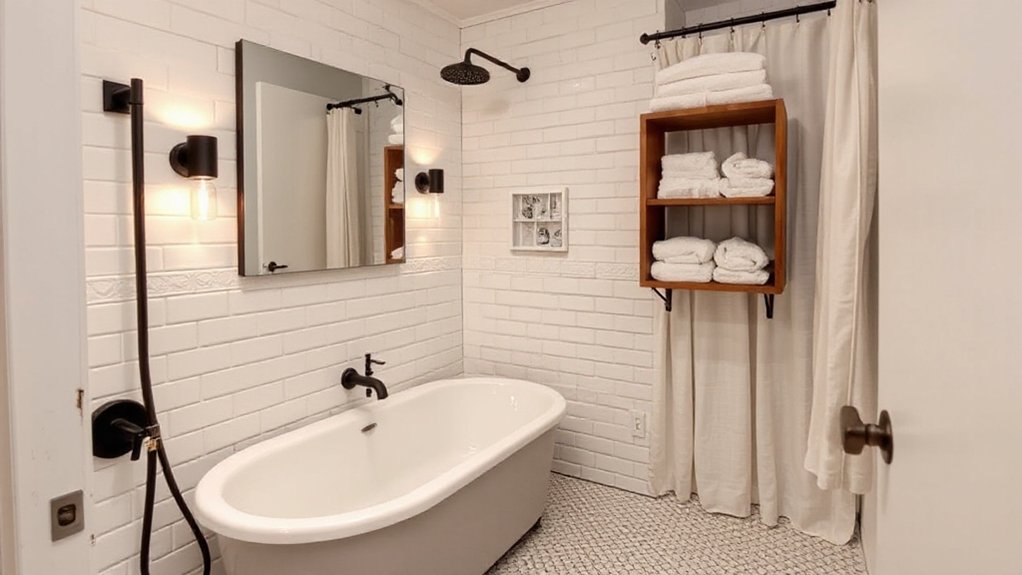
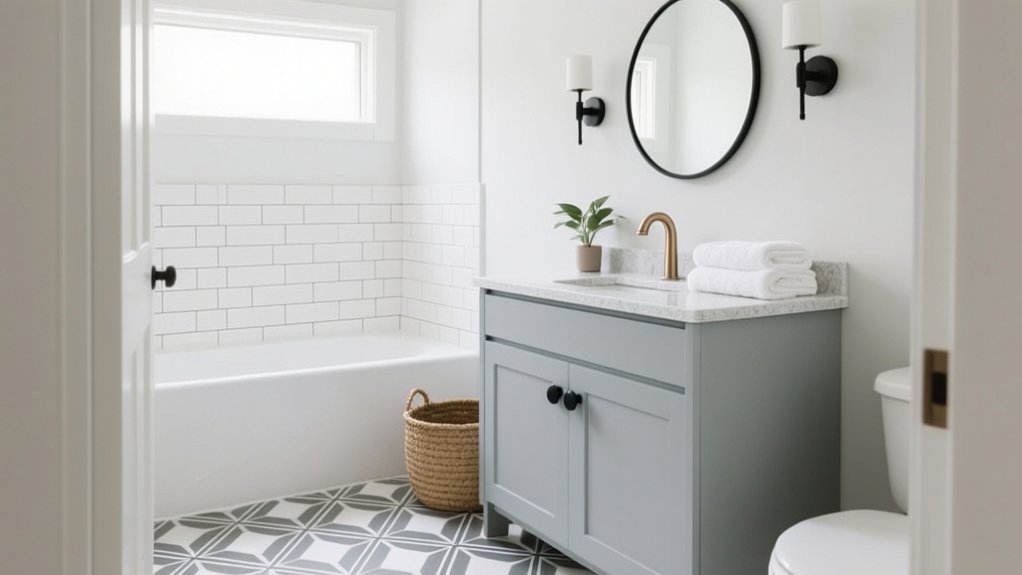
Wondering how to make your bathroom look current without spending a fortune? Focus on decor that delivers impact for less, and shop UK favourites like Dunelm, IKEA, B&M, and TK Maxx. Keep your palette tight—white, stone, or soft grey—then add texture with towels, baskets, and a simple bath mat. You don’t need luxury fixtures to get a polished finish; just match metals and keep lines clean.
- Swap in a statement mirror and warm LED bulbs for a modern glow.
- Add decorative accessories: a tray, refillable soap pumps, and a lidded jar to hide clutter.
- Introduce one accent—black hardware, oak shelves, or green plants—for contrast.
Choose washable fabrics and moisture-proof finishes so it lasts.
Frequently Asked Questions
Do I Need a Permit to Remodel a Bathroom on a Budget?
You might not need a permit, but you’ll need Building Regulations approval in the UK if you move plumbing, electrics, or alter structure. Check local Permit requirements, prioritise safety considerations, and use competent trades.
How Do I Update a Bathroom Without Changing the Existing Tile?
Keep the tile, change the feel: you can update your bathroom fast without retiling. Try Tile painting (tile paint kit) and Fixture upgrading—new taps, shower head, mirrors, LEDs—plus regrout, reseal, refresh silicone.
What Is the Best Flooring Option for a Small Bathroom Remodel?
Choose luxury vinyl tiles: you’ll get strong flooring durability, great water resistance, and plenty of aesthetic options. It’s budget-friendly in the UK, installs quickly, and you can fit it over sound subfloors.
How Can I Improve Bathroom Ventilation Without Major Construction?
Improve ventilation by fitting quieter Ventilation fans with humidistats, cleaning existing ducts, and fitting a window trickle vent. Add Airflow enhancements like door undercuts and a dehumidifier. You’ll reduce condensation cheaply.
Should I Replace the Toilet to Make the Bathroom Look More Modern?
Yes—because nothing screams “modern” like worshipping porcelain. If yours is stained, low-efficiency, or bulky, a Toilet upgrade helps. Choose Modern fixtures with dual-flush, soft-close, and UK fittings; you’ll refresh cheaply.
Conclusion
You don’t need a Grand Designs budget to modernise an outdated bathroom; you just need a plan. Set your spend, nail your top three upgrades, and start with paint, lighting and hardware for the quickest wins. Use peel-and-stick where it makes sense, refresh or swap the vanity, and add smart storage to stop clutter creeping back in. Finish with a few modern accessories, and you’ll feel like you’ve pulled off a small-day miracle.