
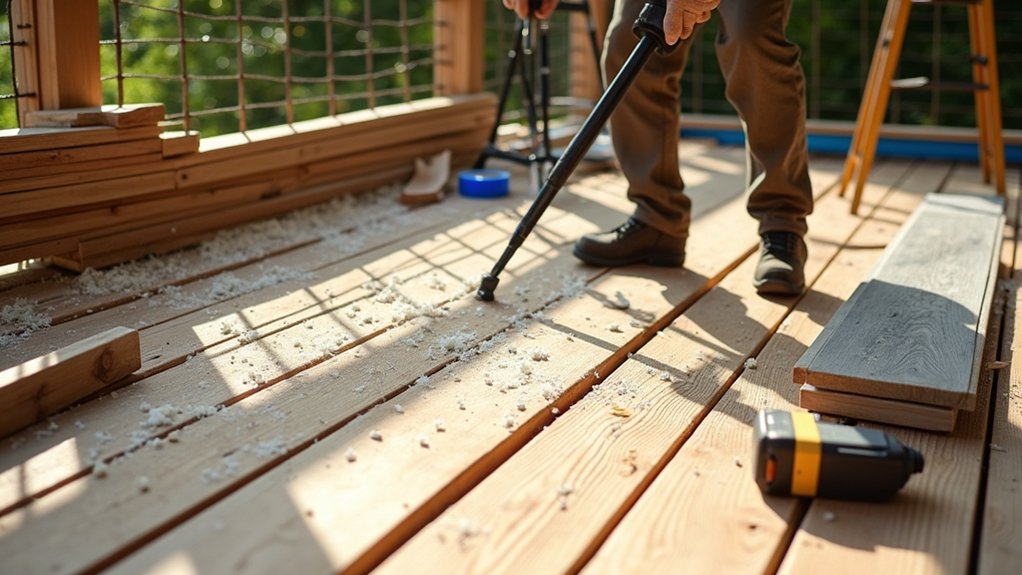
You’ll notice a coincidence when your deck’s hidden rot and loose boards surface after a mild storm, signaling time to inspect for safety and damage. You’ll evaluate renewal options, assemble materials, and choose a protection method—stain, sealant, or paint—then clean and prepare the surface. Make repairs and replace damaged boards, apply primer and finish, and commit to seasonal care to keep it solid and attractive. Ready to plan the steps that follow?
Inspect the Deck for Safety and Damage
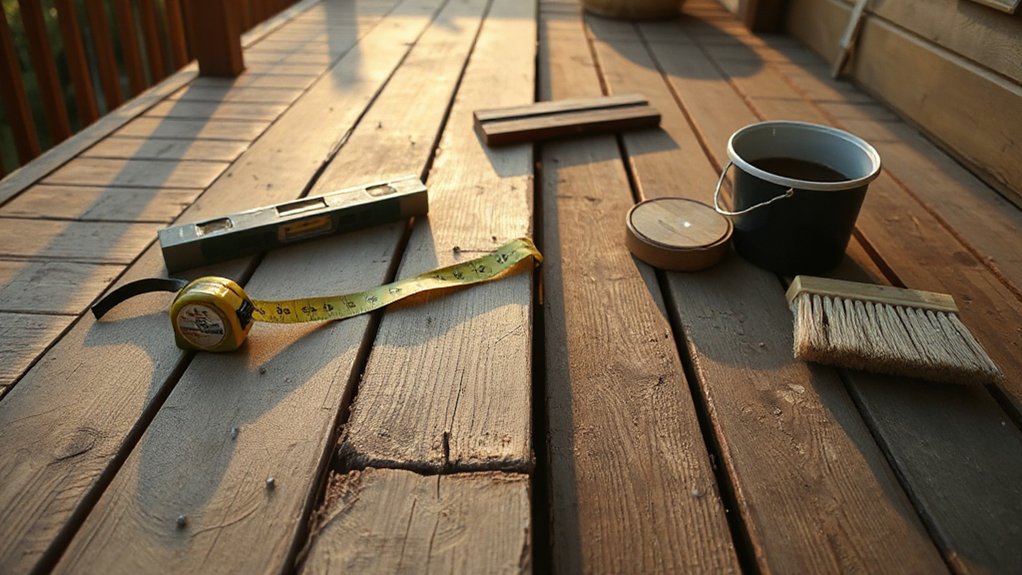
Before you renew, inspect the deck thoroughly for safety and damage. You’ll conduct a systematic assessment of surface conditions, fasteners, and framing to protect deck safety and preserve structural integrity.
Begin with visible elements: boards, railings, posts, and joists for cracks, splits, rot, and efflorescence. Check for raised or loose boards, corrosion on metal connectors, and gaps that indicate movement.
Test stiffness by applying measured pressure to spans and posts; listen for creaks indicating loosened connections.
Inspect flashing and ledger attachment at the house for water intrusion.
Examine stair stringers, handrails, and anchors for secure fit and corrosion resistance.
Document findings with objective notes and photos, prioritize urgent repairs, and plan noncritical remediation to maintain structural integrity during renewal planning.
Evaluate Renewal Options and Assemble Materials
Assess renewal options by outlining viable deck solutions and selecting the most durable, code-compliant approach for your structure. You’ll evaluate framing, decking, fasteners, and flashing, choosing systems that meet local wind, load, and moisture requirements.
Compare material lifespans, maintenance needs, and installation complexities to inform a rational plan. Material selection should prioritize structural integrity, slip resistance, and temperature performance, aligning with your climate and usage.
Develop a materials list with quantities, dimensions, and compatible fasteners, then verify compatibility with existing supports and permits. Budgeting considerations must account for procurement, delivery, and contingency funds for unforeseen repairs.
Create a phased procurement schedule that minimizes downtime and damage exposure. Document decisions, purchase orders, and warranties to streamline inspection and future maintenance.
Choose a Protection Method: Stain, Sealant, or Paint
After selecting a durable deck system, you now choose the protection method that best preserves the structure and maintains slip resistance. You evaluate three options: deck stain, protective sealant, or paint.
Each serves a distinct purpose: stain penetrates and color-ties the wood, sealant forms a moisture barrier without changing texture, and paint provides an inert film with color.
Your choice hinges on exposure, maintenance cadence, and desired aesthetics. Consider wood species, grain visibility, and ambient conditions to balance penetration versus film build.
If you prioritize natural appearance and UV protection, review deck stain options for pigment load and failure modes.
If you demand minimal maintenance and high water resistance, examine protective sealant benefits, including recoat timelines and surface compatibility.
Paint remains viable for high-visibility surfaces or rapid restoration when color uniformity is required.
Clean and Prepare the Surface for Renewal
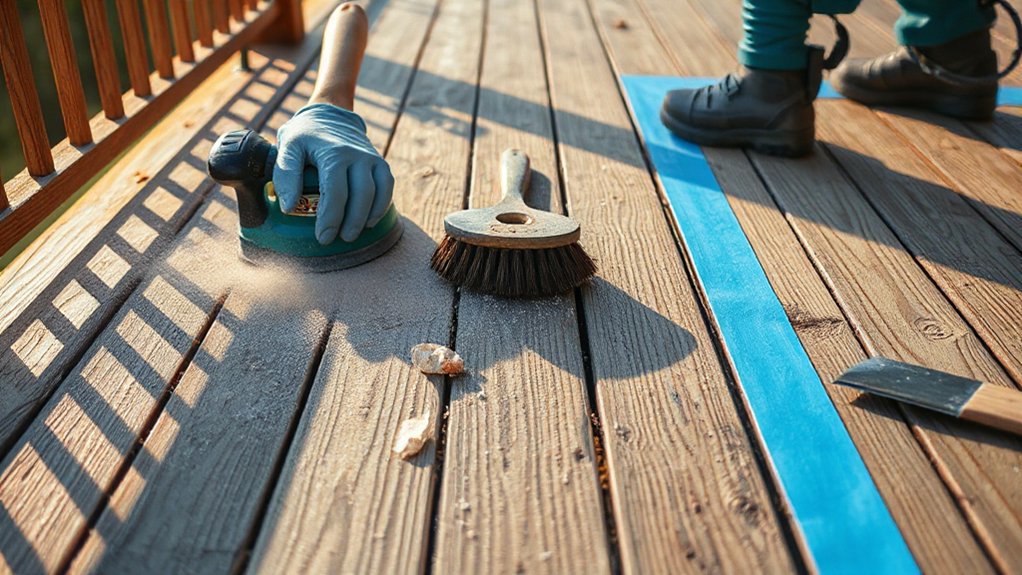
Start by removing all loose debris, dirt, and contaminants from the deck surface using a stiff-bristle brush or power washer at a moderate pressure to avoid fiber damage.
You then perform surface cleaning to expose a uniform substrate, ensuring all grit, algae, and mold are dislodged. Use a targeted approach: work in sections, maintain steady movements, and rinse frequently to prevent residue buildup.
Inspect joints, boards, and fasteners for looseness, documenting any area needing attention after cleaning.
Debris removal should be thorough, leaving a dry, even surface free of pooling water.
Avoid harsh cleaners that could alter wood fibers; opt for environmentally safe solutions compatible with your deck material.
Final pass should reveal a clean, prepared surface ready for renewal, with no staining or remaining contaminants impairing adhesion.
Make Repairs and Replace Damaged Boards
Begin by inspecting for cracks, rot, and loose fasteners to identify all damages.
If you find compromised boards, replace them immediately with proper grade decking and approved fasteners.
This approach minimizes recurrence and maintains structural integrity.
Inspect and Identify Damages
Inspecting your deck starts with a careful, methodical assessment to identify all signs of trouble. You’ll scrutinize boards for cracks, warping, cupping, and splintering, noting deviation from true flatness. Look at rail posts and joists for looseness, rusted fasteners, and visible rot at joints.
Examine fastener heads for stripping or backing out, and verify gaps remain uniform to prevent water pooling. Check wood grain orientation for irregular lifting or fiber separation that signals decay beneath the surface.
Assess substructure connections for corrosion or compromised hardware, and confirm ledger stability against the house. Document all findings with precise measurements, marking locations and corresponding symptoms.
Determine if issues affect structural integrity or only surface aesthetics, ensuring you distinguish superficial finishes from core deterioration requiring remediation. Proceed only after confirming most problems are surface-level and isolated to noncritical components.
Replace Damaged Boards Now
If damaged boards are present, replace them immediately to prevent further deterioration and maintain structural integrity; do so by removing the compromised lumber, preparing the joist or support beneath, and installing new boards that match thickness and grain orientation.
Begin with a precise damage assessment to locate all compromised sections and verify fastener integrity.
Select replacement boards that match species, density, and moisture content, then cut to exact length to avoid gaps.
Secure with corrosion-resistant fasteners, maintaining consistent spacing and deck line continuity.
Check for warping, cupping, or twisting after installation, and verify screw or nail depths.
Guarantee proper sealing and edge support to minimize moisture ingress.
Perform a final inspection for safety, alignment, and load transfer, documenting wood replacement parameters for future maintenance.
Apply Primer and Finish for Lasting Beauty
Start with a thorough prep to guarantee adhesion and uniformity. Then apply primer to seal surfaces and improve finish durability.
You’ll protect the deck by selecting a primer compatible with your boards and exposure, followed by a finish that resists moisture and UV fading.
Focus on finishing with longevity by precise coats, even application, and proper drying between steps.
Prep, Prime, Protect
To guarantee lasting beauty and durability, apply primer before any finish and seal with an appropriate topcoat after prepping the surface. You should assess substrate porosity, then select a compatible primer that enhances adhesion and blocks tannins. Apply in thin, uniform coats, allowing proper dwell time between layers.
Follow with a precise sanding, removing dust to maintain a smooth foundation for finish coats. Choose a finish with proven compatibility to resist UV degradation and moisture ingress. This step stabilizes the deck aesthetics while delivering consistent color and sheen.
For weather resistance, assure film integrity through controlled environmental conditions during application and curing. Inspect joints and fasteners, treating exposed hardware to prevent corrosion and ensuring a seamless, durable protection system.
Finish With Longevity
Ever wonder how to secure long-lasting beauty on your deck? Finish With Longevity delivers durable protection through disciplined primer and finish choice. You’ll optimize Weather resilience and Material durability by selecting compatible systems and adhering to manufacturer specs.
Follow these steps:
- Choose a high-build, stain- or paint-system designed for exterior exposure.
- Apply a proven primer that seals fibers and blocks tannins before any finish.
- Use weather-resistant topcoats with UV blockers and mildew resistance.
- Maintain recoat intervals based on wear, cleaning frequencies, and substrate condition.
Proceed with thorough surface prep, even film thickness, and proper cure times.
This disciplined sequence sustains color, resists peeling, and preserves structural integrity over time, delivering reliable, long-term aesthetics.
Maintain Your Refreshed Deck With Seasonal Care
Maintaining a refreshed deck requires timely, seasonal care to protect coatings, prevent moisture damage, and extend service life. You’ll establish a routine inspection schedule and address microcracks, loose fasteners, and raised boards before they escalate.
In spring, clean thoroughly, reseal high-wear zones, and reapply UV protectants to sustain deck aesthetics without altering board integrity.
Summer exposure demands moisture management; ensure proper drainage, remove debris, and verify flashing seals around posts.
Autumn brings leaf accumulation; prune nearby vegetation to reduce shading and mildew risk, and refresh surface coatings after dew cycles.
Winter prep includes clearing snow with plastic blades and avoiding salt that corrodes fasteners. Use durable sealers compatible with your material.
This routine supports seasonal decorations, without compromising structural performance or coating longevity.
Frequently Asked Questions
How Long Does a Deck Renewal Typically Take?
A typical deck renewal takes about one to two weeks, depending on size, weather, and complexity. You’ll plan for assessment, material delivery, and completion windows.
If you’re handling the project yourself, allocate extra time for surface prep and sealing, as delays in deck maintenance can extend timing.
Contractors usually schedule jobs back-to-back, so confirm renewal timing and weather margins upfront.
Ripples in timing can affect coated longevity and safety, so secure permits if required.
Can I Renew a Deck Myself or Hire Pros?
Yes, you can renew a deck yourself or hire pros. DIY considerations include material choices, safety, permits, and time management.
Professional benefits cover guarantees, efficiency, and code compliance. If you value speed and long-term durability, pros reduce liability and deliver precise finishes.
If you’re comfortable with stained schedules and tool readiness, a meticulous DIY approach can save money.
Weigh your DIY considerations against Professional benefits to decide the best path for your project.
What Tools Are Essential for the Project?
You’ll need a few essential tools: a pry bar, hammer, tape measure, square, pry bar, level, power drill, circular saw, orbital sander, sander paper grits, garden sprayer, brushes, rollers, and ladders.
An anachronism at the start: “ye olde utility knife” signals timeless prep.
For Deck staining and paint selection, use clean rags, buckets, respirator, gloves, and drop cloths.
Prioritize a cordless drill, blade sharpness, and a quality deck stain compatible with your surface.
Is There a Warranty on Renewal Products?
Yes, there’s typically warranty coverage on renewal products, though specifics vary by brand and material. You’ll want to verify the exact terms, coverage duration, and what it includes, since gaps can exist between components.
Guarantee product longevity by registering the warranty and following maintenance guidelines. In general, the warranty covers manufacturing defects and performance issues under normal use, but excludes improper installation, misuse, or environmental damage.
Always check the fine print for exclusions and claim procedures.
How Do I Protect Plants and Furniture During Work?
You protect plants and furniture by deploying barrier covers and careful spacing as you work. Think of a gardener mulching around delicate blooms to save roots: you’ll shield plant protection using drop cloths, plastic sheeting, and low-tack tape.
You also safeguard furniture with moving pads, PVC runners, and sturdy tarps. Keep tools organized, edges penned, and airflow intact to minimize splash.
This precise approach guarantees plant protection and furniture safeguarding throughout the project.
Conclusion
You’ve renewed your deck with careful inspection, proper materials, and a durable finish, so safety and aesthetics stay on point. Follow upkeep routines, clean regularly, and reseal as advised to extend life. Stay vigilant for damage and address it promptly—prevention beats costly fixes. Your proactive approach pays off; you’ll be sitting pretty for years, no question. The finish acts like armor, but don’t neglect seasonal care—keep it shining, and you’ll weather any season, come rain or shine.





