
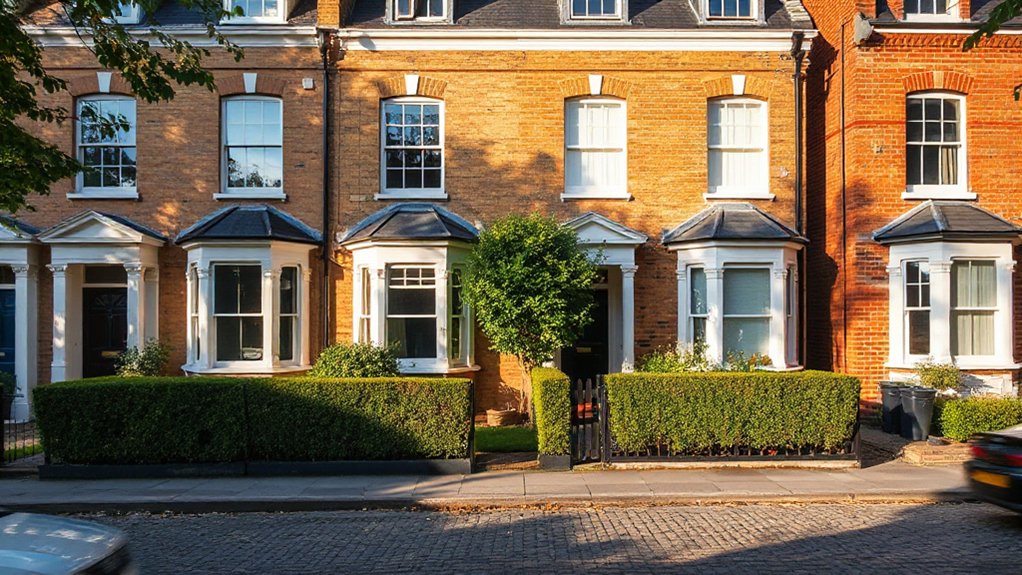
To renovate without issues, start by confirming whether your project sits in a conservation area and if planning permission or Article 4 directions apply. Assess impact on character early, and keep to materials, scale, and rhythms that match the surrounding fabric. Check permitted development limits and obtain approvals before work begins. Engage planners and conservation officers from the outset, document features and trees, and maintain transparent records. If you push practical, compliant steps, you’ll reduce delays and preserve heritage, with more guidance ahead.
How Conservation Areas Differ From Standard Property Rules
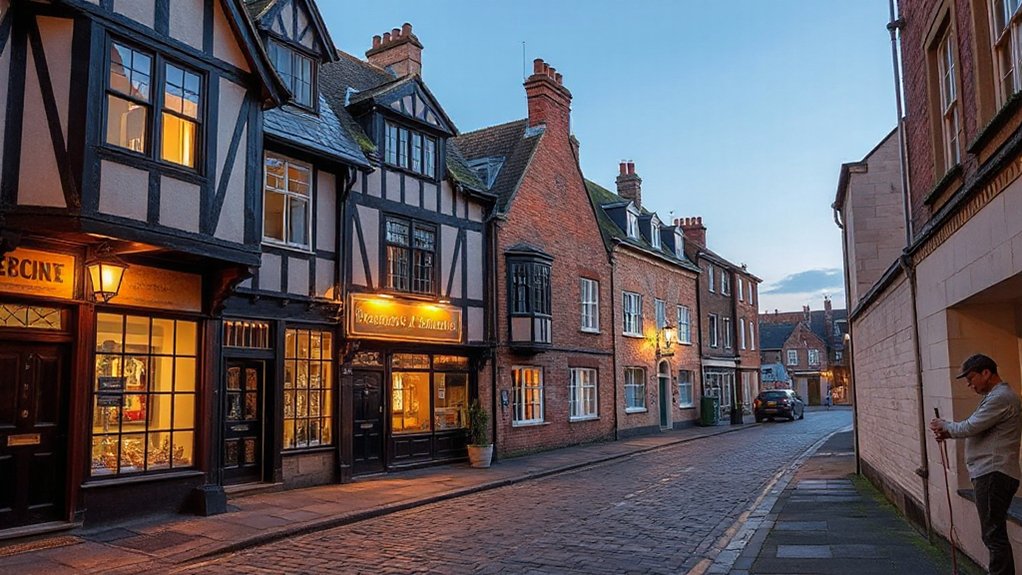
Conservation areas impose stricter controls on changes to your property than standard rules. You’re part of a living, shared landscape, so decisions hinge on the area’s character and continuity with its past.
You’ll encounter additional checks beyond normal planning, focused on preserving the district’s unity and historic feel. Local restrictions guide what you can alter, from doors and windows to rooflines and fencing, ensuring updates respect established streetscapes.
You’ll need to interpret guidance considering historical significance, not just aesthetics, which reinforces a sense of belonging to a protected community.
Your responsibility is to plan thoughtfully, document intentions, and consult early with authorities. By aligning proposals with preserved heritage, you contribute to the area’s story while safeguarding future residents’ confidence and trust.
Does Your Project Need Planning Permission?
You’ll want to confirm when planning permission is required and what counts as permitted development in a conservation area.
We’ll also consider how heritage and conservation rules shape any changes you’re planning.
This short check sets the framework for the decision you’ll make about your project’s approvals.
When Is Planning Required
Determining planning permission isn’t a guesswork task: you’ll know you need it when your project falls outside permitted development rights or involves material changes to the building’s use, appearance, or size.
In a conservation area, you should assess early whether works affect character, history, or setting, and consult your local authority for clarity. You’ll likely require permission for extensions, significant alterations, or demolitions, even when they seem modest.
By identifying these thresholds now, you reduce delays and preserve community standards. Prioritize eco-friendly upgrades and thoughtful design choices within approved conditions to balance costs with value.
Budget management remains essential: outline costs, obtain accurate forecasts, and align plans with permissions to avoid costly redesigns or hold-ups while sustaining a sense of belonging for your neighborhood.
Permitted Development Limits
In a conservation area, understanding Permitted Development Limits helps you gauge when planning permission is a must. You’ll find clear boundaries for extensions, alterations, and outbuildings that stay within permitted development rights. These limits depend on your home’s classification, location, and the size and design of proposed changes.
You should assess whether your project fits within day-to-day allowances or if you’ll need a planning application. When your plan exceeds height, floor area, or materials restrictions, planning permission becomes relevant, ensuring adherence to preservation goals.
Focus on adaptive reuse and Modern interventions that respect massing, scale, and historic rhythm. By documenting compliance early, you cultivate community confidence and a smoother consent journey.
Heritage and Conservation Rules
When your project touches a heritage or conservation area, planning permission is often required to safeguard historic character and architectural rhythm. You assess whether features affect the external appearance, materials, or setting, and you consult the local planning authority early.
Your approach must demonstrate legitimate design aims, not mere preference, and you should document how the proposal preserves or enhances significance. In practice, you’ll navigate listed-building considerations, conservation-area controls, and potential Article 4 directions.
You balance modern amenities with traditional fabric, ensuring sympathetic scale, massing, and detailing. Emphasize energy efficiency without eroding character, using appropriate materials and reversible interventions where possible.
This disciplined preparation communicates commitment to the community, supports timely decisions, and reinforces a sense of belonging among residents and stakeholders.
Permitted Development: Quick Checks and Safe Limits
You’ll start with quick development checks to confirm what’s allowed on your site.
This section outlines the safe limits overview and the scope of permitted changes, so you know what’s possible without full planning permission.
Stay precise as you assess scope, height, and volume to guide compliant improvements.
Quick Development Checks
Because quick checks matter, you should start by confirming what counts as permitted development for your project and where the conservation area constraints apply. Then verify the limits before you begin any work. You’ll map boundaries, check planning guidance, and note any exceptions that could affect elevation, footprint, or materials.
Keep a clear record of approved scales, timeframes, and notice requirements to avoid penalties. Communicate with your Local planning authority early, and document decisions to support accountability and Local community engagement.
In this process, consider how historic signage and sensitively integrated features influence impact assessments. Align every choice with preservation principles, ensuring your approach reinforces belonging within the historic fabric while staying compliant and transparent.
Maintain concise, precise notes for future reassurance.
Safe Limits Overview
Are you clear on the quick checks that define permitted development and the safe limits you must observe in a conservation area? You’ll align every change with local planning guidance, guaranteeing you stay within established thresholds.
The safe limits overview guides you to avoid overstepping height, volume, and material constraints that attract scrutiny. Confirm whether your alterations respect overlooking, bulk, and precedent concerns, and document decisions for consistency with planning expectations.
Embrace a proactive approach: verify boundary treatments, ensure materials echo the local vernacular, and preserve historic character. Consider urban greenery integration and its impact on sightlines and scale, integrating trees and hedges where appropriate.
Always cross-check with Local zoning provisions, seek pre-application advice when needed, and maintain transparent records to safeguard your project’s compliance.
Permitted Changes Scope
Permitted Changes Scope requires a precise, methodical check of what constitutes permitted development and where safe limits apply. You’ll map the boundaries of what you can change without planning permission, focusing on roof alterations, extensions, and external finishes.
Assess the impact on the conservation area’s character, noting any features that require consent or preservation. Prioritize quick, safe checks: height, footprint, materials, and visibility from public spaces.
You should verify whether works fall under prior approval or permitted development rights, especially for adaptions that maintain original fabric. Embrace adaptive reuse and modern interventions only within approved parameters, ensuring compatibility with neighbouring properties.
This disciplined approach safeguards compliance, reduces risk, and reinforces your sense of belonging within the historic fabric.
Crafting a Design Brief That Respects Local Character
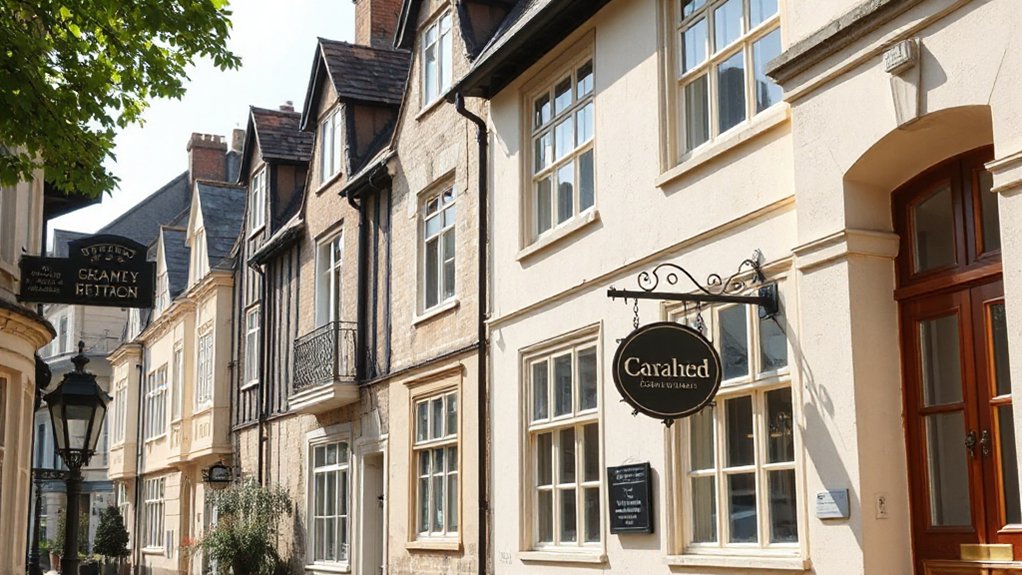
To craft a design brief that respects local character, start by clearly defining the conservation values, context, and constraints that guide renovations. You identify heritage features to preserve, prevailing stylistic cues, and any statutory limitations, then translate those into measurable objectives.
You articulate how adaptive reuse and sensitive interventions align with the surrounding fabric, avoiding disruptive contrasts. Establish performance criteria for scale, rhythm, materials, and detailing, ensuring proposals stay compatible with the street scene and existing structures.
Include a decision tree for prioritizing changes, approving deviations only when they reinforce character and sustainability. Define review mechanisms, stakeholder roles, and a clear timeline.
Your brief should invite collaboration, foster accountability, and guide designers toward coherent, respectful outcomes that communities can embrace with confidence. Sustainable materials, adaptive reuse underpin the rationale.
Choosing Materials That Meet Conservation Guidelines
Your material palette should align with conservation guidelines, focusing on compatible textures, finishes, and durability.
Consider historic material compatibility as you assess how new components will age alongside the original fabric.
Guarantee each choice supports compliance with established rules.
Material Palette Guidelines
When selecting a material palette for a conservation-area renovation, you should prioritize finishes and methods that respect the established guidelines and the building’s historic character. You approach choices with diligence, weighing texture, scale, and provenance to reinforce authenticity.
Favor durable, repairable materials that age gracefully and maintain long-term performance, because Material durability supports ongoing stewardship.
Favor hues and tones that harmonize with the existing facade, ensuring Color coordination guides every decision, from trim to roofing to masonry.
Document anticipated patina and maintenance needs so future stewards grasp rationale.
Avoid trendy contrasts that threaten coherence; instead, build a cohesive palette rooted in context, craft, and restraint.
Your disciplined method builds confidence, belonging, and trust in compliant renovation outcomes.
Historic Material Compatibility
Historic Material Compatibility requires you to select finishes and assemblies that align with conservation guidelines, proving the building’s character while ensuring long-term performance. You prioritize harmony with existing textures, joints, and patinas, avoiding abrupt contrasts that undermine era integrity.
Choose materials compatible with historic preservation principles, considering thermal behavior, humidity, and micro-environmental effects to prevent future deterioration. Where repairs are necessary, prefer matching profiles, weights, and articulation, even if it means sourcing specialized suppliers.
Document decisions with clear justifications for each material change, linking to restoration techniques that respect original methods without over-restoring. Your approach emphasizes longevity, reversibility where feasible, and minimal visual disruption.
Compliance With Conservation Rules
To comply with conservation guidelines, you must select materials that meet established preservation standards and local regulations, ensuring both authenticity and long-term performance. You approach this with confidence, knowing the right choices reinforce your property’s value and your sense of belonging to the community.
Start by evaluating Architectural styles that align with the building’s era, then assess compatibility with existing fabric to avoid incongruent changes. Seek materials that withstand regional conditions while respecting traditional textures and finishes.
When considering Modern interventions, prioritize reversible methods and non-invasive options that maintain historical integrity.
Verify approvals with planning authorities and conservation officers, documenting decisions and rationale.
Choose suppliers vetted for provenance, durability, and color matching, and communicate clearly with neighbors about planned renovations to uphold trust and collective stewardship.
A Practical, Step-by-Step Workflow to Engage Planners
Begin by mapping your project goals against local planning requirements, then assemble a core team to steward the process. You’ll establish clear roles, timelines, and decision points, ensuring accountability from the start.
Approach planners with a concise brief that foregrounds sustainability, heritage sensitivity, and social value, and request early pre-application guidance to identify potential hurdles.
Document site constraints, zoning overlays, and conservation-area nuances, then align design concepts with approved precedents.
Maintain a transparent communication loop: weekly updates, milestone reviews, and a single point of contact for inquiries.
Integrate practical elements like interior lighting and landscaping aesthetics into your early discussions, avoiding scope creep.
Track submissions rigorously, respond promptly to feedback, and implement changes with measurable compliance.
Your disciplined workflow reinforces belonging, trust, and shared responsibility throughout the planning journey.
Navigating Listed Features and Protected Trees in Renovations
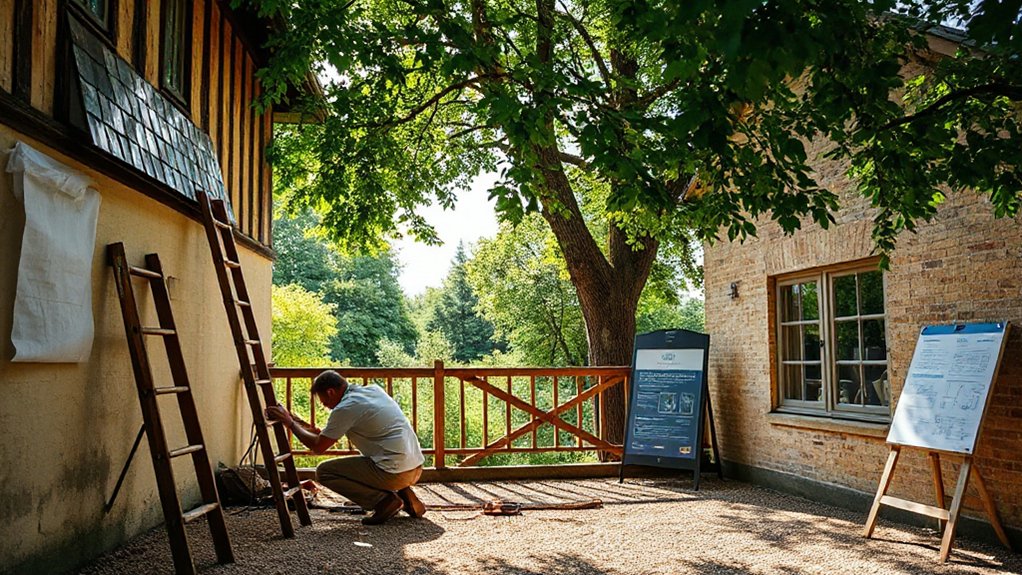
As you move from planning considerations into renovation specifics, you’ll need a precise map of listed features and protected trees on the site. You’ll identify each element’s status, applicable controls, and permit requirements before any work begins.
Prioritize a detailed assessment of tree preservation needs, including root protection zones and seasonal constraints, to minimize disruption to nearby habitats and residents.
Clarify heritage impact with planners early, documenting reasons for proposed changes and expected benefits to the conservation area’s character.
Maintain consistent communication with conservation officers, engineers, and builders to ensure compliance at every stage.
This disciplined approach reinforces belonging, trust, and shared purpose. Remember: deliberate oversight now guarantees costly revisions later and upholds heritage integrity.
Documenting Changes: Photos, Plans, and Submissions
Documenting changes requires precise, organized recordkeeping of every alteration, supported by dated photos, scaled plans, and formal submissions. You must maintain a clear trail that demonstrates consistency with historic preservation principles and architectural heritage objectives.
Capture baseline conditions before work begins, then log every modification with dates, Responsible party, and rationale. Store photos at standardized angles and scales, annotate measurements, and link each image to its corresponding plan revision.
Confirm submissions to planning or conservation officers include updated drawings, impact assessments, and compliance statements. Use a centralized, accessible repository so stakeholders can verify decisions and track progress.
Regularly audit records for accuracy, completeness, and legibility. This disciplined approach fosters trust, belonging, and confidence in safeguarding cultural assets.
Common Planning Pitfalls in Conservation-Area Renovations
Common planning pitfalls in conservation-area renovations often stem from insufficient early alignment with conservation objectives and inconsistent documentation. You may assume approvals will follow intuitively, but that mindset invites delays and inconsistent outcomes.
Prioritize Historic preservation from the outset, mapping the property’s features to statutory safeguards and local guidelines. Missteps commonly arise when design decisions outpace approval processes, or when supporting evidence is scattered across submissions.
To avoid this, establish a clear dossier: photos, plans, and a timeline, synchronized with conservation officers. Embrace Community engagement early—invite neighbors, stakeholders, and heritage advisors to review proposals, and document their input.
When you integrate feedback, cite how it influenced the plan. With disciplined coordination, you reinforce belonging while safeguarding the historic fabric.
Balancing Modern Comfort With Conservation Values in Practice
Balancing modern comfort with conservation values requires practical, evidence-backed choices that respect historic fabric while delivering everyday livability. You optimize performance without compromising character by prioritizing discreet technology and reversible interventions, allowing future adaptation.
Start with essential modern amenities placed where they minimize visual impact, ensuring discreet concealment and easy maintenance.
Emphasize design flexibility: modular layouts, adaptable storage, and scalable systems that evolve with your needs while preserving architectural integrity.
Select materials and finishes that echo original palettes, yet meet today’s durability standards.
Involve craftspeople skilled in conservation practice to verify compatibility with listed features.
Document decisions for compliance, and choose energy strategies that respect building constraints.
You build belonging through transparent reasoning, inviting neighbours to observe responsible progress and reverent restoration that remains true to place.
Frequently Asked Questions
How Long Does a Conservation-Area Planning Process Typically Take?
A conservation-area planning process typically takes several months to a year, depending on complexity. You’ll navigate Historic preservation standards and Architectural guidelines meticulously, ensuring compliant steps, with clear milestones, regular feedback, and a sense of belonging to informed ownership.
Can I Run a Modern Kitchen Appliances in a Conservation Area?
Yes, you can, but you’ll align with Kitchen regulations and local guidance. Treat modern appliances like careful dancers in a historic hall, pacing your setup to respect the space while you belong—carefully planning, obtaining approvals, and complying.
Are There Hidden Costs Beyond Standard Planning Fees?
Hidden costs aren’t just standard planning fees; you’ll also encounter historic guidelines and potential community consultations. You’ll want to budget for expert advice, permit processing, and timelines, ensuring you stay compliant while feeling understood and part of the process.
What Happens if My Design Is Partially Refused?
If your design is partially refused, you’ll revise with Historic guidelines in mind, addressing concerns staff raise. You’ll navigate Renovation challenges thoughtfully, seek guidance, and resubmit; you belong in this process, confident, compliant, and meticulously aligned with expectations.
How Often Must I Renew or Update Permissions After Approval?
You’ll typically renew or update permissions as required by the approving authority, often on a set cycle or upon substantial changes. You must consider Historical significance and prioritize ongoing Community consultation to maintain compliant, belonging-centered stewardship.
Conclusion
Conservation areas demand respect for character, not imitation. By planning before you act, you avoid costly surprises and keep projects compliant. Start with a precise brief, consult local guidance early, and choose materials that echo the area’s palette. Document every change—photos, plans, permits—and learn from precedents. Case in point: a carriage-house retrofit that preserved façade details while upgrading insulation, achieving planning approval with minimal disruption. Thoughtful design, careful execution, and rigorous record-keeping guarantee enduring harmony with place.





