Start by measuring internal cabinet width, depth, shelf height, door clearance, and any pipes or sockets, so your builds don’t clash. Then target dead air: add slim door racks for wraps and spices, tension rods under the sink for sprays, and stackable pantry bins for tins. Fit under-cabinet mug hooks or a rail, build simple pull-out trays on full-extension runners, add a lazy Susan for corners, and convert toe-kicks into hidden drawers. Keep going for step-by-step builds and tool lists.
Choose the Right Small-Kitchen Storage Project
Where do you start when every cupboard already feels full? Pick a project that solves one pain point, not three. If pans avalanche, build a vertical divider rack; if worktops vanish, fit an over-sink shelf; if spices sprawl, add a slim door caddy. You’ll get faster wins and avoid wasted timber.
Match the build to your tools and tenancy. In a rented UK flat, choose removable options: tension-rod under-shelf baskets, Command-strip rail boards, or freestanding stackers.
If you own the place, go for screw-fixed rails, pull-out trays, or toe-kick drawers. Prioritise Creative organization—group by task, store daily items at hand height, and hide duplicates up high.
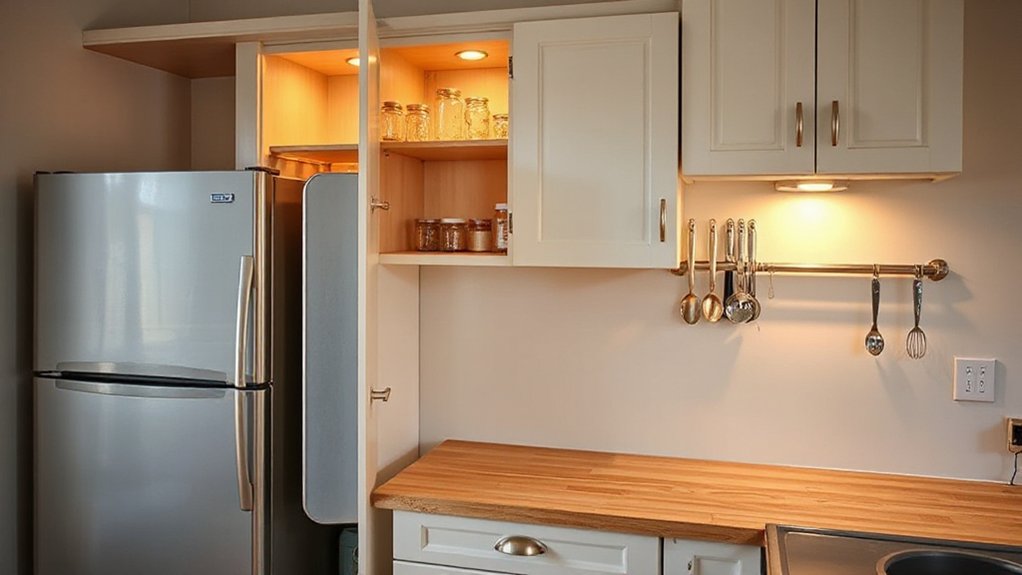
For Space optimization, chase dead zones: inside doors, corners, and the gap above your fridge.
Measure Once: Key Kitchen Dimensions to Record
Before you cut timber or order organisers, take ten minutes to measure the spaces you’ll actually use: internal cabinet widths and depths (front-to-back), shelf-to-shelf heights, door thickness and hinge clearances, the gap between worktop and wall, plus any awkward skirting boards, pipes, or sockets that steal millimetres. These numbers drive your Kitchen layout choices and stop add-ons fouling doors or drawers.
Check Appliance placement too, especially around fridges, dishwashers, and freestanding cookers where UK gaps can be tight.
- Record clear opening width, not just carcass size; hinges reduce usable space.
- Note plinth height, skirting depth, and pipe offsets so pull-outs don’t snag.
- Measure service clearances: ventilation gaps, plug access, and door swing arcs.
Budget Tools and Materials (Plus Cheap Swaps)
Once you’ve got your measurements, you can tackle most small-kitchen storage builds with a modest toolkit and a few UK-available sheet goods—no fancy workshop required.
For Budget planning, prioritise a tape, combination square, drill/driver, countersink bit, and a fine-tooth handsaw or jigsaw; borrow a circular saw for sheet cuts. Add clamps, a sanding block, and a stud/pipe detector for safer fixing points.
For Material sourcing, start with 12mm plywood, 18mm MDF, or melamine-faced chipboard from B&Q, Wickes, or local timber yards; check offcut bins and Facebook Marketplace.
Cheap swaps: pine battens instead of metal brackets, iron-on edge banding instead of hardwood lipping, and PVA plus screws instead of pocket-hole kits. Buy fixings in multipacks to cut cost.
Start Easy: Renter-Safe Small Kitchen Storage Wins
Although you mightn’t be allowed to drill tiles or rip out cabinets, you can still claw back a surprising amount of storage with renter-safe fixes that come down cleanly on moving day. Focus on lightweight, reversible additions that suit UK rentals and keep deposits safe, while upgrading Kitchen decor and appliance organization.
- Use adhesive-backed caddies inside cupboard doors for cling film, bin bags, and foil; test on a hidden spot first, and stick to smooth MDF, not flaky paint.
- Add tension rods under the sink to hang spray bottles and free the base for a washing-up bowl and backups.
- Stack with expandable shelf risers on worktops or in cupboards so plates, tins, and lunchboxes sit in tidy tiers.
Keep labels minimal and wipeable for easy resets.
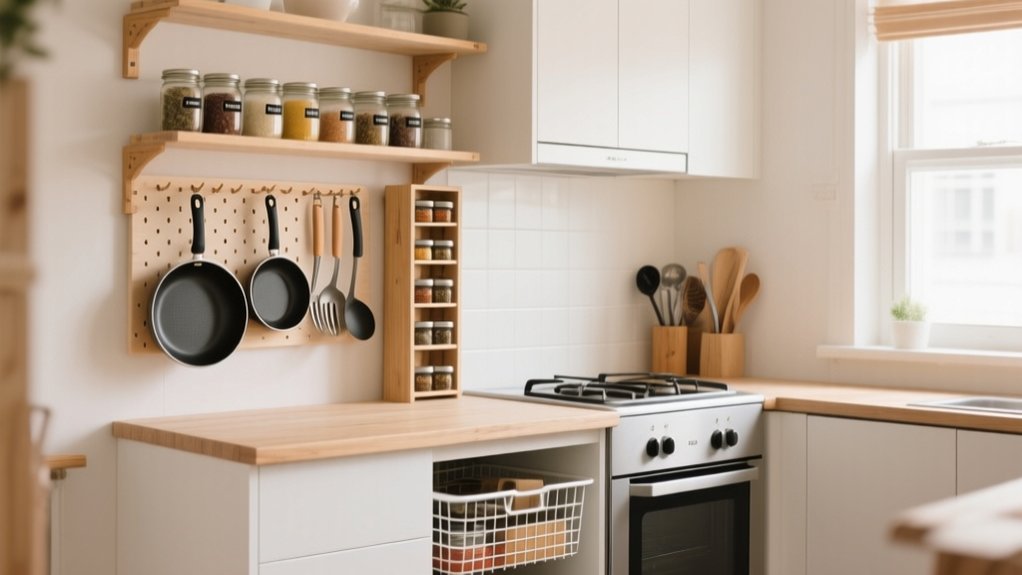
Install Under-Cabinet Mug Hooks and Rail Storage
Choose under-cabinet mug hooks and a rail system that suits your cupboard material and the weight of your mugs, whether you’re screwing into timber or using a heavy-duty adhesive option for laminate.
Measure your spacing and alignment carefully so mugs hang freely and the rail stays clear of cupboard doors and your kettle zone.
Fix everything securely under the cabinet, check it’s level, and give it a firm pull test before loading it up.
Choose Hooks And Rails
If you’re short on drawer and cupboard space, under-cabinet hooks and a simple rail turn dead space into reliable storage without touching your worktops. Start by choosing hardware that suits your cupboards and daily use, not just what looks nice.
- Pick the right hooks: Go for sturdy steel or brass Decorative hooks with a closed loop so mugs won’t bounce off. Check the stated load rating and the hook opening suits your handles.
- Choose a rail system: A slim stainless rail, wooden batten, or IKEA-style bar works well for utensils and mini baskets.
- Match fixings to your units: For Rail installation, select short screws for solid timber, or use proper cavity anchors for hollow panels and MDF.
Measure Spacing And Alignment
Before you drill anything, mark out the hook and rail positions so doors still close cleanly and mugs don’t clash. Start by measuring the cabinet underside depth and set a consistent setback line (typically 25–35mm from the front edge) using a pencil and combination square for measuring accuracy. Check door swing and handle clearance, then offer up a mug to confirm the lowest point won’t hit the worktop or splashback.
Next, plan spacing: allow 70–90mm between hook centres for standard mugs, more for chunky handles. Use low-tack masking tape as a layout strip, mark centres, and step back to eyeball symmetry.
For alignment techniques, snap a chalk line or use a laser level along the cabinet run, and verify with a straightedge.
Install Securely Under Cabinets
Once you’re happy with the marks, fix the hooks or rail up firmly so they won’t twist loose under daily use. Aim for secure installation by driving screws into the cabinet’s solid front rail, not the thin base panel. If you can’t hit timber, add cabinet reinforcement with a 12–18mm plywood batten glued and screwed across the underside, then mount into that.
- Pre-drill 2mm pilot holes to prevent splitting and keep screws straight.
- Use proper wood screws (No.6 or No.8) and a hand screwdriver for the final turns.
- Check clearance: mugs should hang clear of doors, lights, and extractor trims.
Finish by tug-testing each hook, then load mugs gradually so you spot movement early.
Add a Magnetic Strip for Knives and Spices
Although cupboard space disappears fast in a small kitchen, a wall-mounted magnetic strip gives you instant, grab-and-go storage for knives and metal spice tins without sacrificing a single shelf.
For reliable magnetic storage, choose a strip rated for kitchen knives and fit it to a solid wall or a batten fixed into studs; in many UK homes, use proper wall plugs for plasterboard and check for pipes and cables before drilling.
Mount it at eye level, away from the hob’s heat and splatter zone.
Line up knives with blades pointing up, handles down, and test the hold with a gentle tug.
Decant spices into steel tins and label the lids for speedy kitchen organization.
Wipe the strip weekly to prevent grease build-up.
Build a Small Kitchen Shelf Riser for Cabinets
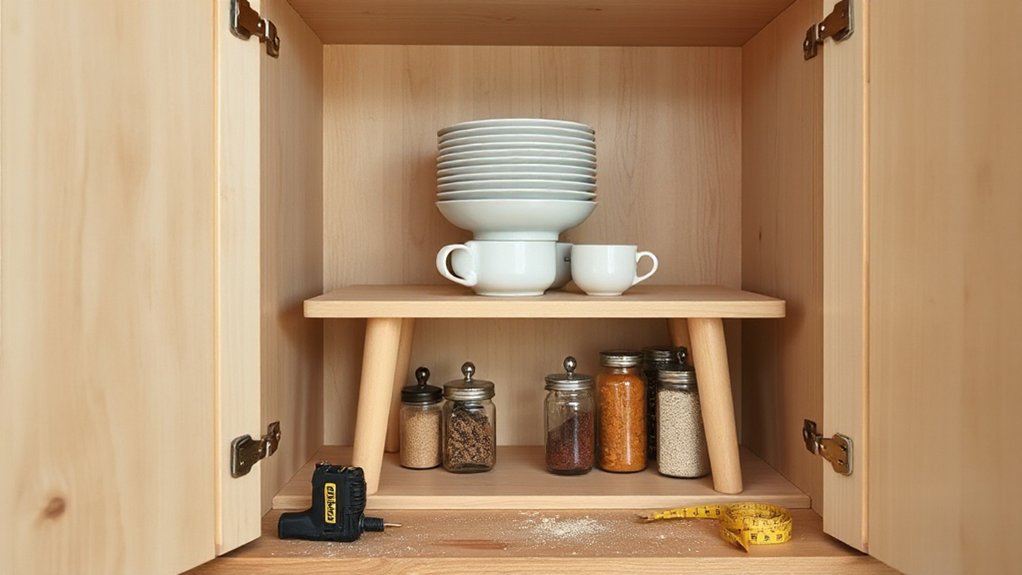
When your cabinet shelves waste vertical space, a simple shelf riser lets you stack plates, mugs, or tins in two neat tiers without fitting new shelving. Keep it removable, so you can clean and reconfigure fast, and size it to standard UK cabinet depths (usually 300–350mm).
- Material selection: Use 12–18mm plywood or pine for the top, and 18mm battens for legs. Add stick-on rubber feet to stop sliding.
- Cut and prep: Measure the shelf, then cut a top panel and four legs. Sand edges and seal with wipe-on varnish for splash resistance.
- Shelf assembly: Screw and glue legs underneath. Check for square, and test-load with your heaviest plates before fitting.
Use Door-Mounted Racks Inside Cabinets
If you’re running out of shelf space, fit a door-mounted rack inside the cabinet to turn dead air into storage for cling film, foil, spice jars, or cleaning sprays. Measure the inside of the door first, checking hinge swing and any internal shelves so nothing clashes.
Choose a slim wire rack or timber rails with a front lip; keep depth shallow to avoid bashing items as you close the door. Fix it with short screws (usually 12–16mm) into solid panels, or use heavy-duty adhesive pads if the door’s hollow.
For door organization, group items by task: wraps together, spices by cuisine, sprays on the bottom. This cabinet optimization frees shelves for bulky pans and reduces rummaging.
Add rubber bumpers to stop rattles.
Build Stackable Bins for Pantry Shelves
Build stackable bins to make your pantry shelves work harder, especially in narrow UK kitchen cupboards. You’ll cut plywood or MDF panels to size, then assemble square, sturdy boxes with screws and wood glue so they sit neatly one on top of another.
Finish by adding simple pull handles and clear labels, so you can grab ingredients fast and keep everything in its place.
Cut Panels And Assemble
Before you reach for the drill, cut every panel to size and do a quick dry fit on the shelf so you know the bin will stack neatly without wasting headroom. For clean panel cutting, mark with a sharp pencil and use a speed square; a fine-tooth blade reduces breakout on plywood. Keep pieces paired, because tiny width differences stop bins nesting properly.
- Square up: check every end is 90°, then lightly sand edges so joints close without forcing.
- Pre-drill and glue: run a bead of wood glue, clamp, then pilot holes to prevent splitting in 12mm stock.
- Fasten and brace: drive countersunk screws, measure diagonals for squareness, and add a simple base strip for rigidity.
Add Handles And Labels
Once the glue’s cured and the box feels rigid, fit proper pull handles and clear labels so you can lift each bin safely from deep pantry shelves and find what you need at a glance.
In UK kitchens, choose low-profile cup handles or recessed pulls to avoid snagging on cabinet frames. Mark a consistent height, pre-drill, then screw through with short bolts and washers so the ply won’t split. If you’ll stack bins, centre handles to keep the load balanced.
For Handle labels, stick a clear label holder to the front, or use vinyl strips sealed with a wipeable topcoat. Keep label organization tight: one font, one colour code, and categories like “tins”, “baking”, “snacks”.
Date decanted items, and update labels immediately.
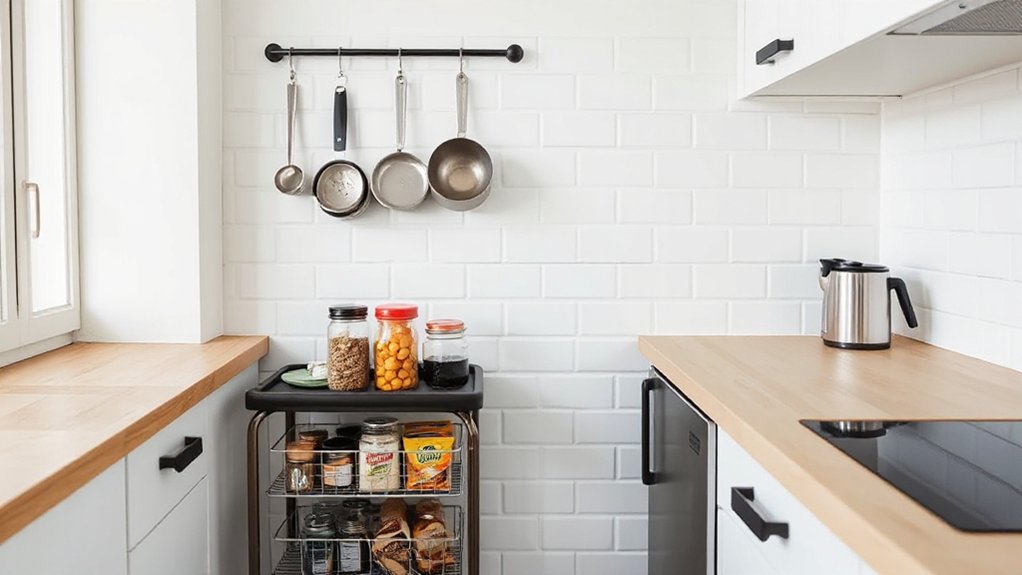
Build a Narrow Rolling Cart for a Small Kitchen
Even if you’ve only got a slim gap between the fridge and the worktop, a narrow rolling cart can turn that dead space into usable storage you can pull out on demand.
Start with a simple Narrow cart design: 12–18cm wide, 70–85cm tall, and no deeper than your worktop, so it glides without snagging.
- Build the frame from 18mm plywood or PAR timber; add two fixed shelves and a top tray with a 20mm lip to stop bottles tipping.
- Add mobility solutions: fit four 40–50mm lockable castors (Screwfix/B&Q), and screw in a pull handle at hand height.
- Seal and load: sand, prime, then use wipe-clean satin; store oils, spices, and cleaning sprays by height.
Build a Vertical Organizer for Lids and Boards
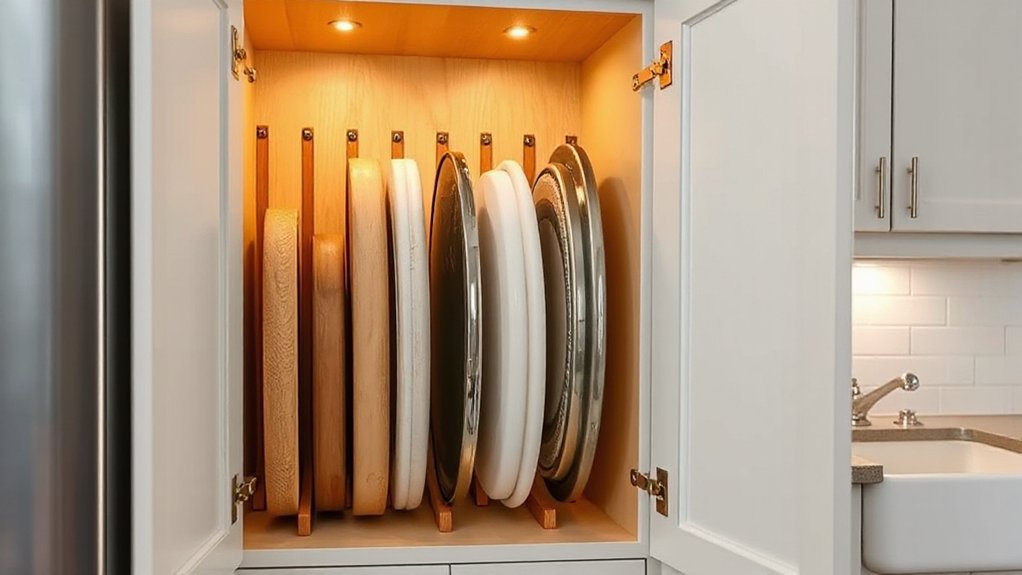
You’ll start by picking moisture-resistant ply or MDF, a few battens, screws, and a drill/driver—everything you can grab from any UK DIY shed.
Cut and fix evenly spaced dividers to suit your pan lids and chopping boards, keeping the slots snug but not tight.
Mount the organiser inside a cupboard door or to a cabinet side panel so you can grab what you need one-handed while you cook.
Choose Materials And Tools
Although this vertical organiser looks simple, choosing the right materials and tools will decide whether it stays rigid, wipes clean, and fits neatly inside a standard UK cupboard.
Prioritise Material durability: use 12mm birch ply for stiffness without bulk, or moisture-resistant MDF if you’ll seal it well. For dividers, 6mm ply keeps slots slim while supporting heavy chopping boards. Pick a wipeable finish like water-based polyurethane; it’s low-odour for indoor UK DIY.
- Measuring kit: tape measure, combination square, pencil, and a cheap set of spacers (or 6mm offcuts) for consistent gaps.
- Cutting and drilling: jigsaw or handsaw, drill/driver, 3mm pilot bit, countersink.
- Tool safety: goggles, ear defenders, dust mask, clamps, and a stable workmate.
Cut And Assemble Dividers
Once you’ve marked out the carcass width and the slot spacing, cut the 6mm divider panels to height and dry-fit them in the base to confirm everything sits square inside your cupboard. Use a track saw or fine-tooth jigsaw, then ease edges with 180-grit to stop snagging.
Material selection matters: moisture-resistant plywood suits UK sink units, while MDF works only in dry cupboards.
For Divider customization, size slots to your largest chopping board and add one narrower bay for pan lids. Mark panel positions with a knife line, then rout or saw shallow dados in the base for positive location.
Glue and pin with 18g brads, or pre-drill and screw through the base. Check for racking with a framing square before the adhesive grabs. Let it cure flat.
Mount For Easy Access
With the dividers cut, dry-fitted, and locked in square, fix the whole unit in place so it’s actually usable day to day. Choose a cupboard side panel or the back of a door where boards won’t foul hinges. Mark a level line, pre-drill, then screw through the frame into solid carcass material; if you’re on thin MDF, use proper wall plugs or toggle fixings.
This mount organization stops the rack racking and turns it into a real accessibility enhancement: lids slide out one-handed, and chopping boards stay upright and dry.
- Leave 5–10mm clearance above the tallest lid for easy lift-out.
- Fit rubber bumpers to prevent door slam rattle.
- Seal cut edges with varnish to handle steam.
Add an Over-Sink Drying Rack to Clear Counters
If your draining board constantly steals precious prep space, an over-sink drying rack gives you that worktop back by shifting the drip zone directly above the bowl. You’ll free up Counter space instantly, and you won’t trap water against laminate or timber.
Choose a rack sized to your sink (measure internal bowl width, then allow 5–10mm clearance).
For a DIY option, fit two stainless angle rails to the worktop edges with short screws and nylon washers, then rest a slatted rack or roll-up mat across.
Keep it food-safe: use stainless or coated steel, and seal any exposed chipboard.
Add hooks for cloths, and a removable drip tray if your sink has a lip.
It’ll dry plates, pans, and veg without clutter.
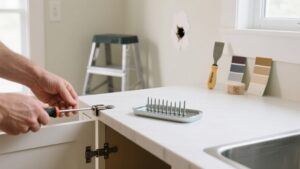
Create Pull-Out Drawers for Base Cabinets
To make better use of your base cabinets, you’ll start by measuring the interior width, depth, and height so your pull-out fits without fouling hinges or pipework.
You’ll then build a simple tray and fix full-extension runners level on both sides for a smooth slide.
Once it’s screwed in and tested, you’ve got instant, easy-access storage for pans and cleaning bits.
Measure Cabinet Interior
How much usable space do you actually have inside your base cabinet once hinges, face frames, and pipework steal a few centimetres? Before you build pull-out drawers, you need precise cabinet dimensions and measuring accuracy, not guesswork. Use a steel tape, measure in millimetres, and check twice at the front and back because UK carcasses can be out of square.
- Measure internal width at top, middle, and base; use the smallest figure as your working width.
- Measure internal depth from inside face frame to back panel, then subtract clearance for door hinges, waste pipes, and skirting returns.
- Measure internal height and note obstructions (shelf-pin holes, service voids), then mark a level reference line with a pencil.
Record everything in a notebook; it’ll save wasted cuts.
Install Slide-Out Tray
With your cabinet measurements written down and the tight spots (hinges, pipework, skirting returns) accounted for, you can now fit a slide-out tray that uses every usable millimetre without binding.
Choose 45kg side-mount runners or under-mounts rated for pans, sized 25–50mm shorter than cabinet depth.
Build the tray from 12mm plywood, glue and screw, then add a 6mm base and low sides so bottles don’t topple.
Fix a square face rail or spacer blocks inside older UK carcasses to give the runners a true parallel surface.
Fit one runner level, then the other using a spacer jig; any twist causes sticking.
Finally, add a simple pull and a non-slip liner for storage optimization.
Add a DIY Lazy Susan for Corner Cabinets
Although corner cabinets waste more space than they should, a DIY lazy Susan turns that awkward void into easy, spinning access for tins, spices, and pans. Measure the internal width and depth, then cut two circular shelves from 18mm plywood or MR MDF; seal edges to handle kitchen moisture. Fit a stout bearing turntable (300–450mm) rated for your load, and keep at least 10mm clearance from hinges and door stays so nothing catches.
- Template first: Use cardboard to scribe the best circle for your Corner cabinets.
- Stable spindle: Add a central dowel or riser for two-tier height and rigidity.
- Smart lips: Screw on a 20mm timber rim so jars don’t slide off when you spin.
Upgrade Toe-Kicks Into Hidden Drawer Storage
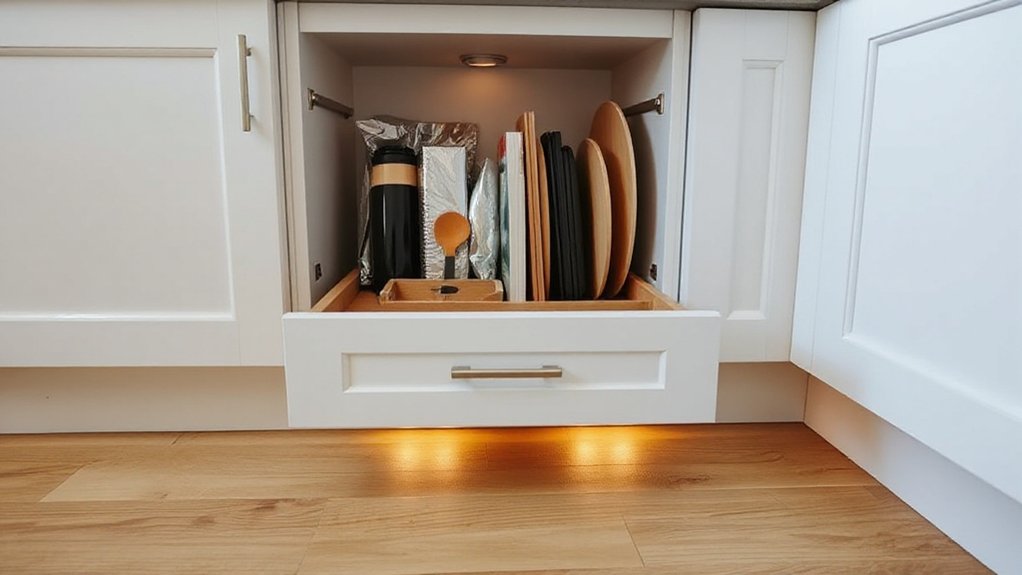
Corner cabinets aren’t the only dead zones worth reclaiming—your toe-kick space under base units can hide a surprisingly roomy drawer for flat, awkward items. With a simple toe kick redesign, you’ll stash baking trays, placemats, tea towels, or chopping mats without stealing cupboard volume.
Start by removing the plinth and measuring the void, allowing clearance for legs and pipework. Build a shallow plywood drawer box, then fit low-profile side runners or heavy-duty full-extension slides fixed to the cabinet sides.
Add a false front cut from the plinth so it disappears when shut, creating one of the neatest hidden compartments in the kitchen. Use a push-to-open catch or a discreet finger pull along the top edge. Seal edges, then refit and test for snag-free travel.
Frequently Asked Questions
How Do I Baby-Proof DIY Storage Upgrades in a Small Kitchen?
Anchor units to studs with anti-tip brackets, fit magnetic child locks and corner guards, and keep hazards high. Choose child safety-rated hardware, soft-close hinges, and favour material durability—sealed ply, metal fixings. Check BS/EN compliance.
What Finishes Resist Grease and Moisture Best in Tight Kitchens?
Choose satin or semi-gloss polyurethane, two-pack waterborne lacquer, or epoxy paint; they’ll repel grease and moisture. Use Waterproof finishes on cabinet interiors, and fit a wipe-clean Kitchen backsplash like glass or porcelain tile.
Can These Storage Hacks Improve Kitchen Resale Value or Appraisals?
Yes, they can—because UK buyers totally swoon over cupboards, obviously. You’ll boost Storage organization and space optimization, signalling care and usability. Keep installs neat, reversible, and compliant, and you’ll help appraisals without overcapitalising.
How Do I Prevent DIY Shelves From Attracting Pests or Mold?
Seal and paint shelves, keep gaps caulked, and fit tight back panels for pest prevention. Maintain airflow, fix leaks, and use moisture-resistant boards for mold control. In UK kitchens, run extractor fans and wipe condensation.
What Permits or HOA Rules Might Restrict Kitchen Storage Modifications?
You’ll need landlord consent in rentals, and planning rarely applies, but building codes can bite for electrics, gas, and fire safety; HOA restrictions may forbid visible changes. Like a castle steward, check covenants, lease, council.
Conclusion
You’ve now got a toolkit of small-kitchen storage builds that suit tight UK spaces, whether you’re renting or ready to drill. Measure properly, choose the simplest win first, and keep costs down with budget fixings and smart swaps. Add mug hooks, an over-sink rack, pull-outs, a lazy Susan, or a toe-kick drawer, and your worktops will feel like a cleared motorway at rush hour—open, fast, and stress-free.