
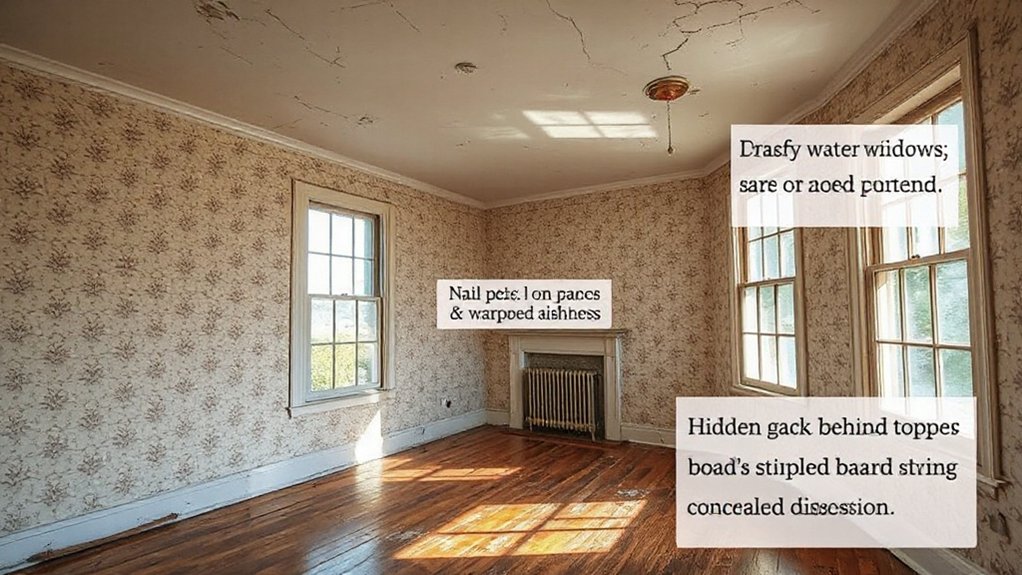
Imagine this: you walk into a century-old living room and notice a slight slope in the floor near a doorway. You’ll want to keep your curiosity in check as you trace it to potential structural shifts, moisture, or prior repairs. You should proceed with a careful, methodical check of walls, ceilings, and floors, listening for odd noises, feeling for drafts, and noting any stains or cracks. If you’re unsure, there’s more to uncover behind the obvious signs; you’ll want to keep going, but with purpose.
Identify the Biggest Hidden Costs on Arrival
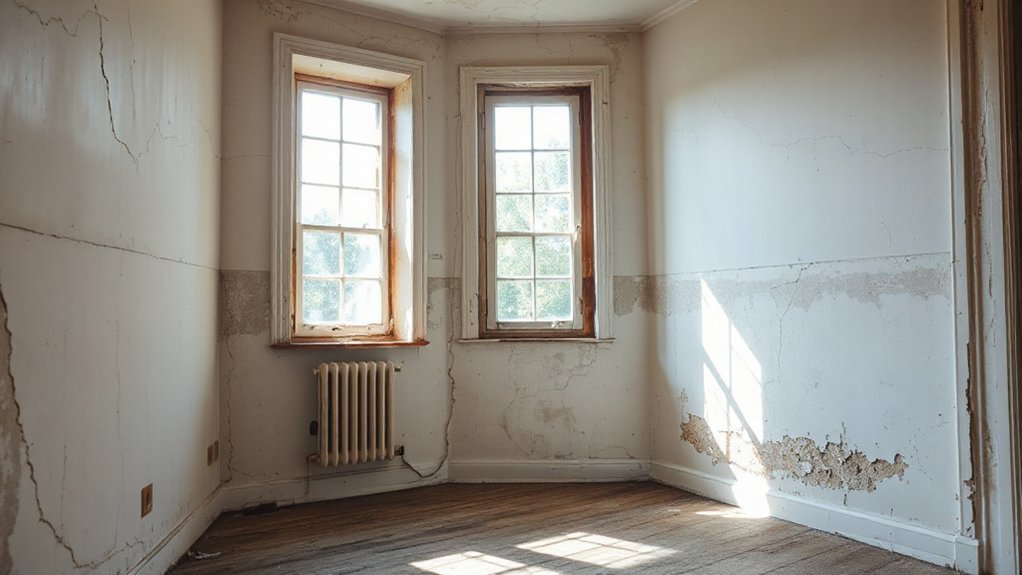
Hidden arrival costs can surprise buyers who aren’t prepared. You’ll want to map them carefully as you tour, not after you sign.
Begin with practical checks: immediate repairs or updates you’ll face right away, like wiring, plumbing, or insulation, to avoid surprises later. Consider professional inspections to quantify potential work and timelines.
Beware costly foundation worries that may surface after you move in, and plan for remediation if needed.
You’ll also want to assess potential hidden pest issues, since early signs can escalate quickly and drive up costs.
Factor permits, disposal, and code compliance into your budget so you don’t misjudge scope.
Finally, document all findings, compare estimates, and keep contingencies modest but realistic to maintain progress and peace of mind.
Structural Cues That Signal Subtle Problems
Structural cues can quietly reveal hidden stress points in an older property, so you should approach each sign methodically and with care. You’ll look for slight door misalignments, floor sags, and cracking near joints, then determine if those hints point to broader issues.
Foundation cracks demand close inspection; assess their size, pattern, and whether they progress over time. Small, hairline fractures may be cosmetic, but widening gaps or diagonal splits signal shifting foundations that warrant professional assessment.
Roof sagging, even if subtle, indicates framing or support concerns that can escalate after heavy loads or moisture damage.
Track moisture intrusion, peeling paint, and warped trim as corroborating cues. Document changes with photos and notes, then prioritize expert evaluation for unresolved or enlarging signs.
Approach cautiously, relying on objective measurements rather than impression.
Older-Home Electrical Red Flags You Can Spot
You’ll want to skim for signs of outdated wiring and risky circuits as you tour. Look for flickering lights, warm outlets, and any use of old fabric or knob-and-tube wiring, noting where safety concerns cluster.
If you spot overloaded switches or non-GFCI outlets in damp areas, mark them for closer inspection with a licensed electrician.
Outdated Wiring Signs
Outdated wiring is a common red flag in older homes, and spotting it requires a careful, systematic approach. You’ll look for mismatched outlets, fuse boxes, or early circuit breakers that don’t match the building’s era.
Inspect visible wiring for brittle insulation, exposed conductors, or cloth-covered cables, which often indicate aging insulation and potential heat risk. Check outlets and switches for overheating marks, buzzing sounds, or loose plates.
Note any frequent flickering lights or tripped breakers. Historical design and architectural features can mask electrical shortcomings, so assess concealed routes with caution, avoiding DIY fixes.
Document findings with photos and measurements, verify amperage ratings, and compare with expected loads for the home’s size. Seek an electrician’s assessment before committing to repairs or renovations.
Hidden Circuit Hazards
Hidden circuit hazards often lurk once you’ve skimmed the surface, so approach every room with a methodical checklist. You’ll want to look for signs of circuit overloads, such as plugs and cords that feel warm to the touch or outlets that buzz when you use high-wattage devices.
Avoid overloading extension cords; use one safe device per outlet and distribute loads across circuits.
Inspect the fuse box hazards: muffled sounds, a buzzing panel, or dated fuses that require replacing with appropriate breakers. If you notice scorch marks, melted insulation, or frequent tripping, treat the system as risky and pause further probing.
Document issues, then consult a licensed electrician before proceeding with any renovations. Proceed cautiously, don’t underestimate outdated or stressed wiring systems.
Water Damage Clues That Tell a Hidden Story
Look for hidden water stains that don’t belong, especially on ceilings, corners, and backs of cabinets. Note any pattern or spreading over time.
A musty odor can signal unseen dampness, so trust your nose as a tool for uncovering concealed issues.
Check for paint or plaster efflorescence, which can reveal past moisture movements and help you map where water may have migrated.
Hidden Water Stains
Water stains aren’t always obvious at first glance, but they’re worth watching for because they reveal a history of moisture problems you’ll want to address. When you spot them, note location, size, and pattern.
Hidden water stains often indicate hidden leakage or ongoing moisture intrusion behind walls, ceilings, or cabinetry. Approach with a plan: verify with touch, look for raised paint edges, and check for accompanying efflorescence or mineral deposits. Document any discoloration, then investigate further using a moisture meter or thermal imaging if available, focusing on potential plumbing faults or roof leaks.
Don’t assume age equals harmless; even small stains can signal recurring moisture. Prioritize measurements and follow-up checks after a rain or irrigation event to confirm persistence and narrow down the source.
Musty Odor Indicators
Have you noticed a persistent, musty smell after walking into a room? That odor often signals hidden moisture and potential wall or flooring issues. Approach with a methodical checklist: locate the source by sniffing from multiple angles, then test airflow by opening doors and observing damp pockets.
Look for indicators beyond smell—discolored patches, warped surfaces, or peeling wallpaper—since odors rarely originate in empty space. Mold growth can emit the same scent, so note any visible fungus or black specks.
Be aware of pest infestations that accompany moisture, such as droppings or unusual gnaw marks near damp areas. Document findings, compare with prior maintenance, and consider professional testing if odor persists after addressing visible moisture.
Prioritize safety, ventilation, and targeted remediation.
Paint/Plaster Efflorescence
Efflorescence on paint or plaster is a subtle but telling sign of past or ongoing water intrusion. You’ll notice white, powdery deposits where bricks or plaster meet moisture pathways, often around windows, basements, or bathrooms.
Approach with a methodical eye: map affected areas, note spread patterns, and compare with exterior drainage and interior humidity. Paint peeling can accompany efflorescence, signaling moisture behind coatings. Plaster cracks may branch from underlying salt stress as the wall tries to move.
Don’t assume permanence—evaluate whether conditions are intermittent or chronic. Test moisture levels where deposits occur and document concurrent staining, musty smells, or salpetre residues.
If the issue seems isolated, monitor after rainfall; if persistent, seek professional assessment before considering repairs or purchases.
Insulation and Drafts: Signs of Energy Waste
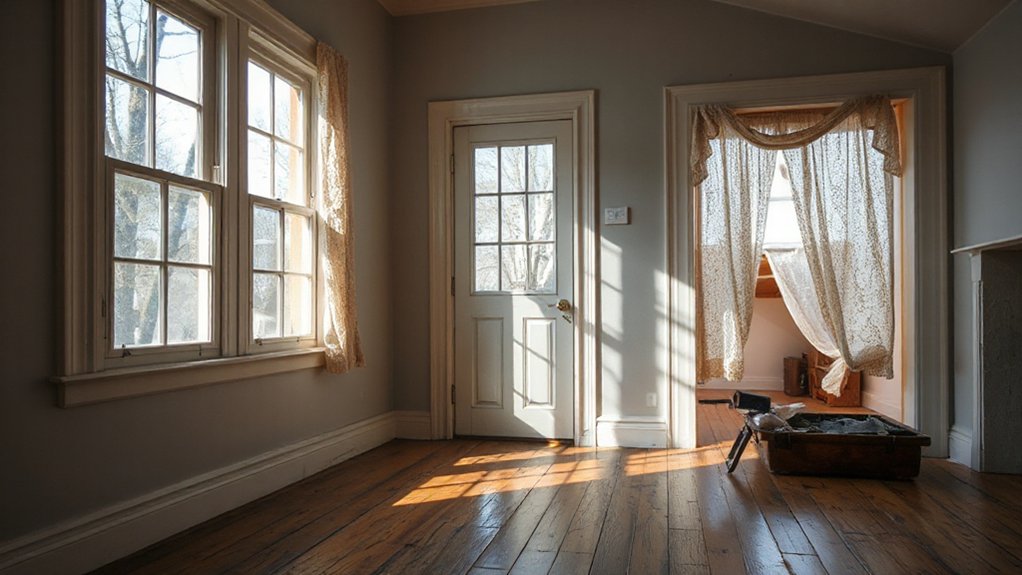
If you’re evaluating an older home, start by checking insulation and drafts as clear indicators of energy waste; gaps and thin spots often reveal more than you’d expect.
You’ll test for thermal bridging by inspecting walls near windows, outlets, and plumbing runs, noting where heat loss concentrates.
Look for obvious air leaks around doors, chimneys, pipes, and vents, then seal with appropriate materials before deeper assessment.
Use a simple smoke test or incense stick to reveal drafts, tracking where you feel cool air brushing past.
Document inconsistencies between measured wall thickness and visible insulation, especially in attic and basement accesses.
Be cautious not to overinterpret small disparities; multiple, persistent leaks indicate a systemic issue.
Prioritize improvements that address air leaks and insulation gaps first.
Roofing, Gutters, and Drainage Clues to Inspect
Start with a careful visual survey of the roof and near-surface features, noting any missing shingles, curling edges, or obvious sagging that could signal structural or water-penetration risks.
You should walk the gutters and downspouts for rust, gaps, or debris buildup that can back up drainage.
Look for signs of standing water on flat sections, mold, or moss growth that hints at chronic moisture issues.
Check crossings where roofing meets chimneys, vents, or skylights for flashing integrity and sealant wear.
Inspect for penetrations around solar panels, ensuring mounting brackets aren’t leaking or loosening.
Observe attic access evidence—condensation, leaks, or wind-driven gaps.
Finally, note any pest infestations close to eaves or soffits, which can accompany hidden roof damage.
Age Clues and Maintenance Gaps You’ll Notice
Age clues and maintenance gaps often reveal themselves through worn components and neglected upkeep. You’ll notice faded finishes, creaking joints, and misaligned doors that hint at longer wear cycles. Examine fastenings, hardware, and seals for corrosion, loosening, or cracking, which signal past repairs or delayed upkeep.
Look beyond surface appearance to HVAC vents, plumbing joints, and electrical outlets; uneven temperatures, leaks, or buzzing can mark gaps in routine maintenance. Vintage charm meets practical concern when you spot restored or repurposed elements that don’t align with original architecture, suggesting patchwork fixes.
Architectural details—trim, molding, and stair rails—may show inconsistent staining or repainting, betraying gaps in care. Document recurring issues and compare them to standard aging patterns to distinguish normal wear from missed maintenance.
When to Call a Pro and What to Ask Before Hiring
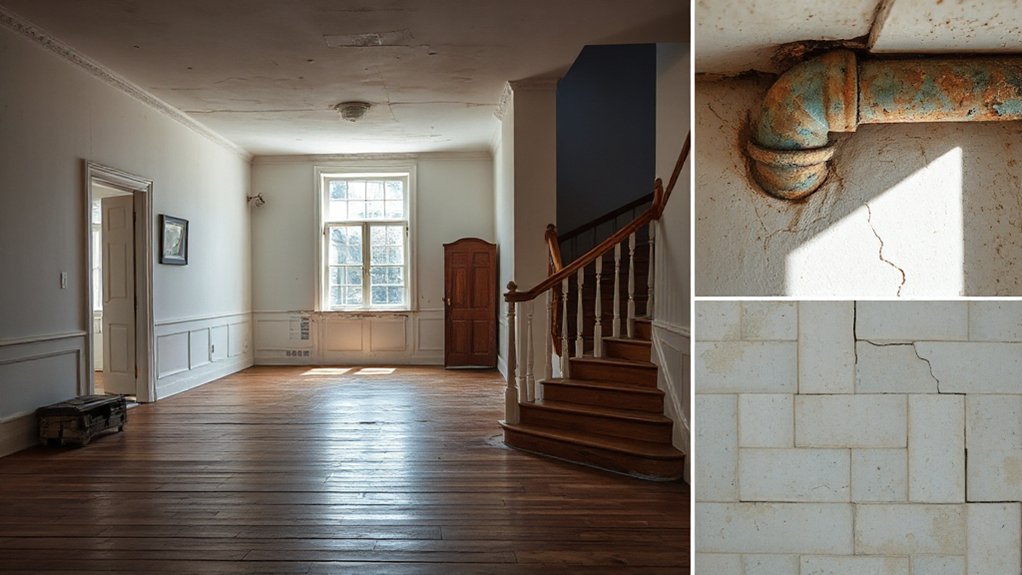
Before assuming a DIY fix will save time or money, know when a pro is warranted. You’ll spot red flags that signal professional input is wise: persistent leaks, unusual odors, or structural cracks that keep widening.
A foundation inspection becomes prudent if you notice uneven floors, doors that jam, or visible settlement. Seek a licensed pro for a thorough assessment, not guesswork.
If you’re contemplating repairs, ask about inspection methods, timelines, and guarantees. Inquire about potential pest infestation risks tied to moisture or wood damage, and request evidence of treatment plans and warranties.
Clarify who handles permits, what the cost breakdown covers, and whether a follow-up visit is included. Finally, confirm references and prior project results to ensure you’re hiring a careful, transparent expert.
Frequently Asked Questions
How Often Do Hidden Issues Reappear After Initial Home Repairs?
Hidden issues can reappear, often within 1–5 years if foundational or pest problems were minor or overlooked. You’ll want to monitor for new cracks, dampness, or droppings, especially near Foundation cracks and Pest infestations, and recheck after seasons.
What Hidden Costs Arise From Latent Moisture Problems?
Hidden moisture can trigger mold growth and Foundation settling costs. You’ll face remediation, interior repairs, and potentially structural reinforcements; you should budget for ongoing moisture control, dehumidification, and moisture-related inspections to prevent costly surprises. Plan carefully.
Can Cosmetic Fixes Mask Structural Weaknesses Effectively?
Cosmetic fixes rarely mask structural weaknesses; you should assess thoroughly. Don’t trust Aesthetic illusions or superficial repairs to hide problems. You’d test foundations, framing, and moisture, documenting evidence before considering any cosmetic touch-ups. Proceed cautiously, consult professionals, and verify repairs.
Which Inspectors Should Be Involved Beyond a General Home Inspection?
Foundation concerns and pest infestations require you to involve a structural inspector, a pest professional, and, if needed, a licensed engineer; you methodically document findings, weigh risks, and proceed cautiously with decisive, symbolism-driven decisions.
How to Verify Historical Renovations Meet Current Codes?
To verify historical renovations meet current codes, confirm permits exist and historical accuracy aligns with records; request documentation, compare with original plans, consult a zoning attorney if needed, and guarantee inspections address updates to electrical, plumbing, and structural work.
Conclusion
When you view an older property, you’re piecing together a timeline of what’s hidden beneath the surface. Stay methodical: verify structural cues, check for water stains, test electricals cautiously, and note insulation gaps or drafts. Record maintenance gaps and age-related wear, and don’t gloss over red flags. If you’re unsure, call a pro and ask the right questions. Approach inspections like a careful detective—steady, precise, and relentlessly curious, like a quiet, calculating compass guiding you home.





