

Before you use any power tool at home, read the manual, inspect the tool/cord/battery, and confirm the blade or bit is rated for the speed and material. Wear rated eye protection, hearing protection, and the right respirator; use gloves only for handling stock, not near rotating parts. Set a stable, well-lit, clutter-free work zone and clamp your work to prevent binding and kickback. Keep two hands on the grips, don’t force the cut, and power down fully before changes—next you’ll tighten your process.
5 Non‑Negotiable Power Tool Safety Rules
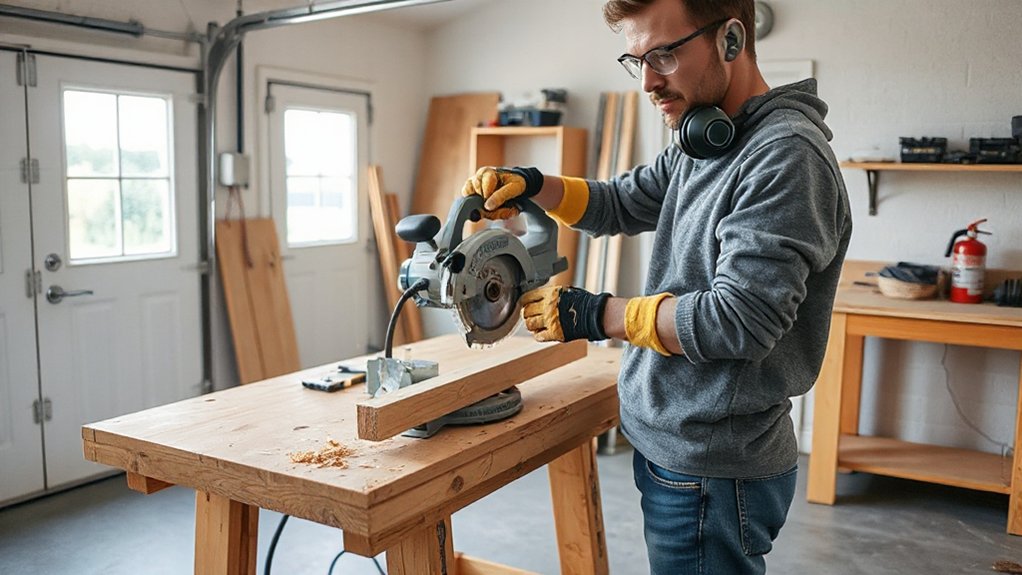
Before you plug anything in, commit to a few rules that don’t bend: read the manual for the exact model, inspect the tool/cord/battery for damage, and set up a stable, well‑lit work area with the right blade/bit installed and guards in place.
Verify the switch is OFF before energizing, and keep your hands clear of the line of cut. Clamp the work; don’t “hand‑hold” stock that can spin, kick, or bind.
Route cords to avoid pinch points, heat, and blade paths. Use the correct speed, accessory rating, and direction of rotation; if it chatters or stalls, stop and correct setup.
Unplug or remove the battery before adjustments, bit changes, or clearing jams. Follow scheduled Power tool maintenance, and log defects.
Enforce storage safety: lock tools, cover edges, and isolate batteries from metal.
Power Tool PPE: Eyes, Ears, Lungs, Hands
You can’t run power tools without task-appropriate PPE: rated eye/face protection for flying chips, hearing protection for hazardous dBA levels, and respiratory protection matched to the dust or fumes you’re generating.
You also need the right gloves only when the tool and operation allow it—use cut-resistant or vibration-damping options, but keep hands clear of rotating parts where gloves can snag.
Treat PPE as a pre-start check, not an afterthought, and replace any gear that’s cracked, clogged, or no longer fits properly.
Eye And Face Protection
Although most home shops feel low-risk, flying chips, abrasive dust, and kickback can reach your face in a split second, so eye and face protection isn’t optional—it’s required PPE any time a power tool runs.
For eye safety, wear ANSI Z87.1-rated safety glasses with side shields; match lens type to the task (clear for general work, tinted for bright work). If you wear prescription glasses, use over-the-glasses Z87.1 eyewear or certified prescription safety frames—street glasses don’t count.
Add face protection with a Z87.1 face shield when cutting, grinding, routing, turning, or using wire wheels, and keep glasses underneath.
Fit matters: adjust temples, seal gaps, and replace scratched lenses and cracked shields immediately.
Hearing, Respiratory, And Hand Safety
Even if a tool sounds “normal” and the dust looks minimal, noise and airborne particulates can exceed safe exposure limits fast, and the wrong gloves can create a snag hazard. Use Ear protection anytime you’re cutting, grinding, routing, or using impact tools; pick properly rated plugs or muffs and guarantee a tight seal around eyewear and hair.
Control inhalation hazards at the source with dust collection and ventilation, then back it up with respiratory masks suited to the material—N95 for nuisance dust, P100 for fine particulates, and cartridges for fumes per the SDS. Fit-test when possible and replace clogged filters.
For hands, avoid loose gloves near rotating spindles and blades; use snug, cut-resistant gloves for handling stock, not feeding. Keep cuffs clear, remove jewelry, and maintain dry grip.
Set Up a Stable, Clutter‑Free Work Zone
Before any blade spins up or bit touches wood, establish a stable, clutter‑free work zone that meets basic shop safety requirements. Anchor your work surface so it won’t rock, and keep the floor level, dry, and free of offcuts, cords, and loose hardware. Maintain clear access and egress, with a defined “no‑trip” perimeter around the tool’s operating envelope.
Use adequate task lighting and eliminate glare so you can see cut lines and controls without leaning into the line of fire.
For Work zone organization, stage materials by process: stock in, cut area, and finished stack.
For tool placement, keep hand tools and accessories in a dedicated tray, not on the workpiece, and keep bystanders outside the boundary.
Check Cords, Guards, Blades, and Bits First
Once your work zone’s ready, run a quick pre‑use inspection on the tool’s power cord, safety guards, and cutting accessories so you don’t start up defective equipment.
For cord inspection, check the jacket for cuts, soft spots, or exposed conductors; verify the plug’s ground pin is intact; and confirm the strain relief isn’t cracked. Don’t tape over damage—tag it out and replace the cord or tool.
Confirm guards move freely, return by spring force, and fully cover the hazard path; never wedge a guard open.
For blade safety, verify the correct blade/bit type, size, and RPM rating, then check for cracks, missing teeth, wobble, or buildup. Tighten arbor nuts and chucks to spec, and remove adjustment keys before energizing.
Stand Solid and Control the Tool With Two Hands
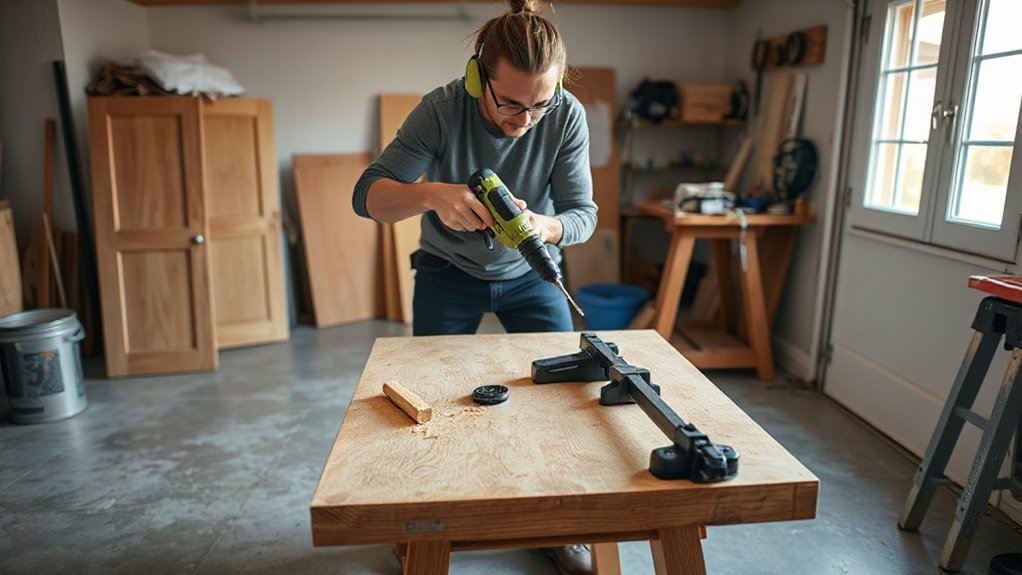
Set your stance before you power up: keep feet shoulder-width, weight balanced, and the workpiece secured so you can resist kickback and torque.
Keep both hands on the tool’s designed grips at all times, and don’t bypass auxiliary handles or side grips.
If you can’t maintain a stable base and a two-hand hold, you can’t control the cut—stop and reposition.
Stable Stance And Balance
Even if you’ve set the tool up correctly, you can still lose control if your stance is unstable. Establish a Proper stance before you energize the tool: feet shoulder-width apart, one foot slightly forward, knees unlocked, and your weight centered.
Maintain a Balanced posture with your spine neutral and shoulders square to the cut or fastener line. Keep your hips behind the work so any kickback path doesn’t drive into your core.
Clear the floor of cords, offcuts, and slick dust; friction matters. Don’t overreach—reposition your body or the workpiece so your center of gravity stays between your feet.
If you’re on a ladder or uneven ground, stop and reset; most safety rules require stable footing and secure platforms.
Two-Hand Grip Control
Although a solid stance keeps you upright, you still need a firm two-hand grip to keep the tool on line and resist torque, bind-up, and kickback. Keep your dominant hand on the trigger handle and your support hand on the auxiliary handle or front housing, per the manufacturer’s instructions. Don’t defeat or remove side handles; they’re required for rated control on many grinders, drills, and saws.
Use a Two hand grip with wrists straight, elbows slightly bent, and shoulders square to the cut. Apply steady feed pressure; don’t twist the tool to “steer” it. Your control technique is to let the tool’s guard, shoe, or base register on the work, then advance smoothly. If the tool chatters or stalls, stop and reset.
Stop Kickback and Binding Before It Happens

When a blade or bit pinches the workpiece, the tool can bind and kick back in a fraction of a second, so you need to control the cut before the motor loads up. For kickback prevention, set the correct blade depth, keep guards functional, and maintain sharp cutters so you don’t force feed.
Treat binding hazards as setup problems: support stock so kerfs stay open, and keep offcuts from closing on the blade.
Keep your body out of the line of fire and maintain balanced footing so reaction forces don’t pull you into the tool. Lock fences, guides, and clamps so the work can’t shift.
Start at full speed before contacting the material, and stop immediately if you hear pitch change or feel vibration. Unplug before clearing jams.
Safe Cutting and Drilling: Do/Don’t Checklists
Before you pull a trigger, run a quick do/don’t checklist so your cut or hole stays controlled and the tool can’t grab, wander, or throw the work.
For Safe cutting, do clamp stock, set the correct depth, and keep guards and fences aligned. Don’t freehand long rips, cut near fasteners, or reach across a moving blade.
For Drilling techniques, do center-punch, pilot when needed, and keep the bit square. Don’t drill into unsupported sheet, hold small parts by hand, or force feed.
Follow these three controls every time:
- Verify speed, blade/bit rating, and direction match the material.
- Maintain two-handed control, stable stance, and a clear cord/air path.
- Inspect the work for knots, cracks, and hidden utilities before starting.
Power Down, Change Accessories, and Store Safely
Controlled cuts and straight holes don’t end at the trigger pull—you’ve also got to shut the tool down, swap accessories correctly, and store it so it can’t restart, fall, or damage the next user.
Release the trigger, wait for full stop, then flip the Power switch to OFF and unplug or remove the battery; treat lockout as mandatory.
For an accessory change, verify the spindle/collet is stationary, use the correct wrench, and follow the manufacturer’s torque spec—don’t overtighten or mix incompatible arbors and discs.
Inspect the new bit or blade for cracks, missing teeth, or bent shanks, then reinstall guards and test-run at no load.
Coil cords without kinks, cover sharp edges, and store tools dry, out of reach, and on stable shelving.
Frequently Asked Questions
Which Power Tools Are Safest for Complete Beginners to Start With?
Start with a cordless drill/driver, random-orbit sander, and oscillating multi-tool; they’re safest for beginners. You’ll wear safety gear, follow manufacturer guards, keep Tool maintenance current, and use clamps and low-speed settings.
How Do I Choose the Right Extension Cord Gauge for My Tool?
Choose cord gauge by your tool’s amperage and extension length per NEC tables: higher amps or longer runs need lower gauge numbers. Use 14 AWG up to 15A short, 12 AWG longer, 10 AWG heavy.
When Should I Use a GFCI Outlet or Portable GFCI Adapter?
Use a GFCI whenever you’re near water, outdoors, in garages, basements, or kitchens—because you don’t need a “shocking” hobby. For Electrical safety, follow code; for Outlet installation, use listed devices; test monthly.
How Can I Reduce Vibration and Hand Fatigue During Long Projects?
Use tools with ergonomic grips and vibration dampening, keep bits sharp, and let the tool work—don’t death-grip. Wear anti-vibration gloves, take scheduled breaks, rotate tasks, and maintain balanced stance to reduce fatigue.
What Should I Do if I Accidentally Cut Into a Live Wire?
Like striking a hornet’s nest, you must stop work instantly. You’ll de-energize power at the breaker, don’t touch conductors, retreat, call an electrician, and follow Electrical safety and Emergency procedures; treat shock/burns, summon help.
Conclusion
You can’t “wing it” with power tools—OSHA estimates about 4,000 amputations happen each year from workplace machinery, and the same hazards show up in home shops when guards are removed, cords are damaged, or stock binds. Follow the non‑negotiables every cut: wear PPE, stabilize the work, inspect blades/bits and guards, use two hands, and prevent kickback. Power down before adjustments, then store tools locked, dry, and unplugged.





