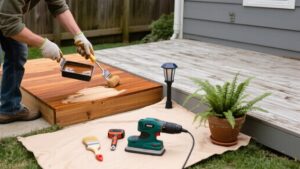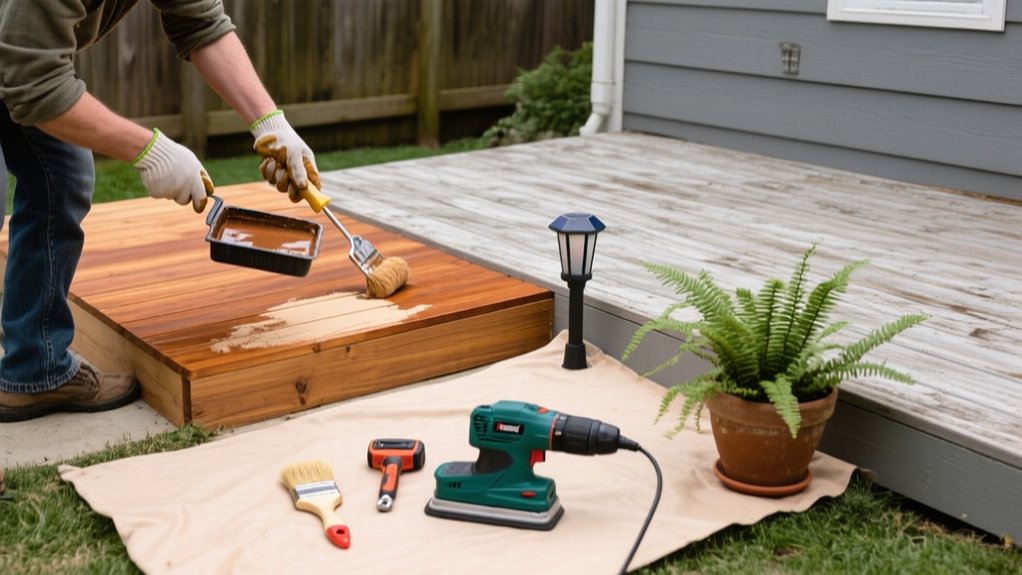
You can upgrade your deck on a budget by starting with a full walk-through inspection for wobble and rot, then re-securing loose boards with exterior deck screws and replacing any bad planks. Deep clean next: sweep, use deck cleaner, and pressure wash at 500–800 PSI for softwoods (hold the wand 12–18 inches away with a 40° tip). Finish by sealing or staining, tightening railing hardware, and adding solar or string lights—keep going to see the best upgrades ranked.
Best Budget Deck Improvements (Ranked)
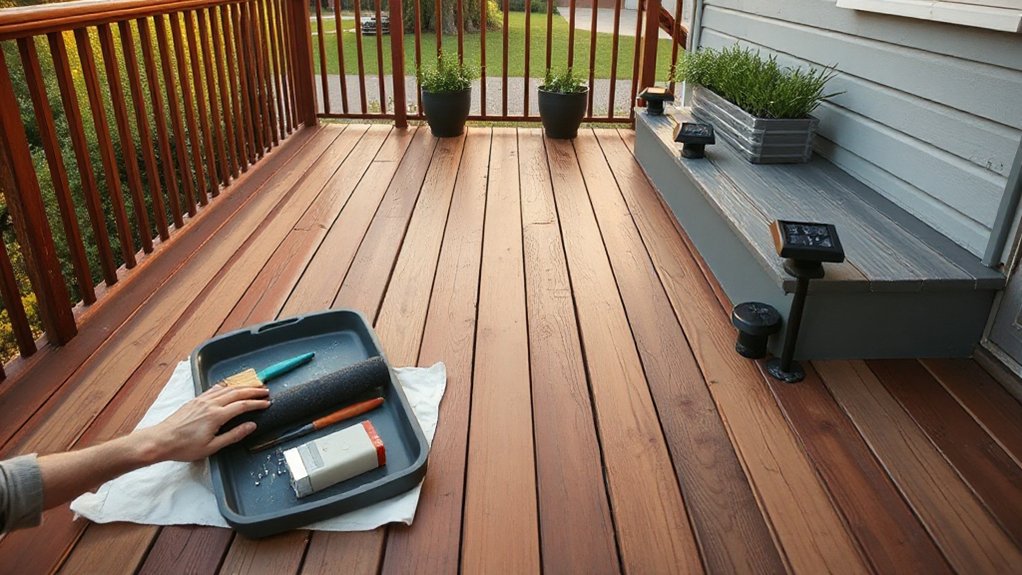
Five budget-friendly deck upgrades deliver the biggest bang for your buck: start with a deep clean and brightener, seal or stain the boards, replace rusty fasteners and a few damaged deck boards, add solar or low-voltage step lighting, and finish with simple railing refreshes like new caps or balusters.
Rank them by ROI: 1) Clean/brighten—cheap materials, instant curb appeal. 2) Seal or stain—extends life and reduces splinters. 3) Hardware swap—tightens the feel and stops staining around screws. 4) Lighting—improves safety and evening use without trenching. 5) Railing refresh—updates the look fast.
Skip deck paint unless you’re committed to scraping later; stain usually wins. Then refresh outdoor furniture with new cushions or a weatherproof cover.
Inspect Deck Boards for Rot and Wobble
Once you’ve knocked out the low-cost upgrades like cleaning and sealing, spend a few minutes checking the deck boards themselves—because a slick-looking surface won’t matter if it feels spongy or shifts underfoot. Walk the whole deck slowly and note any bounce, squeaks, or side-to-side wobble.
Probe suspect spots with a screwdriver near knots, ends, and fasteners; sound wood resists, while rot crumbles or sinks. Look for dark staining, mushroomy growth, or raised grain that stays damp after sun.
Pay extra attention where planters, grills, and downspouts sit, since trapped moisture accelerates decay. If you’ve used Wood treatment, confirm it’s still beading water.
When buying preservative or lumber, check labels against local Certification standards for exterior use.
Fix Loose Boards and Replace Bad Planks
Start by spotting loose fasteners—backed-out screws, popped nails, or rusted hardware—so you can tighten or swap them before the board movement gets worse.
Re-secure any wobbly boards with exterior-rated deck screws into solid framing, adding blocking if you can’t hit a joist and want a low-cost, long-lasting fix.
When a plank is cracked, deeply cupped, or soft, replace it with matching treated lumber or composite and fasten it properly so you’re not paying twice later.
Identify Loose Fasteners
Before you buy new decking, walk the surface and check every board for movement, squeaks, or lifted edges—those are your clues that fasteners have backed out or the lumber has started to fail. Mark trouble spots with painter’s tape so you don’t lose them later.
Next, inspect the common fastener types: exterior screws, nails, hidden clips, and ledger/joist hardware. Look for raised screw heads, nail pops, missing clip screws, rust streaks, and ovaled holes that signal repeated movement.
Probe around heads with a putty knife; soft, punky wood means the fastener may not hold. Use basic tightening techniques only for diagnosis: seat your driver, test for spinning, and note stripped heads or slipping bits.
Photograph patterns—you’ll spot systemic issues fast.
Re-Secure Wobbly Boards
If a deck board rocks underfoot or squeaks when you shift your weight, re-secure it right away so it doesn’t widen holes and chew up the framing. Back out any stripped screws, then drive new exterior-rated deck screws into solid joist meat, not the old hole.
If the hole’s wallowed out, shift the fastener 1–2 inches or add a short block beneath the seam for fresh bite. Use a countersink bit so heads sit flush and don’t catch feet.
For nails, replace them with screws; it’s a cheap upgrade that lasts.
As part of deck maintenance, spot-check high-traffic zones seasonally.
Finish with weatherproofing techniques: dab exterior sealant in exposed pilot holes to slow moisture intrusion.
Replace Damaged Deck Planks
Not sure whether a loose board just needs fresh fasteners or a full swap? Check for rot, deep cracks, spongy spots, and fasteners that won’t bite.
If the joist is solid but the plank is compromised, replacement is the safer, longer-lasting fix. Pry up the damaged board, back out screws, and cut nails with an oscillating tool if needed.
Match thickness and species, then pre-drill ends to prevent splitting. Set the new plank with stainless or coated deck screws, keeping consistent gaps for drainage.
Seal cut ends and apply the same stain as the surrounding boards to blend everything in. This small Deck maintenance step prevents bigger framing repairs and delivers noticeable aesthetic enhancements on a tight budget.
Deep Clean Your Deck (Tools and PSI)
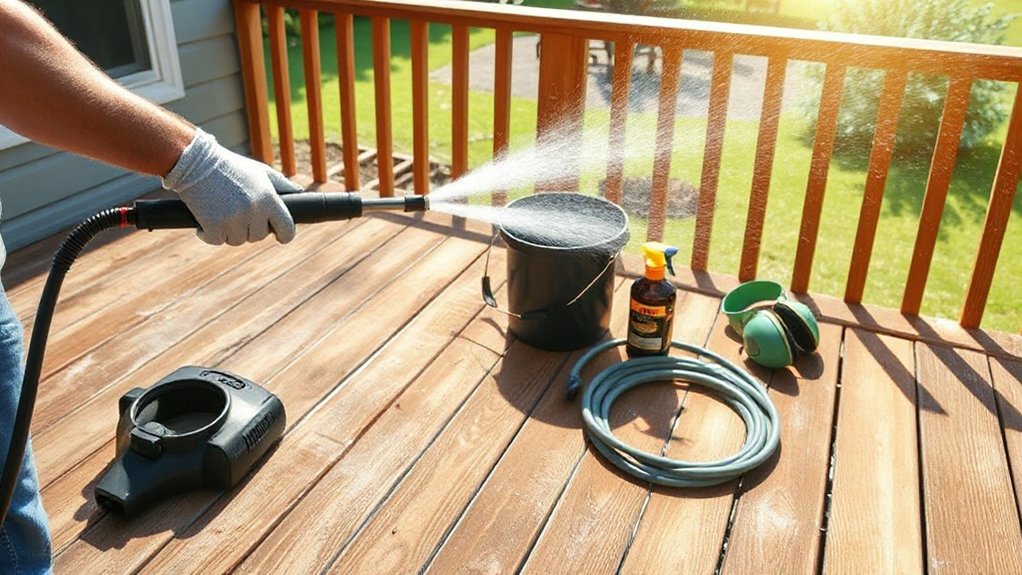
Once you’ve cleared off furniture and swept away loose debris, you can deep clean your deck with a stiff-bristle brush, a quality deck cleaner, and (when appropriate) a pressure washer set to the right PSI.
Start by wetting boards, then apply cleaner per label and scrub with the grain to lift mildew and grime. Rinse thoroughly.
If you’re power washing, match PSI settings to your material: 500–800 PSI for softwoods like cedar or pine, 800–1,200 PSI for composite, and up to 1,500 PSI for dense hardwoods—always test a hidden spot first.
Use a 40-degree fan tip, keep the wand 12–18 inches away, and sweep steadily so you don’t etch the surface or fuzz the wood.
Re-Stain or Seal Your Deck for Less
You don’t need premium products to protect your deck—pick a solid, budget-friendly stain or sealer matched to your wood and local weather.
You’ll stretch your dollars by prepping correctly after cleaning, letting the boards dry fully, and spot-sanding rough areas so the finish bonds.
Apply a thin, even coat and seal the edges and end grain, and you’ll get longer wear without paying for a redo.
Choose Budget-Friendly Stain
Although a fresh coat can make an old deck look brand-new, you don’t have to buy the priciest product to get solid protection. Start by choosing a midrange acrylic or oil-based stain with UV inhibitors; you’ll often pay less per square foot than for “premium” labels with similar solids content.
For tight budgets, consider a quality semi-transparent stain, which hides minor weathering while still showing grain, so you won’t need extra coats to look even.
Compare Color options in-store by checking coverage ratings and dry-time notes, not just the swatch. Buy only what you’ll use: calculate square footage and stick to one batch to avoid shade shifts.
For smoother stain application, pick products rated for brush-and-roll so you can skip sprayers.
Prep And Seal Properly
A budget-friendly stain only performs as well as the surface under it, so put your money into prep and sealing steps that prevent early peeling. You’ll save more by making a cheap product last than by redoing the job next season.
For solid deck maintenance, work in dry weather and follow the label’s dry times.
- Sweep, then wash with oxygenated cleaner; skip harsh bleach.
- Scrape loose finish and spot-sand feathered edges smooth.
- Brighten/rinse thoroughly and let boards dry 48 hours.
- Caulk only where appropriate (end grain stays uncaulked).
- Apply thin, even coats; back-brush and wipe puddles.
Finish with a clear water repellent on rails or a stain/sealer combo on boards. These weatherproofing tips reduce UV damage, cupping, and mildew.
Replace Rusty Deck Screws and Connectors
If rust has started creeping onto your deck screws and metal connectors, treat it as a structural issue—not just an eyesore. Corroded hardware can loosen boards and compromise joist connections, especially where water sits. Fix it now, and you’ll extend the life of everything you just sealed.
Back out failed screws and swap in exterior-rated fastener types: stainless steel for best durability, or hot-dipped galvanized for a lower-cost option (don’t mix metals). Replace rusted joist hangers, angles, and post bases with code-rated, compatible connectors and the manufacturer’s specified nails or structural screws.
Scrape and wire-brush nearby rust stains, then touch up cut ends with a zinc-rich coating for rust prevention. Buy fasteners in bulk boxes to cut cost per screw and avoid future callbacks.
Upgrade Your Deck Railing on a Budget
You can upgrade your deck railing without blowing your budget by choosing cost-effective materials like pressure-treated wood, metal balusters, or composite kits where they make the most impact.
You’ll also get quick wins with DIY refreshes—tighten loose posts, swap weathered caps, and sand, stain, or repaint for a clean, updated look.
Don’t skip safety: check post anchors and fasteners, confirm railing height and baluster spacing, and add a secure graspable handrail if you’ve got stairs.
Cost-Effective Railing Materials
- Pressure-treated wood: lowest upfront, needs sealing
- Cedar/redwood: mid-price, better rot resistance
- Aluminum panels: durable, low-maintenance, clean lines
- Vinyl/PVC kits: budget-friendly, limited color realism
- Cable with wood posts: modern look, higher hardware cost
DIY Railing Refresh Ideas
Material choice sets your baseline for cost and maintenance, but a railing can look and feel upgraded without a full replacement. Start with a deep clean, then sand rough spots and spot-prime any bare wood or rust.
A quality exterior paint or solid-color stain delivers the biggest visual lift per dollar; choose a contrasting top-rail color to “custom” the look. Swap tired fasteners for matching, corrosion-resistant screws so everything reads intentional.
Add Decorative finials to post tops for a finished, high-end detail without buying new posts. If your balusters look dated, sleeve them with inexpensive PVC covers or add a thin trim band at the bottom rail to sharpen lines.
Finish by styling with Railing plants in clip-on planters—greenery hides flaws and adds privacy fast.
Safety Upgrades On Budget
How can a railing feel instantly sturdier without blowing your budget? Start by tightening what you’ve got, then reinforce the weak links. You’ll get the biggest safety gains from hardware and connection upgrades, not pricey materials.
Check posts at the rim joist, then add blocking so everything resists wobble. Swap rusted fasteners for exterior-rated structural screws, and use metal tension ties where rails meet posts. Finish with simple sealing for longevity and fewer future repairs.
- Re-anchor loose posts with through-bolts and large washers
- Add 2x blocking between joists at every post
- Replace corroded brackets; choose galvanized or stainless
- Apply weatherproofing tips: seal end grain and joints
- Improve fire safety: clear debris under rails; store grills away
Add Deck Lighting: No Electrician Needed
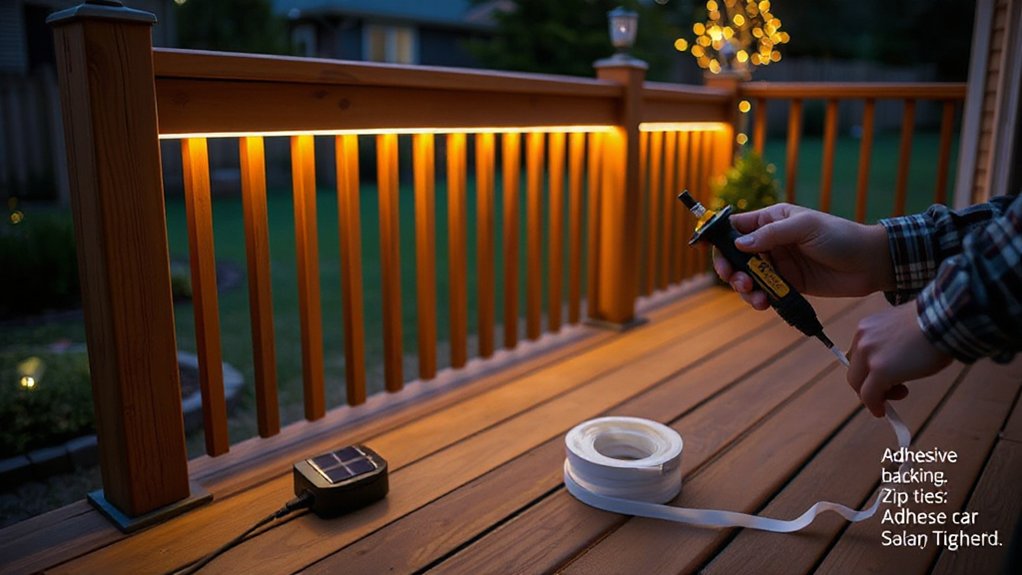
Even if you don’t have wiring experience, you can add deck lighting with simple, low-voltage or solar options that install in an afternoon and cost far less than hiring an electrician.
Start with solar powered lights along steps, posts, and rail caps for instant path lighting—no trenching, no outlets, just screw-mount and let them charge.
For ambiance, plan your string light installation by measuring the run, locating sturdy anchor points, and using a tension wire so strands don’t sag or pull loose in wind.
Choose warm-white LEDs to cut energy use and extend bulb life.
If you use low-voltage kits, plug the transformer into a GFCI outlet and staple cable under rails, keeping connections weatherproof and elevated.
Build Cheap Deck Seating With Storage
Once your deck lighting makes the space usable after dark, the next upgrade that pays off fast is seating that also hides clutter. Build a simple bench box from pressure-treated 2x4s and exterior plywood, then top it with a hinged lid and weatherstrip so cushions stay dry. You’ll spend far less than store-bought outdoor furniture, and you’ll gain a spot for toys, grill tools, or throw pillows.
Keep the design square, fastened with deck screws, and finish it with stain or paint you already have.
Frame a 16–18″ seat height for comfort.
Add a piano hinge for a smooth lid lift.
Install handles for easy moving.
Use a foam pad and outdoor fabric cover.
Style with decorative accessories like planters or lanterns.
Deck Improvement Mistakes That Cost More
Although a new railing, stain, or lighting upgrade looks straightforward, the priciest deck projects usually go sideways because of a few preventable planning and install mistakes. You’ll spend more when you skip a fast inspection: loose ledger bolts, rot, or wobbly posts can turn a cosmetic job into a structural redo and threaten deck safety.
Don’t buy materials before measuring twice and checking local code; wrong railing height, stair rise, or fasteners often means ripping it out. Avoid bargain screws meant for drywall; use exterior-rated, corrosion-resistant hardware.
Prep matters: if you stain over dirt or old peeling finish, you’ll recoat sooner. Follow maintenance tips—seal cut ends, flash the ledger, and plan drainage.
Frequently Asked Questions
Do I Need a Permit to Repair or Upgrade My Existing Deck?
You might need a permit—check your local building department. Simple repairs, Deck lighting, or Material selection swaps often don’t. Structural changes, railing height, stairs, or enlarging usually do. Get a quick inspection to avoid fines.
How Can I Make My Deck Safer for Toddlers and Pets?
Like a sturdy crib, you’ll make your deck safer by tightening rail fasteners, checking railing stability, adding child-safe gate latches, spacing balusters under 4 inches, and doing deck cleaning to prevent slips and splinters.
What’s the Best Way to Stop Squirrels or Birds Nesting Under Decks?
Seal access points by stapling 1/2-inch galvanized hardware cloth to joists and bury it 6 inches to block burrowing; you’ll get reliable squirrel prevention. Add Bird deterrents like netting, spikes, and cleanup.
How Do I Reduce Noise and Vibration When Walking on the Deck?
Like taming a drum, you’ll reduce deck noise and vibration by tightening fasteners, adding joist tape or construction adhesive, and installing rubber pads between joists and deck surface for noise reduction; replace loose boards.
Can I Improve Deck Privacy Cheaply Without Building a Full Screen?
Yes—you can boost deck privacy cheaply without a full screen. Add narrow privacy screens at sightlines, hang decorative panels between posts, use outdoor curtains, or stack planters with tall grasses; you’ll block views fast on a budget.
Conclusion
With a few frugal, focused fixes, you can make your deck look solid and feel safe without draining your wallet. Start by spotting soft spots and shaky screws, then swap warped planks and snug fasteners. Scrub with the right brush and PSI, then seal or stain for lasting protection. Refresh rails, add low-cost lights, and build simple storage seating. Skip rushed shortcuts—small, smart steps prevent pricey repairs later.