You can add depth to your walls without repainting by layering simple textures—think stipple with a sponge, light glaze, or textured wallpaper—so the surface gains tactile character without a full color overhaul. Clean and smooth the wall first, then apply controlled patterns, and let the light play with the ridges to reveal nuance you can’t get from flat paint. It’s a quiet transformation that invites closer inspection, and the next steps await your exact texture touch.
Why Textured Walls Work in Repaint-Free Spaces
Textured walls excel in repaint-free spaces because the texture adds visual depth without relying on color shifts. You discover how pattern and relief catch light differently, so surfaces stay engaging without frequent renewals.
Texture psychology guides your eye, drawing focus to tactile irregularities that read as intentional rather than worn. You’ll notice the subtle shifts in shade as illumination travels, preserving mood while avoiding matchy-loud color decisions.
Wall acoustics quietly benefit, too: irregular surfaces diffuse echoes, lending warmth to quiet rooms and reducing pinpoints of sound reflection.
In repaint-free interiors, you leverage contour to create interest that endures, even as décor changes. You prioritize scale, rhythm, and repetition, ensuring each panel or treatment feels purposeful, cohesive, and refreshingly original.
DIY Foundational Textures: Stucco, Plaster, and Faux Plaster
If you’re chasing durable texture that reads as natural, start with foundational finishes like stucco, plaster, and faux plaster, each offering distinct tactile language. You’ll feel grainy sand whispers, cool lime ooze, and subtle aggregate tremor as you trace the surface with your fingertips.
Stucco’s granular chorus creates desert-horizon shadows; plaster yields a smoother, velvet-matte resilience that ages into patina. Faux plaster mimics old-world plasterwork, with raised seams and gentle undulations that catch light differently across the day.
This trio borrows from Textural history and reflects cultural influences—from Mediterranean warmth to Mission-era restraint—giving walls a narrative you can read in touch. When applied thoughtfully, these foundations anchor contemporary decor while honoring craft, texture, and time.
Subtle Textures You Can Add With Minimal Mess
You can add subtle texture with minimal mess by using light brush stippling and thin glaze techniques that skim the surface rather than soak in. Think delicate patterns, soft shadows, and tactile nubs that read as texture up close but stay quiet from afar.
Each method sticks to easy steps like cleanup-friendly tools, controlled application, and clean lines that keep your walls calm and visually rich.
Subtle Texture Techniques
Subtle texture can transform a wall without dominating the room, so start with simple tools and materials that keep the surface crisp. You’ll notice how a light roller, stippling brush, or raised stencil creates depth without shouting.
Focus on surface preparation: smooth the base, address imperfections, and dust the area so the texture adheres evenly. Rotate between lightweight, low-res textures—sand-float textures, light glaze, or a gentle comb roll—to maintain a clean look that reads as tactile, not busy.
When choosing paint, prioritize paint selection with a mid-sheen or eggshell to catch light softly and reveal subtle ridges. Apply in thin, deliberate passes, blending edges to avoid harsh lines.
The result should feel organic, like a whisper of pattern that enhances architecture rather than obscures it.
Minimal Mess Methods
Small-scale textures can bloom without turning your whole wall into a construction site. You’ll work with light touch and steady hand, elevating surfaces through technique, not spray or splatter. A dabbed plaster trowel creates soft valleys that read as tactile, while still declaring minimal mess, because cleanup is quick and precise.
Use faux-sponge stippling for velvety depth, letting color shifts emerge through the texture rather than pigment overload. Consider color psychology: warmer tones advance softly, cooler shades recede, shaping room mood with restrained texture.
Wall murals lend focal interest without bulky setup; a subtle adhesive print or chalk-press motif adds narrative texture while preserving airiness. Finish with a low-sheen seal to preserve nuance, repel fingerprints, and keep your textures crisp under daily light.
Easy Application Steps
Ever wondered how to add quiet texture without turning your wall into a DIY project? Start simple with a light sponge dab, lifting and rolling in small, deliberate circles. You’ll create subtle mottling that reads as texture rather than paint.
Move to a comb or trowel-edge finish for restrained lines that hint at sculpted depth, without bulk. Choose a short-nap roller for soft stipple, then skim over with a dry brush to pull in shadows.
For option two, press a textured stencil lightly against the surface and roll over it, removing immediately to avoid stiff edges.
Record the effect as you go, comparing it to textured wall patterns and historical wall finishes to ensure a cohesive, refined look.
Finish with a thin glaze to seal the nuance.
Bold Textures That Make a Statement Without a Full Repaint
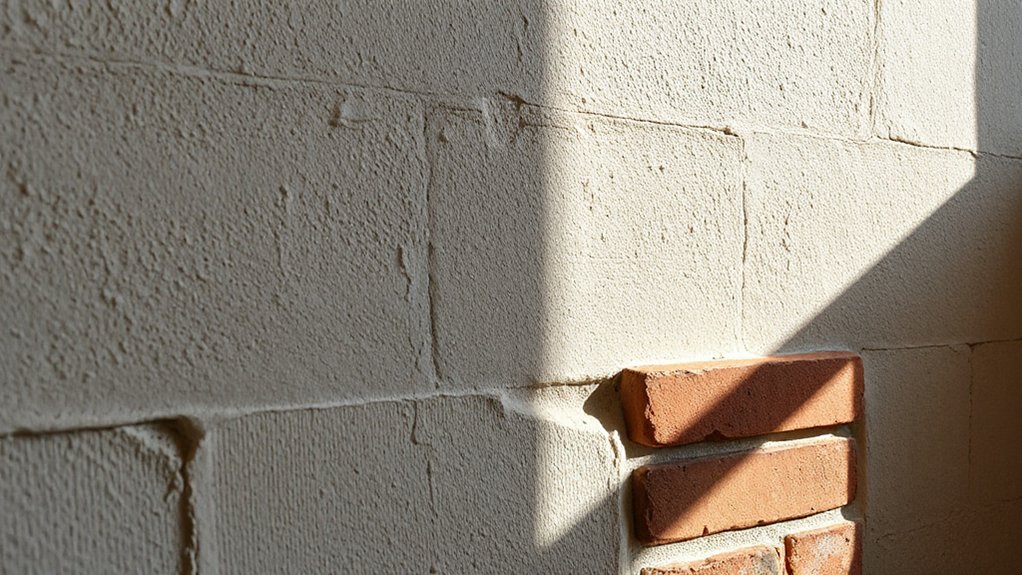
Bold wall textures grab attention without a full repaint, so you’ll explore bold patterns, tactile finishes, and contrast that stay durable over time. You’ll weigh easy texture techniques that deliver big impact—think knockdowns, raised stencils, or layered plaster—against lasting finish effects that age gracefully.
Your eye catches the play of light and shadow, guiding you toward a statement that feels intentional, not noisy.
Bold Wall Textures
Texture is the star here: bold wall textures grab attention with their tactile rhythm and visual depth, letting a single wall transform the room without a full repaint.
You’ll notice how surface irregularities catch light differently, creating dimension that reads as deliberate art rather than decor. Start with texture that speaks in shadows and highlights: a guided rhythm, not chaos.
Textured wallpaper offers patterns you can feel—from grain to weave—without abandoning smooth palettes.
Wall sculpting, meanwhile, emphasizes architecture as sculpture: beveled edges, recessed grooves, and layered reliefs that cast soft, sculptural silhouettes.
Pair these with restrained color to preserve focus. The result is a statement without noise: rich tactility, refined stance, and a room that feels curated, bold, and timeless.
Easy Texture Techniques
If bold textures have shown you what walls can do, these easy texture techniques prove you don’t need a full repaint to make a statement. You’ll craft tactile interest with simple tools: stencil patterns pressed into plaster, hand-tiped sponging for subtle dimples, and fabric-backed embellishments that catch light differently.
Use caulk to sculpt raised lines, then glaze over for depth that reads as intentional texture rather than patchwork. Consider color coordination—pick a base that anchors the room, then layer a secondary shade in the texture itself to create dimensional contrast.
Lighting enhancement matters: position warm bulbs at angles that spotlight ridges and shadows, and tweak with dimmers to shift mood. Finish with a light seal to protect texture while preserving detail.
Lasting Finish Effects
Wondering how to keep a room striking without repainting? Lasting Finish Effects give you bold texture that reads as a statement, not a renovation. Think tactile panels, metallic sheens, or plaster stencils that endure through light and shadows. You’ll notice how depth shifts with every angle, catching highlights as you walk by.
Pair textures with deliberate color coordination to avoid visual chaos; choose a restrained palette and let the texture do the talking. Layer subtle glazes or matte tops to preserve contrast without glare.
Keep wall accessories minimal but purposeful—etched mirrors, slim shelves, or a single sculptural piece—to anchor the surface. The result feels curated, durable, and visually rich, inviting touch while remaining invigoratingly low-effort.
Tools, Supplies, and Safety for Quick Texture Projects
To tackle quick texture projects, gather the right tools, supplies, and safety gear so you can work smoothly from start to finish. You’ll want a putty knife, texture brush, hopper spray, or stipple roller, plus drop cloths and painter’s tape to protect floors and trim.
Keep a sturdy ladder, fine-grit sandpaper, and a handheld mixer for pre-mixed textures or drywall mud. Safety matters: eyewear, gloves, a dust mask, and ventilation.
Prep the wall with a light wipe and de-gloss if needed. Choose compositions that suit your color schemes and lighting effects—ease of application matters as much as look.
Clean as you go, label bags for texture blends, and test small patches to verify consistency before committing to the whole wall.
Texture Ideas by Room: Living, Bedroom, Kitchen, and Hallways
Living rooms welcome bold texture, so start with a broad swath of interest: a soft, skip-trowel finish on the main wall paired with crisp, stippled accents that catch the light from your seating area. You’ll balance wall color with tactile payoff, letting a muted base let textures pop without fighting other decor.
In bedrooms, lean into intimate textures: Venetian plaster or subtle linen-sand finishes create depth behind a calm palette, while bedside lighting highlights gentle ridges.
Kitchens benefit from wipeable, geometric textures—tiled panels, glass-inflected stucco, or raised-basket weave—that resist moisture yet read as art.
Hallways gain movement with linear scratching or combed plaster; guide the eye using lighting design that carves shadows along texture.
Every room harmonizes Wall color and lighting design for cohesive texture.
Common Texture Issues and Fixes You’ll Likely Encounter
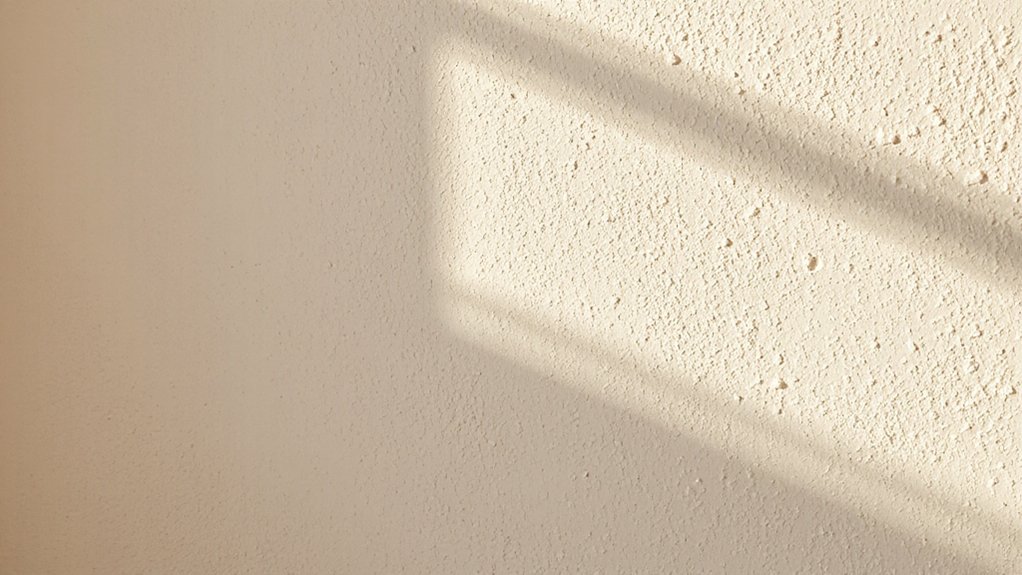
Texture issues pop up where walls meet finishes, so start by inspecting how products layer over each other—rake your eyes along seams, edges, and corners to spot lift, curl, or delamination as soon as it happens. You’ll notice flaws where texture frays at joints or where compound dries rough.
For quick fixes, prioritize surface preparation: gently abrade glossy spots, wipe away dust, and seal stubborn dust with a shellac-based primer. Texture removal may be needed on overly thick areas before retexture, using a scraper or palm sander with a light touch.
Recreate a uniform surface by feathering edges and smoothing gradation, then recoat with compatible texture material. Finish with a tack cloth, then cure under proper ambient conditions to prevent hairline cracks.
How to Maintain Textured Walls for Long-Lasting Look
A textured wall, once finished, deserves a careful upkeep routine that preserves its depth and definition. To maintain texture durability, you focus on gentle cleaning that honors the nibbed surfaces rather than blasting dust loose. Use a soft brush or microfiber cloth, light pressure, and a sweeping motion to lift particles without smearing or flattening ridges.
For occasional refreshes, opt for a subtle spot-clean with a mild solution, then rinse with a barely damp cloth. Avoid abrasive tools and harsh chemicals that can eat into the texture.
Regular inspections reveal high-traffic wear, allowing timely touch-ups. Implement maintenance tips like dusting weekly, avoiding humidity spikes, and protecting walls from direct sun. With careful care, the tactile pattern stays vivid and long-lasting.
Frequently Asked Questions
Will Textured Walls Affect Resale Value?
Yes, wall texture can boost appeal and resale, but trends matter. You’ll attract buyers by matching wall texture trends with timeless, historical textured wall styles, avoiding niche textures that might deter future owners. Balance creativity with broad market tastes.
Can I Texture Over Existing Paint?
Yes, you can texture over existing paint, but plan texture removal if peeling occurs; start with thorough surface preparation, cleansing, sanding, and priming. Then apply your texture, watching for consistent adhesion and smooth, vivid results.
How Long Does a Textured Finish Last?
Texture longevity lasts years when you seal it well and avoid harsh scrubbing. Like a quiet ripple, its finish keeps shaping walls. You’ll love the finishing durability, especially with proper prep, top coats, and gentle cleaning.
Is Masking Tape Removal Tricky With Textures?
Masking tape removal isn’t too tricky if you plan ahead; expect masking tape challenges on delicate textures, and prioritize thorough textured surface prep to avoid peel—peeking behind edges, you’ll see clean lines and minimal pull.
Are DIY Textures Durable in High-Traffic Areas?
Yes, DIY textures can be durable in high-traffic areas if you choose sturdy techniques and seal properly. Focus on Texture techniques and Surface preparation, using scraper-smooth surfaces, then apply durable finish coats for long-lasting performance and easy wipe-downs.
Conclusion
Texture tricks transform spaces without repainting. You’ll feel the walls’ grip of stucco, glaze, or stipple, catching light and shadow in every corner. Did you know interiors with subtle texture read as 20% cozier at a glance? Stay tactile: clean gently, spotlight texture with angled lighting, and keep tools handy for refreshes. Your walls won’t just exist; they’ll breathe dimension, inviting touch and conversation. Stick with simple tweaks, and the room will texture-talk every day.