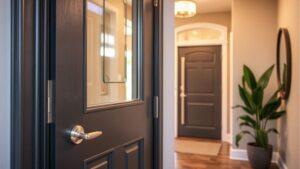
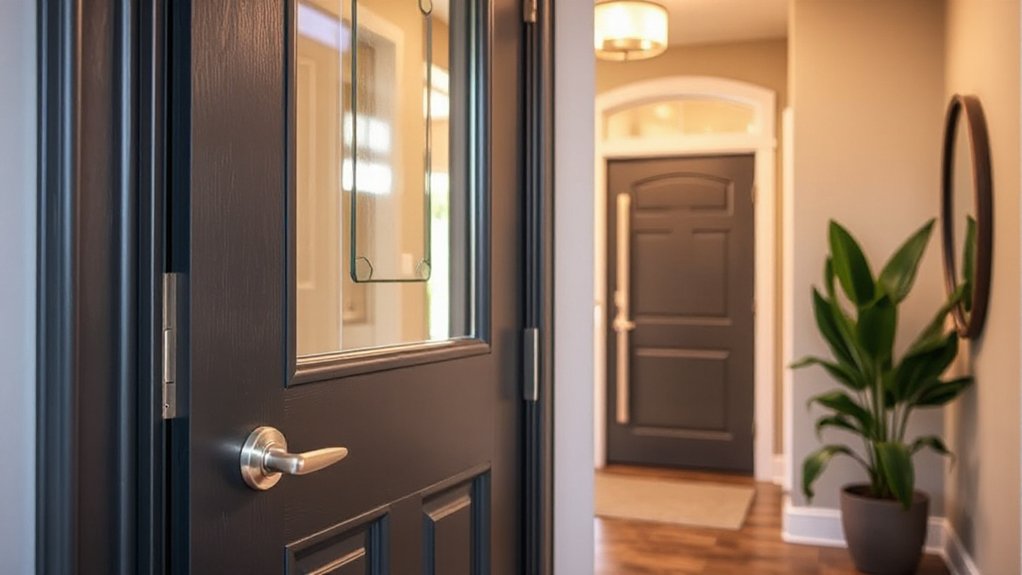
Upgrading your entry door starts with a clear plan: assess what works now, measure precisely, and pick materials that handle your climate while fitting your budget. You’ll want sturdy hardware, a reliable lock, and proper weather seals to keep drafts out. Consider simple, impactful updates like fresh paint or new hardware, plus good lighting and tidy surroundings to boost curb appeal. Ready to explore the details that make a door both secure and inviting? Let’s get into the steps that matter.
Key Factors to Consider Before Replacing Your Entry Door
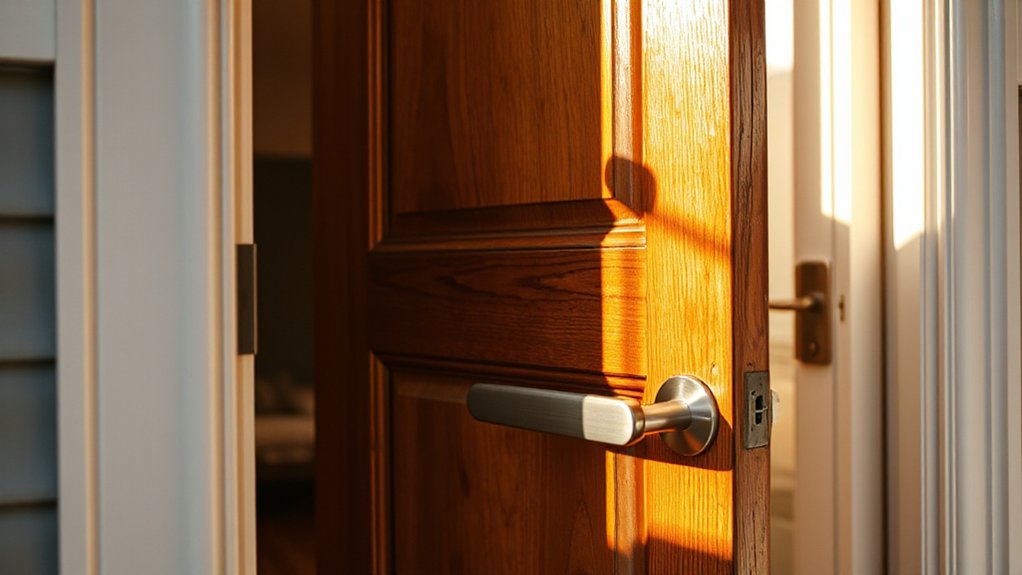
Upgrading your entry door isn’t just about looks—it’s a practical decision that affects security, energy efficiency, and curb appeal. Start by evaluating door aesthetics and how the style matches your home’s architecture. Measure rough openings and confirm framing is square; crooked doors invite air leaks and jams.
Check hardware compatibility—deadbolts, striker plates, and locking cores must meet security needs. Assess weather sealing: weatherstripping, threshold height, and door sweep determine draft reduction. Consider exterior lighting placement near the entry to deter intrusion and highlight architecture; plan to integrate lights with door hardware if possible.
Inspect insulation inside the door slab or panels, and confirm strap hinges or side-lights won’t hinder operation. Finally, budget for installation timing, warranty coverage, and future maintenance.
How to Choose the Right Door Material for Your Climate
Choosing the right door material starts with your climate: focus on how temperature swings, humidity, rain, and sun exposure affect durability and performance. You’ll pick a material that stays stable under seasonal shifts and resists warping, cracking, and fading.
For heat and sun, consider low expansion and color fastness; for humidity and rain, seek moisture resistance and rot-deterrent cores. In cold climates, choose materials that minimize contraction and maintain seals.
Weather resistant materials like fiberglass and engineered wood excel with dimensional stability, while steel offers strength with insulation when properly coated.
For energy bills, prioritize energy efficient options with good R-values and tight-fitting profiles. Balance cost, maintenance, and local requirements, and verify warranties.
Your climate determines the best combo of durability, aesthetics, and efficiency.
Pick Hardware and Locks That Fit Your Home’s Security Needs
Next, align hardware and locks with your security needs as you’ve considered climate and durability. Choose a lockset that matches your door material and exposure.
For exterior doors, prefer reinforced strike plates and longer screws to resist kick-ins. Consider smart locks for keyless entry, auto-locking, and activity logs, but verify they’re compatible with your Wi‑Fi or Z‑Wave hub and offer battery alerts.
If you’re hesitant about electronics, a high‑security deadbolt paired with a sturdy handle set is reliable. Pay attention to corrosion‑resistant finishes suitable for your climate.
Incorporate decorative hardware that complements your home’s style while maintaining grip security and easy operation.
Test compatibility with door alignment and ensure smooth rekeying or reliable key control for ongoing security.
How to Measure Accurately for a Door Replacement
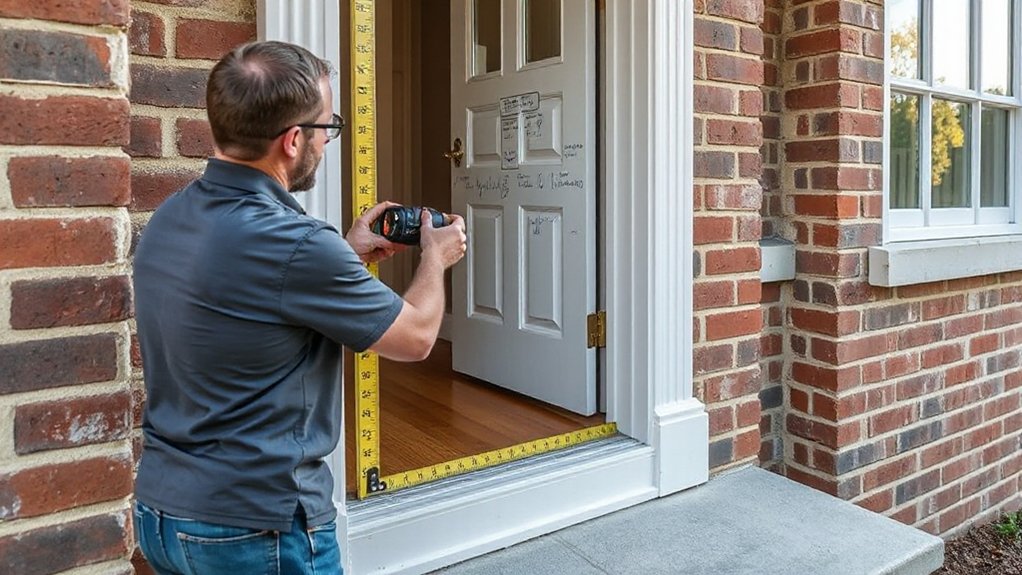
To measure accurately for a door replacement, start with the rough opening and the door itself, then verify every dimension twice.
Begin by noting width, height, and depth at three points: top, middle, and bottom, and record the smallest clearance you’ll tolerate.
Check jamb thickness and hinge placement, then map strike plate location against the frame.
Measure diagonals to confirm squareness and note any warping or settling that affects fit.
Account for decorative glass and door color in your planning, ensuring trim, sidelights, or transoms won’t clash with the existing profile.
Don’t forget the swing direction, handle spacing, and weatherstripping thickness.
Tally gaps for expansion, then choose a prehung unit that matches your measurements within a quarter inch tolerance for a smooth, secure install.
Budget-Friendly Upgrades to Boost Curb Appeal Fast
If you want a noticeable curb-appeal boost without breaking the bank, start with a quick exterior refresh that pays off fast. Begin with paint or stain in a cohesive color scheme that complements your siding and roof. Choose two to three color schemes and test swatches on a hidden area before committing.
Replace worn hardware with affordable, polished options in matte black or brushed nickel for instant polish. Clean and reseal the entryway, including the threshold, to remove grime and improve durability.
Add simple landscaping enhancements, like fresh mulch, seasonal perennials, and a compact focal plant near the door to draw attention upward.
Improve lighting with a solar or LED fixture to extend evening curb appeal without wiring.
Finish with a tidy, clutter-free approach.
Door Installation: Step-By-Step Tips and Common Fixes
To get a solid install, start with proper frame preparation so the door sits true and seals well.
Next, address common fixes for settling door hardware—tighten screws, square the jamb, and shim as needed to prevent binding.
You’ll set up a smooth, durable operation by aligning the door first, then securing hardware with steady, incremental adjustments.
Proper Frame Preparation
Proper frame preparation is the critical first step to a solid door install, so start by checking the existing rough opening for plumb, square, and level. If you find a mismatch, correct it before proceeding; don’t force a misfit.
Run a 4-foot level diagonally to expose hidden twists, and shims should be added behind hinges and at the base as needed to true the frame.
Inspect stud alignment and repair any damaged framing with sistered studs or blocking.
When the opening is true, test-fit the door slab, then recheck clearances at the top and sides.
Consider Decorative glass placements and verify hinges align with reinforced framing.
Install weather stripping along the jambs for a tight seal, then proceed to the next steps with confidence.
Settling Door Hardware
Settling door hardware after a trim won’t wait for the finish to reveal misalignment; tackle it now so your door closes cleanly and seals properly. First, inspect hinges for looseness; tighten with a star-drive bit, then recheck gap uniformity.
If sag persists, shim between hinge and frame in small increments, testing each adjustment by closing the door slowly. Verify strike plate alignment; loosen screws, reposition, and snug firmly to keep the latch engaged without binding.
Check weatherstripping techniques—replace compressed or torn weatherstrips, ensuring a tight seal without binding the door. For rattles, tighten loose components or install deeper screws.
If you encounter doorbell wiring interference, reroute or secure cables behind trim, avoiding contact with moving hardware. Finish with clean, even gaps all around and test function multiple times.
Frequently Asked Questions
How Long Does a Door Replacement Typically Take?
A door replacement typically takes half a day to a full day, depending on material and security features. You’ll inspect door material, plan frame adjustments, and install hardware, ensuring security features align with the frame and trim for maximum performance.
Can I Install a New Door Myself?
Yes, you can, but it’s not a DIY installation for amateurs—expect a heavier-than-heroic challenge. Gather sturdy tools, plan measurements, and follow precise steps; you’ll need quality hinge mortises, shims, and a level for success.
What Warranty Comes With a New Entry Door?
A new entry door’s warranty varies, but typically you’ll get limited warranty coverage for material and finish defects. Check door material details, coverage duration, exclusions, and required maintenance; register promptly to guarantee warranty coverage remains active.
Will a New Door Improve Energy Efficiency Significantly?
Sure thing: yes, a new door can considerably boost energy efficiency. Choose door material wisely and install robust weather stripping to reduce drafts, minimize heat loss, and lower bills. You’ll notice steadier indoor temps and fewer leaks.
How Often Should Hinges and Hardware Be Lubricated?
You should lubricate door hinge maintenance every 6 to 12 months, depending on use, climate, and squeaks. Use lightweight, lithium-based or silicone lubricant, clean excess oil, and guarantee hardware lubrication frequency aligns with door performance for smooth operation.
Conclusion
Upgrading your entry door is a smart mix of function and style. Follow the steps above, measure carefully, and pick materials that suit your climate. Choose sturdy hardware and reliable locks, and don’t neglect weather seals and lighting. With a little paint or stain, new hardware, and crisp landscaping, you’ll transform curb appeal fast. Think of your door as the first impression you give guests—a well-tuned gateway, opening smoothly like a perfectly oiled hinge.