
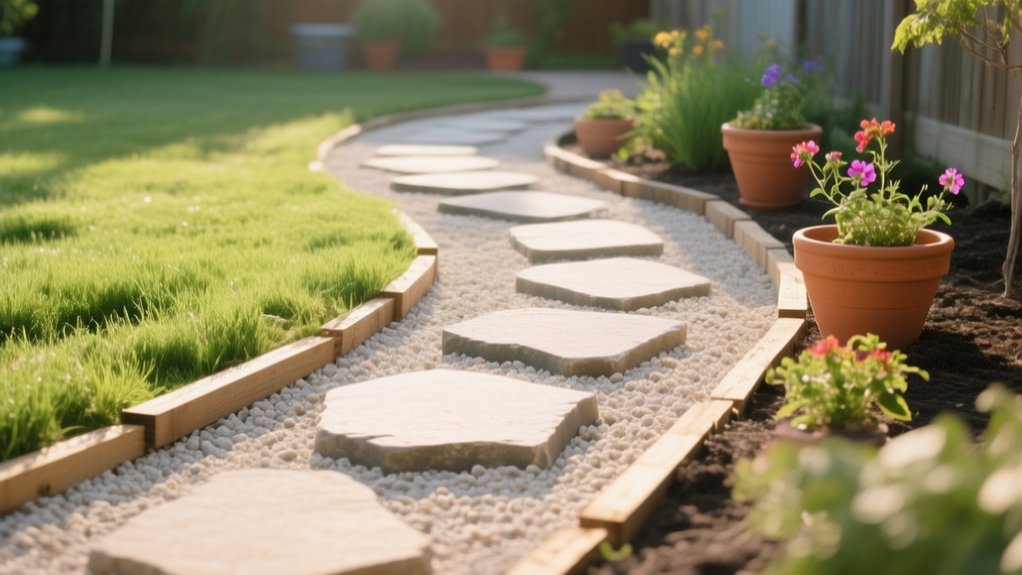
Start by laying out a 36–48 inch path with gentle curves (about a 24 inch inside radius) and set a consistent 1–2% cross-slope so runoff sheds cleanly. Strip turf to a firm subgrade, level with a straight board, and compact in lifts. For a weekend build, install edging, add geotextile, place compacted crushed stone, then top with washed gravel. Or set stepping stones on a stone base with sand bedding; keep going for key patterns and upkeep.
Plan Your Garden Path: Width, Curves, Slope
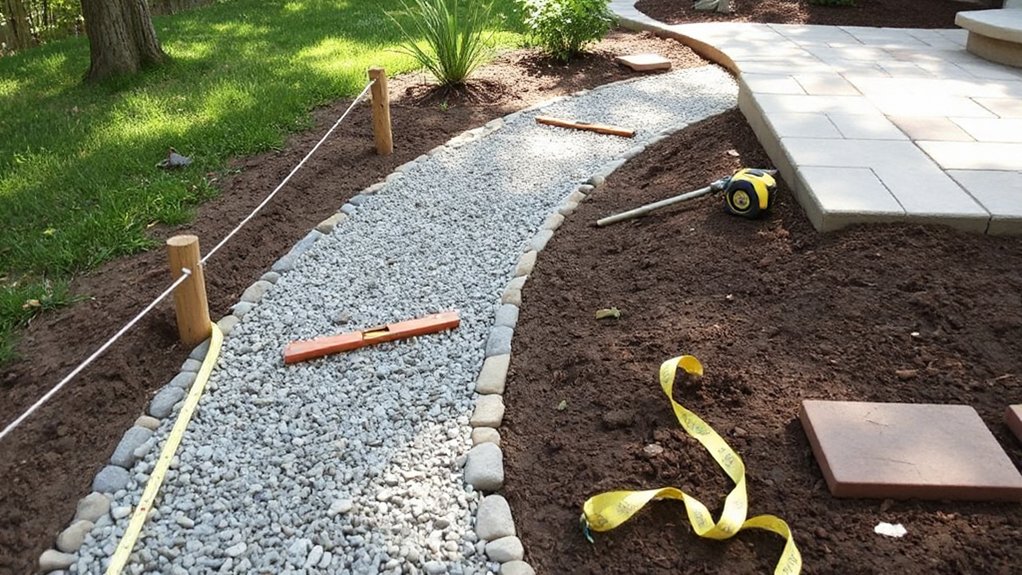
Before you buy materials or start digging, lock in the path’s geometry—width, curvature, and slope—because those three parameters control comfort, drainage, and long-term durability.
Set width to 36–48 in for single-file walking; go 48–60 in where two people pass or you’ll wheelbarrow.
Keep curves gentle: use a minimum inside radius around 24 in to avoid awkward stepping and to simplify edging.
Establish slope with intent: target 1–2% cross slope for runoff, and keep running slope under 5% to reduce erosion and slipping; add landings if needed.
Stake centerlines, then offset with string to verify uniform width.
Confirm grades before selecting garden path materials, since thickness and base depth change elevations.
Check sightlines for aesthetic considerations.
Pick a Garden Path Style (Cost + Best Use)
Once you’ve set the path’s width, curves, and slope, choose a style that matches your traffic load, drainage needs, and maintenance tolerance—not just the look.
For light foot traffic, mulch or wood chips cost low and soften the garden aesthetic, but you’ll top up annually and accept lower material durability.
For moderate traffic, compacted gravel (with edging) stays stable, drains well, and runs low-to-mid cost.
For frequent use or cart loads, set pavers or flagstone on a properly engineered base; you’ll pay more, but you gain high material durability, clean joints, and predictable step rhythm.
Use stepping stones where you want intermittent access without a continuous hardscape.
Match color, module size, and joint pattern to adjacent beds and architecture for cohesion.
Prep the Ground: Weeds, Leveling, Drainage
Before you set materials, you’ll clear all weeds and roots to a stable subgrade so regrowth can’t disrupt the path.
You’ll level to your planned elevations, then compact the soil in lifts to meet a firm, uniform base.
You’ll also design drainage from the start by setting slope away from structures and low spots so water can’t pond or undermine the build.
Clear Weeds And Roots
Although it’s tempting to start laying materials right away, you’ll get a longer-lasting garden path if you clear all weeds, runners, and woody roots down to clean soil. Treat this as a specific step: organic regrowth under a path causes heave, voids, and uneven settlement.
For weed removal, cut turf into manageable strips, lift it, and scrape remaining crowns so no green tissue remains. For root extraction, trace each root to its source, sever it with a mattock or pruning saw, and pull it out fully; leaving stubs invites re-sprouting.
Remove all loose vegetation, then rake to expose hidden rhizomes and collect debris. If you find invasive species, bag and dispose of them per local guidance; don’t compost it. Keep edges clean for crisp lines later.
Level And Compact Soil
If you skip leveling and compaction, your path will telegraph every soft spot into dips, rocking pavers, and pooled water.
Strip high spots with a flat shovel, then rake to a consistent subgrade. Use a straight 2×4 or screed board as a reference: drag it over the surface to reveal hollows, then fill and rescreed until you’ve got level ground across the full path width.
Then lock it in. Lightly mist dry soil, and compact in thin lifts with a hand tamper or plate compactor. Overlap passes and work edge-to-edge so your base won’t dish at the borders.
Verify firmness by footprint: you shouldn’t leave more than a shallow impression. Repeat soil compaction after any rework or rain.
Plan Drainage And Slope
Where will the water go when a storm hits your path? You’ll control it by setting a consistent cross-slope before you lay any base. Aim for 1–2% fall (about 1/8–1/4 in per foot) away from buildings and toward a safe outlet. Use a string line and level to verify grade at multiple stations, not just endpoints.
Design for rainwater runoff by providing a swale, gravel shoulder, or perforated drain at the low edge. Keep the subgrade slightly crowned so water won’t pond under pavers, bricks, or mulch. If your site is clay or already saturated, increase the aggregate thickness and add a geotextile to limit fines migration.
Good slope control reduces soil erosion and protects edging alignment over time.
Fast Gravel Garden Path (Weekend Build)
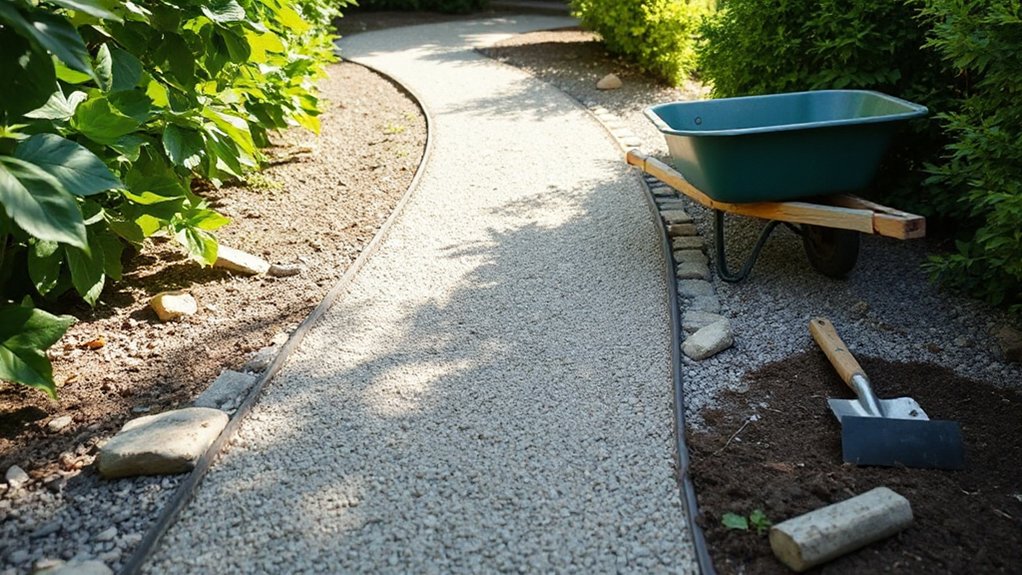
Need a durable garden path you can build in a weekend? Set out a 900–1200 mm wide route and mark edges with stringlines.
Excavate 120–150 mm, then proof-roll the subgrade and correct soft spots.
Install geotextile to separate soil and aggregate.
Add 75–100 mm of compactable crushed stone base in two lifts; compact each lift to refusal with a plate compactor.
Set steel, aluminum, or composite edging on grade and pin at 600 mm centers to lock alignment and protect garden aesthetics.
Place 30–50 mm of washed gravel (6–10 mm) as the wearing course, then rake to a uniform crossfall and compact lightly.
Finish with plant integration: keep mulch and foliage back 50 mm from edges for cleanliness.
Stepping-Stone Path (No Concrete)
Although you won’t pour concrete, a stepping-stone path still needs a stable, well-drained setting bed so each stone stays flush, doesn’t rock, and won’t heave in winter.
Lay out a straight or gentle-curved line that matches your stride (18–24 inches center-to-center).
Excavate each pad 4–6 inches, keeping edges crisp.
Add 3–4 inches of compacted crushed stone (Class II road base), then 1 inch of bedding sand; screed it level.
Set stones with a 1/8–1/4 inch reveal above surrounding grade for runoff.
Check flatness with a short level and adjust by tapping or re-screeding.
Backfill joints with decomposed granite or fine gravel.
Use Garden decor spacing, and plan plant placement so foliage won’t overhang.
Simple Brick Path Patterns for Beginners
Stepping stones work well for informal routes, but brick gives you a continuous, more controlled walking surface with tighter joints and cleaner edges.
For reliable results, set out your brick patterns with a stringline and right angles, then dry-lay a small test panel to confirm dimensions and alignment. Choose beginner techniques that minimize cuts and keep the bond consistent across the run.
- Running bond: fastest layout, forgiving on minor size variation
- Basket weave: stable look using paired bricks at 90°
- Herringbone 45°: strong visual direction for straight paths
- Herringbone 90°: cleaner rectangular field with easy squaring
- Soldier course band: crisp border line without complex geometry
Keep joints uniform, check level every few rows, and correct drift early.
Edge and Maintain Your Path (Keep It Tidy)
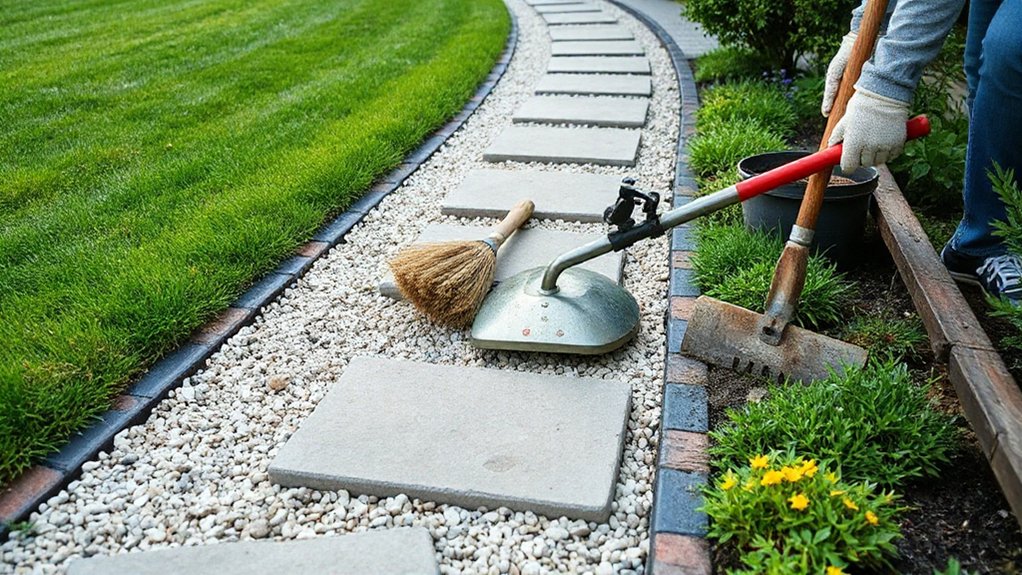
To keep your garden path crisp and compliant with clean landscape lines, you’ll install simple edging to lock materials in place and maintain consistent alignment.
You’ll add a weed-control barrier and specify joints or gaps that don’t trap fines, so the surface drains and stays stable.
You’ll then set a maintenance cadence—sweeping, re-topping, and spot-weeding—to preserve levels, traction, and a tidy finish.
Install Simple Path Edging
Once you’ve set your path line and base, install simple edging to lock the profile in place and keep materials from migrating into beds or turf. Choose an edge that matches your load and aesthetic: rigid for gravel, flexible for curves and organic borders. Set the top flush with finished grade to eliminate trip points, and keep the inside face plumb for clean lines.
Stake to manufacturer spacing, then compact the path lift against the edge so it can’t bow.
- Steel strip edging for crisp, modern runs
- Recycled plastic bender board for curves
- Concrete pavers as decorative edging on a soldier course
- Timber sleepers for raised transitions and steps
- Stone set on edge for rustic, durable definition
Check alignment with a stringline and correct before final compaction.
Weed Control And Upkeep
With your edging staked straight and set to finished grade, focus on weed control and routine upkeep to keep the path looking sharp and performing as designed.
Install a permeable landscape fabric or polymeric jointing sand where specified, then top up aggregate to maintain the design section and lock stones in place.
For weed prevention, keep joints tight, edges seated, and runoff directed away from the path base. Spot-treat cracks early with boiling water or a targeted, label-compliant herbicide; don’t broadcast spray near drains.
Sweep weekly to remove fines that support germination, and recompact low spots after rain.
Schedule plant maintenance: trim encroaching groundcovers to preserve clear width, keep mulch out of joints, and reset edging stakes if movement appears. Inspect quarterly.
Frequently Asked Questions
Do I Need a Permit to Build a Garden Path on My Property?
You usually don’t need a permit for a garden path, but you must confirm local zoning, setbacks, grading, and drainage rules. Adding garden path lighting or decorative edging may trigger electrical, accessibility, or right-of-way requirements.
How Can I Make a Garden Path Safe for Pets’ Paws?
Choose paw friendly surfaces like smooth pavers, decomposed granite, or bonded rubber; avoid sharp gravel. Use pet safe materials with low-VOC binders. Keep slopes under 5%, guarantee drainage, and maintain 3–6 mm joints.
What Path Materials Stay Coolest Under Direct Summer Sun?
In direct summer sun, you’ll keep paths coolest with light-colored concrete, limestone, or decomposed granite; avoid dark asphalt. Use reflective surfaces and integrate shade plants per landscape standards to cut surface temperatures and improve comfort.
How Do I Keep Ants or Pests From Nesting in the Path?
You’ll stop nesting by compacting a proper base, sealing joints, and eliminating voids. Use Pest resistant materials like polymeric sand and geotextile. Apply Ant deterrents at edges, maintain drainage slope, and remove food sources promptly.
Can I Install a Garden Path Over Existing Grass Without Removing It?
Yes—you can, and it’s tougher than steel when you prep correctly. Skip Grass removal only if you install geotextile, add 75–100mm compacted base, edge restraints, and pavers; otherwise Path durability won’t meet drainage and load standards.
Conclusion
You’ve planned the line, chosen the style, and built the base to spec—now your garden path performs like a well-tuned system. Keep your width consistent, your curves intentional, and your slope draining cleanly. Gravel locks in when it’s compacted; stones sit steady when the bed is true; bricks stay crisp when patterns align. Add edging like a frame around a drawing, then rake, top up, and reset—season after season.





