
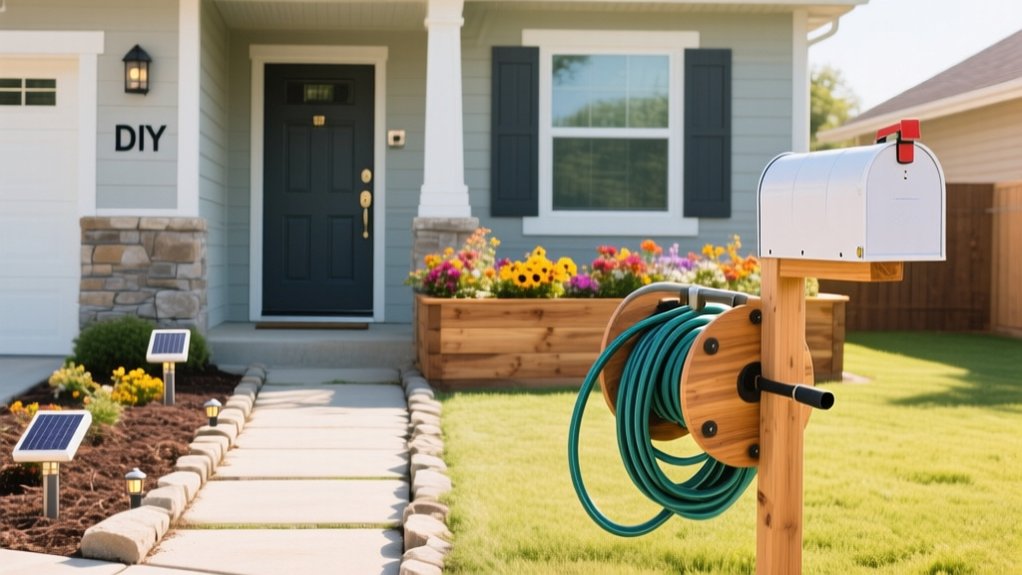
Boost your home’s curb appeal this weekend by starting with a 1-hour tidy-up: weed and edge the path, sweep steps, reset outdoor furniture, and clean the wheelie bin area. Pressure-wash siding and paving top-down with a wide fan tip, then squeegee windows for a crisp finish. Paint the front door in a bold contrasting colour and upgrade mismatched hardware. Fit high-contrast house numbers and a weather-hood mailbox. Add warm-white path lights and simple planter boxes—next, you’ll see how to plan each job properly.
Start With 1-Hour Curb Appeal Upgrades
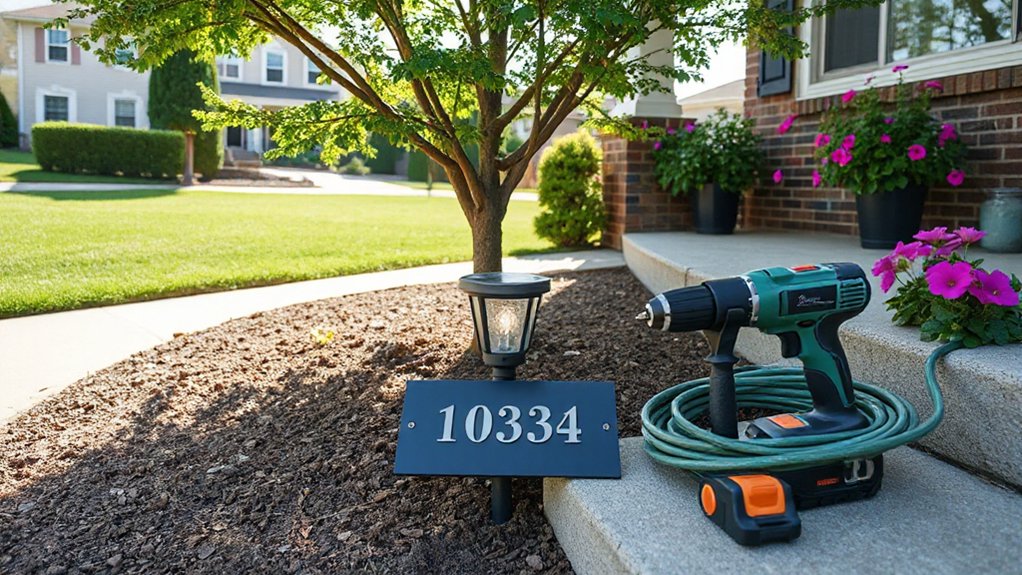
If you’ve only got an hour, you can still make your home’s exterior look sharper by targeting the details buyers and neighbours notice first.
Start with the front door: wipe the handle, polish the letterbox, and straighten the house number so it reads cleanly from the pavement. Replace a tired doormat and shake out the porch matting.
Next, do quick garden maintenance: pull visible weeds, edge the path with a half-moon tool, and sweep leaves off the steps.
Empty and rinse the wheelie bins if they’re near the entrance.
Finally, reset your outdoor furniture: stack cushions neatly, align chairs square to the house, and wipe tabletops so they don’t look grubby.
Finish by checking exterior lights work and look tidy.
Deep-Clean Siding, Windows, and Driveway
Next, you’ll deep-clean the exterior properly: pressure-wash your siding safely by keeping the lance at a shallow angle, using a wide fan tip, and working top-down so you don’t drive water behind boards.
Get streak-free windows by washing with a mild detergent, rinsing thoroughly, then squeegeeing in controlled passes with a dry edge wipe.
For the driveway, treat stains to suit the mark—degreaser for oil, biocide for algae, and a stiff brush before a final rinse.
Pressure-Wash Siding Safely
Before you reach for the trigger, set up for a controlled clean: pressure-washing can strip paint, force water behind cladding, and crack seals if you rush it. For safe pressure washing, work top-down, keep the lance moving, and use the widest fan nozzle you’ve got. Test an inconspicuous patch first, especially on render, timber, and painted weatherboard common across UK homes. Protect electrics, vents, and planting, and never aim at laps, soffits, or mortar joints.
Good siding maintenance means removing algae without driving moisture into the wall.
- Lay a tarpaulin, wet borders, and cover sockets with tape.
- Set 1,200–1,800 PSI; stand 30–45 cm off the surface.
- Spray at 45° to laps; rinse before detergent dries.
- Let it dry fully; check for loose caulk or lifted boards.
Streak-Free Window Cleaning
Once the siding’s clean, tackle your windows straight away so airborne grime and detergent mist don’t dry into streaks. Work on an overcast day, or keep the glass shaded, and start by brushing frames and sills to remove grit that can scratch.
For streak free window cleaning, mix warm water with a small squirt of washing-up liquid, then wipe with a microfibre pad. Use a proper squeegee: pull top to bottom, wipe the blade each pass with a lint-free cloth, and finish edges with a dry microfibre.
Spot tar or sap with a little isopropyl alcohol on a cloth, then rinse. Don’t forget outdoor glass maintenance: clean hinges, weep holes, and seals so water drains properly.
Driveway Stain Removal
Clean windows will stay clearer for longer if you sort the driveway stains straight after, because runoff and overspray can track grime back onto the glass and frames.
Tackle marks methodically so you don’t drive fresh oil into the pores of the concrete.
- Identify the stain: oil, rust, algae, or tyre rubber; each needs different stain removal techniques.
- Pre-treat: cover oil with cat litter overnight, then sweep; apply a degreaser and agitate with a stiff broom.
- Rinse smartly: use a pressure washer on a fan tip, working downhill to the gully; avoid blasting pointing.
- Protect: once fully dry, apply Concrete sealing to reduce future staining and make rinsing quicker.
Paint Your Front Door and Swap Hardware
Choose a bold front-door colour that suits your brickwork and complements your exterior trim. Then check it plays well with the street.
You’ll get a lasting finish by removing fittings, keying the surface, filling defects, sanding smooth, applying the right primer for timber or uPVC, and painting in thin, even coats.
Finish the job by upgrading to quality knobs, a letter plate, and corrosion-resistant hinges, and align everything so the door shuts cleanly and feels solid.
Choose A Bold Color
- Pair a saturated door with crisp white frame for contrast.
- Match hardware finish to your letterbox and house numbers.
- Swap to a solid knocker for period character.
- Add a black cylinder pull to sharpen contemporary lines.
Prep, Prime, And Paint
Before you open a tin of paint, get the door properly prepped so the finish survives British weather and daily use. Remove the door furniture and mask glazing, then wash off grime with sugar soap.
Key glossy paint with 120–180 grit, sand edges, and vacuum dust. Fill dents, spot-prime bare timber or metal, and seal knots with knotting solution.
Apply an exterior primer and undercoat matched to your topcoat system, then paint in calm, dry conditions above 10°C.
When choosing paint finishes, go for satin or semi-gloss for wipeable durability; avoid dead matt outdoors.
Use a quality synthetic brush for panels and a mini-roller for stiles to reduce texture.
Plan color coordination with brickwork and stone, and keep trims consistent for a crisp, modern look.
Upgrade Knobs And Hinges
Once your topcoat’s cured, swapping tired hardware gives the door the sharp, finished look paint alone can’t. Smart Hardware upgrades deliver instant aesthetic improvements, and you can fit them in an hour with a screwdriver and a bit of care.
- Choose a finish that suits your exterior: satin nickel for modern, aged brass for Victorian, or matte black for a clean, UK-new-build look.
- Measure the backset and centres (typically 44mm/57mm) so your new knob and latch align without chewing up timber.
- Replace hinges like-for-like (usually 3-inch) and use stainless or brass to resist British rain.
- Add a matching letter plate and door knocker, then tighten fixings and check smooth, snag-free closing.
Replace House Numbers and Upgrade the Mailbox
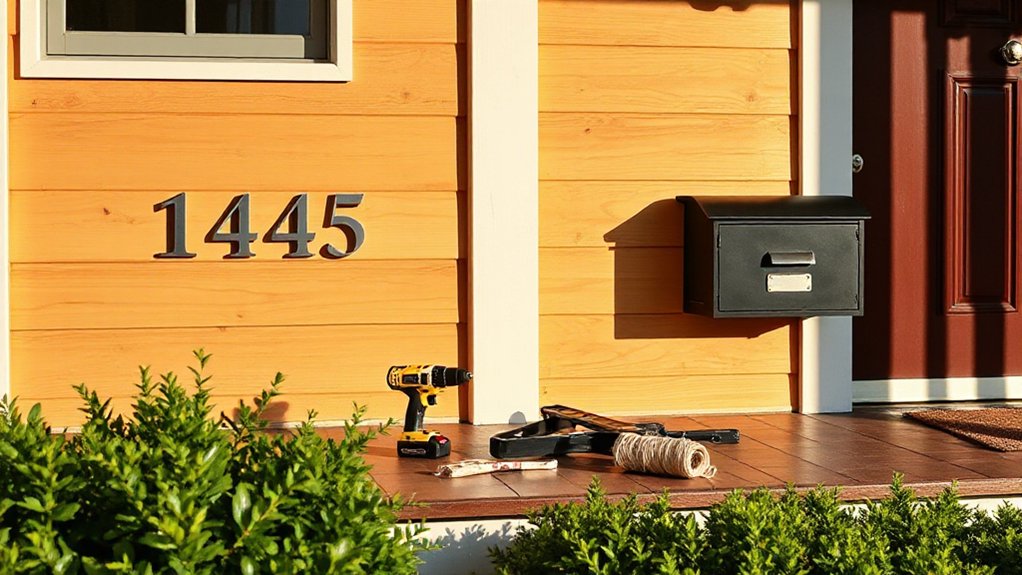
Why let tired house numbers and a battered mailbox undermine your kerb appeal and delivery accuracy? Swap them for clear, high-contrast numerals sized to be read from the pavement.
Choose durable House number materials such as powder-coated aluminium, stainless steel, acrylic, or slate, and fix them with concealed studs and exterior-grade sealant to stop water ingress on brick or render. Keep the typeface simple and match the finish to your door furniture for a coordinated look.
Next, upgrade your post solution. Pick mailbox styles that suit your frontage: a wall-mounted letterbox for terraces, a freestanding post box for long drives, or an integrated slot for modern porches.
Check it meets Royal Mail letter size, fit a weather hood, and use stainless fixings to prevent rust.
Add DIY Landscape Lighting (Placement + Types)
Although you can install landscape lighting in a weekend, you’ll get a far better result if you plan placement and choose the right fittings for each job: use low-level path lights or recessed deck lights to guide feet without glare, spike spots or ground uplighters to pick out feature trees and façades, and wall lights or bollards to define entrances and drive edges.
Keep runs tidy with armoured cable, and use a 12V transformer with an RCD-protected outdoor socket to suit UK regs.
Mix mains with solar powered options for tricky borders, but check winter output and panel orientation.
Choose warm white (2700–3000K) for brick and stone, and aim beams away from neighbours and the road.
Add decorative fixtures sparingly so the scene stays coherent.
- Light paths
- Wash walls
- Uplight trees
- Mark steps
Build Simple Planter Boxes for Porch Color
How quickly can you lift a tired entrance with a weekend build? Build two simple planter boxes and you’ll add instant porch colour without major spend. Use 19mm treated timber or cedar, cut four sides, screw to corner battens, and add a slatted base for drainage.
Line with permeable landscape fabric, then fill with peat-free compost and a handful of slow-release feed. Keep boxes 10–15mm off the decking on rubber feet so water can escape and timber lasts longer.
For container gardening, choose a restrained palette: upright grasses, trailing ivy, and one bold flowering centrepiece. Plan seasonal planting now—spring bulbs, summer pelargoniums, autumn heucheras—so your entrance stays fresh year-round.
Add black masonry paint for crisp contrast.
Repair and Refresh Your Front Walkway
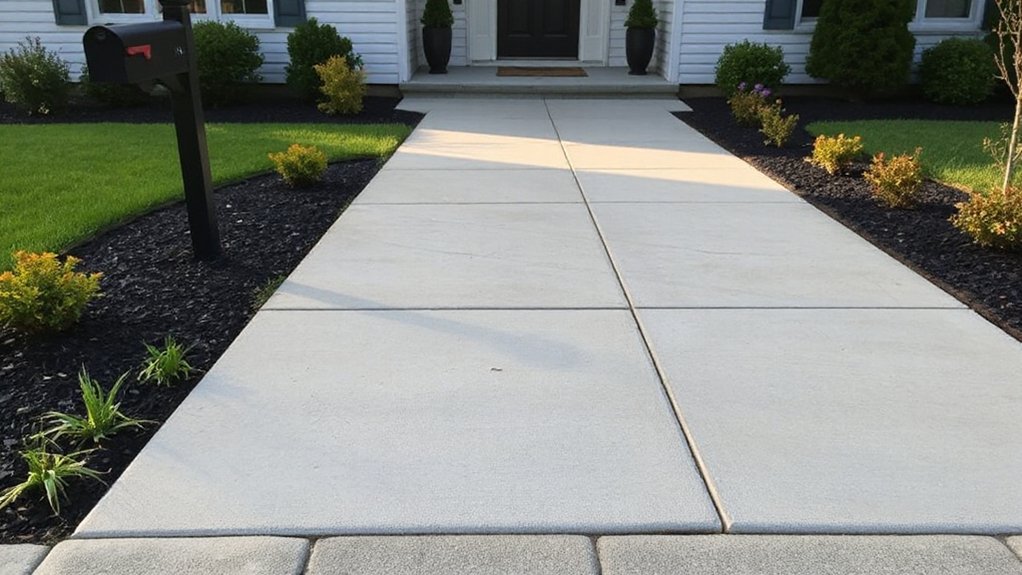
Fresh planter boxes bring the colour, but a cracked, weedy path still makes the whole entrance feel neglected, so tackle your front walkway next. Start by pressure-washing, then dig out weeds and re-point joints with a polymeric sand or fresh mortar, depending on your front walkway materials. Replace rocking slabs, and patch broken concrete with an exterior repair compound rated for freeze–thaw.
- Check levels with a straightedge; eliminate trip lips before they worsen.
- Refresh gravel paths with weed membrane and a new 20mm topping.
- Seal stone or concrete to resist algae in damp UK shade.
- Add walkway lighting options: low-voltage spike lights, recessed step lights, or solar bollards for safe winter evenings.
Define Garden Beds With Easy Landscape Edging
Once you’ve sorted the front walkway, you can sharpen the whole garden’s look by cutting in crisp bed lines and installing simple edging to keep soil, mulch, and gravel where they belong.
Mark curves with a hose, then slice a 50–75mm trench using a half-moon edger or spade. Remove turf cleanly and compact the base so edges don’t heave after wet UK winters.
For tidy garden bed design, keep lines consistent and leave a 150mm mowing strip where you can.
Choose landscape edging options that suit your budget: pressure-treated timber boards, galvanised steel for razor-straight runs, recycled plastic rolls for curves, or brick-on-edge for a period look.
Pin and backfill, then top up mulch. Annually re-cut edges each spring.
Frequently Asked Questions
Do I Need HOA Approval Before Changing Exterior Fixtures or Landscaping?
Yes, you usually do. Check your covenant and HOA regulations before Exterior modifications like lighting, fencing, or landscaping. Submit plans early, keep receipts, and get written approval to avoid breach notices, fines, or forced reinstatement.
Which Outdoor Projects Add the Most Value for Resale?
You’ll add most resale value by treating kerb appeal like a shopfront: install Landscape lighting, lay durable Garden pathways, refresh planting, and upgrade the front door. You’ll also boost buyer confidence with tidy, low-maintenance finishes.
What’s the Best Season to Start Curb Appeal Projects in My Climate?
In the UK, start in spring (March–May) for ideal season timing. You’ll avoid frost, waterlogged soils, and heat stress. Factor climate considerations: coastal winds, northern chill, southern drought. Begin hardscaping after final frosts.
How Can I Boost Curb Appeal on a Tight Budget Under $200?
You can boost curb appeal under £200 by prioritising affordable landscaping: edge borders, add fresh mulch, and reseed bare patches. Create DIY garden accents—painted pots, a house-number plaque, and solar stake lights—for impact.
What Permits Might Be Required for Outdoor Electrical or Structural Work?
Picture cables snaking under paving and timber posts rising: you’ll often need Electrical permits for new circuits, lighting, or sockets, plus Structural permits for decks, walls, or foundations. You should always confirm with local council.
Conclusion
You don’t need a full renovation to transform your kerb appeal; you just need smart, hour-long wins you’ll actually finish. Clean the exterior, refresh the front door and ironmongery, swap tired house numbers and the letterbox, and add well-placed LED path lights. Build a pair of planter boxes and tidy the path with simple edging. For example, a Leeds terrace gained two viewings in a week after a weekend of cleaning, door paint, and warm lighting.





