
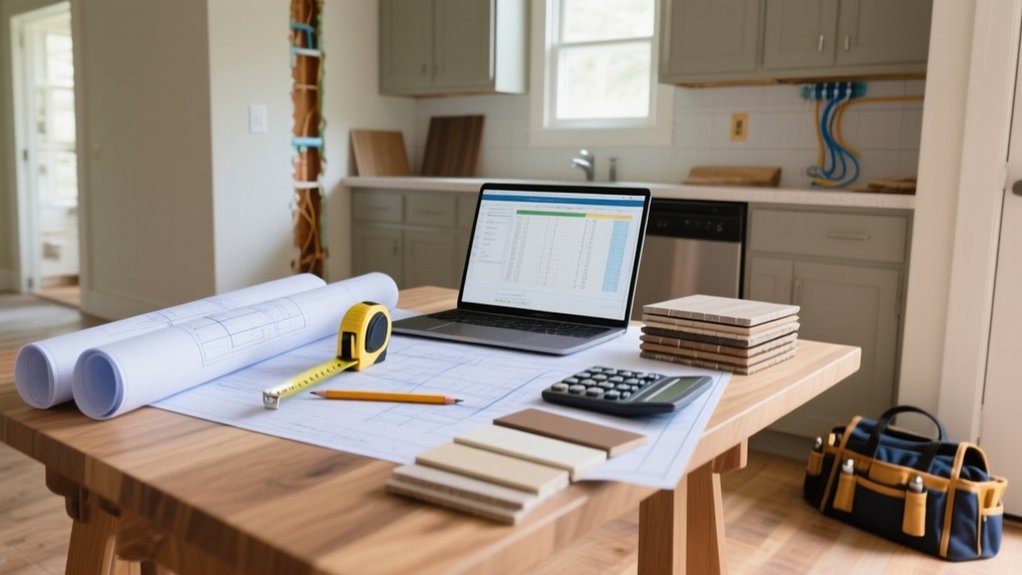
Start by setting an all-in budget you can afford, add a protected 10–15% contingency, and prioritise structure, insulation, glazing, electrics and heating before finishes. Use early £/m² guides (£2,000–£3,000 basic, £3,000–£4,500+ mid-range) and keep the footprint simple and rectangular to cut steels and labour. Get itemised quotes that spell out foundations, drainage, Building Control, and making-good, then tie payments to milestones and log every variation. Next, you’ll see where the biggest savings usually hide.
Set a Realistic Budget (and Stick to It)
Before you speak to a builder or draw up plans, set a clear budget that reflects what you can genuinely afford and what a kitchen extension typically costs in the UK. Base it on your savings, realistic borrowing, and monthly outgoings, then add a 10–15% contingency for surprises like drainage, steelwork, or asbestos.
Define your Budget priorities: structure, insulation, glazing, electrics, and heating first; finishes and gadgets come later.
Ring-fence money for Building Control fees, architect or technician drawings, party wall matters, and temporary kitchen costs.
Set a payment schedule tied to milestones, not dates, and keep decisions written.
Use simple Cost tracking: a spreadsheet with quotes, variations, and VAT, reviewed weekly so you spot overspends early.
Get a Rough Cost Range per M² Early
Once you’ve set your overall budget and contingency, you need a quick £/m² sense-check to see whether your wish list matches reality.
In the UK, a basic single-storey kitchen extension often lands around £2,000–£3,000 per m², while mid-range sits nearer £3,000–£4,500+, depending on complexity and location.
Use this early range to size the extension: multiply your target m² by a cautious rate, then see if you can still fund the kitchen fit-out separately.
Adjust your rate for choices that drive cost: big spans, lots of glazing, and premium design aesthetics.
Also allow more for energy efficiency upgrades like higher-spec insulation, better glazing, and airtightness measures, which can reduce bills but raise upfront build costs.
What’s Included in an Extension Quote?
When you get an extension quote, you need to check exactly what the scope of work covers, from foundations and structure to electrics and plumbing.
You should also confirm what’s allowed for materials and finishes, and whether labour is fully included or split into separate trades and day rates.
Finally, make sure the price states who’s paying for permits, Building Control, and any professional fees, so you don’t get hit with extras later.
Scope Of Work
Although your builder’s quote might look like a single headline figure, the real cost (and risk) sits in the scope of work: the written breakdown of exactly what’s included and excluded. Ask for a line-by-line list covering demolition, structural openings, drainage moves, electrics first-fix, and making-good, plus who handles Building Control, party wall matters, and waste removal.
Tie it to drawings so your design aesthetics and storage solutions don’t get “value engineered” away.
- You’ll sleep easier knowing what you’re paying for.
- You’ll avoid nasty “extras” landing mid-build.
- You’ll spot gaps before they become delays.
- You’ll protect your budget and your weekends.
- You’ll keep control when decisions get pressured.
Insist on clear assumptions, provisional sums explained, and exclusions stated in plain English.
Materials And Finishes
Because finishes eat budgets faster than bricks, you need your extension quote to spell out exactly which materials you’re getting—and at what allowance—covering everything from insulation type and roof covering to windows (uPVC/aluminium/wood), doors, plaster, flooring, kitchen units, worktops, tiles, sanitaryware, taps, sockets, and paint.
If it just says “supply and fit,” pin down brand/grade, quantities, and whether the price includes delivery, trims, sealants, adhesives, and waste so you don’t get hit with upgrades and “client to supply” gaps later.
Ask for a written schedule listing model numbers, m² rates, and realistic PC sums for Kitchen decor and appliance selection.
Confirm moisture-resistant plasterboard in splash zones, compatible underlay, and skirting profiles.
Specify grout type, tile trim finish, and paint system (mist coat included).
Check warranties and lead times.
Labour, Permits, And Fees
Before you sign anything, get your quote to separate labour from permits and professional fees so you can see what’s genuinely included: day rates or fixed-price labour for groundwork, bricklaying, roofing, first/second fix joinery, plumbing, electrics (NICEIC/NAPIT), plastering, tiling and decorating.
Plus, check whether it covers site setup and protection, skips and waste, scaffolding, welfare, parking permits and deliveries.
Ask for line-by-line labour costs and confirm what’s excluded. Check permit requirements: planning (if needed), Building Control fees, structural engineer calcs, party wall surveyor, and VAT.
Get clarity now to avoid nasty surprises like:
- paying twice for skips and waste
- delays from missing approvals
- stressful neighbour disputes
- trades walking off mid-job
- sudden “extras” wiping out your contingency
Must-Haves vs Nice-to-Haves: Decide Fast
Start by pinning down your essential kitchen functions—cooking, washing up, storage, and a clear workflow—so the layout and services come first.
Then rank upgrades by impact on daily use and running costs (lighting, insulation, ventilation, worktop durability) before you get tempted by extras like statement tiles or a boiling-water tap.
Set a firm cutoff now—if it doesn’t meet a core need or fit your agreed budget, it waits for a later phase.
Define Essential Kitchen Functions
When you’re planning a kitchen extension on a tight budget, you’ll save the most money by defining what the new space must do every day versus what would simply be nice to have. Start with how you cook, clean, and move through the room, then lock in Appliance placement early so plumbing, electrics, and gas runs stay short and compliant.
Decide your Ventilation options now too, because extracting to outside, recirculation, or relocating a hob can change duct routes and builder’s work.
- You’ll feel calmer knowing the layout won’t trip you up daily.
- You’ll avoid the panic of last-minute rewires and extra sockets.
- You’ll keep cooking smells from lingering in open-plan spaces.
- You’ll protect storage so clutter doesn’t take over worktops.
- You’ll make mornings smoother with clear prep and wash zones.
Rank Upgrades By Impact
Although it’s tempting to say yes to every showroom extra, you’ll keep a kitchen extension on budget by ranking each upgrade by real impact and locking in your must-haves early.
Start with a quick matrix: cost, benefit, disruption, and payback. Your must-haves usually sit in layout, storage, and services—enough sockets, proper task lighting, a reliable extractor, and durable worktops.
Next, score upgrade options that improve daily use: soft-close drawers, pull-out larders, better insulation, and underfloor heating if you’ll lose radiators.
Put “nice-to-haves” at the bottom: boiling-water taps, smart appliances, or bespoke splashbacks.
Check UK lead times and warranties, and ask your builder what’s cheapest to do now versus later, so your budget priorities stay clear.
Set A Firm Cutoff
How do you stop a kitchen extension budget from quietly ballooning? You set a firm cutoff, then decide fast what’s essential versus just tempting.
In the UK, price swings on labour, kitchens, and electrics can punish indecision, so lock your priorities before you ask for quotes. Keep one “must-have” list, one “nice-to-have” list, and refuse mid-build upgrades unless they fix compliance or safety.
- Watching the total creep up each week feels gutting.
- Cutting features late can feel like failure.
- A clear cutoff stops stressful arguments at home.
- Budget constraints force smart choices, not cheap ones.
- Staying firm keeps your completion date within reach.
Keep the Footprint Simple to Cut Build Costs
If you keep your kitchen extension’s footprint simple, you’ll cut costs fast because builders can work quicker and waste less material. Stick to a straightforward rectangle rather than jogs, bays, or curves that increase labour, scaffolding, and bespoke steel. Keep external wall lengths short for the floor area you gain, and align new openings with existing doors/windows to reduce rework.
Choose standard spans and repeat dimensions so you can use off-the-shelf lintels, joists, and roof timbers from UK merchants. A simple roof form—lean-to or gable—usually costs less than hips or complex valleys and helps you plan insulation layers for energy efficiency.
You can still protect design aesthetics by refining cladding, glazing proportions, and lighting, not the outline.
Check Structure Early to Avoid Surprises
A simple footprint keeps build costs down, but you’ll only hold that budget if you check what you’re building onto early. Book a foundation inspection before drawings are final, and ask your engineer to confirm bearing capacity, drainage runs, and any old soakaways—common on UK plots.
If the existing wall’s movement, shallow footings, or poor brickwork show up late, you’ll pay for redesigns, extra concrete, and delays.
- You’ll sleep better knowing the ground won’t sink later.
- You’ll avoid the dread of a surprise piling quote.
- You’ll protect your savings from hidden rot and cracking.
- You’ll keep trades moving instead of waiting on revisions.
- You’ll feel in control when structural reinforcement is specified early.
Use a Layout That Saves on Labour and Units
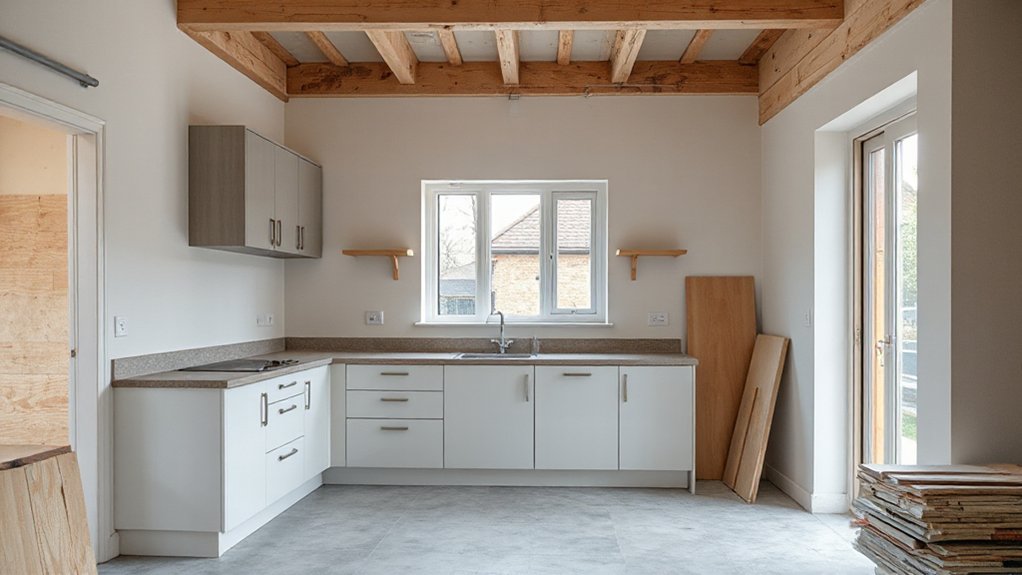
You’ll save most by keeping your sink, dishwasher and washing machine on the existing plumbing lines, so your plumber isn’t chasing new runs under the slab.
Choose simple straight cabinet runs or an L-shape with standard unit widths to cut fitting time and reduce the number of bespoke carcasses.
If you can, limit structural wall changes and stick to openings that don’t need extra steel, as labour and engineering fees add up fast in UK builds.
Keep Existing Plumbing Lines
Although it’s tempting to shift the sink or add a new island, keeping existing plumbing lines in place is one of the quickest ways to protect your kitchen extension budget. Every metre of plumbing rerouting adds labour, materials, and risk—especially if floors need lifting or you’re working around joists.
By avoiding fixture relocation, you’ll cut time on site, reduce snagging, and keep Building Control inspections simpler.
- You’ll dodge the shock of extra day-rate costs.
- You’ll avoid surprise leaks that ruin new finishes.
- You’ll keep water pressure more reliable.
- You’ll reduce disruption in a busy family home.
- You’ll feel calmer when the schedule doesn’t slip.
Ask your plumber to confirm pipe sizes, waste falls, and venting early, then design around them.
Choose Simple Cabinet Runs
When cash needs to stretch, choose straight cabinet runs or a simple L-shape instead of a U-shape or island-heavy layout, because every extra corner, end panel, and filler strip adds units and fitting time.
Keep tall units grouped so your fitter can run level lines quickly and avoid awkward scribing around returns.
Use standard 600mm base and wall units where you can; they’re cheaper to buy and easier to replace.
Limit Custom cabinetry to one problem area, like boxing in a boiler or a narrow gap, rather than the whole run.
Swap a couple of wall cupboards for open shelving to cut unit costs, reduce door hardware, and speed installation.
Plan appliance gaps precisely (especially integrated fridge and dishwasher) so you don’t pay for rework or extra panels later on.
Limit Structural Wall Changes
If you keep the existing structural walls where they are, you’ll save thousands in steelwork, calculations, and labour before you’ve even bought a unit.
Design your extension so openings stay modest and aligned with current supports. That reduces Structural reinforcement, speeds Building Control sign-off, and limits the scope of load bearing analysis from your engineer.
Keep services close to where they already run, and you’ll also cut chasing, boxing-in, and unit modifications.
- You avoid surprise costs when the builder opens up walls.
- You keep the schedule tight, so you’re not living on takeaways.
- You protect your contingency fund for finishes you’ll actually see.
- You reduce disruption to upstairs floors and ceilings.
- You lower risk of cracks, squeaks, and call-backs later.
Keep Plumbing Near the Existing Kitchen
Because relocating water and waste pipes usually means lifting floors, chasing walls, and reworking drainage falls to meet Building Regulations, you’ll keep costs down by positioning the sink, dishwasher, and washing machine close to the existing kitchen’s supply and soil stack. Keeping runs short reduces labour, materials, and the risk of blockages or slow draining.
Set your wet zone on the same wall or an adjacent one, and plan appliance locations around the current stopcock, hot feed, and waste outlet positions.
If you must move the sink, keep it within a metre or two and maintain proper fall on the waste to avoid pumps.
Box-in pipes neatly or use shallow service voids to protect Kitchen aesthetics while improving Plumbing efficiency. You’ll also simplify maintenance and future repairs.
Plan Electrics and Lighting Before First Fix
Keeping your plumbing runs short sets you up nicely to lock down the other hidden costs: electrics and lighting. Before first fix, map your Lighting layout and agree socket, switch, and appliance points with your electrician and kitchen plan. You’ll avoid chasing walls later, protect your budget, and keep Electrical safety tight under Part P and BS 7671. Price changes now, not after plastering, and label circuits so testing and sign-off go smoothly.
- You’ll feel calmer knowing every worktop has power where you reach.
- You’ll avoid the panic of dark corners over the hob and sink.
- You’ll sidestep costly rework when the fridge-freezer needs a spur.
- You’ll protect family nights with RCD/RCBO coverage you can trust.
- You’ll enjoy the finish sooner, with fewer noisy call-backs.
Choose Doors That Don’t Blow the Budget
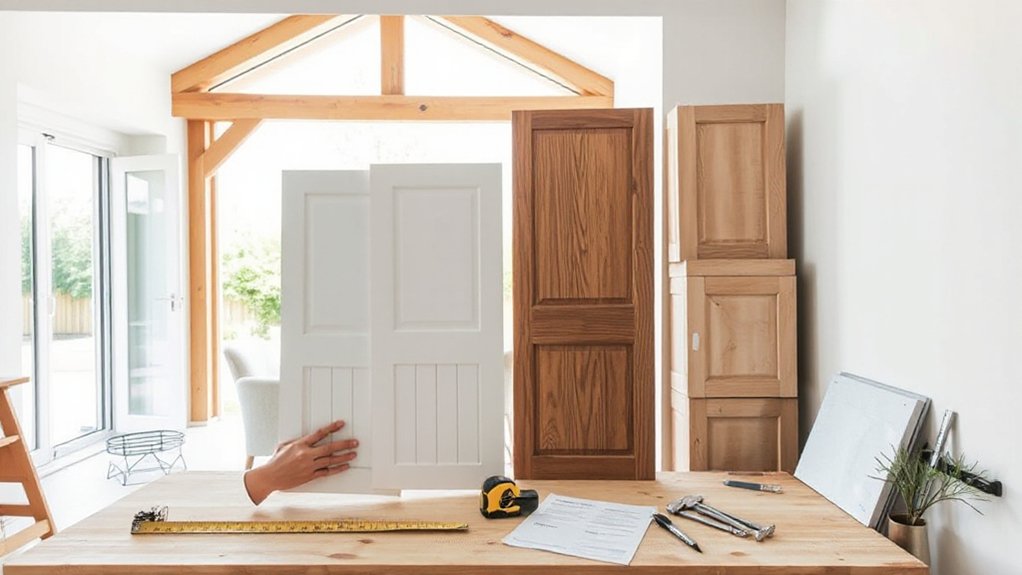
You’ll keep door costs under control by sticking to standard UK sizes, because made-to-measure quickly adds labour and lead time.
Choose materials that offer the best value for your layout—uPVC or composite for low maintenance, or veneered engineered timber instead of solid wood.
Price the door, frame, glazing, ironmongery, and fitting as one package so you don’t get caught by extras.
Standard Sizes, Lower Costs
Even if bespoke doors look tempting, sticking to standard UK sizes will usually save you serious money on a kitchen extension. Standard 500/600mm units and common door widths keep suppliers competitive, shorten lead times, and cut fitting time.
You’ll also avoid costly tweaks to carcases, hinges, and plinths that creep in with odd sizes. If you’re considering custom cabinetry, limit it to one awkward corner and keep the rest modular.
For appliance integration, choose appliances that match standard housing dimensions so you don’t pay for altered panels or filler pieces.
- Relief when quotes drop instantly
- Confidence that replacements will match later
- Less stress from shorter delivery windows
- Fewer surprises for your fitter on install day
- Pride that you’ve controlled the spend
Materials That Save Money
Although door styles can eat a big chunk of your kitchen extension budget, you can rein that cost in by choosing hard-wearing, mass-produced finishes: foil-wrapped MDF (often labelled “vinyl”) and good-quality melamine tend to undercut painted shaker and solid timber, while still looking sharp in most UK ranges.
Ask for 18mm carcases and decent edge-banding so chipboard doesn’t swell near sinks. Pick slab or simple shaker profiles in standard colours; you’ll avoid costly bespoke paint and longer lead times.
For innovative materials, look at compact laminate doors or PET fronts, which resist scratches and wipe clean.
If you want eco-friendly options, choose FSC-certified boards and low-VOC, formaldehyde-reduced panels.
Finally, spend on handles only where you touch daily; elsewhere, go handleless rails.
Window Options That Keep Costs Sensible
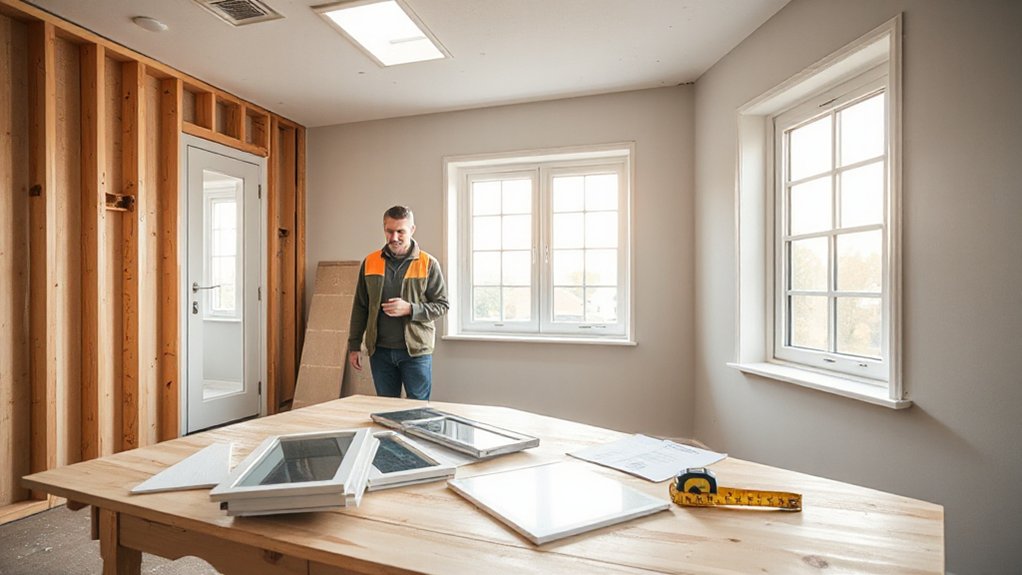
When you’re balancing daylight, insulation, and planning constraints, the window choices in your kitchen extension can quickly swing the budget. Start with a clear cost comparison across common window styles: uPVC casements usually price lowest, timber costs more upfront, and aluminium sits higher but lasts well. Pick double glazing with a decent U-value, and don’t over-specify coatings you won’t notice in a north-facing room.
If you’re near a boundary, check Part B and any council guidance before you order.
- You’ll feel calmer when quotes include supply, fitting, and making good.
- You’ll avoid regret by matching frames to your existing house style.
- You’ll stay warmer by choosing quality seals and trickle vents.
- You’ll cut waste by limiting bespoke opening mechanisms.
- You’ll sleep easier with secure locks and FENSA-backed installers.
Save Money by Using Standard Sizes
Once you’ve settled on a sensible frame and glazing spec, the quickest way to keep window and door costs down is to stick to standard sizes wherever you can. UK suppliers price common modules keenly, and lead times are shorter because they’re stocked. Ask your designer to set opening widths and head heights to suit off-the-shelf doors, sidelights, and rooflights, then build the structure around them, not the other way round.
Carry the same thinking into the kitchen: plan carcass runs in 600mm increments, choose standard worktop depths, and reserve custom cabinetry only for awkward corners. Standard appliance housings also help you fit eco-friendly appliances without filler panels, trims, and extra labour.
Measure twice, order once.
Where to Spend vs Save on Materials
Because material choices drive both upfront cost and long-term running bills, you’ll save more by spending strategically than by cutting corners across the board. Put your budget into hidden essentials: insulation, membranes, and robust flooring bases, where Material durability prevents call-backs.
Spend on worktops only if you cook hard daily; otherwise choose good-quality laminate or compact laminate. Save on splashbacks by using metro tiles or upstands instead of full-height stone.
For units, pay for solid hinges and drawer runners, not fancy door fronts you can swap later. Always check Supplier reputation, warranty terms, and lead times with UK merchants.
- You’ll feel calmer when finishes don’t warp.
- You’ll avoid that sinking “cheap tap” regret.
- You’ll enjoy quieter, sturdier drawers daily.
- You’ll trust invoices that match quotes.
- You’ll sleep better knowing leaks are unlikely.
Planning Permission and Building Regs: Avoid Delays
Even if your kitchen extension feels straightforward, you can lose weeks (and money) if you treat planning permission and Building Regulations as an afterthought. Check first whether you qualify for Permitted Development; if you don’t, submit a householder planning application early and allow 8+ weeks for a decision.
Confirm constraints like conservation areas, listed status, and neighbours’ rights, and get written advice via your council’s pre-app service where possible.
For Building permits and Regulatory compliance, decide between Building Control (council) or an Approved Inspector, then book key inspections: foundations, damp-proof course, drainage, insulation, and completion.
Make sure your drawings cover structure, fire safety, ventilation, and thermal performance. Keep records and certificates; you’ll need them for completion and future sale.
Compare Quotes Like-for-Like (Apples to Apples)
Although three builders might quote for the same kitchen extension, you won’t get a fair comparison unless you standardise what they’re pricing. Give each firm the same drawings, spec, and an inclusions schedule that fixes Kitchen layouts, appliance allowances, and Decorative accents. Then ask for a fully itemised quote.
Check VAT status, lead times, and who’s responsible for Building Control inspections and certificates. Clarify what’s excluded, then price those items yourself so you’re not blindsided later.
- You’ll stop that sinking feeling when “extras” appear.
- You’ll avoid paying twice for the same plumbing run.
- You’ll protect your dream layout from quiet downgrades.
- You’ll spot unrealistic day rates and shortcuts early.
- You’ll choose calmly, not under pressure, later.
Add a Contingency and Protect It From Changes
Once you’ve nailed down your like-for-like quotes, ring‑fence a contingency—typically 10% for a straightforward kitchen extension and 15–20% if you’re moving drains, opening up structural walls, or dealing with an older UK property—and treat it as a separate pot you don’t touch for upgrades.
Put it in your spreadsheet as “risk allowance”, not “nice-to-haves”, and agree with your builder it’s only released against documented surprises. Strengthen Contingency planning by defining what counts: hidden pipework, rotten joists, asbestos findings, or Building Control requirements.
Add Budget safeguards: freeze the scope after sign-off, issue a written variation form for any change, and insist on priced approvals before work continues. Keep a running log so you spot creep early and protect your main budget.
Keep Finishing Costs Down (Flooring, Paint, Snagging)
Because finishing trades can quietly swallow thousands at the end of a kitchen extension, you’ll keep the budget intact by locking down your flooring spec early (room sizes, thresholds, and underlay), choosing paint systems that cover well in fewer coats, and planning snagging as a paid, time-boxed visit rather than an open-ended list.
For flooring, fix the m² rate, trims, and fitting before the fitter arrives, and confirm who moves appliances.
For paint, pick a durable kitchen matt or eggshell and insist on proper prep to avoid costly call-backs.
For snagging, walk the job with your builder, photograph issues, and agree a one-day return.
- You’ll feel calm when costs stop drifting.
- You’ll avoid that sinking “extra labour” surprise.
- You’ll protect Finishing touches without overspending.
- You’ll keep cost management firm, not awkward.
- You’ll enjoy handover day, not dread it.
Frequently Asked Questions
How Long Does a Kitchen Extension Usually Take From Start to Finish?
You’ll usually need 10–20 weeks from start to finish in the UK, depending on size, permissions, and trades. Use Design inspiration early, and keep Budget planning tight to avoid delays from changes.
Can I Live in the House While the Kitchen Extension Is Being Built?
Yes, you can, but it’s like camping indoors: tight, temporary, manageable. Plan Living arrangements around a sealed-off work zone, and handle Noise management with agreed hours, dust screens, and a usable kettle.
Will a Kitchen Extension Increase My Home Insurance Premiums?
Yes, it can cause a Premium increase on your Home insurance, especially if you raise rebuild costs or add glazing. Tell your UK insurer before works start, update sums insured, and check builders’ liability cover.
How Do I Choose a Builder I Can Trust for a Kitchen Extension?
Check builder reputation via UK reviews, references, and local trade bodies; visit finished jobs. Get itemised cost estimation and a written programme. You’ll trust them if they communicate clearly, insure properly, and use a solid contract.
What Warranties or Guarantees Should I Expect on the Completed Extension?
Expect solid Warranty coverage, not vague promises: you’ll get a 10-year structural guarantee (often via NHBC/LABC) and 12-month defects cover. Check Guarantee duration for workmanship, materials, electrics (NICEIC), gas (Gas Safe), plus manufacturers’ warranties.
Conclusion
If you keep your kitchen extension budget on a tight leash, the whole build feels far less “character-building”. Lock in a realistic spend, get a clear £/m² range early, and make sure every quote covers the same bits—foundations, steels, electrics, and finishes. Decide your must-haves quickly, keep the shape simple, and stay on top of planning and Building Regs. Ring-fence your contingency, then choose sensible finishes to avoid a costly “surprise upgrade”.





