
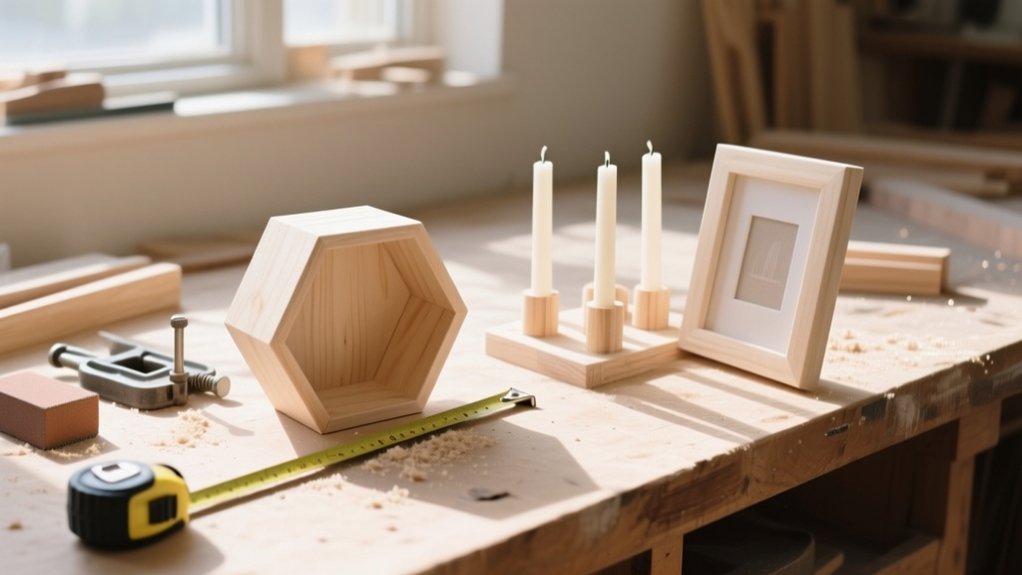
You can make polished wooden decor in an afternoon with straight poplar or maple, a drill/driver, clamps, and 120–220 grit sandpaper. Build a simple two-bracket wall shelf, a slim 2–3 inch picture ledge, or a board-and-hook rack by predrilling and mounting into studs or rated anchors. Try a mini plant riser, a scrap-wood butt-joint frame, or a small tray with handle holes. Choose paint, stain plus poly, or wipe-on oil—more ideas follow.
Beginner Tools + Best Wood for Small Decor
Where do you start if you want clean, modern wooden decor without buying a full shop? Start with a tape measure, combination square, pencil, clamps, a compact drill/driver, and a flush-cut saw or jigsaw.
Add 120–220 grit sandpaper, a sanding block, and a brad nailer or small hammer for quick assembly. For accuracy, use a self-centering dowel jig or pocket-hole jig, not both.
Choose stable, easy-to-machine wood: poplar for paint-ready parts, maple or birch for crisp edges, and oak or walnut when you want bold wood grain. Avoid construction pine; it dents and twists.
When planning pieces, match species to your finish options later by selecting boards with consistent color and straight grain.
Quick Finish Options (Paint, Stain, or Oil)
Once you’ve picked straight, stable boards and cut clean joinery, the finish is what makes a small piece look intentional instead of homemade. Your best finish options are paint, stain, or oil, and each has a fast path.
For paint, sand to 180, vacuum dust, then prime to block tannins and seal end grain. Roll or brush two thin coats, lightly scuffing between for a smooth, durable surface.
For stain, condition softwoods first, then wipe on, keep a wet edge, and wipe off evenly to avoid blotches. Let the wood grain stay visible, then topcoat with water-based poly for speed.
For oil, flood on, wait 10 minutes, wipe dry, and repeat once. Cure overnight.
Two-Bracket Wall Shelf (One-Board Build)
For a two-bracket wall shelf, you’ll start by marking bracket locations off studs (or rated anchors). Then set both brackets dead level so the board won’t rock or creep over time.
You’ll prep the board next—cut it square, ease the edges, sand through consistent grits, and dry-fit to confirm the overhang is even on both sides.
Once everything lines up, you can apply your finish of choice and mount the board with flush, straight fasteners for a clean, sturdy look.
Bracket Placement And Leveling
Before you drill a single hole, decide exactly where the two brackets will land so the shelf carries weight evenly and sits dead level. Mark your shelf height with painter’s tape, then locate studs with a stud finder; if you can’t hit studs, plan for rated wall anchors.
For reliable bracket placement, measure the board length and set brackets in from each end equally, keeping them far enough apart to prevent sag.
Use solid leveling techniques: draw a level reference line, transfer bracket hole positions to the wall, and double-check plumb before committing.
Pre-mark both brackets, then temporarily screw one in place, re-level across to the second, and adjust. Tighten everything, recheck level, and confirm both brackets sit flush to the wall.
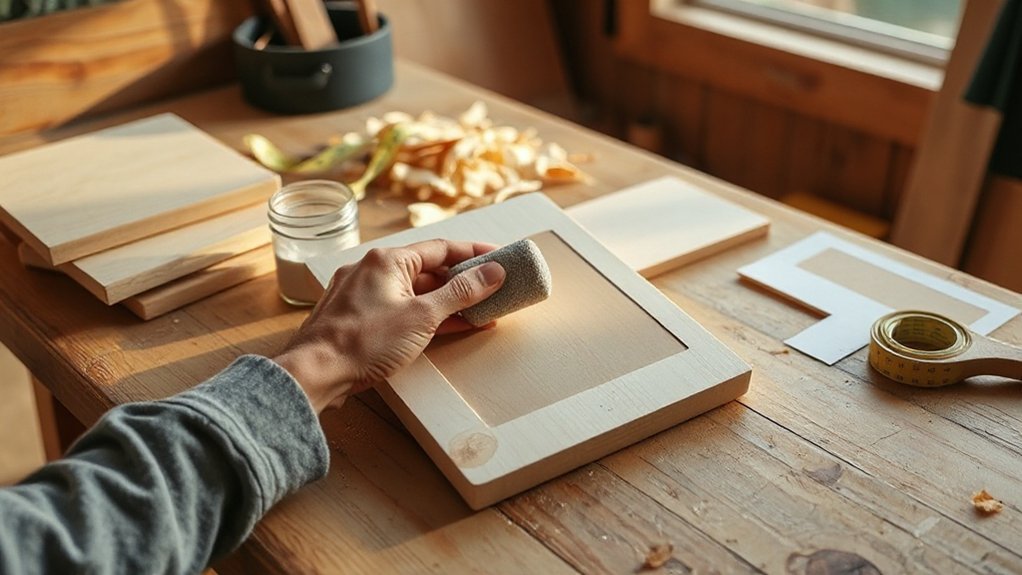
Board Prep And Finishing
After you’ve confirmed the brackets will sit level, prep the board so it looks finished and won’t splinter or soak up stains unevenly. Start by checking for cup or twist, then sand with 120-grit to flatten mill marks and ease sharp edges.
Follow with 180- or 220-grit, always sanding with the wood grain to avoid visible scratches. Vacuum dust, then wipe with a tack cloth or damp rag and let it dry fully.
If you’re staining, apply a pre-stain conditioner on softwoods, then stain evenly and wipe off excess.
For paint, spot-prime knots to block bleed. Finish with two thin coats of polyurethane, wax, or oil as a protective coating, lightly scuffing between coats for a smooth, durable shelf surface.
Slim Picture Ledge for Easy Swaps
Although wall art can feel permanent once it’s hung, a slim picture ledge lets you rotate prints, photos, and small objects whenever you want without adding new nail holes. You’ll cut a straight backer and a narrow lip, then glue and pin-nail them into an L-shaped shelf.
Keep it shallow (2–3 inches) so frames sit secure and the ledge stays visually light. Choose Sustainable wood sourcing—poplar, pine, or responsibly harvested plywood—and sand edges crisp for a clean shadow line. Finish with Creative color combinations: match your trim, go tonal with your wall, or add a muted contrast.
- Mount into studs or use rated anchors
- Add a tiny front bevel to prevent slips
- Seal with wipe-on poly for durability
- Leave 1/8-inch clearance for seasonal swaps
Rustic Wood Sign Using Stencils (No Freehand)
Once you’ve got a spot to display rotating art on a picture ledge, add a warm, handmade focal point with a rustic wood sign—and you won’t need steady handwriting to pull it off.
Start with a straight, sanded board; break edges lightly for age. Wipe on stain, then dry-brush a lighter tone for wood grain enhancement. Seal with a quick matte coat so paint won’t bleed.
Center your stencil with painter’s tape, then burnish the edges using a gift card. Use stencil techniques that keep paint dry: load a foam pouncer, offload on paper, then tap in thin layers.
Peel the stencil while tacky, touch up with a small brush, and finish with wax or poly for durability.
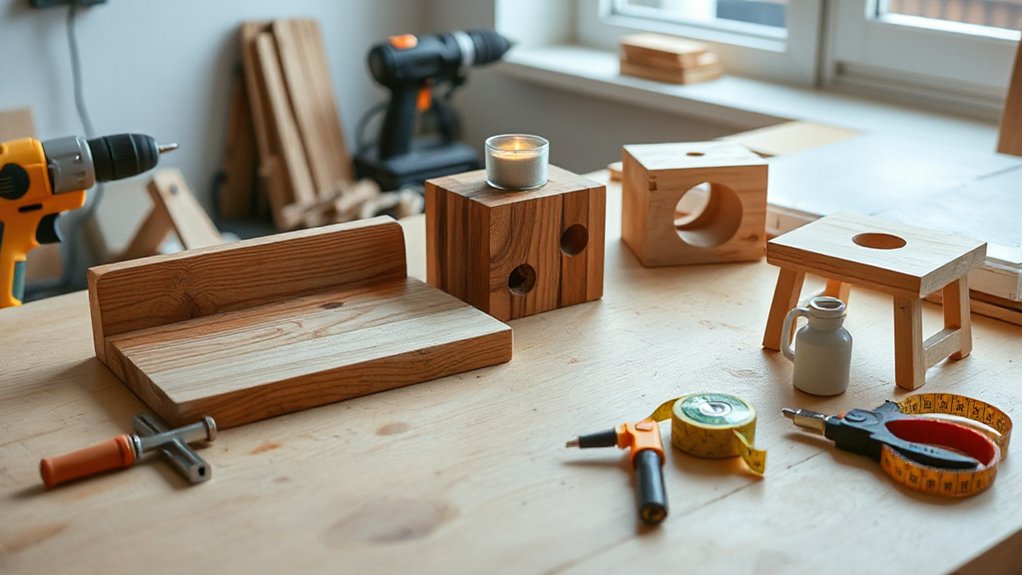
Candle Holder Block (Scrap-Friendly, Fast)
If you’ve got a short offcut that’s too nice to toss, turn it into a clean-lined candle holder block in under 15 minutes. Square the ends, then choose a face with attractive Wood grain and mark centerlines. Drill a flat-bottom recess with a Forstner bit sized to your tealight or taper cup, stopping shy of blowing through. Ease edges with a chamfer bit or sanding block so it feels finished, not sharp.
- Clamp the block firmly; let the bit cut at moderate speed
- Sand to 180–220 grit, following the grain for a crisp sheen
- Wipe on oil, wax, or a thin poly—simple finishing techniques that pop figure
- Add cork pads to protect surfaces and keep it steady
Mini Plant Riser (Simple Box or Tripod)
That same scrap-friendly mindset works for a mini plant riser, and it solves a common problem: lifting a pot off a tabletop so the space looks lighter and watering drips don’t pool.
Build a simple box riser from four short sides and a top, or make a tripod with a small round platform and three angled legs.
For the box, cut pieces square, glue, and pin-nail; keep it 1–2 inches tall so it feels intentional, not clunky.
For the tripod, drill three pilot holes, screw legs in, and add felt pads to prevent scratches.
Sand to 180 grit, then align the wood grain so it looks cohesive.
Choose finish options like clear matte poly, Danish oil, or paint, and seal the underside too.
Wooden Tray With Dowel or Rope Handles
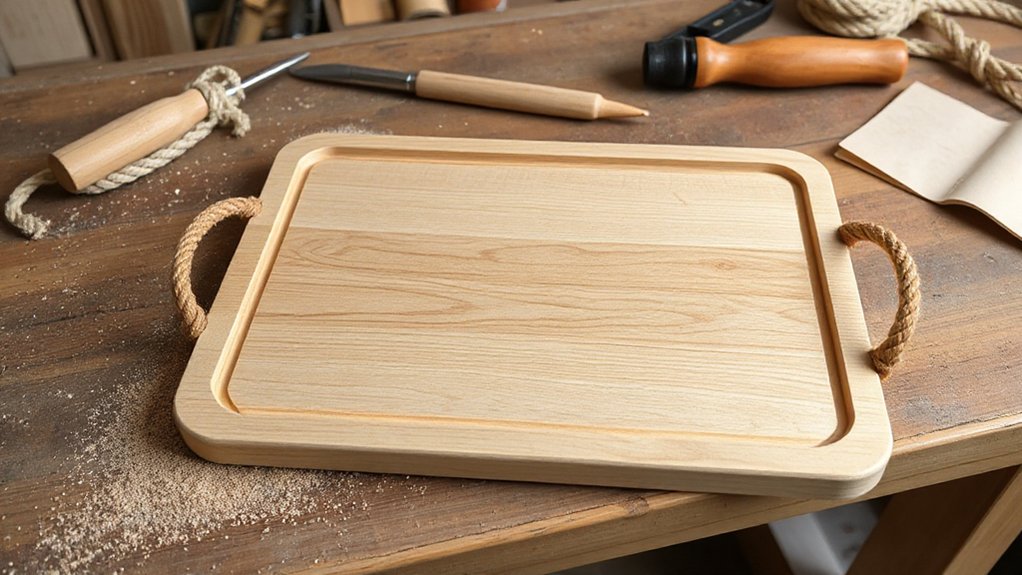
Because a good tray pulls double duty as décor and a daily workhorse, you’ll get the best results by building it from stable, straight boards and adding handles you can actually grip.
Cut a base and two low sides, then glue and pin-nail or clamp until cured.
Sand to 180–220 grit, easing edges so it feels finished in hand and highlights the wood grain.
- Drill centered holes for a dowel, or two larger holes for knotted rope.
- Keep handle height just above the rim for comfortable clearance.
- Add a thin bottom runner strip if you want extra stiffness.
- Seal with a wipe-on oil for a durable, natural finish.
Let the finish cure fully before loading cups, candles, or books.
Board-and-Hook Rack for Entryway or Bath
Whether you need a quick drop zone for coats and keys or a tidy spot for towels, a simple board-and-hook rack gives you sturdy storage with clean, custom lines. Start with a straight 1×6 or 1×8, 24–36 inches long, and prioritize Sustainable sourcing by choosing FSC-certified lumber or reclaimed pine.
Sand to 180 grit, ease the edges, then mark hook spacing (4–6 inches apart) and predrill to prevent splitting. For wall strength, hit studs or use heavy-duty anchors, and add a keyhole or D-ring hanger rated for the load.
Finish with Custom paint techniques: tape a crisp color block, dry-brush for subtle texture, or apply a matte topcoat for moisture resistance. Install hooks, mount level, and you’re done.
Scrap-Wood Frames From Strip Offcuts (No Miter)
Once you’ve put up a board-and-hook rack, use the leftover strip offcuts to make clean, modern picture frames—no miter saw required.
Cut four straight pieces with square ends, then butt-join them around your photo or art. Keep the wood grain running the same direction on opposing sides so the frame looks intentional, not patched.
Glue and clamp on a flat surface, then reinforce the corners with short brads or pin nails. Sand the edges crisp, break the corners slightly, and test-fit the backing before finishing.
For a refined look, aim for subtle color blending by pairing similar species or washing everything with a single diluted stain. Finish with a matte topcoat and add a sawtooth hanger.
- Square cuts, simple butt joints
- Grain-matched orientation
- Light sanding, eased edges
- Consistent stain for color blending
Frequently Asked Questions
How Do I Prevent Small Boards From Warping After Finishing?
You prevent small boards from warping by sealing all faces and edges for proper Wood sealing, then maintaining humidity control. You’ll acclimate boards, finish both sides evenly, store flat with stickers, and avoid heat.
What’s the Safest Way to Hang Decor on Plaster or Brick Walls?
Brick and plaster demand deliberate drilling: use wall anchors matched to load, pre-drill with masonry bits, and seat screws snug. Follow safety precautions—check for wires, wear eye protection, and test-hang gently before fully loading.
Can I Use Reclaimed Pallet Wood Safely Indoors?
Yes, you can use Reclaimed wood from pallets indoors if you verify it’s heat-treated (HT), not chemically treated, and inspect for mold, pests, and oil. Sand, seal, and clean thoroughly for Indoor safety.
How Do I Calculate Wood Movement for Tight-Fitting Joints?
Calculate movement by multiplying tangential wood expansion rate by board width and expected moisture change. You’ll leave that clearance in tight joints and orient grain wisely. For joint stability, use quartersawn stock and allow seasonal slip.
What’s the Best Way to Ship Finished Wooden Decor Without Damage?
Why risk dents? You’ll ship safely by wrapping with foam, corner guards, and double-boxing for shipping protection, then suspending the piece with void fill. Seal decorative finishes with cured wax and add moisture barrier, plus “fragile” labels.
Conclusion
Now you’ve got a full menu of wooden decor you can knock out in an afternoon, even with basic tools. Choose straight, stable stock, measure twice, and keep your sanding consistent so every edge feels intentional. Finish fast with paint, stain, or oil, then let it cure before hanging or loading. Each small build is a stepping-stone—like laying planks across a creek—toward cleaner cuts, tighter joinery, and a home that looks custom.


