
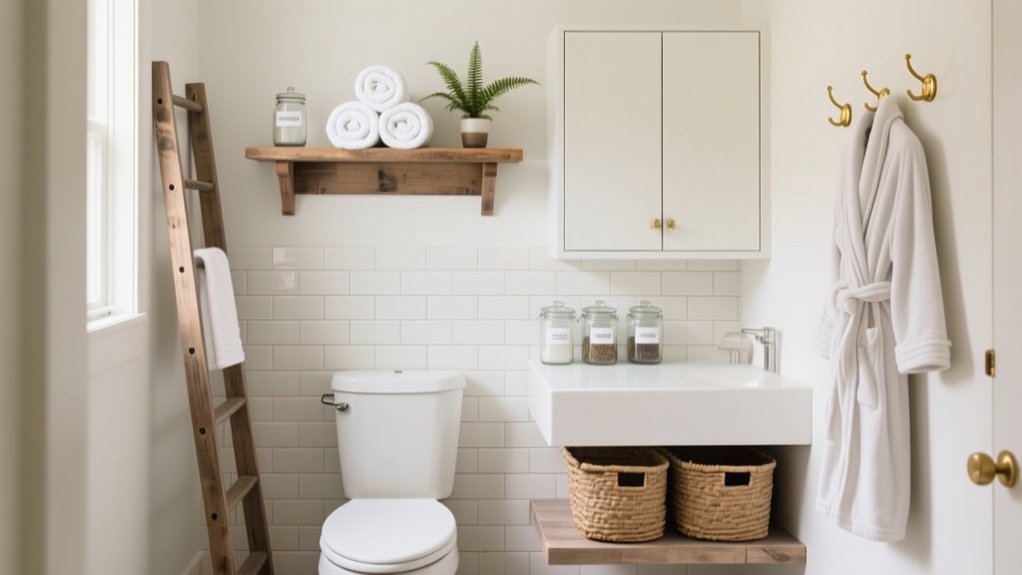
Start with a five‑minute measure in millimetres, checking door swings, drawer travel, and pipe offsets, then tape off dead zones. You can add 80–120mm‑deep narrow wall shelves in MR MDF with a 10–15mm front lip, or build an over‑the‑loo rack sealed and fixed into studs or proper plugs. Fit floating corner shelves, behind‑door hooks, and DIY drawer dividers with non‑slip liners. Keep airflow to stop damp, and there’s more to help you plan.
Find Storage Hotspots With a 5-Minute Measure
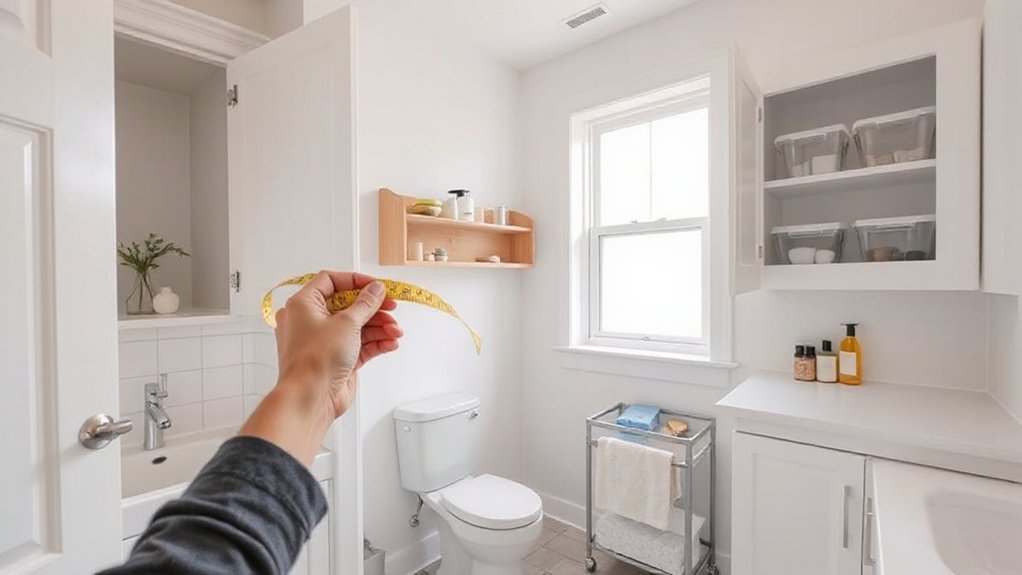
Before you buy baskets or start cutting timber, take five minutes to measure your bathroom and spot the “dead zones” that can handle storage. Grab a tape measure, notepad, and painter’s tape. Use consistent measuring techniques: note width, depth, and height in millimetres, and check door swings, drawer travel, and radiator clearance. Mark zones with tape so you can visualise usable footprints without guessing.
Scan vertically: the wall space above the loo, the gap between basin and bath, and the void under the sink (including the trap). Check behind the door for hook clearance and beside the shower for slim caddies. Record stud positions if you’ve got a detector.
This quick audit drives storage optimization and prevents wasted buys.
Build Narrow Wall Shelves for Small Bathrooms
Now that you’ve taped out your usable “dead zones,” put that vertical wall space to work with narrow shelves that add storage without stealing elbow room. Keep depth to 80–120mm so towels and bottles sit securely, and run a spirit level line at eye height for daily items.
For Narrow shelving, use 18mm MR MDF or primed softwood; seal all faces, then finish with moisture-resistant satinwood. Fix into studs where you can; otherwise, use quality plasterboard fixings rated for wet areas and pre-drill to avoid blowing the paper face. Add a 10–15mm front lip to stop products sliding.
For Wall organization, group shelves by task: shaving, skincare, cleaning, and label small tubs. Keep corners clear for movement.
Build an Over-the-Toilet Storage Rack
Although the space above your loo often gets ignored, an over-the-toilet storage rack turns it into practical, reach-in storage without widening the room’s footprint. Start by measuring the cistern height and the clearance to any window ledge, then build a simple timber frame that straddles the pan without touching pipes.
Use planed CLS or moisture-resistant plywood, and seal every cut edge with primer plus satinwood or bathroom-grade varnish. Fix uprights together with pocket screws or angle brackets, then add two shelves: the lower one for Toilet paper and wipes, the upper for baskets and spare toiletries.
Anchor the top rail into studs or masonry using proper wall plugs for UK plasterboard. Finish with matching paint so it blends with your bathroom decor.
Add Floating Corner Shelves for Dead Space
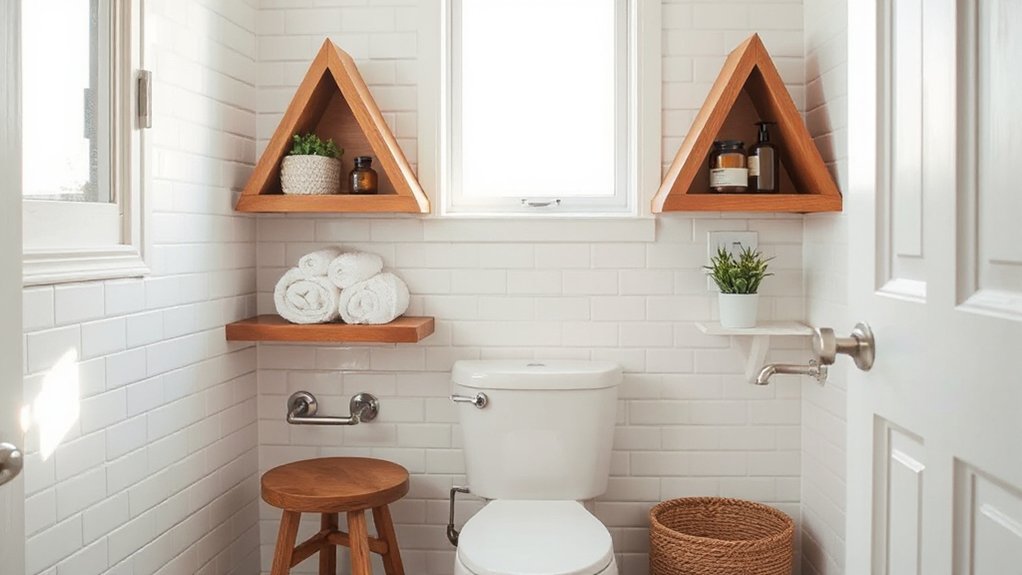
Turn that unused bathroom corner into practical storage by choosing moisture-resistant materials like sealed timber, MDF with a waterproof finish, or powder-coated metal.
You’ll mount secure wall brackets into studs where possible (or use the correct fixings for plasterboard or tile) so the shelves stay rigid under daily use.
Then you’ll style them with stackable baskets, labelled jars, and slim organisers to keep toiletries tidy without crowding the space.
Choose Corner Shelf Materials
Because a bathroom corner shelf sits in a high‑moisture, high‑wear zone, you’ll get the best results by choosing materials that won’t swell, delaminate, or rust.
Prioritise Material durability: marine‑grade plywood with sealed edges, moisture‑resistant MDF (MR) only if fully painted, or solid hardwoods like oak or iroko finished with yacht varnish.
For a low‑maintenance build, use powder‑coated steel or anodised aluminium; they cope well with UK condensation and frequent wipe‑downs.
Avoid chipboard and untreated pine, as they absorb moisture fast and sag.
Balance performance with Aesthetic options: pale oak for Scandi bathrooms, black metal for modern schemes, or painted boards to match your wall colour.
Choose wipe‑clean surfaces and rounded front edges.
Install Secure Wall Brackets
When you install wall brackets properly, a floating corner shelf won’t rack, wobble, or rip out of the plaster when you load it with bottles.
Start by locating solid timber studs with a detector, or plan to fix into masonry if you’re on brick. Mark level lines from the corner, then pre-drill pilot holes to prevent splitting and keep wall stability high.
Use the right fixings: brown plugs and 5mm screws for sound masonry, or toggle fixings for plasterboard where there’s no stud. Keep brackets tight to both walls and sink screws fully, but don’t over-torque and crush plaster.
Apply proper mounting techniques: measure twice, use a spirit level, and test-load gradually before filling the shelf.
Style Shelves For Storage
Although corners often get ignored, a floating corner shelf lets you reclaim that dead space and keep everyday bathroom essentials off the basin and windowsill.
Choose moisture-resistant materials like sealed hardwood, marine plywood, or powder-coated steel, and match finishes to your taps for stylish shelving that looks intentional, not improvised.
Mark your shelf height, then locate studs or use proper wall plugs for tile or plasterboard; in UK bathrooms, a solid fixing matters with constant humidity.
Fix the hidden bracket level, slide the shelf on, and seal edges with clear silicone to stop water ingress.
Use two tiers if you’ve got the clearance, and add small lip trim to prevent bottles slipping.
This simple upgrade delivers custom storage without stealing floor space.
Turn a Ladder Into a Towel Storage Tower
Start with a sturdy timber ladder that fits your bathroom footprint. Then sand it smooth and seal or paint it with a moisture-resistant finish for UK humidity.
Fix it safely with non-slip feet and wall brackets, making sure it won’t shift on tile or vinyl.
Add towel bars and hooks to the rungs with corrosion-resistant screws, spacing them for proper airflow so towels dry quickly.
Choose And Prep Ladder
Before you pick up a drill, choose a ladder that’s solid, straight, and proportionate to your bathroom—an old wooden step ladder or narrow rung ladder usually works best for a towel storage tower.
Get ladder selection right first: check joints, rungs, and side rails for wobble, rot, or splits, and avoid aluminium that flexes. For ladder safety, you’re aiming for a stable, snag-free surface that won’t mark tiles or trap moisture.
- Measure ceiling height and allow clearance for skirting boards.
- Confirm it stands level on typical UK bathroom floors (often slightly uneven).
- Sand splinters, then vacuum dust from grooves and rung edges.
- Seal with a mould-resistant primer and bathroom-grade paint or varnish.
- Add non-slip feet or felt pads to protect vinyl, tile, or stone.
Add Towel Bars Hooks
How do you turn a plain ladder into a proper towel storage tower? You add bars and hooks with the same care you’d use for wall fixings in a UK bathroom.
Start by marking rung heights: keep the lower rungs clear for bath sheets, higher ones for hand towels.
Fit a slim stainless towel bar across two stiles using pilot holes and rust-resistant screws; it’ll stop towels bunching.
Next, install Towel hooks on the outer edges for robes and flannels. Choose Bathroom hooks rated for damp rooms (stainless or powder-coated), and space them at least 80mm apart so fabric dries properly.
If you’re renting, use adhesive hooks, but clean with isopropyl first. Seal fixings with clear silicone.
Add Pull-Out Bins for Under-Sink Storage
Although the space under your sink often turns into a cluttered dead zone, adding pull-out bins gives you controlled, easy-access storage without changing the cabinet layout. Fit Sliding baskets on side-mounted runners, measure in millimetres, and keep clear of the U-bend and stopcock.
Choose wire or plastic bins with a lip so bottles don’t tip when you pull them out. Add adjustable dividers to separate cleaning sprays, spare loo rolls, and grooming refills, so you don’t rummage.
- Measure width, depth, and pipe offsets before buying
- Fix runners level; a 2–3mm tilt causes binding
- Use shallow front bins for daily items
- Label dividers for quick restocking
- Leave airflow to prevent damp and mould
Add a Surface-Mount Medicine Cabinet (No Demo)
Choose a surface-mount medicine cabinet that suits your wall space and storage needs, checking door swing, mirror size, and moisture-resistant finish.
Mark a practical mounting height, then locate studs (or plan appropriate fixings for tile or plasterboard) so you can secure it safely and square.
Fix the cabinet in place, then add neat trim and seal any gaps for a clean, built-in look without any demolition.
Choose The Right Cabinet
A surface-mount medicine cabinet gives you fast, no-demo bathroom storage, but you’ll only get a clean finish if you pick the right size, depth, and fixing method for your wall. Measure the clear space above your basin and allow for door swing; slim profiles suit tight UK cloakrooms.
Prioritise Cabinet organization with adjustable shelves and a mirrored door that actually reflects at standing height. Your Material selection matters: powder-coated steel resists steam, while aluminium won’t rust; avoid untreated MDF in damp zones.
Check hinges for soft-close and reversibility, and choose concealed fixings or neat caps so the unit looks built-in, not tacked on.
- Depth that won’t clash with taps
- Shelves sized for tall bottles
- Corrosion-resistant carcass
- Easy-clean mirrored glass
- Cable pass-through for chargers
Locate Studs And Height
Start with two checks: where the studs run and where the cabinet will sit at a usable height. Use a stud finder to scan vertically on either side of the basin, then mark each stud centre with light pencil lines.
In UK stud walls, studs are often at 400mm or 600mm centres, but don’t assume—confirm with repeated passes and a quick tap test. If you hit dot-and-dab plasterboard, plan for appropriate fixings, but still locate any solid points.
Next, set the cabinet level and comfortable. Take a height measurement from the finished floor: aim for the mirror’s centre around your eye line, allowing for taps and splashback clearance.
Mark the top line with a spirit level.
Install And Finish Trim
With your stud centres and level height line marked, you can fit the cabinet and then tidy the edges with trim for a built-in look. Offer it up, pre-drill, then drive screws into studs; if you miss, use quality wall plugs rated for tile or plasterboard. Check plumb, shim behind the back rail, and recheck door swing.
Next, run Installing decorative moldings (pencil round or ogee) to hide gaps and protect edges. Use grab adhesive plus 18g pins, then set and fill.
- Scribe moulding to uneven tiles for tight joins
- Mitre corners with a sharp fine-tooth saw
- Caulk with paintable sanitary sealant for moisture
- Sand filler flush, then prime before topcoat
- Use Trim finishing techniques: feather paint, remove tape cleanly
Make Mason Jar Holders for Cotton Swabs & Makeup
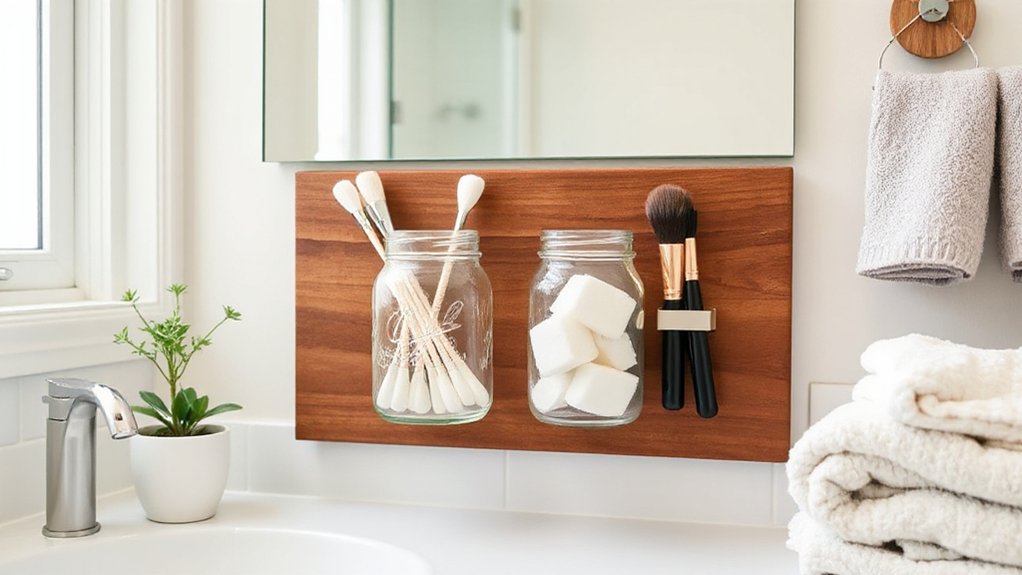
Although countertop clutter can creep up fast, you can corral cotton swabs, pads, and everyday makeup neatly by turning mason jars into dedicated holders that suit a UK bathroom’s tighter surfaces and higher humidity.
Start with wide-mouth jars for easy access and wash them in hot, soapy water, then dry fully to prevent mould.
For a stable setup, mount two or three jars to a reclaimed timber strip using pipe clips or purpose-made jar clamps, fixing the strip into studs or decent wall plugs for tiled walls.
Keep Mason jar decor subtle: paint the strip in moisture-resistant satinwood or wrap jars with waterproof vinyl labels.
Add felt pads under lids if you’ll place them on a vanity.
These DIY storage solutions stay hygienic and wipe-clean.
Fix Messy Drawers With DIY Dividers
When drawers turn into a jumble of hair ties, razors, and spare toiletries, you can regain control fast by fitting simple DIY dividers sized to standard UK vanity units. Measure internal depth and width in millimetres, then cut dividers from moisture-resistant plywood, correx board, or spare acrylic; these DIY materials cope better with steamy bathrooms. Slot pieces with half-lap cuts or hot-glue, then line bases with non-slip matting to stop drift.
Use organisational techniques that mirror your routine, so the first grab is always obvious.
- Separate daily kit from backups
- Create narrow channels for tools
- Group by category, not brand
- Label sections with waterproof tape
- Leave one “flex” bay for new buys
You’ll cut clutter, reduce waste, and keep surfaces clearer.
Add Behind-the-Door Hooks and Slim Racks
Because most UK bathroom doors sit unused, you can reclaim valuable vertical storage by fitting behind-the-door hooks and a slim rack that clears the latch, frame, and skirting.
Start by measuring door thickness (often 35–44mm) and choose over-door brackets with felt pads so you won’t mark painted timber or uPVC.
Fix Decorative hooks at shoulder height for robes and towels, keeping heavier items near the hinge side to reduce strain.
Add a Slim storage rack below for hair tools, spare loo rolls, or cleaning sprays; pick a wire or powder-coated unit that won’t trap moisture.
Use stainless or zinc-plated screws, pilot-drill to prevent splitting, and check the door still closes cleanly with the lock engaged.
Consider self-adhesive for tiles only.
Use a Rolling Cart for Flexible Bathroom Storage
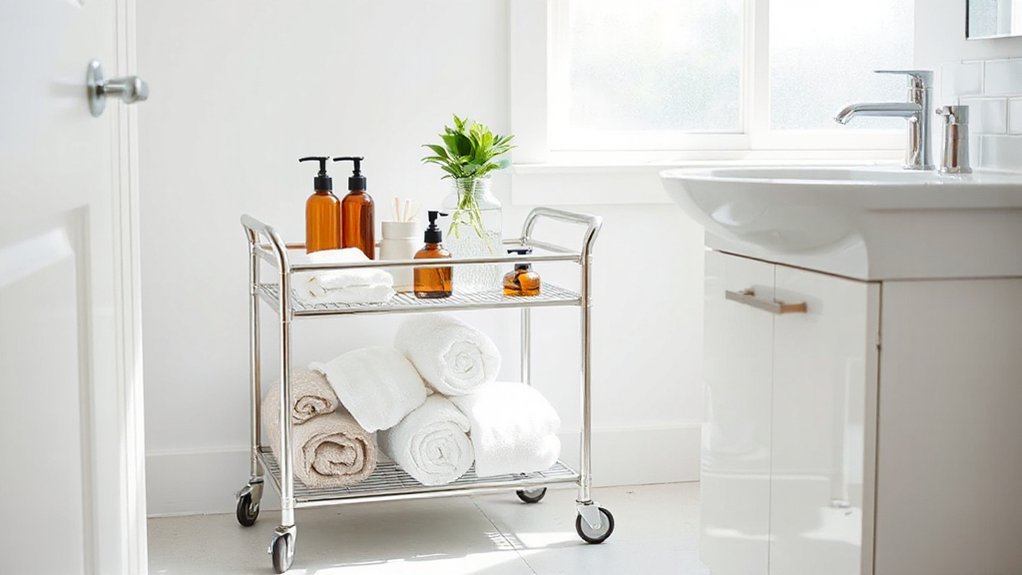
Behind-the-door hooks and slim racks sort what can hang, but you’ll still want storage you can move to where you’re getting ready or cleaning. A rolling cart gives you flexible storage without drilling tiles, ideal for UK rentals and compact bathrooms.
Choose a narrow, three-tier metal trolley with smooth castors and a raised lip so bottles don’t slide. Park it beside the basin for daily routines, then roll it to the bath for cleaning kit, or to the airing cupboard when guests arrive.
Keep weight low, wipe wheels to stop limescale drag, and add labelled caddies to separate categories. Prioritise:
- Daily skincare at hand
- Hair tools in a heat-safe tray
- Spare loo rolls on the bottom shelf
- Cleaning sprays in one caddy
- Medicines up high, out of reach
Frequently Asked Questions
What’s the Average Cost to DIY Bathroom Storage Upgrades?
You’ll typically spend £30–£200 on DIY bathroom storage upgrades in the UK. Custom shelving costs £40–£150 in timber, fixings, and paint. Decorative baskets run £10–£50. Tools you’ve already got keep costs down.
Which Bathroom Storage Materials Resist Moisture and Mold Best?
You’ll get best protection using moisture resistant materials like marine plywood, PVC, stainless steel, and aluminium, sealed edges, plus mould resistant finishes: epoxy paint, polyurethane varnish, or bathroom-grade silicone. Choose UK-rated MR MDF.
Do DIY Storage Additions Affect Home Resale Value?
Yes, DIY storage additions can boost resale value—like a well-tuned engine, they signal care. You’ll win buyers with storage organization and aesthetic enhancement, but keep fittings compliant, tidy, and reversible to avoid damp-related drawbacks.
What Tools Are Essential for Beginner-Friendly Bathroom Storage Projects?
You’ll need a tape measure, spirit level, drill/driver with masonry bits, screwdriver set, stud detector, pencil, and wall plugs. These enable Creative organization and Space maximization safely in UK bathrooms, ensuring secure, moisture-resistant installs.
How Can Renters Add Storage Without Drilling or Wall Damage?
You can add storage using Temporary solutions like tension poles, over-door racks, and suction caddies; pair with Creative repurposing via baskets on trolleys. Use removable Command strips, keep loads light, and protect tiles.
Conclusion
You’ve mapped the storage hotspots, then filled every awkward gap like grout sealing a tile line. With narrow wall shelves, an over‑toilet rack, floating corners, a ladder tower, mason‑jar caddies, drawer dividers, behind‑door hooks, and a rolling cart, you’ve turned clutter into a system. Keep measuring, fixing, and labelling so everything has a home. Do that, and your bathroom won’t feel cramped—it’ll run like a well‑planned UK utility cupboard.





