
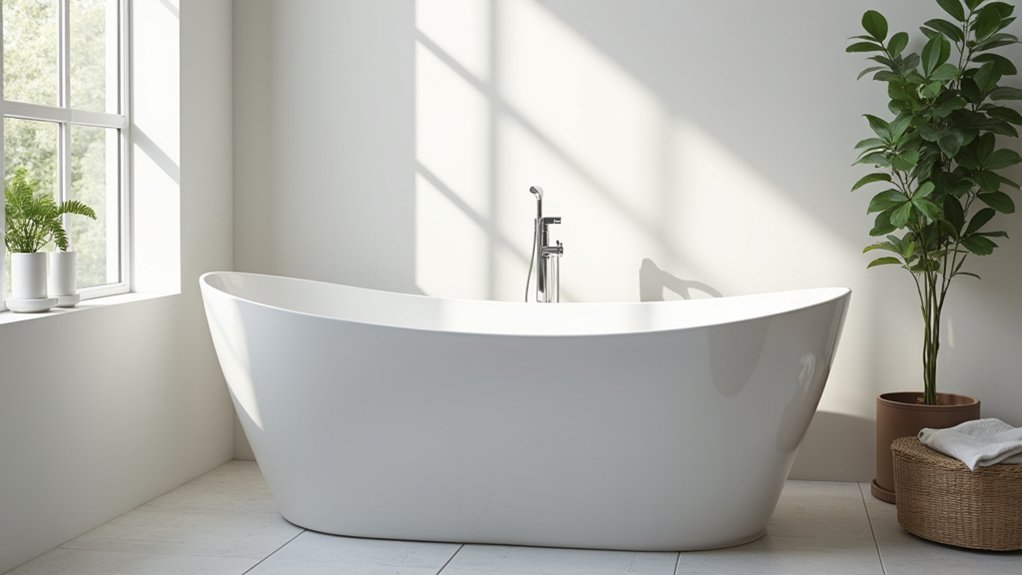
You may not realize how much a seemingly minor installation choice affects long-term performance: acrylic baths offer a lightweight, glossy surface but demand precise support and careful handling to prevent deformation. You’ll weigh quick install and affordability against scratches, denting, and potential durability concerns. With maintenance and proper substrate, they can shine; neglect them and issues compound. Curious how to balance these pros and cons for your project?
Is an Acrylic Bath Right for Your Renovation? Key Factors
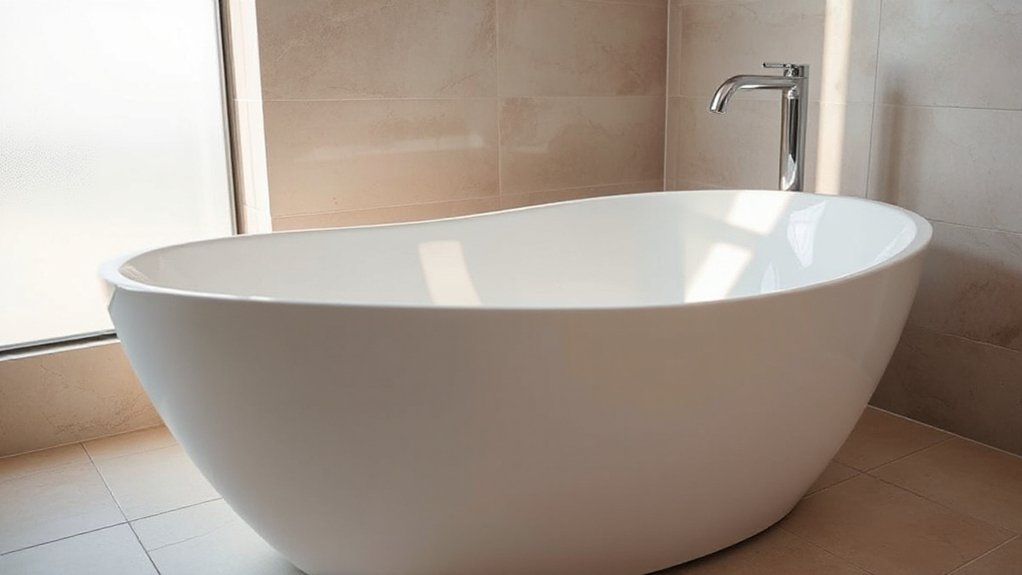
Acrylic baths can be a strong fit for renovations that prioritize quick installation, easy upkeep, and cost efficiency, but they aren’t universally best. You assess space constraints, plumbing layout, and long-term maintenance when considering this material.
Temperature stability, surface durability, and impact resistance matter for high-usage baths, especially in family homes. You’ll also compare expected lifespan, warranty terms, and resale value to alternative materials.
Acrylic color options let you tailor aesthetics without repainting, while thinner walls may influence perceived quality. Customization possibilities include integrated fixtures, modular configurations, and varied edge profiles.
If you value swift project timelines and lower upfront costs, acrylic could meet your goals; if you require extreme heat resistance or ultra-durability in a rugged environment, you may prefer alternatives.
Your final choice hinges on performance needs, lifestyle, and budget alignment.
Pros of Acrylic Baths: Lightweight, Affordable, Quick Install
One major advantage is its lightweight construction, which simplifies handling, reduces installation time, and minimizes structural demands on existing plumbing. You’ll appreciate quicker alignment with floor planes and fewer auxiliary supports, lowering labor costs without sacrificing fit.
The material’s inherent smooth surface enables rapid surface finishing and easier maintenance, sustaining long-term performance with minimal upkeep.
You gain consistent thickness that translates to predictable mounting and plumbing clearance, facilitating standardized mockups and streamlines in retrofit projects.
Acrylic bath aesthetics contribute to a modern, seamless look, delivering clean lines and uniform color while preserving resale appeal.
The use of eco-friendly materials supports sustainability goals, offering compositional advantages over heavier alternatives.
Cons of Acrylic Baths: Scratches, Denting, and Durability Concerns
Despite their many perks, acrylic baths have vulnerabilities you should consider. You face surface issues that can impact appearance and longevity, particularly Acrylic surface scratches and potential denting vulnerabilities. While resilient, acrylic isn’t immune to impact, heavy tools, or improper installations, which can create stress points.
Your durability concerns center on how the material handles daily use, load, and cleaning agents, as well as edge and corner integrity. Factory layers may be prone to microcrack propagation if struck, heated unevenly, or abraded. Understanding these limits helps you set realistic expectations for longevity and performance without overestimating or underestimating risk.
- Acrylic surface scratches
- Denting vulnerabilities
- Impact sensitivity
- Heat and chemical responses
- Edge and corner integrity
Caring for Acrylic Baths: Maintenance to Extend Shine and Life
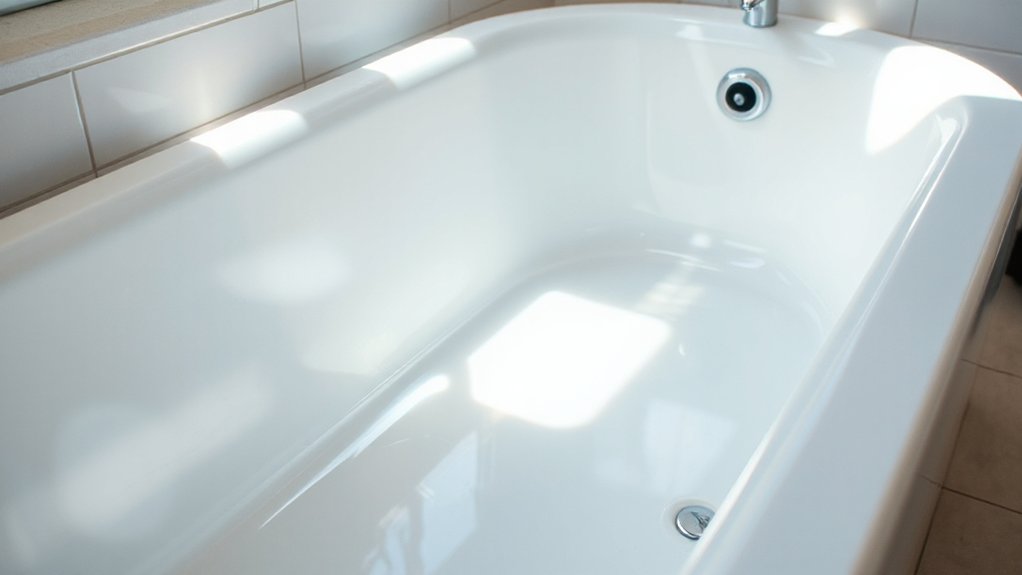
Maintaining acrylic baths requires a disciplined routine that protects the surface while preserving glossy shine. You should perform regular cleaning with non-abrasive cleaners, avoiding ammonia or bleach that can dull the finish. Use a soft cloth or microfiber pad, and rinse thoroughly to prevent residue buildup that can obscure color and sheen.
Address stains promptly with a mild, non-abrasive cleaner and a gentle scrub, then dry the surface to minimize water spots. For preventive care, install a routine wiping habit after use and inspect seams for cracks or discoloration.
When selecting products, review Cleaning tips and test in an inconspicuous area first. If you’re invigorating aesthetics, consider color options designed for acrylic compatibility, ensuring uniform finish and lasting luster.
Acrylic Baths vs Alternatives: How They Stack Up
Acrylic baths offer a lightweight, impact-resistant option with a seamless, glossy surface, but they aren’t the only choice. When you compare options, you weigh durability, heat retention, and installation ease against cost and aesthetics.
Acrylic bath aesthetics emphasize clean lines and uniform color, yet alternatives like cast iron or porcelain enameled steel offer different charm and heat dynamics. You’ll also consider the environmental impact of acrylic, including production footprint and end-of-life recyclability versus solid-surface or tile-in configurations.
For a pragmatic assessment, examine these factors:
- Weight and installation requirements
- Heat retention and surface feel
- Repairability and long-term upkeep
- Durability against chips, scratches, and UV exposure
- Environmental considerations and lifecycle impacts
Troubleshooting Acrylic Baths: Common Issues and DIY Fixes
Common acrylic cracks require immediate assessment to determine if a repair is feasible or if the panel must be replaced.
We’ll outline patch and repair steps you can perform, plus when professional service is warranted.
Preventive maintenance tips will help you minimize future cracks and extend the bath’s life.
Common Acrylic Cracks
Cracks in acrylic bathtubs can appear from impact, stress, or improper installation, and identifying the type guides the repair approach. You assess crack depth, length, and location to choose a fix that preserves integrity.
For hairline surface cracks, you often use resin-impregnated patches and color-matched filler. Deeper cracks may require reinforcement or section replacement, which can involve backing plates or fiberglass mesh with compatible adhesive.
Temperature exposure and flex cause progressive spreading, so monitor changes after DIY touch-ups. Consider how Acrylic color options and design versatility influence concealment and finish matching when selecting products.
Proper prep, clean adhesion, and cure timing are essential to prevent ghosting or delamination. If uncertainty rises, consult a professional to avoid future water damage.
- Crack depth assessment
- Patch vs. patch-and-plate methods
- Adhesive compatibility
- Color-matching considerations
- Curing and inspection steps
Patch And Repair Steps
To fix surface flaws and small leaks, start with a structured patch-and-repair workflow that targets the crack or delamination, prepares the surface, and bonds a reinforced patch with compatible resin and adhesive.
Assess adhesive compatibility, clean the area with isopropyl alcohol, and roughen the substrate to promote adhesion. Mask surrounding edges to prevent overspread.
Apply a resin-infused patch behind the flaw, then cure per manufacturer guidance. Sand the repair flush, re-finish to match, and verify watertightness with a gentle pressure test.
Document the repair for future reference. Ensure color and texture consistency to maintain Acrylic bath aesthetics.
Consider environmental impact by choosing low-VOC resins and minimizing waste. Complete a final rinse, allow full cure, and monitor for signs of re-delamination.
Preventive Maintenance Tips
Preventive maintenance is essential to extend acrylic bath life and minimize DIY repairs by catching issues early and acting promptly. You’ll stop hairline cracks from spreading, inspect seams for moisture, and test grout integrity with a gentle probe.
Establish a routine to clean with non-abrasive products, avoiding solvent exposure that can dull the surface. Reflect on historical trends: coatings and resins have evolved toward higher UV stability and impact resistance, influencing maintenance expectations.
Rely on expert opinions to prioritize timely caulking, moisture control, and patch checks. Implement a preventive schedule, document findings, and adjust cleaning agents to surface tolerances. This disciplined approach reduces costly repairs and preserves resale value over time.
- Inspect seams and caulk annually
- Clean with non-abrasive, pH-neutral products
- Monitor for discoloration or clouding
- Test for moisture behind panels
- Log findings and update maintenance plan
Decide With Confidence: Is an Acrylic Bath a Fit for Your Project?
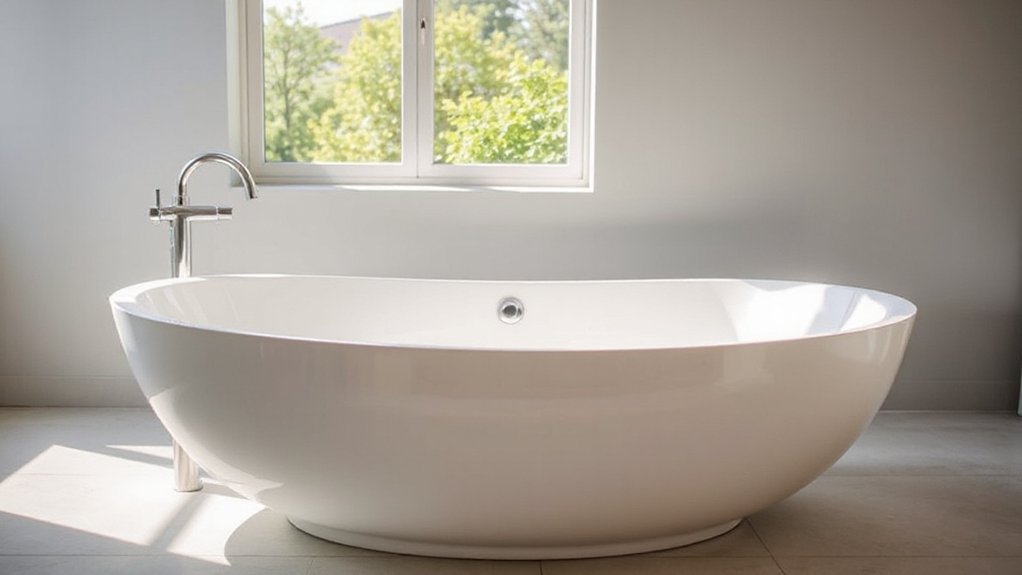
Consider how weight and support requirements affect your load-bearing structure, and whether you’ll need added framing or reinforcement for an acrylic bath.
Weigh maintenance needs and long-term durability against your project’s usage, accessibility, and performance expectations.
This helps you decide if an acrylic bath aligns with your priorities for stability, longevity, and ease of upkeep.
Weight and Support
Acrylic baths are lightweight yet sturdy enough for typical bathroom setups, but you must verify support and weight considerations before installation. You assess weight distribution and confirm compatible support structures to prevent deflection or failure. Proper framing, joist compatibility, and subfloor condition drive long-term performance.
You’ll also verify surround anchoring and leg system alignment to avoid uneven load transfer.
- Weight distribution assessment for floor loading
- Compatible support structures and framing requirements
- Subfloor and joist inspection procedures
- Correct leg height, pad material, and contact points
- Anchorage methods for tiled surrounds and drywall
Ensure the bath fits within load limits and that framing adheres to manufacturer specs. Documented load paths and verified structural integrity minimize install risk and warranty issues. Proceed only after confirming all support criteria are satisfied.
Maintenance and Durability
With proper care, the material maintains a uniform finish, yet abrasive cleaners or rough scrubbing can dull shine and introduce micro-scratches that affect Acrylic bath aesthetics. Thermoforming creates seamless profiles, minimizing joints that trap grime, which supports longevity when maintained.
Monitor potential delamination around hardware anchors in high-stress zones, and avoid extreme shifts in temperature to preserve structural integrity. Regular evaluation of substrate support and basin alignment helps prevent deformation.
Environmental impact remains favorable if you prioritize low-VOC coatings and recycling options; choose durable, repairable systems for extended service life.
Frequently Asked Questions
How Long Do Acrylic Baths Typically Last?
Acrylic baths typically last 10 to 15 years with proper care. You’ll preserve performance by avoiding abrasive cleaners and sealing edges when needed.
Material durability hinges on thickness and reinforcement; thicker acrylic plus fiberglass backing resists cracking and denting.
Regular inspection helps you spot delamination early.
You’ll appreciate aesthetic versatility as colors and finishes remain stable, though fading is possible with harsh chemicals.
With routine maintenance, you maximize longevity and keep your installation looking and performing like new.
Can Acrylic Baths Be Repaired After Cracking?
Cracks can be repaired, but you must act quickly and correctly.
For a cracked acrylic bath, surface repair involves cleaning, sanding, and bonding a suitable epoxy or resin patch, followed by refinishing to restore gloss.
You’ll want to prevent further damage with crack prevention measures, like avoiding heavy impacts and using proper support.
If cracks are severe, replacement may be required.
Always follow manufacturer guidelines and consult a professional for durable, lasting results.
Are There Eco-Friendly Acrylic Bath Options?
Yes, there are eco-friendly acrylic bath options. Look for products made with eco friendly materials and renewable manufacturing processes. This means low-VOC resins, recycled glass fillers, and pigments sourced responsibly.
Additionally, choose acrylics with third-party environmental certifications. Verify recycled content and supplier commitments to renewable manufacturing.
Consider longevity and repairability to extend the life of the product. Your selection should balance performance with reduced environmental impact.
Do Acrylic Baths Retain Heat Better Than Fiberglass?
Acrylic baths don’t retain heat as well as fiberglass, but they still offer solid heat retention. You’ll notice warmer-water sessions longer with higher insulation and thicker walls.
Regarding material durability, acrylic resists cracking and fading, yet can scratch more easily than fiberglass.
So, if you want durable surfaces and steady heat, acrylic helps, but fiberglass edges it in heat retention.
Choose based on your priorities, keeping heat retention and material durability in mind.
What Installation Considerations Affect Warranty Coverage?
Warranty coverage is affected by installation considerations you follow. You must use proper mounting, level surfaces, correct sealants, and compliant fittings, or manufacturer policies may exclude claims.
Make certain your installer adheres to code requirements and documentation, including receipts and photos.
Installation costs can influence coverage if you deviate from approved methods.
Don’t modify the tub or plumbing in ways that void the warranty; verify guidelines with the manufacturer before starting work.
Conclusion
Imagine your bathroom as a ship preparing to sail. Acrylic is the lightweight hull—fast to launch, easy to maneuver, but more vulnerable to scratches and dents in rough seas. With proper backing (support) and savvy maintenance, it can ride longer, resist fading, and shine. If you value quick install and lower upfront cost, it’s a sturdy vessel; if you crave rugged, long-term durability, consider reinforcement or alternatives. Choose accordingly, and your voyage stays on course.





