
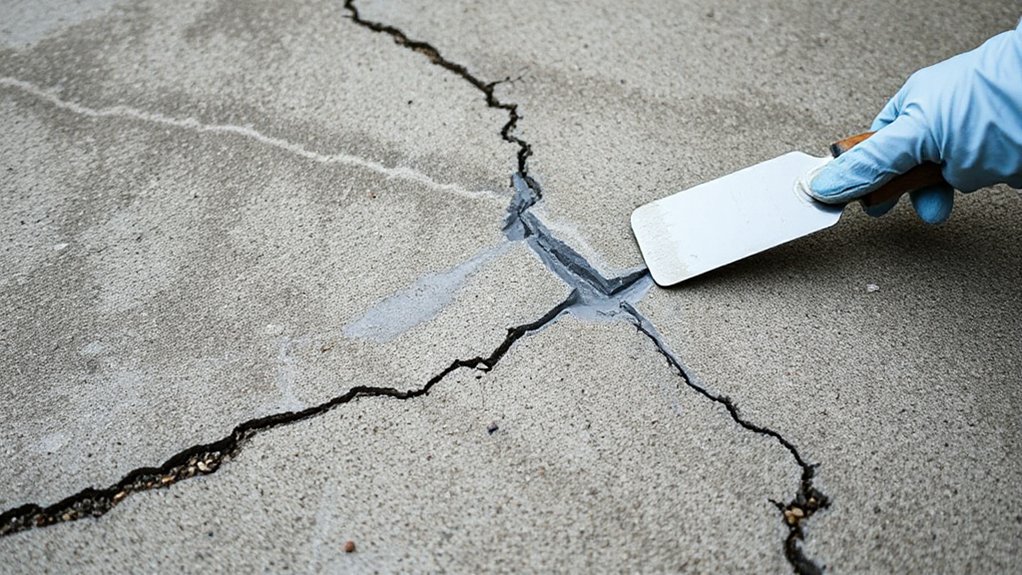
You grab a coffee and notice a crack line up with the driveway edge just as you’re planning maintenance—coincidence or plan, it’s your cue to act. You’ll assess crack size and movement, gather the right tools, and start by cleaning and drying the surface. You’ll widen gaps slightly for better patch adhesion, apply the filler, and smooth it out. After it cures, you seal and monitor for changes, but there’s a practical step you’ll want to take next to guarantee lasting results…
Identify and Prioritize Driveway Cracks
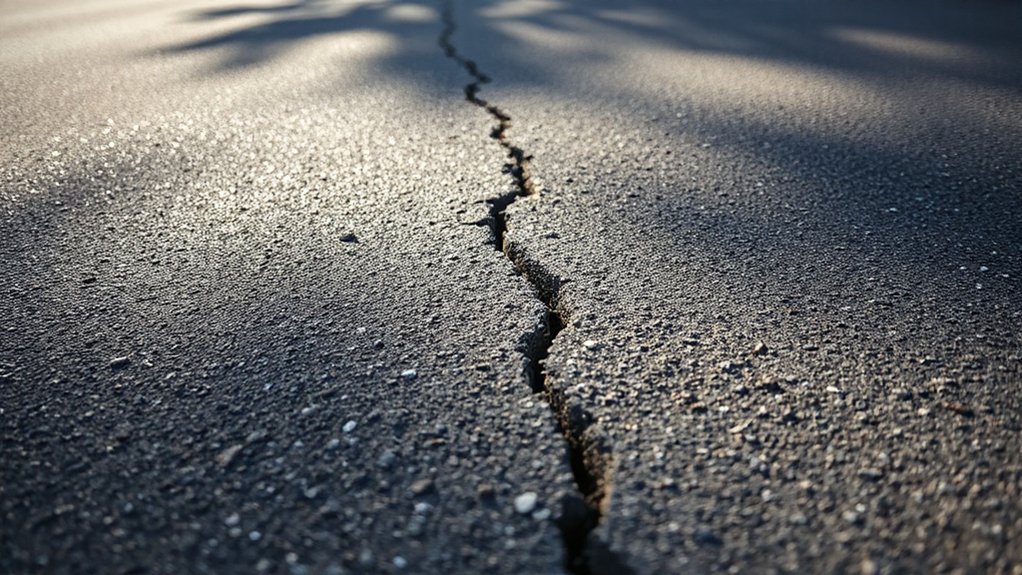
Inspect your driveway carefully and categorize cracks by size and type. You’ll identify hairline, narrow cracks, and wide, shifting breaks, then label them as surface or structural. Prioritize based on danger and repair cost: active motion, widening gaps, or leaks demand urgent attention; minor, stable fissures can wait.
Map every crack, noting length, width, and location relative to edges and seams. Use this to plan treatment steps and budget. Consider how each crack affects garden maintenance and overall driveway aesthetics; even small flaws can invite weed intrusion and stain seepage, diminishing curb appeal.
Focus first on flaws that signal underlying settlement, then address cosmetic issues to restore uniformity. Your goal is a clear, actionable repair path you can follow without guesswork.
Gather Tools, Materials, and Safety Gear for DIY Repair
Before you start, gather a focused set of tools, materials, and safety gear that match your crack map. You’ll need basic hand tools: a stiff-bristle brush, cold chisel, hammer, putty knife, and a metal trough for mixing. Have a pry bar for lifting edges if needed, and a shop-vac to remove dust and debris.
Materials include crack filler or epoxy, polymer-based concrete repair compound, and a bag of sand or fine aggregate for texture.
Safety gear is non‑negotiable: gloves, safety glasses, mask, and sturdy footwear. Prepare a clean, ventilated work area; cover adjacent surfaces.
For long-term results, plan Driveway sealing after repairs. Consider garden maintenance tasks nearby to keep the work zone orderly and prevent trip hazards.
Keep tools organized for quick, efficient use.
Distinguish Crack Types: Hairline, Small Gaps, and Large Cracks
Hairline cracks signal minor stress with cosmetic impact, so you’ll treat them differently from wider gaps.
First, measure gaps with a ruler or coin test to determine whether a crack is hairline or larger.
Then assess any active movement or widening under load.
Use this distinction to choose the right repair approach and materials, keeping it simple and action-focused.
Hairline Stress Distinctions
How can you quickly tell a hairline crack from a small gap or a larger break in your driveway? You’ll notice hairline stress appears as a fine, barely visible line, often cosmetic and non-structural.
A small gap shows temporary spacing with slight separation, while a larger crack will have widening edges and more pronounced movement.
With hairline stress, the crack stays narrow, usually under 1/8 inch, and doesn’t form a hollow void. Look for consistent, shallow lines that don’t trap debris easily.
For crack expansion, monitor if lines grow after freeze-thaw cycles or heavy use.
Prioritize sealing hairline cracks promptly to stop progression, but don’t confuse minor stress signs with structural failure.
Use a brushable sealant and address drainage to minimize future movement.
Gap Size Assessment Methods
To quickly tell apart hairline cracks, small gaps, and large cracks, start by measuring width and observing edge behavior. Use a caliper or a ruler to gauge crack width at several points, noting variation along the length.
Hairline cracks stay under 1/8 inch and have clean, thin edges with minimal separation.
Small gaps range from about 1/8 to 1/2 inch, showing consistent but noticeable edge separation and slight displacement of surface material.
Large cracks exceed 1/2 inch, often widening over time and displaying displaced edges, spalling, or misalignment.
Record measurements and inspect for crack expansion after seasonal freezes or heavy loads, since rapid growth signals ongoing stress.
Consider Foundation impact, as sustained movement may require professional stabilization.
Prioritize effective sealing solutions based on these gap size findings.
Prepare the Surface: Clean, Dry, and Mask Before Patching
Before you patch, start with a clean, dry surface. Clear debris, loose material, and dust with a stiff broom, then chip away flaking concrete until the edges are solid.
Rinse the crack with water, scrub with a stiff brush, and let it dry completely—24 hours if you can, or use a leaf blower to speed things up.
Mask the area to protect adjacent pavement and prevent patch overspray; use painter’s tape and a plastic sheeting barrier as needed. If you plan decorative patterns or landscaping integration, keep masking tight at edges so texture remains consistent.
Don’t apply patch over moisture. Once dry, recheck for moisture and re-mask as required.
This prep minimizes call-backs and yields a seamless, durable repair.
Choose Filler or Patch and How to Apply It
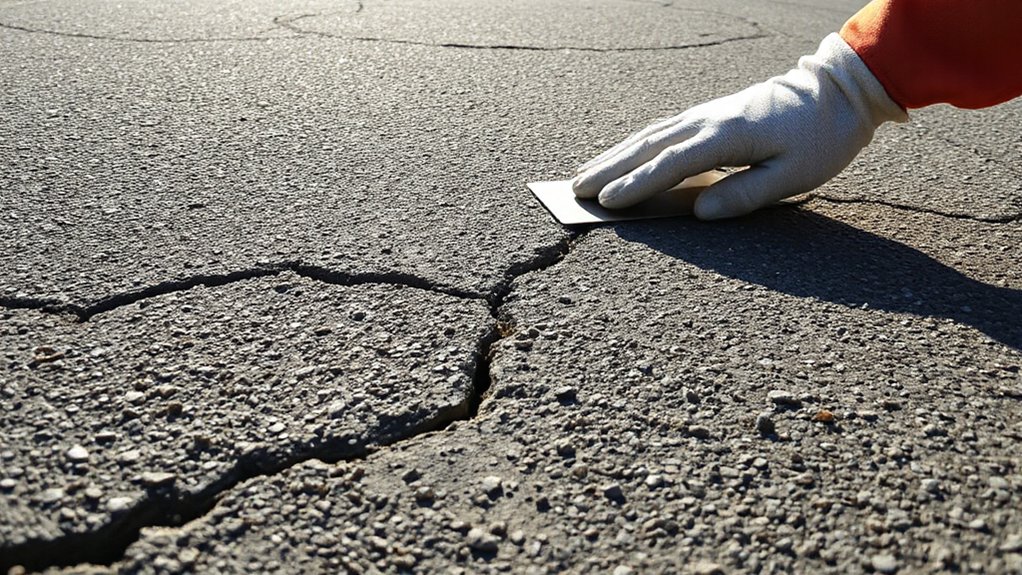
Once you’ve prepped the surface, choose the right filler or patch and learn how to apply it properly. Start with a flexible asphalt patch for moderate cracking, and a polymer-modified filler for wider gaps. Read the product’s directions and confirm the material matches your climate.
Clean the crack edges, remove debris, and slightly widen the opening for better adhesion. Use a trowel or knife to press filler deep into the crack, then strike off excess so the surface stays level.
Allow curing as directed, then seal to protect against moisture. Consider sealer longevity and budget when choosing — a higher-quality patch may cost more upfront but save repair cost over time.
Apply in thin, even coats for best results.
Quick Fixes for Hairline Cracks: Step-by-Step
First, assess the hairline width to determine if a quick repair is feasible.
Next, clean and dry the area completely, then apply the patch sealant to seal the crack and prevent further widening.
Stay tight to the process, ensuring each step is precise and ready for immediate use.
Assess Hairline Width
Assess hairline cracks by measuring their width with a simple gap gauge or a clean razor blade. You’ll want to categorize cracks as hairline or wider before choosing a repair path.
If the gap is smaller than 1/8 inch, treat it as hairline and consider quick fixes that prevent crack expansion. For guidance, slide the gauge into the crack and read the blade’s edge alignment, then note the measurement.
Smaller widths indicate limited movement and lower risk of structural failure, but still warrant sealing to preserve driveway aesthetics. Track results in a quick notebook or app so you can monitor changes over time.
Use this as a baseline for maintenance scheduling, not a replacement for professional inspection if cracks grow. Maintain quality by acting promptly.
Clean and Dry Surface
Why wait for dirt to trap moisture? Start with a clean, dry surface so repairs grip and last. Sweep away dust, leaves, and debris until the drive is visibly smooth. Use a stiff brush for embedded grit, then vacuum or rinse with minimal water.
Drying is essential—wait for a dry spell or park in shade if you’re near humidity peaks. Check for lingering moisture in cracks with a quick hand touch; if damp, extend drying time.
Inspect surrounding edges for flaking paint or sealant, and trim any loose material. Consider driveway aesthetics as you prep—uniform, dust-free edges look better and perform longer.
Factor weather considerations into timing; avoid rain or morning dew to prevent quick re-wetting and compromised adhesion.
Apply Patch Sealant
After you’ve guaranteed a clean, dry surface, apply patch sealant to hairline cracks with a steady, deliberate hand. Squeeze or scoop sealant directly into the crack, letting it fill the void without overpacking.
Use a putty knife to smooth the surface flush with the surrounding pavement, removing excess material promptly. Work in small sections to prevent sealant from skinning before it cures.
Check for narrow gaps and reapply where needed, then lightly feather edges to blend with the pavement. Allow the sealant to cure per manufacturer instructions before foot or vehicle traffic.
This quick fix boosts driveway aesthetics and helps crack prevention by sealing moisture intrusion. For best results, recheck after a rain and reapply as cracks widen over time.
When to Hire a Pro: Warning Signs and Next Steps
If you’re not seeing steady progress or the cracks keep getting bigger, it’s time to call a pro. Warning signs aren’t subtle: wide gaps, leaning edges, or new cracking after patching signal structural damage or drainage issues.
If you notice water pooling, crumbling edges, or asphalt separation with exposed rebar, stop DIY fixes and get a professional assessment. A pro can evaluate subgrade, perform a proper crack routing, and recommend durable, cost-effective options.
Don’t ignore freeze-thaw cycles or vegetation roots creeping under the surface. Next steps: request written estimates, verify licenses, and review warranties.
Be mindful of common mistakes, like overpatching or misjudging crack width, which can waste money. Schedule inspections promptly to prevent escalating repairs.
Frequently Asked Questions
What Causes Driveways to Crack Again After Repair?
Cracks reappear because concrete expansion and soil movement continue after repair. You’ll prevent it by addressing drainage, stabilizing the base, and using proper joints, curing, and timely sealing to accommodate movement instead of resisting it.
Can You Repair Cracks in Cold Weather?
Yes, you can repair cracks in cold weather, but temperature effects matter. You’ll choose concrete or asphalt materials carefully, work quickly, and seal fully; otherwise, you’ll pretend practice solves problems—material selection and timing doing the heavy lifting for you.
Is DIY Repair Waterproof Against Rain?
Yes, it can help. You apply a waterproof coating and a rain resistant sealant, then let it cure fully. You’ll protect cracks from water intrusion, but expect limited effectiveness in ongoing heavy downpours and rising temperatures. Follow manufacturer directions.
How Long Before Traffic Can Resume After Patching?
You can resume light traffic after patch cure, typically within 1–2 hours, depending on product. Practice pothole prevention with timely sealcoating benefits, and guarantee proper cure before heavy use. Follow manufacturer guidelines, breathe safety, and maintain routine inspections.
Are Epoxy Patches Stronger Than Asphalt Fillers?
Epoxy patches are tougher than asphalt fillers in compression, but lack Asphalt flexibility for movement; you’ll feel rigid cracks sooner. Epoxy durability shines under load, yet proper surface prep matters for long-lasting performance and crack resistance.
Conclusion
You can catch problems early and save big by fixing cracks as soon as you notice them. Quick fixes for hairline cracks can hold for years with proper prep and sealing. Fun fact: cracks widen about 1/16 inch per year in typical driveways, so timely patches matter. Stay consistent: clean, dry, widen slightly, fill, smooth, cure, and seal, then monitor regularly. If movement or widening returns, call a pro before it gets costly.





