
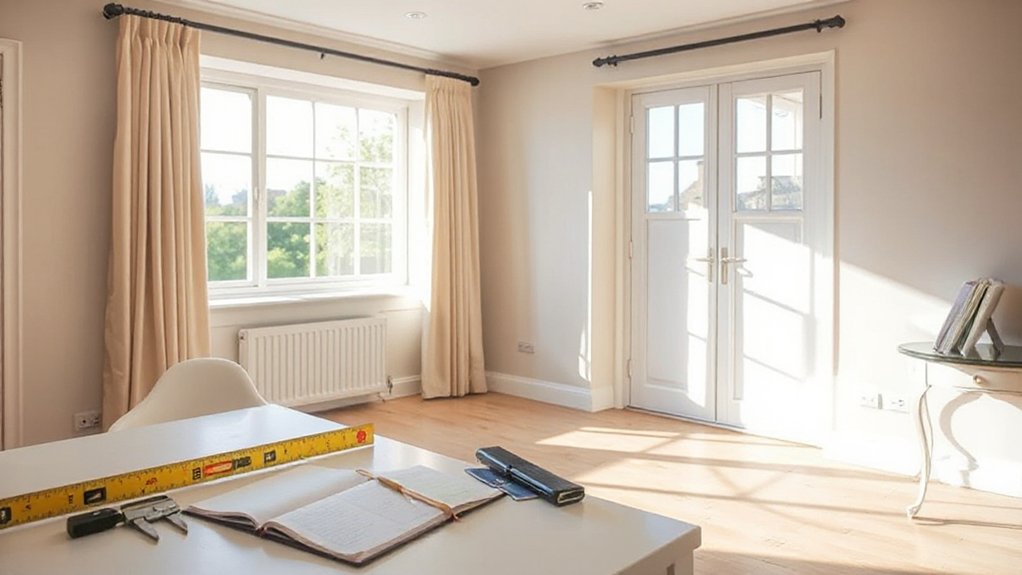
Preparing for a RICS survey starts long before the inspector arrives. Gather the right documents, tidy access routes, and address exterior issues, so the survey can proceed smoothly. Have a clear plan for pets and on-site logistics, and map a room-by-room walkthrough highlighting recent repairs and potential concerns. You’ll want a concise summary of key features and risks to discuss with the surveyor, then a logical path for follow-up actions. Start with your checklist and stay focused on practicality.
How to Prepare for a RICS Survey: A Step-by-Step Plan
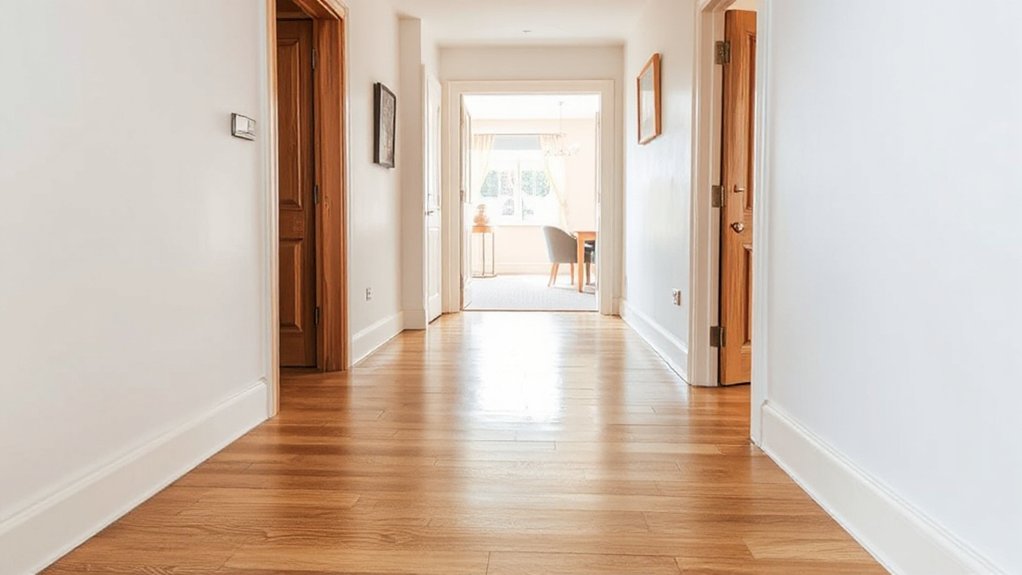
Before the surveyor arrives, gather essential documents and set clear expectations for access and timing. You’ll create a focused, efficient process by outlining what areas will be inspected, how long it will take, and who can accompany the surveyor.
Begin with a concise checklist: recent ownership papers, any scheduled renovations, and list of major systems. While you prepare, think about home security and how access points will be evaluated, ensuring doors and alarms won’t impede a thorough assessment.
During the visit, respond with precise answers to questions and avoid speculation. This plan supports accurate property valuation, helps identify significant features, and minimizes follow-up requests.
Maintain document custody, log findings, and confirm next steps in writing to preserve an auditable record.
Gather the Documents RICS Needs Before the Survey
Gather the right documents before the survey to keep the process smooth and accurate. You’ll streamline the visit by assembling required items in advance.
Start with property specifics: address, ownership, and any recent changes to the layout or extensions.
Collect planning permissions, building regulations approvals, warranties, and guarantees for alterations.
Provide evidence of structural works if available, plus installation dates for boilers, heating systems, and electrical upgrades.
Prepare energy-related documents that affect assessment scope, such as energy bills, insulation upgrades, and solar or other efficiency measures.
Include recent property surveys or reports if applicable.
Have a clear inventory of fixtures and fittings relevant to the assessment, plus contact details for vendors or agents.
Compile a concise factual summary to support the surveyor’s evaluation of home decor and energy efficiency.
Tidy Access: What to Clear for a Smooth Visit
To guarantee the survey goes smoothly, clear access paths and working spaces for the RICS assessor. You should keep pathways unobstructed from entry points to rooms likely to be inspected, removing furniture that blocks movement and creating safe, well-lit routes.
Clear any clutter that could obscure features or measurements, including decorative clutter in storage areas and around fixtures. Confirm doors open fully and that floor coverings are intact and snag-free.
Tidy stairways, hallways, and entryways, removing shoes, mats, and loose mats that could cause slips. Maintain a clean, organized presentation, focusing on functional spaces rather than cosmetic details.
Note garden landscaping visible from interior access—cleared shedding areas and clear sightlines help surveys, but avoid relocating elements beyond what’s necessary for access.
Inspect Exterior First: Common Exterior Defects to Fix
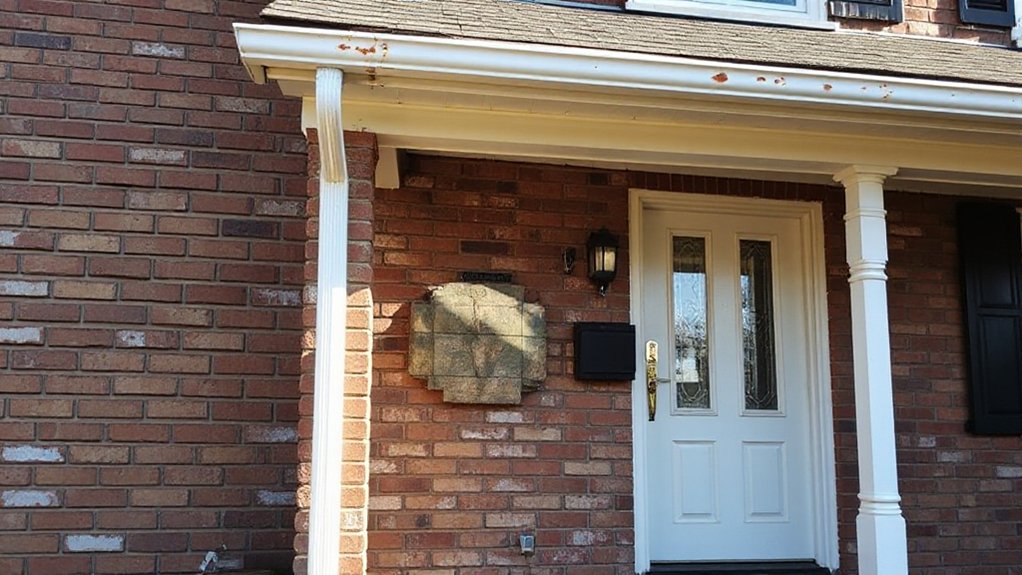
Start with a quick exterior fixes checklist to address obvious issues before the survey. Review the Exterior Fixes Checklist, identify any roof, gutter, or fascia concerns, and document needed repairs.
Address water stain solutions to prevent unnoticed moisture problems and guarantee a clear exterior presentation.
Exterior Fixes Checklist
Before you begin the survey, inspect the exterior first to pinpoint the most common defects that can affect structural integrity and value. Start with doors, windows, flashing, and eaves for moisture intrusion, gaps, and signs of deterioration.
Check brickwork or siding for cracks, looseness, or bulging areas, and examine mortar integrity where applicable.
Assess the foundation perimeter for settlement indicators, damp, or efflorescence.
Inspect gutters and downpipes for blockages, leaks, and proper fallaway to direct water away from the structure.
Evaluate exterior paint or render for peeling, cracking, or moisture damage behind coatings.
Note landscape factors such as garden landscaping that could direct moisture toward the foundation.
Consider interior decor impact, including exterior access boundaries, and guarantee clear paths for maintenance.
Record actionable fixes with priority.
Common Roof Defects
Roof issues often stem from the exterior you’ve just assessed, so start by identifying defects that threaten the roof’s function and the building envelope. You should look for compromised or missing shingles, membrane damage, and curling edges, which signal moisture intrusion risks.
Inspect flashings around chimneys, vents, and skylights for gaps, rust, or separation. Pay attention to sagging decks or uneven roof planes that indicate structural strain.
Assess ridge and hip areas for exposed fasteners or wind damage. Consider drainage: ineffective slope, ponding, or debris buildup can accelerate wear.
Roof ventilation plays a critical role in moisture control; verify vents are clear and adequately sized.
Address gutter maintenance first, removing blockages and ensuring proper downspout flow to prevent water backing onto the roof.
Document findings clearly for remediation planning.
Water Stain Solutions
Water stains reveal moisture intrusion and often point to exterior defects that must be corrected to protect the structure. You should inspect the exterior first for signs of water intrusion, then address underlying issues before a survey.
Look for peeling paint, warped siding, exposed flashing, and clogged gutters, as these defects drive ongoing staining and damage. Prioritize repairs that stop water ingress: reseal joints, replace damaged boards, and guarantee proper slope away from the building.
Clean stains to assess remaining damage, but avoid masking problems with paint alone. Implement stain prevention by improving drainage, directing runoff away from foundations, and maintaining vegetation clearance.
Document completed fixes with dates and contractor details to demonstrate proactive maintenance and reduce the risk of future water damage during the survey.
Identify Structural Risks and Likely Costs
Identifying structural risks and estimating the likely costs starts with a careful, objective assessment of the building’s essential components. You should map load paths, detect material degradation, and note any previous repairs.
Focus on foundational stability, wall correlations, floor levelness, and roof-support continuity, documenting anomalies with measurements and dates where possible. Foundation issues may present as cracks, heave, or sloping floors, each with distinct cost implications for remediation.
Pest risks, including wood-boring activity and moisture-driven decay, can undermine structural integrity and elevate repair expenses. Record visible damage and signs like frass or hollow-sounding timbers.
Use consistent terminology, prioritize verified findings, and avoid speculative estimates. Compile findings into a concise summary to guide the surveyor’s risk assessment and establish a defensible cost range for follow-up actions.
Inspectors’ First Look: Areas to Prioritize
When the inspectors begin, focus on the entryway condition, noting any signs of wear, moisture intrusion, or movement at doors and thresholds.
They’ll assess structural integrity by observing framing, connections, and load-bearing elements, so be ready to show access and any relevant documents.
Prioritize areas prone to moisture risk, such as basements, crawl spaces, and damp walls, as these often indicate underlying issues.
Entryway Condition Checks
Entryway condition checks form the inspectors’ first impression, so focus on immediate indicators of structural integrity and safety. You’ll assess wall and floor junctions for cracks, settlement, or unevenness that could signal underlying issues.
Look for signs of moisture intrusion, such as damp patches or efflorescence near doors, and verify that thresholds and step edges sit flush without tripping hazards.
Check door frames for plumbness and smooth operation, ensuring hinges are secure and hardware is intact.
Observe lighting at entry points for adequate illumination; subpar lighting can mask defects and impede safe movement.
Consider storage elements in the vestibule, noting whether shoe storage is positioned to keep floors clear and accessible.
Document any deficiencies and recommended improvements succinctly for follow-up review.
Structural Integrity Focus
The inspector’s first look prioritizes structural integrity by quickly evaluating areas most prone to hidden defects, such as load-bearing walls, foundations, and floors. You’ll focus on key indicators of stability, noting any misalignments, cracks, or unusual deflections that suggest underlying weakness.
Foundations demand attention for signs of settlement, toe cracks, or unevenness that could compromise overall load distribution. Inspectors perform a concise load bearing analysis to gauge whether structural elements carry anticipated loads without distress.
Look for mortar deterioration, brick bowing, or sloped sills that could signal movement. Documented observations should distinguish between cosmetic imperfections and structural concerns, guiding where further assessment is warranted.
Emphasize foundation stability as a critical element, ensuring any identified risks are clearly communicated to facilitate targeted remediation decisions.
Moisture Risk Areas
Moisture risk areas demand your immediate attention during a survey because early detection prevents costly damage. Focus on locations prone to moisture intrusion, such as bathrooms, kitchens, basements, and gaps around pipes, windows, and roofs.
Inspectors look for staining, efflorescence, soft patches, and musty odors that indicate hidden issues. Verify that vapor barriers are continuous and properly installed behind walls, under slabs, and in crawl spaces to limit moisture migration.
Check crawl spaces for adequate ventilation and drainage, and ensure insulation isn’t bridging air leaks. In exterior walls, assess for missing or damaged flashings, improper seals, and failed aligning penetrations.
Document moisture-related symptoms with photos and notes, enabling targeted remediation plans. Prioritize high-risk zones to guide subsequent detailed investigations and mitigation strategies.
Plan for Pets, Noise, and On-Site Logistics
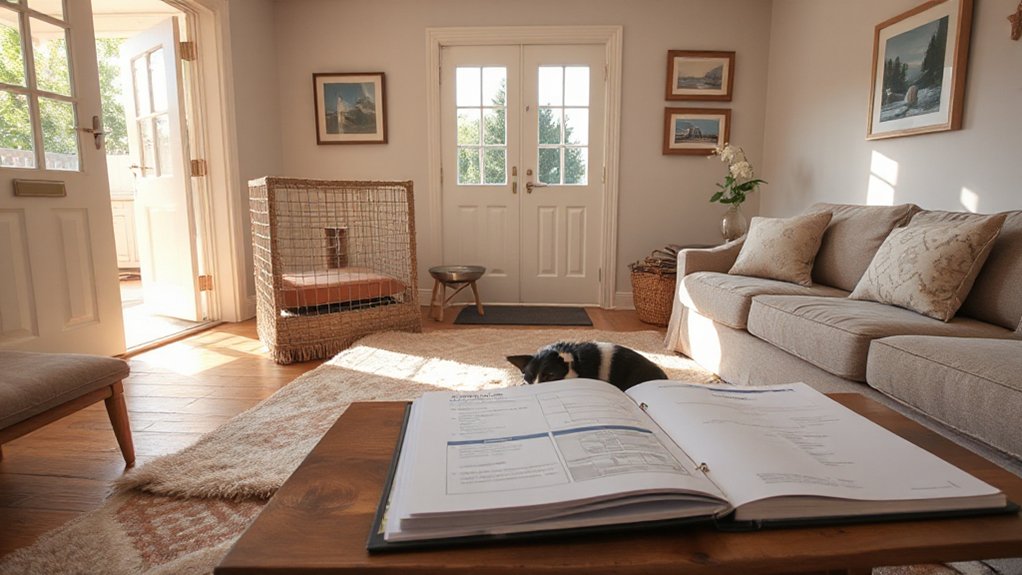
To minimize disruptions during the survey, plan ahead for pets, noise, and on-site logistics. You should designate a quiet, secure space for pets far from the assessment areas and provide familiar toys, water, and shelter to reduce stress.
Confirm caregiver availability and timing to minimize interruptions during access visits. Coordinate with occupants to limit noise-producing activities during the inspector’s scheduled windows, applying practical noise management practices such as briefly pausing loud appliances and rescheduling high-impact tasks.
Prepare access routes that keep clutter clear and ensure unobstructed pathways for equipment, ladders, and samples. Communicate any special access needs or hazards to the survey team in advance.
Document pet safety and on-site logistics plan for reference during the inspection.
Create a Clear Area-by-Area Walkthrough for the Survey
Begin by outlining a room-by-room walkthrough that aligns with the survey scope and your earlier plans for pets, noise, and access. You map each area to what the surveyor will assess, noting structural boundaries, finishes, and any potential constraints.
Start with entry zones, then proceed to living spaces, kitchens, bathrooms, and bedrooms. Identify key features, materials, and access points for each area.
Document known issues, recent repairs, and any planned changes that could affect the evaluation. Maintain objective, precise descriptions and avoid subjective judgments.
Include interior décor considerations as context for finish quality but keep focus on condition and compliance indicators.
Pair walkthrough notes with landscaping tips relevant to exterior boundaries and drainage, ensuring pathways remain clear.
Conclude with a concise summary of areas covered and any necessary access adjustments for the survey team.
What Happens After the RICS Survey: Follow-Up and Action Steps
After the survey report is issued, you’ll review the findings with your RICS-qualified assessor or preferred adviser to confirm scope, defects, and any recommended actions.
Post survey report, you’ll next identify priority items, cost implications, and required evidence for remediation. You’ll prepare a clear timetable for follow-up actions, distinguishing urgent fixes from recommended improvements.
Discuss responsibilities, potential warranties, and any need for specialist contractors or submissions to lenders. Verify documentation, such as drawings, invoices, and risk assessments, to support decisions.
Record decisions in writing, including acceptance criteria and deadlines. Schedule subsequent inspections to verify completion.
Maintain open communication with stakeholders, ensuring transparency, traceability, and accountability throughout the process.
Frequently Asked Questions
What Credentials Should the Surveyor Have for RICS Surveys?
Your surveyor should hold RICS registration, with recognized Surveyor qualifications and chartered status. Guarantee adherence to Certification standards, including continuing professional development. Verify professional indemnity insurance and compliance with RICS ethics, to guarantee reliable, unbiased assessments.
How Long Does a Typical RICS Home Survey Take?
A typical RICS home survey takes a few hours, and you should plan for property staging, then home maintenance steps. You’ll meet the surveyor, observe progress, and receive a detailed report outlining issues, timelines, and recommended actions.
Can I Attend the Survey and Ask Questions On-Site?
Yes, you can attend the survey and ask questions on-site. Make sure home accessibility is arranged and note any access constraints. Clarify survey appointment timing in advance, and keep questions concise to respect the inspector’s workflow and focus.
Will the Survey Reveal All Hidden Defects or Only Visible Ones?
The survey will identify detectable issues, not every hidden defect. Your inspector notes visible concerns and high-risk areas, and may recommend further investigations for hidden defects if needed, ensuring you understand what’s disclosed and what requires follow-up.
How Should I Budget for Recommended Repairs After the Survey?
Start by estimating costs and prioritizing repairs; you should budget conservatively, using cost estimation and repair prioritization to sequence fixes. You’ll allocate funds for urgent items first, then plan phased work based on risks and cash flow.
Conclusion
Now you’re ready to welcome the RICS surveyor with the confidence of a home-improvement legend. Envision this: every document neatly stacked, every path clear, gutters smiling, bricks behaving, and pets politely quarantined to Instagram-worthy quietude. The walk-through unfolds like a flawless performance, flaws exposed only as talking points, not panic triggers. Afterward, you receive a tidy report and practical steps, avoiding magical thinking, embracing practical fixes, and savoring the sweet, bureaucratic certainty of a well-prepared home.





