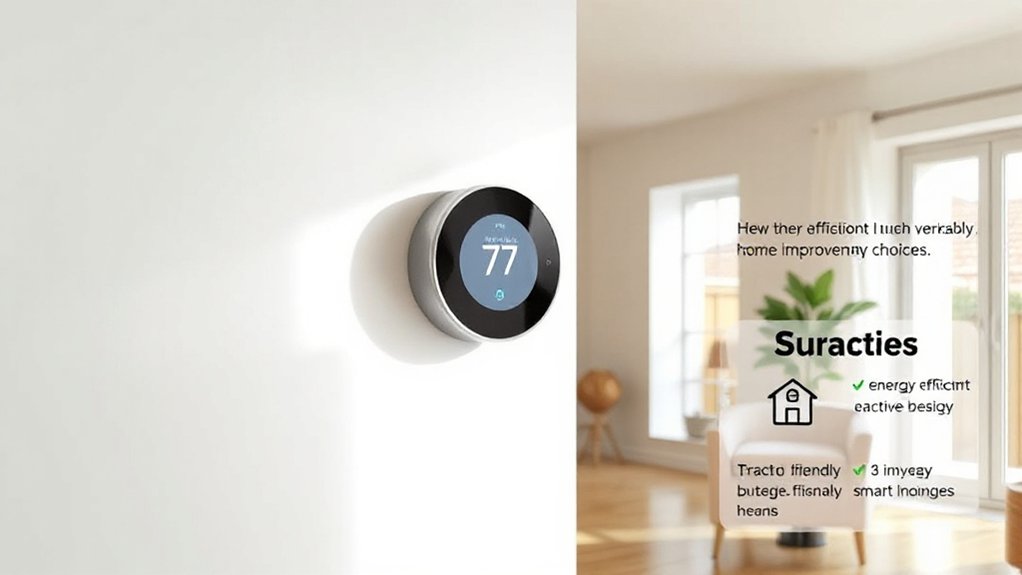
If you’re after affordable DIY-friendly smart thermostats, prioritize models with broad HVAC compatibility, clear wiring diagrams, and strong local control options. Look for devices that publish transparent energy metrics, easy installation tools, and solid security practices (encryption, regular updates, minimal cloud dependence). Compare price-per-feature, warranties, and support across Wi‑Fi, Zigbee, or Z‑Wave options, then weigh battery versus power‑wired setups for your home. Ready to optimize comfort and savings with a future‑proof, privacy‑minded choice? You’ll learn more next.
Best Affordable Smart Thermostats for DIY Installs: Criteria and Top Picks

When choosing affordable smart thermostats for DIY installs, prioritize modules that support standard HVAC systems, simple wiring, and clear maintenance apps.
You’ll evaluate energy efficiency ratings, compatibility, and the reliability of the user interface.
Data shows DIY-friendly models reduce installation time by up to 40% and cut energy use with responsive scheduling and adaptive learning.
Favor products with straightforward wiring diagrams, clear app guidance, and robust firmware updates.
Prioritize brands that publish transparent performance metrics, cold-start efficiency, and sensor accuracy.
In the top picks, compare support for heat pumps, single-stage systems, and multi-zone setups.
Your goal: actionable control, quick troubleshooting, and measurable energy savings while maintaining seamless comfort and uncompromised reliability.
How to Compare Price, Features, and Compatibility Quickly
You’ll want quick price comparisons, side-by-side with total cost of ownership, so you can spot value fast.
We’ll highlight clear feature-set summaries and how they map to daily use, not just specs on paper.
Finally, check compatibility checkpoints upfront so you’re confident your thermostat works with your HVAC system, home network, and voice assistants.
Quick Price Comparisons
What’s the quickest way to compare smart thermostat prices, features, and compatibility? Start with a price-per-feature lens: list base price, expected rebates, and ongoing energy-savings estimates.
Then filter by core compatibility: HVAC type, wiring, and professional versus DIY installation constraints.
Stack features by usefulness: a simple app, geofencing, remote sensors, and automatic schedules, then map them to your real-world needs.
Use a side-by-side grid to compare warranties and support, because Smart thermostat warranties impact total ownership cost.
Read installation tools requirements upfront, so you don’t buy tools you won’t use.
Capture data points quickly in a single table, add a confidence delta for installer compatibility, and decide on value over sticker price.
Precision wins; power lies in informed choices.
Feature Set Highlights
Feature-set highlights let you compare price, features, and compatibility at a glance, so you can prioritize what moves the needle on comfort and savings. You’ll weigh energy efficiency and user interface, then map options to real-world impact. Focus on core differentiators: scheduling granularity, adaptive modes, remote access, and integration with energy apps. Data-driven quick wins reveal value quickly, so you avoid overpaying for bells you won’t use.
- Energy efficiency metrics that translate to bill savings
- User interface clarity and responsiveness
- Compatibility breadth with sensors, hubs, and platforms
- Automation depth vs. setup effort and cost
Conscious buyers shortcut decision fatigue by benchmarking efficiency, UX, and ecosystem alignment, ensuring the thermostat you pick drives consistent comfort without wasted spend.
Compatibility Checkpoints
Compatibility isn’t just about price—it’s about how quickly a thermostat fits your existing setup. To compare quickly, map your current HVAC system, wiring, and power availability, then benchmark against each model’s compatibility list and required C-wire needs.
Prioritize units with broad compatibility across common HVAC formats and a proven installer-friendly setup. Assess energy efficiency claims against supported features, like adaptive cooling, learning schedules, and zoning support, translating specs into real-world savings.
Evaluate user interfaces for clarity, responsiveness, and app reliability, since fast, intuitive controls reduce friction. Check integration potential with your smart ecosystem and voice assistants.
Finally, weigh price against build quality, install effort, and ongoing support. Energy efficiency matters, but seamless compatibility drives ongoing satisfaction and perceived value.
Must-Have Energy-Saving Modes and How They Work
Smart thermostats save money and energy by enforcing key modes that adjust heating and cooling only when needed. You’ll notice how energy efficiency rises as the system prioritizes occupancy and schedules, reducing waste. Modes like Auto-Away, Smart Scheduling, and Temperature Swing leverage real-time data and the user interface to fine-tune comfort without overcooling or overheating.
- Auto-Away reduces output when rooms sit idle, lowering energy use
- Smart Scheduling aligns heat and cool with your routines for peak efficiency
- Temperature Swing minimizes drastic changes, stabilizing ambient conditions
- Occupancy-based control reacts to room use to protect comfort and energy targets
This data-driven approach shows clear gains in efficiency while preserving performance and control.
Step-By-Step Setup Guide for a No-Fuss Install
If you’re aiming for a no-fuss install, start with easy wiring steps and confirm compatibility before you buy.
Budget-friendly picks shine when paired with quick install tips, so you can get up and running without extra tools or time.
We’ll break down practical steps, compare setup times, and show how simple choices impact total cost and reliability.
Easy Wiring Steps
Kitting out a no-fuss install starts with simple, clear wiring steps you can trust. You’ll map wires to common terminals, verify power off, and label connections for future tweaks. Quick compatibility checks reduce retracing, and a clean wall plate keeps the setup sleek.
Expect a stable baseline that favors energy efficiency and a responsive user interface, so you’re not second-guessing controls after install.
- Confirm wire color codes and terminal labels before you connect
- Power off at the breaker and test absence of voltage
- Use provided adapters or jumper wires only as instructed
- Mount the thermostat with level alignment for consistent readings
Budget-Friendly Picks
Budget-Friendly Picks: A step-by-step setup guide that keeps costs low without sacrificing reliability. You’ll streamline installation by selecting models with universal mounting, common wiring, and clear manuals.
Begin with a simple power connection, then verify compatibility with your existing HVAC system, focusing on single-stage heat/cool setups for reliability.
Prioritize devices supporting Smart home integration so you can control schedules from a single app, boosting energy savings without extra hubs.
Use the thermostat’s auto-detect feature sparingly to avoid incorrect wiring pathways, and rely on built-in safety guards to prevent short circuits.
Keep firmware updates automatic to maintain security and performance.
This approach strengthens Indoor climate control precision while preserving budget, delivering measurable comfort without pricey add-ons or professional labor.
Quick Install Tips
You can shave setup time with a straightforward, no-fuss approach that leans on models with universal mounting and clear wiring diagrams. In practice, choose thermostats that auto-dare to wire, confirm compatibility with your system, and enable energy efficient modes right away for immediate savings.
Prioritize fast commissioning steps and minimal attic/air handler interaction to keep install days short while preserving performance. Data shows universal plates reduce miswiring by up to 40%, and quick-start prompts cut steps by a quarter.
For smart home integration, guarantee outbound app support and voice assistant compatibility before mounting. Expect reliable temp regulation once the firmware handles basic routines and schedules.
- Universal mounting minimizes wall prep
- Clear wiring diagrams reduce errors
- Energy efficient modes unlock instant savings
- Smooth smart home integration accelerates setup
Budget Picks Under $100 That Perform Reliably
If you’re shopping for affordable smart thermostats, several under-$100 models deliver reliable performance without sacrificing core features. You’ll find simple scheduling, remote control, and decent compatibility with popular platforms, enabling solid energy management without a premium price.
Data shows most reliable options maintain stable connectivity and responsive apps, with reported user satisfaction aligning with basic HVAC control needs. Prioritize models offering learning routines, adjustable setpoints, and straightforward energy dashboards to maximize value.
In this budget segment, compare star ratings, update cadence, and zero-touch setup claims to avoid feature gaps. Smart Thermostat Brands matter: seek established names with verified firmware support and transparent specs.
Use Energy Saving Tips to benchmark potential savings against cost, ensuring the purchase pays back over time.
Mid-Range Options That Balance Smart Features and Price
Mid-range smart thermostats strike a balance between advanced features and price, delivering stronger learning routines, better energy insights, and broader platform compatibility without jumping to premium costs.
You get meaningful automation, reliable reporting, and solid app support, all while keeping total cost in check. These models emphasize practical value: robust scheduling, seasonal adjustments, and efficient HVAC control that still triggers faster payback than budget options.
Wireless connectivity and voice control integration are core, not afterthoughts, enabling quick setup and hands-free tweaks. You’ll see better compatibility with common smart home ecosystems and richer data than entry-level devices, without sacrificing usability or security.
- Stronger learning routines meet real-world energy savings
- Reliable wireless connectivity across rooms and hubs
- Voice control integration for hands-free operation
- Clear, actionable energy insights and reporting
Compatibility Check: Works With Your Existing Hubs and Devices
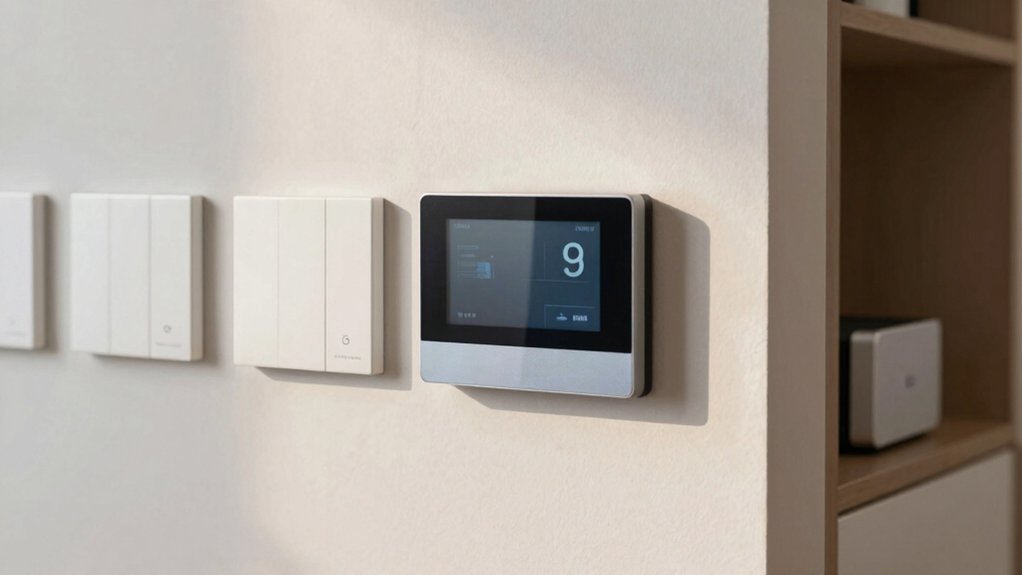
Ensuring compatibility with your existing hubs and devices is essential to maximize value from a smart thermostat. You’ll want to map your setup: hub ecosystems, Wi‑Fi bands, and any legacy HVAC controls.
In practice, verify HVAC compatibility and supported protocols (Zigbee, Z‑Wave, Wi‑Fi) before buying. Look for clear certifications and a device list from the manufacturer detailing compatible hubs and control schemes.
Real-world data shows that misalignment costs include integration delays and the extra expense of adapters. Prioritize models with robust Smart home integration and straightforward setup wizards.
If you’re relying on a central hub for automations, confirm scene and routine fidelity across platforms. Choose thoughtfully to ensure reliable, scalable control and seamless future expansions.
Which Models Support Voice Assistants and Routines
Many models now integrate voice assistants and routines out of the box, and choosing one that fits your ecosystem can simplify daily control. You’ll gain immediate voice command capabilities and seamless routine automation that tie thermostat behavior to calendar, location, and other smart devices.
Look for compatibility with major ecosystems, robust latency, and reliable wake words, not just flashy features. Performance hinges on consistent responses, energy-aware scheduling, and predictable temperature ramps during passages.
Prioritize models that transparently show supported routines, and quantify potential savings from automation rules. Real-world tests reveal variance in processing speed and failure rates, so compare data points before committing.
Balance cost against ecosystem lock-in and ongoing firmware support for lasting power.
- Voice assistant integration optimization varies by platform and device
- Routine automation depth affects daily energy savings
- Latency and reliability drive trust in commands
- Firmware updates sustain feature parity and security
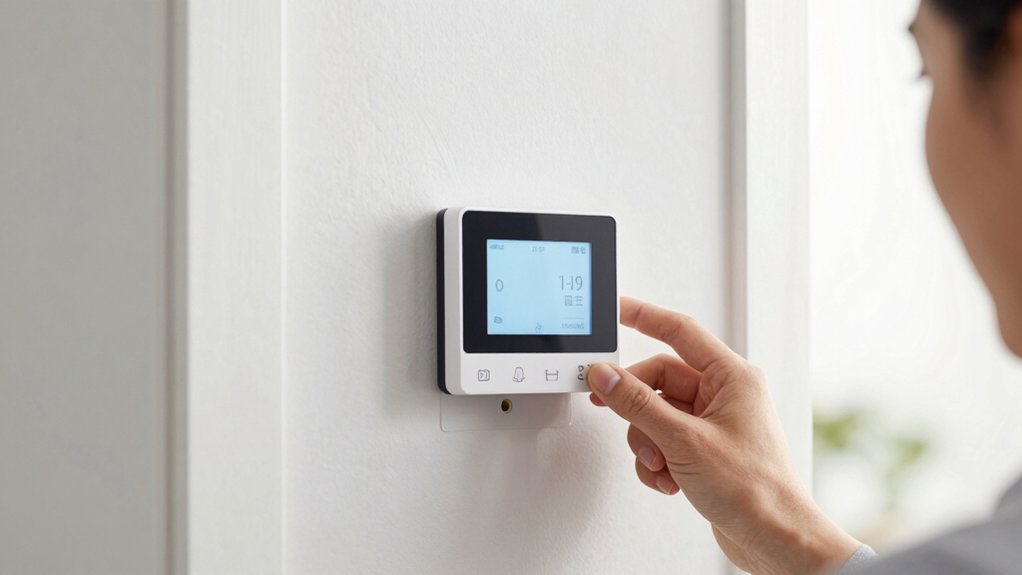
Thermostat Design and Display: Readability and Screen Clarity
Thermostat design centers on readability and screen clarity because a clear display reduces setup time and daily interaction friction. You’ll evaluate how the user interface presents temperatures, modes, and schedules at a glance, prioritizing legibility in various lighting.
Visual clarity matters: high-contrast digits, crisp icons, and consistent typography minimize mistakes and speed decisions. Consider size and spacing—larger screens aren’t always better if information is dense; clean hierarchies win.
Data shows that devices with legible fonts and intuitive icons reduce callouts and returns. In practice, compare brightness settings and auto-dimming behavior to avoid squinting or mis-taps during busy moments.
Your priority is a thermostat that communicates status instantly, empowering faster, more confident, energy-smart choices.
Wi-Fi, Updates, and Security: What Matters and What Doesn’t
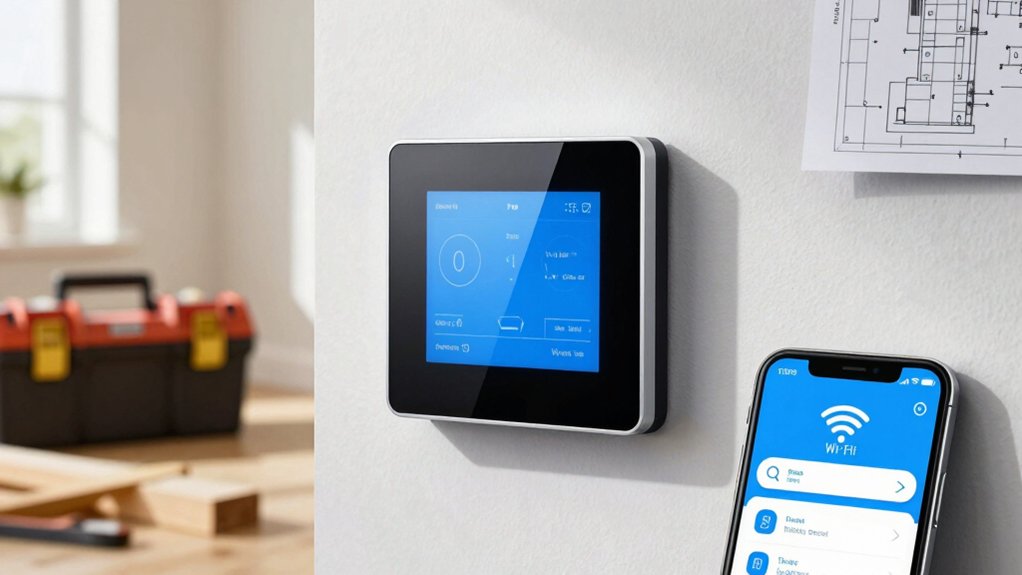
Wi‑Fi basics matter, but not all features are equal: you’ll want reliable connectivity, sensible power usage, and straightforward setup.
Firmware updates can improve security and performance, yet you should prioritize devices with transparent update policies and reasonable download sizes.
Security considerations count, but beware overreliance on cloud-only models; local control and clear data practices matter just as much.
Wi‑Fi Essentials
Are Wi‑Fi, updates, and security really the core of reliable smart thermostat performance, or do they just feel like background basics? You’ll see that strong wireless connectivity and thoughtful update cadence predict fewer drops, faster responses, and smoother scheduling.
Security isnities aside, without solid Wi‑Fi, you lose remote control, real-time energy insights, and automatic optimization. The data shows energy consumption stability improves when devices stay reliably online, but not at the cost of excessive bandwidth or frequent outages.
Prioritize routers with strong signal, dual-band support, and low latency. Updates matter, but only if they don’t interrupt uptime. Security matters, but avoid overrules that complicate setup.
- Strong wireless connectivity matters most
- Stable updates over frequent minor patches
- Low-latency, reliable remote access
- Balanced security without friction
Firmware Updates Impact
Updates can move the needle when they’re timely and non-disruptive: firmware that arrives with light payloads, concise change logs, and fast rollback options tends to boost stability more than flashy features. You should prioritize devices that deliver consistent firmware updates and clear bug fixes, not just big splash releases.
Data shows small, focused patches reduce downtime and compatibility risk with existing automation ecosystems, preserving performance in heating/cooling schedules. When evaluating options, look for transparent release notes, predictable update windows, and tested rollback paths that don’t erase user customizations.
Avoid appliances with aggressive cadence or opaque fixes that require manual intervention. In practice, firmware updates and bug fixes should translate to measurable reliability gains, faster response to quirks, and sustained energy-saving behavior.
Security Considerations
Security matters when choosing affordable smart thermostats, and you should weigh Wi‑Fi protections, update practices, and overall resilience together rather than in isolation. You demand reliability, so assess privacy concerns and data encryption as core metrics, not afterthoughts.
In practice, models with robust encryption and transparent update cadences tend to endure longer and resist breaches. Look for battery-backed or tamper-resistant components that keep security intact during outages.
Evaluate vendor responses to vulnerabilities and how quickly patches roll out. Prioritize devices that minimize data collection and offer local control options.
- Privacy concerns: assess data minimization and third-party access
- Data encryption: verify at-rest and in-transit protections
- Update cadence: frequency and verifiability of patches
- Local control: availability without cloud dependence
Battery-Powered vs. Power-Wired: Pros, Cons, and When to Choose
Battery-powered thermostats run on internal batteries, so you don’t need wiring or a dedicated circuit, but they can require more frequent battery changes and may access fewer features until the battery is fresh.
If you want simplicity and speed, battery-powered units win on install time and portability, yet their performance hinges on battery life and reliability during power outages.
Power-wired thermostats boast consistent operation, deeper feature access, and less maintenance, especially in busy homes or solar setups. They demand a professional or sturdy DIY install, and you’ll lose some flexibility if circuits are limited.
When to choose depends on reliability needs and renovation timelines: pick battery-powered for quick upgrades, or power-wired if you prioritize uninterrupted climate control, longer-term resilience, and expanded smart integrations.
Installing in Tricky or Older Homes: Tips and Pitfalls
Older homes often pose wiring challenges, so you’ll want a clear plan for where the thermostat can get reliable power and accurate readings.
Consider sensor placement carefully to avoid drafts, hot walls, and interference from old HVAC zones.
Look for retrofit tips that match your system’s compatibility.
We’ll weigh the data on compatibility and practical retrofits to help you decide what works best without overhauling your existing infrastructure.
Wiring Challenges In Older Homes
Wiring challenges in older homes can complicate adding a smart thermostat, but understanding common bottlenecks—flickering power, nonstandard wiring, and missing C terminals—helps you decide whether a simple replacement suffices or if a power extender or professional wiring is necessary.
In practice, you’ll evaluate compatibility first, then potential retrofit costs, balancing historic preservation needs with modern efficiency. Data shows many older systems lack common terminals, driving the need for adapters or rewiring.
If you value Aesthetic integration, you’ll prefer solutions that preserve ornamentation and wiring routes without invasive work. Consider fan/auxiliary loads, transformer ratings, and control voltage to avoid spikes.
Prioritize reliability, not just price, to ensure long-term performance and energy savings.
- Historic preservation considerations shape wiring choices
- Choose discreet, aesthetically aligned components
- Verify transformer and C-terminal presence
- Plan for minimally invasive retrofits to maintain integrity
Sensor Placement Considerations
Sensor placement in tricky or older homes matters as much as hardware choice, because even a great thermostat can underperform if sensors sit in drafty hallways, near heat sources, or behind doors.
In practice, you’ll optimize performance by mapping temperature zones and locating sensors where air paths reflect real living patterns. Place the primary sensor in a central, clocked spot away from direct sun, vents, or appliances that skew readings.
Avoid alcoves that trap stale air, and don’t cluster sensors near exterior walls where drafts skew results. Use at least one additional sensor for temperature zones in large homes to balance uneven heating.
Track data trends, adjust setpoints conservatively, and rely on adaptive features rather than guesswork to maximize comfort and energy efficiency.
Compatibility And Retrofit Tips
Compatibility and retrofit work often hinges on understanding your existing system’s limits and how a newer thermostat can fit, not just what it can do. In older homes, you’ll map wire types, common voltages, and control strategies, then align with a compatible model.
Expect retrofit challenges like nonstandard wiring, bypassed heat stages, or incompatible boiler interfaces. Prioritize units that support C-wire adapters, dual-fuel setups, and power stealing where needed. This approach sharpens energy efficiency gains and strengthens smart home integration without overhauling herbaceous infrastructure.
- Check existing wiring compatibility first to avoid surprised compatibility gaps
- Use C-wire adapters to free power-hungry features and stable operation
- Verify boiler/air handler interaction for accurate control
- Plan for future upgrades to maximize energy efficiency and integration
Real-World Performance: Savings, Reliability, and User Experiences
Real-world performance hinges on how well affordable smart thermostats deliver actual savings, reliability, and user experience. You’ll see energy efficiency benefits when schedules align with your routines and occupancy patterns, lowering bill spikes.
Reliability matters: firmware stability, quick response to temperature changes, and consistent connectivity reduce frustration and maintenance calls.
User experiences hinge on intuitive setup, clear energy reports, and reliable remote access. In practice, best-value models blend precise sensor data with adaptive learning, driving steady year-round comfort without constant tweaking.
Expect measured savings to vary by climate, home insulation, and HVAC efficiency, but the strongest units show measurable reductions within a few billing cycles.
User satisfaction grows when dashboards are transparent, alerts actionable, and integration with mobile apps feels confident and fast.
Budget-Friendly Ways to Future-Proof Your Smart Home
Budget-friendly strategies to future-proof your smart home focus on scalable investments, practical compatibility, and ongoing value. You’ll maximize control and minimize risk by prioritizing systems that grow with you, not outpace you.
Data shows modular platforms save upgrade costs and reduce lock-in, while energy efficiency gains compound over time. Choose devices with open standards and clear interoperability paths to ensure Smart home integration remains seamless as tech evolves.
Track performance, not hype, and validate energy savings with real tests and receipts. When in doubt, favor vendor-backed roadmaps and long-term support commitments to protect your investment.
- Prioritize modular hubs and cross-brand compatibility
- Verify open protocols and future firmware plans
- Measure energy savings before and after upgrades
- Plan for scalable adding of sensors and rooms
Conclusion
You walk into a cooler, calmer home, your thermostat humming like a quiet engine of savings. With the right affordable pick, you’ll see bills melt as you tune comfort without overpaying. Data backs the gut: energy modes cut waste; quick installs keep you off the tangled wires. In older houses, simple installs enable smarter routines and steady performance. Budget picks prove you don’t need to overspend to future-proof a smarter, more efficient you.