
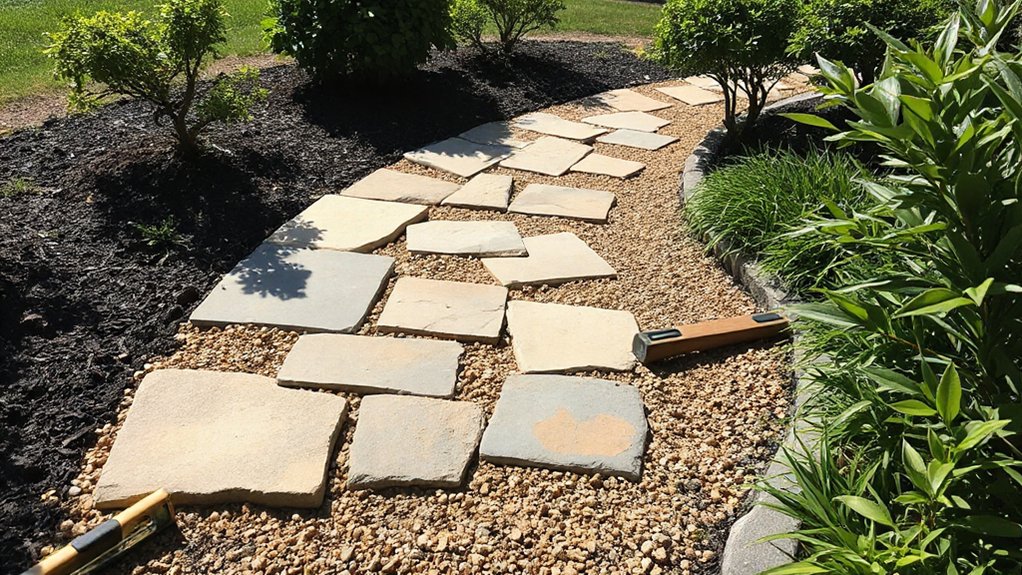
Did you know a well-placed garden path can reduce nonessential foot traffic by up to 40%? You’ll assess site usage, soil, drainage, and budget, then draft a concise route with consistent thickness and joints. You’ll select durable materials, prepare a stable subbase, and install weed barriers, laying units with level joints. Edge reinforcement and drainage control ensure long-term stability; spacing and maintenance routines keep the path safe and functional. Now, consider the practical steps that follow to guarantee the design.
Identify Your Garden Path Needs: Traffic, Space, and Budget
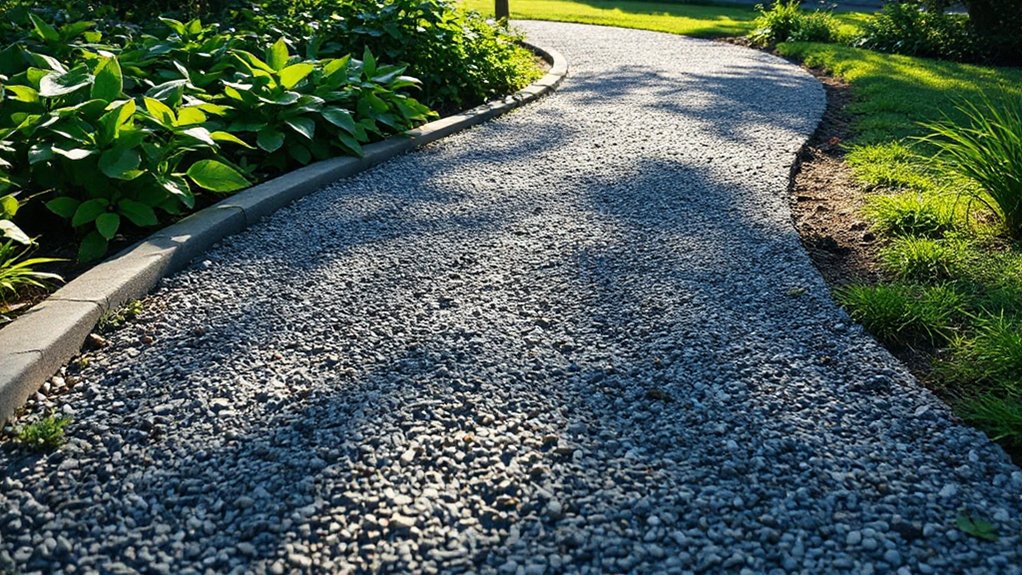
Before picking materials or dimensions, assess how the path will be used, where it will be placed, and what you can spend. You’ll define traffic patterns, peak load times, and maintenance needs to prevent wear and misalignment.
Measure available space, slope, drainage, and access requirements to determine width, curvature, and grade limits.
Budget constraints guide material selection, fasteners, and edging, so you balance cost with longevity.
Consider garden aesthetics to guarantee the path complements existing plantings and focal points, and plan sightlines that showcase key features.
Evaluate plant integration opportunities, such as edging that supports low-growing groundcovers or dwarf perennials without crowding the corridor.
Finally, draft a simple mock layout to test flow, accessibility, and maintenance tasks before hands-on work begins.
Gather Simple Materials You Already Have
To gather simple materials you already have, start with a quick inventory of workable options—pavers, stepping stones, bricks, timber offcuts, or dense gravel you’ve used elsewhere in the yard. You’ll assess each item for fit, level, and edge retention, prioritizing natural materials that age evenly and resist erosion.
Catalogue dimensions, weights, and surface textures to anticipate handling demands and installation spacing. Gather DIY tools you trust for precision cuts, compaction, and alignment, such as a masonry chisel, rubber mallet, level, tape, and a compacted soil base.
Remove debris and verify moisture tolerance and load-bearing potential. Select a cohesive mix that minimizes future maintenance, favors visible texture, and aligns with drainage goals.
Document where items live so substitutions stay intentional.
Plan Your Garden Path Route for Easy Maintenance
Align the path route with practical maintenance in mind by tracing a line that minimizes sharp turns and maximizes gentle slopes for drainage and accessibility. You plan with geometry, ensuring sightlines remain continuous and tripping hazards are eliminated.
Establish a consistent width to simplify mowing, edging, and cleaning, then map shifts to reduce abrupt changes in surface level. Integrate decorative edging to guide movement and deter encroachment, selecting materials that resist staining and frost heave.
Use a modular layout that accommodates seasonal maintenance, such as debris removal and weed control, without disturbing soil structure. Plan plant integration at margins to soften edges while preserving access routes.
Prioritize surface drainage slopes, compacted sub-base stability, and clear articulation of turning radii to sustain long-term pathway integrity.
Choose a Garden Path Style That Fits Your Home
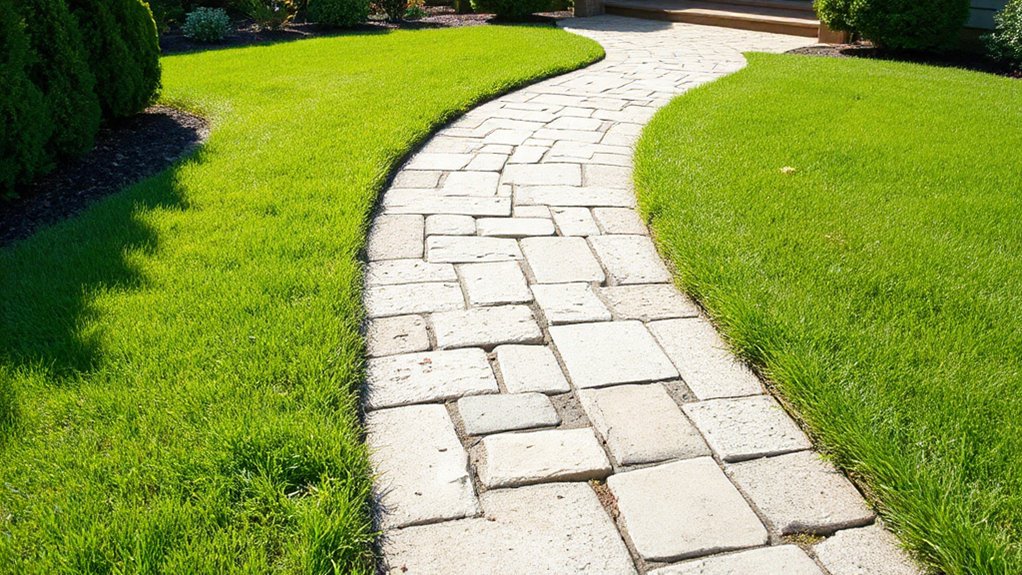
Choosing a garden path style that complements your home starts with evaluating architectural language, scale, and materials. You’ll select a path form that echoes your house’s silhouette and roofline, then align edging, surface texture, and color temperature to reinforce that dialogue.
Consider garden style conventions: straight, curvilinear, or meandering layouts that reflect circulation patterns and sightlines from entry points. Material finishes should contrast or harmonize with your siding, masonry, and landscape beds, ensuring slip resistance and durability.
Assess proportion: width, radius, and slope must support code-compliant accessibility while maintaining visual rhythm.
Finally, harmonize your aesthetic choices with lighting, planting, and furniture to achieve a cohesive, low-maintenance composition.
This approach yields a precise, durable, and inviting garden style.
Prepare the Ground Before Laying the Path
Preparing the ground sets the foundation for a durable garden path. You assess subgrade stability by removing debris, organics, and uncompacted material, then profile for proper drainage and slope.
Conduct soil preparation with a focused test: check compaction, moisture, and bearing capacity; adjust as needed to reach a firm, uniform base.
Excavate to the intended depth, then compact incrementally using a plate compactor or hand tampers to achieve even density without voids.
Integrate weed control by laying a permeable, breathable barrier beneath the base materials, and guarantee its overlap is continuous, free of gaps.
Confirm drainage paths align with your design, avoiding low spots.
Verify compatibility of base aggregate with chosen pavers, and document layer thicknesses for repeatable construction and long-term performance.
Lay the Path in Easy, Manageable Steps
With the subbase established, begin laying the path by following a clear sequence that guarantees stability and smooth installation. You’ll set each unit flush to the adjacent support, verifying level with a short spirit level as you proceed.
Start with full steps for the pattern, avoiding gaps that could trap debris or misalign pavers. Place edging where necessary to resist movement during compaction.
As you progress, maintain consistent joint spacing and compact after every two rows to preserve straight runs.
Plan progressions at intersections early, using cut blocks to match the design rhythm.
Integrate garden decor elements at focal points without disrupting the pathway’s line.
Consider plant selection nearby to frame the route, ensuring compatible growth, root depth, and color harmony for lasting appeal.
Add Comfort and Safety With Edges and Drainage
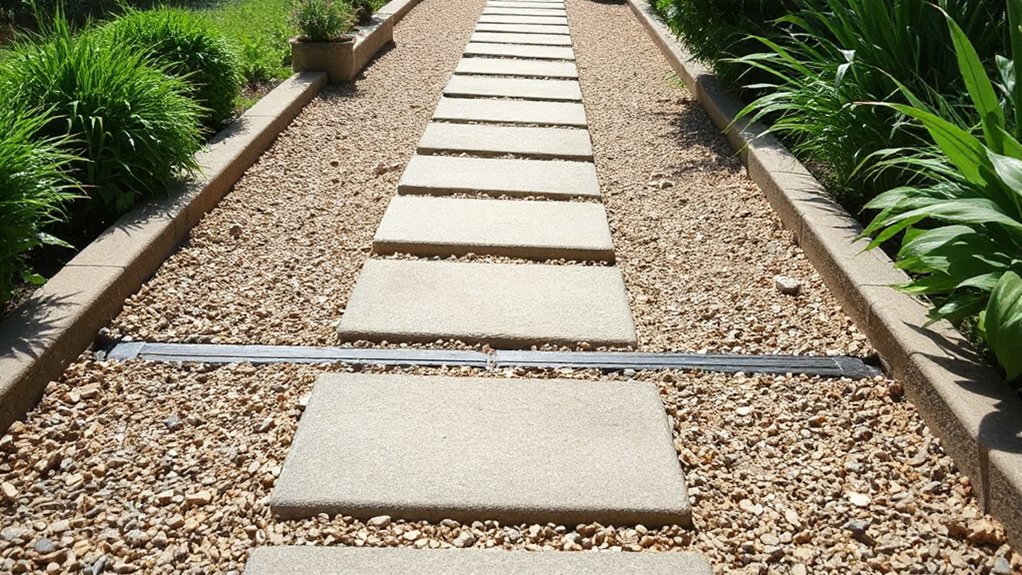
Edges and drainage are essential for long-term stability and user comfort. You design with a focus on edge stability to prevent lateral movement and soil erosion along the pathway edges.
Use a compacted subbase and a clearly defined edge material, such as reinforced timber, metal edging, or pressure-treated boards, set to a consistent height above the surface.
Channel water toward intended outlets to maintain surface integrity; incorporate slight cross-slope to promote water drainage without staining or pooling.
Install edging flush with the surface to deter trip hazards and maintain a clean boundary.
Confirm that drainage paths remain unobstructed after installation, and test with light rainfall simulations to verify that moisture exits efficiently.
Revisit edging after first season to ensure continued alignment and performance.
Tidy Up and Maintain Your Garden Path
To keep a garden path durable and safe, establish a routine that emphasizes regular inspection, minor repairs, and timely cleaning. You conduct monthly checks for surface wear, loose joints, and edging alignment, recording findings for trend analysis.
Address small cracks or loose pavers promptly to prevent trip hazards; use appropriate adhesive or repointing compounds and reseat components with a calibrated tapping block.
Keep sweeping and washing small debris to inhibit moss growth and material degradation. Maintain garden tool organization to streamline maintenance sessions and reduce misplacement risks.
Schedule seasonal pruning near path edges to prevent overhang that could obscure visibility or trap moisture. Preserve drainage outlets and check irrigation proximity to avoid staining or erosion.
Periodically refresh sealant or protective treatments as specified by material manufacturer guidelines.
Troubleshooting Common Path-Building Hurdles
When you troubleshoot path-building hurdles, start by diagnosing the underlying causes of instability or misalignment, then apply targeted fixes that preserve the path’s safety and aesthetics.
Begin with base assessment: verify subgrade compaction, drainage flow, and edge confinement. If shifting soil or weed intrusion occurs, regrade and install edging to resist movement.
Replace uneven stepping units with level, coursed positioning; use straight lines or deliberate curves to maintain visual balance.
Check materials for uniform thickness and surface texture to reduce trip hazards and improve grip in seasonal conditions.
Tighten joints with appropriate grout or polymeric dust to prevent sediment washout.
Ensure proper alignment with surrounding hardscape and plantings, maintaining garden path aesthetics while accommodating seasonal considerations like frost heave and leaf litter.
Reinspect after rain and modify drainage as needed.
Frequently Asked Questions
What Plants Should I Consider Beside My Path?
Consider Plant combinations that suit your site; for shade, choose shade tolerant plants like ferns, hostas, and astilbe, then mix textures. Pair with groundcovers for slope control, ensuring soil moisture balance and seasonal color contrasts throughout the pathway.
How Long Does It Take to Complete a Path?
A garden path takes about 1–3 days for hobbyists and longer for professional installations, depending on length and materials. You’ll manage garden maintenance and refine Path design while progress steps, measuring, and adjusting along the way. Like clockwork.
Can I Reuse Old Materials for a Path?
Yes, you can reuse old materials. Assess condition, clean, and repair as needed. Incorporate recycling materials into joints and edges, ensuring stability. This strengthens sustainable design, reduces waste, and maintains耐 weather resistance and aesthetic alignment with your pathway plan.
What Is the Best Height for Edge Borders?
Edge borders should be about 4–6 inches high for stability and clear sightlines. You choose decorative edging and border materials that resist movement, with a tight, level top. It’s a precise, design-focused setup—you’ll still be in command.
How Do I Handle Uneven or Rooted Ground?
You handle uneven or rooted ground by grading gently, trimming exposed roots, and compacting in layers. Do soil preparation first, then apply leveling techniques to create a stable base, ensuring drainage and precise alignment for your pathway.
Conclusion
Start-to-finish, your path should read like a well-planned progression, not a random scramble. By selecting durable materials, maintaining uniform thickness, and sealing joints, you create predictable performance and longevity. Prepare a stable subbase, lay units level, and reinforce edges to prevent shifting. Regular seasonal checks keep drainage clear and surfaces safe. In short, thoughtful detailing yields a path that’s both robust and graceful—design quality writing in stone and soil. A savvy path is a measured path.