Start with a 10-minute yard walk to note sun, soggy spots, slopes, and bare areas, then sketch a quick map so you don’t overbuy. Set a hard budget (70% materials, 20% tools, 10% surprises) and borrow one-off tools. Pull weeds after rain, edge beds 1–2 inches deep, and haul debris before mulching. Add salvaged brick, stone, or metal edging, then lay a simple mulch or gravel path for instant curb appeal. Next, plant low-cost seeds, divisions, or starts, and finish with evenly spaced solar lights—keep going to see the easiest upgrades and routines.
Do a 10-Minute Yard Check and Set a Budget
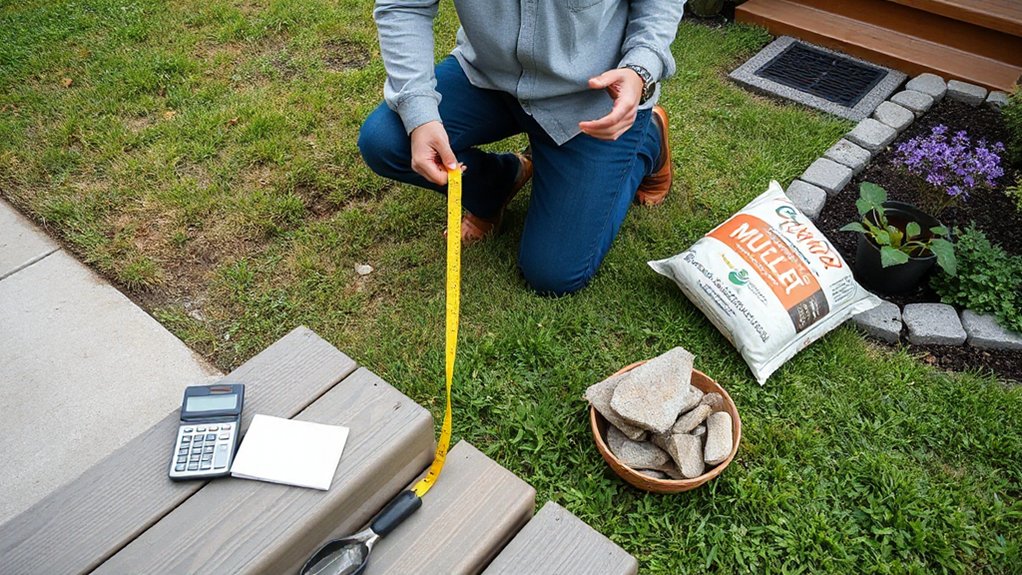
Before you buy plants or rent tools, take 10 minutes to walk your yard and note what you’re working with: sun and shade patterns, soggy spots, bare patches, slopes, existing plants you want to keep, and any problem areas like erosion or poor drainage. Sketch a quick map and measure key areas so you don’t overbuy mulch, soil, or edging.
List the Garden tools you already own, then price only what you’ll truly use; borrowing beats buying for one-off jobs. Set a hard budget and split it: 70% materials, 20% tool needs, 10% surprises.
Add Weather considerations: check typical rainfall, freeze dates, and wind exposure, and plan purchases around seasonal sales and planting windows to avoid costly replacements.
Quick Wins: Weeds, Edging, and a Simple Cleanup
Now that you’ve mapped the trouble spots and set a hard budget, start with fast, low-cost fixes that make the whole yard look cared for: pull or hoe weeds while the soil’s slightly damp, edge along sidewalks, beds, and fences to create clean lines, and do a simple pickup of sticks, leaves, and trash.
Focus on weed control first; it’s free sweat equity and prevents reseeding. Keep garden edging crisp with a flat spade or half-moon edger, cutting 1–2 inches deep and brushing soil back into beds. Bag debris or compost leaves if your city allows it. Work in short zones so you finish.
- Pull weeds after rain or watering
- Hoe tiny sprouts weekly
- Edge straight, then sweep hardscapes
- Rake, bag, or compost litter
- Haul trash before you mulch
DIY Borders on the Cheap (Stone, Brick, or Metal)
If you want your beds to look finished without blowing your budget, install a simple border using salvaged brick, leftover pavers, fieldstone, or inexpensive metal edging. Call local demo crews, check curb piles, or scan marketplace listings for free or cheap materials.
For brick or pavers, dig a 4-inch trench, add 1 inch of compacted sand, then set pieces tightly and tap level with a rubber mallet.
For stone edging, choose similar heights so the line stays clean; shim low spots with sand, not soil.
For metal borders, stake every 3–4 feet, keep the top just above grade, and overlap joints to prevent gaps.
Finish by backfilling both sides and tamping so nothing shifts after rain.
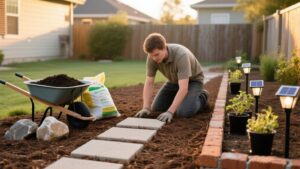
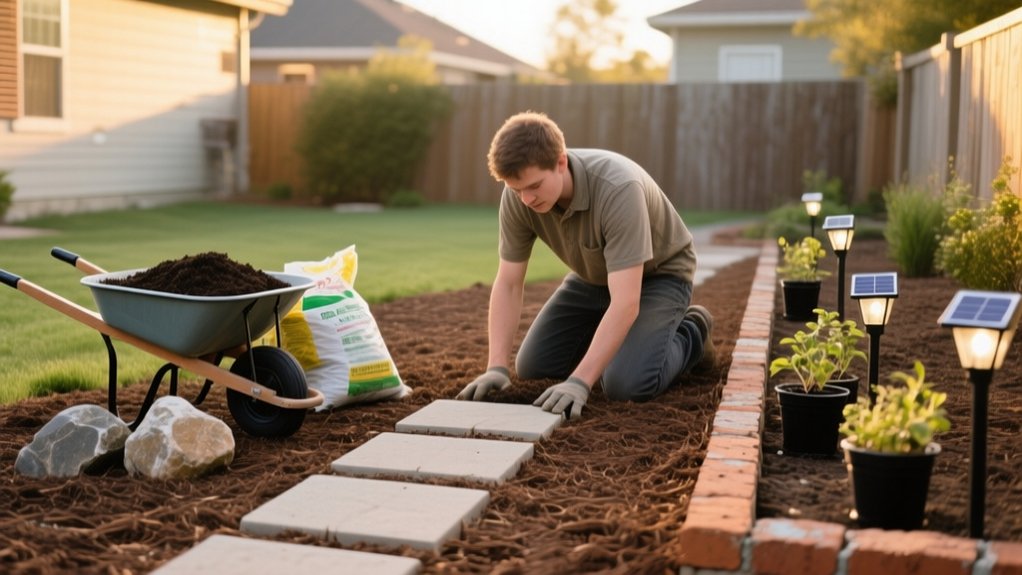
Mulch and Gravel Paths for Instant Curb Appeal
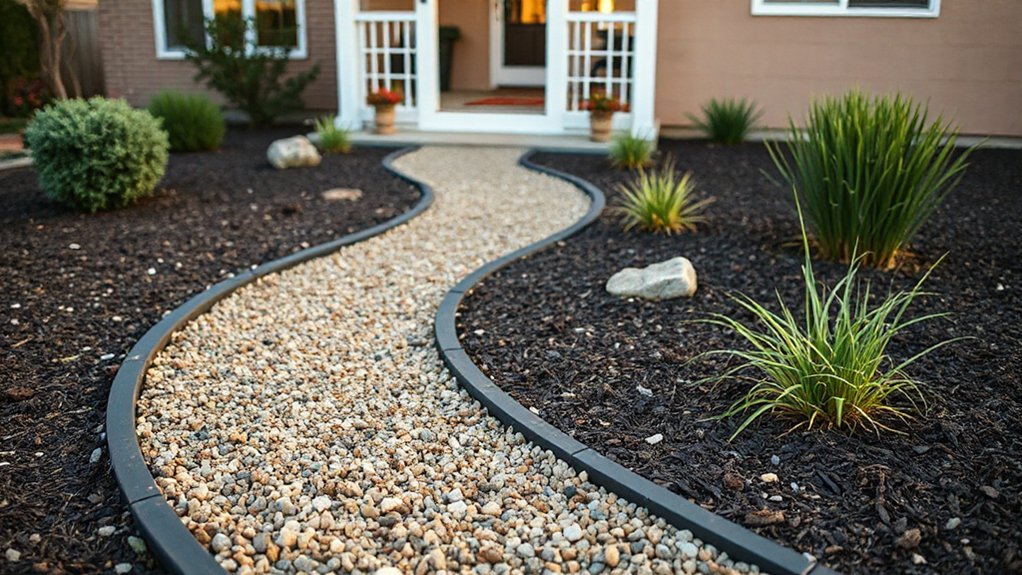
A clean border makes your beds look intentional, and a simple mulch or gravel path does the same for the spaces between them while keeping shoes out of the mud.
For budget-friendly garden design, you can lay a path in an afternoon with basic tools and bulk materials. Keep it tidy so it reads “planned,” not “piled.” Use landscape fabric only where weeds are aggressive; otherwise, edge well and refresh yearly.
- Mark width with a hose, then spray-paint the line
- Dig 2–3 inches, slope slightly for drainage
- Install edging to stop creep and contain stone
- Add 1 inch of compacted base (crusher fines) for gravel
- Top with 2 inches mulch or 1.5 inches gravel, rake smooth
These planting techniques protect roots by reducing soil compaction nearby.
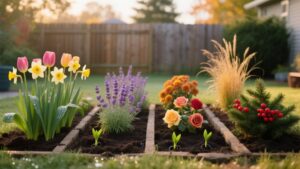
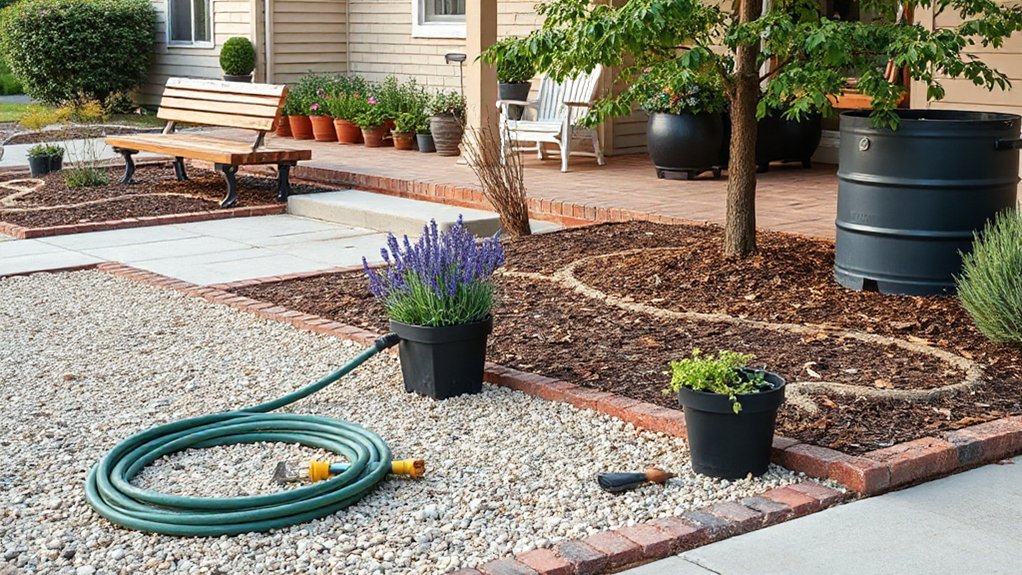
Build a Beginner Flower Bed With Low-Cost Plants
Start your flower bed by picking a sunny spot that gets at least 6 hours of light and won’t need extra watering or edging.
Keep soil prep cheap: remove grass, loosen the top 6–8 inches, then mix in a few bags of compost or homemade compost instead of pricey amendments.
Fill the bed with low-cost plants like seed packets, divided perennials from friends, or small nursery starts you can space properly and let grow in.
Choose A Sunny Spot
One sunny location can make or break a beginner flower bed, so pick a spot that gets at least 6–8 hours of direct light on most days. Watch the area for a weekend before you buy plants, and note when trees, fences, or your house cast garden shade. A free sun map beats guesswork and prevents wasted money on the wrong flowers.
Also think about access: you’ll save time and water if the bed sits near a hose and a path. Before you commit, do quick soil testing with an inexpensive kit so you can choose plants that match your site’s baseline conditions.
- Track sun from morning to late afternoon
- Avoid spots shaded after noon
- Choose a visible, easy-to-reach edge
- Stay clear of heavy root zones
- Keep room for a simple border
Prepare Soil On A Budget
Wondering how to get planting-ready soil without blowing your budget? Start with simple Soil testing: grab an inexpensive DIY kit or check if your local extension office offers low-cost testing. You’ll learn pH and nutrient gaps so you don’t waste money on random amendments.
Next, clear the bed by removing weeds and sod with a flat shovel; sheet-mulch with cardboard if digging’s hard, then wet it well.
Improve structure through compost addition: use homemade compost, leaf mold, or municipal compost if available. Spread 2–3 inches, then mix it into the top 6–8 inches with a garden fork.
If soil drains poorly, blend in shredded leaves; if it’s sandy, add more compost.
Rake level and water lightly to settle.
Pick Low-Cost Plants
Three budget-friendly plant choices can fill a beginner flower bed fast: seeds, small plugs, and divisions from friends or local plant swaps. Start with native species so you’ll water less, fertilize less, and replace fewer plants.
Mix a few quick-bloom annual seeds with sturdy perennial plugs, then edge the bed with divisions for instant fullness.
Shop end-of-season sales, but skip weak, root-bound pots.
- Choose drought tolerant natives for your sun exposure
- Buy plugs in multi-packs to cut per-plant cost
- Start seeds in recycled pots indoors to boost success
- Swap divisions locally (iris, daylily, yarrow)
- Mulch well so new plants need fewer waterings
Group plants by water needs, and label everything so you don’t overbuy later.
Cheap Outdoor Lighting That Looks Expensive
Even if you’re working with a tight budget, you can make your yard look high-end by layering a few low-cost lighting types in the right spots. Start with solar fixtures along walkways and drive edges, spacing them evenly so the line looks intentional, not random. Aim them to wash the path, not glare at eye level.
Next, hang string lights in a clean, straight run between two anchor points like a fence post and pergola corner. Keep the slack minimal and use matching hooks for a tailored look.
Add one focused accent: a small, warm LED spotlight aimed up into a tree or onto a textured wall. Stick to warm white (2700–3000K) and repeat the same finish for a cohesive upgrade.
Easy Maintenance Habits That Keep Costs Down
Good lighting makes a yard feel polished at night, but the real savings show up when you keep small upkeep tasks from turning into weekend-long fixes. You’ll spend less by scheduling quick, repeatable checks that prevent damage, wasted water, and plant loss.
- Set simple watering routines: early morning, deep soak, then skip days based on rainfall.
- Mulch 2–3 inches to cut evaporation and weeds; keep it off stems.
- Edge beds monthly so grass doesn’t creep and you don’t rework borders.
- Do five-minute pest prevention walks: flip leaves, remove eggs, spray hose-blast aphids fast.
- Clean gutters and downspouts so runoff doesn’t erode soil or drown roots.
Track chores on your phone, buy fewer “fix” products, and your yard stays tidy cheaply.
Frequently Asked Questions
How Do I Improve Drainage in a Soggy Yard Without Expensive Regrading?
Add shallow swales and perforated pipe French drains to route water downhill, then amend soil with compost and sand. Create rain gardens, use mulch, and spot-check yard grading. These drainage solutions stay affordable.
Which Landscaping Projects Require Permits or HOA Approval in My Area?
Like walking a tightrope, you’ll need permits/HOA signoff for fences, sheds, decks, pools, retaining walls, major grading/drainage, and tree removal. Check city zoning, HOA bylaws, and setbacks; keep Plant selection and lawn maintenance typically exempt.
What Are the Best Beginner Tools to Buy Versus Rent for Landscaping?
Buy hand pruners, gloves, trowel, spade, rake for Garden maintenance and basic Planting techniques; they’ll last. Rent a tiller, aerator, chipper, sod cutter, and post-hole digger when needed to save money.
How Can I Keep Pets From Digging up Newly Planted Areas on a Budget?
You can stop pets digging by staking Pet proofing barriers like chicken wire or short fencing, then using Dig prevention techniques: lay pinecones, flat rocks, or landscape staples over mulch. Redirect with toys, reward staying out.
What’s the Cheapest Way to Landscape a Steep Slope Safely?
For cheapest safe slope landscaping, plant native plants and cover with mulch options; over 70% of erosion control comes from vegetation. Use jute netting, contour trenches, and stakes to hold mulch. Avoid loose rock.
Conclusion
You’ve walked your yard, set your limit, and made small moves that land big. Pull weeds, cut crisp edges, and clean like you’re clearing a stage. Lay bargain borders, roll out mulch or gravel like a tidy ribbon, and plant a simple bed with hardy, low-cost picks. Add a few warm lights and let dusk do the decorating. Keep up weekly touch-ups, and your budget won’t bleed—it’ll build.