
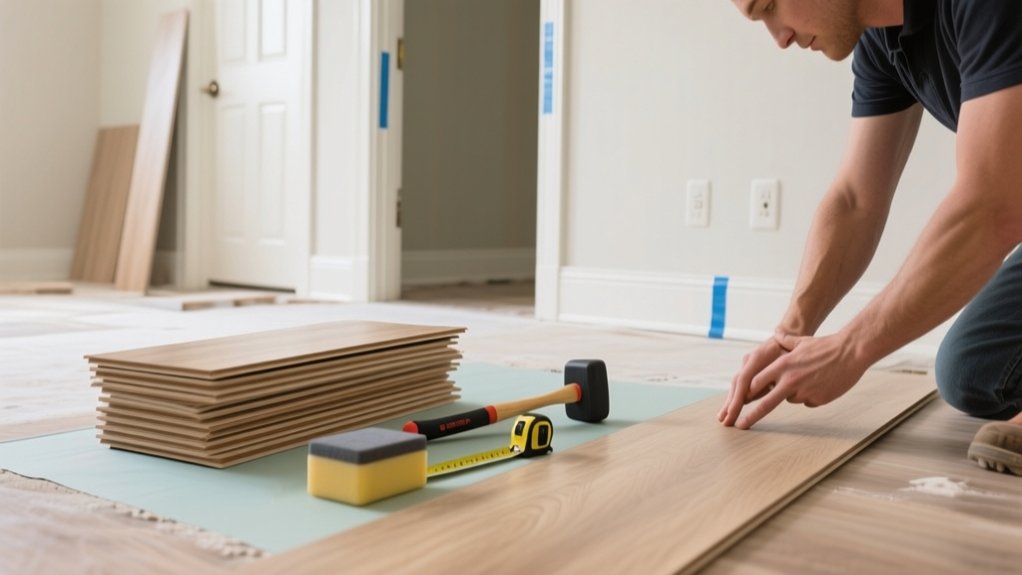
On a tight UK budget, you can refresh floors yourself with peel-and-stick vinyl planks, click-lock laminate, or a painted finish. Use sealed vinyl in bathrooms and utilities, and laminate or engineered boards with impact underlay in living rooms and bedrooms. Keep the subfloor clean, dry, and flat, dry-lay to plan cuts, and leave 5–12mm expansion gaps. Warm vinyl rooms to 18–22°C for bond strength. Carry on for room-by-room picks and pro prep tips.
Choose DIY Flooring by Room, Budget, and Skill
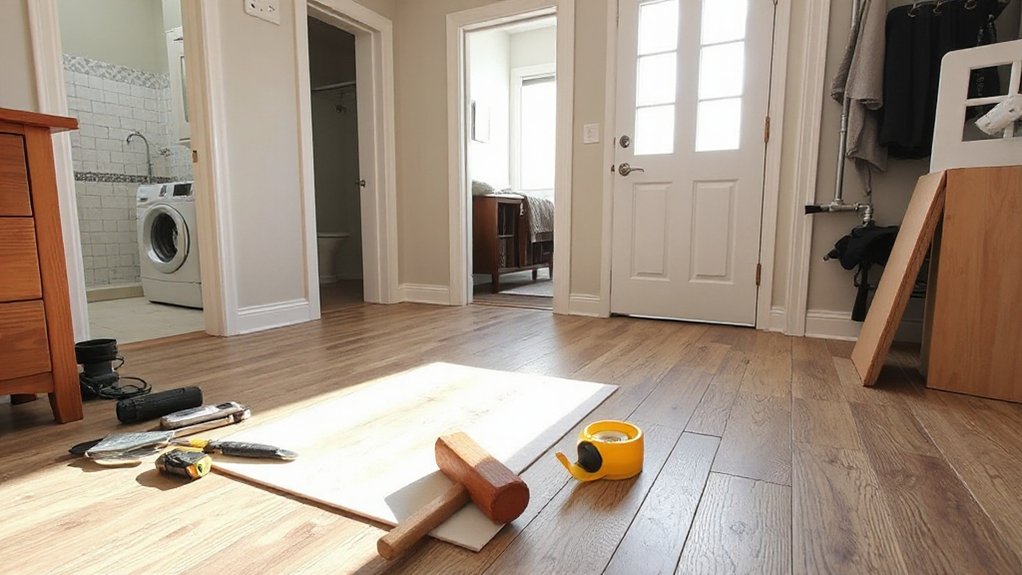
Although every DIY floor claims to be “easy,” you’ll get the best result if you match the material to the room’s moisture level, your budget, and the tools and time you can realistically commit.
In bathrooms and utility rooms, prioritise water resistance: sealed luxury vinyl tile or sheet vinyl suits most subfloors and won’t swell.
For living rooms and bedrooms, click-fit laminate or engineered wood gives a warmer finish, but you’ll need a flat, dry base and an underlay rated for impact sound.
If you’ve only got basic tools, choose floating systems; if you can cut accurately and manage adhesives, consider cork tiles.
Use room specific design: darker tones hide traffic, lighter boards expand space.
Follow flooring maintenance tips: felt pads, door mats, and pH-neutral cleaner.
DIY Peel-and-Stick Vinyl Planks: Cheapest Fast Upgrade
If you need a quick, low-cost floor refresh without hiring a fitter, peel-and-stick vinyl planks deliver one of the fastest DIY wins in the UK. You’ll cover tired lino or sound tiles cheaply, with minimal tools: tape measure, straightedge, sharp knife, and a 5kg hand roller.
Start with a clean, dry, flat subfloor; fill dips, sand ridges, and degrease thoroughly, or you’ll get lifting.
Dry-lay to plan your layout, keep 5–8mm expansion gaps at edges, and stagger joints for strength.
Warm the room to 18–22°C so the adhesive bites.
Choose wear layers suited to traffic, plus textured finishes for grip.
For character, pick Vintage patterns, but align repeats carefully to avoid obvious seams.
DIY Click-Lock Laminate: Best for Weekend Installs
When you want a clean, durable floor you can fit in a weekend without wet trades, click-lock laminate delivers fast results with basic DIY kit (saw or laminate cutter, spacers, tapping block, pull bar, and underlay tape).
Choose AC4/AC5 boards for laminate durability in busy UK homes, and check the click lock mechanism feels tight with no visible lip.
Prep matters: your subfloor must be flat within 3mm over 2m, dry, and dust-free.
Roll out underlay, tape seams, then start along the straightest wall, keeping a 10–12mm expansion gap at all edges.
Stagger joints by 300mm+, and use a pull bar at doorways and radiators.
Finish with beading, not fixed through the floor.
Paint Plywood, Concrete, or Wood Floors (Step-by-Step)
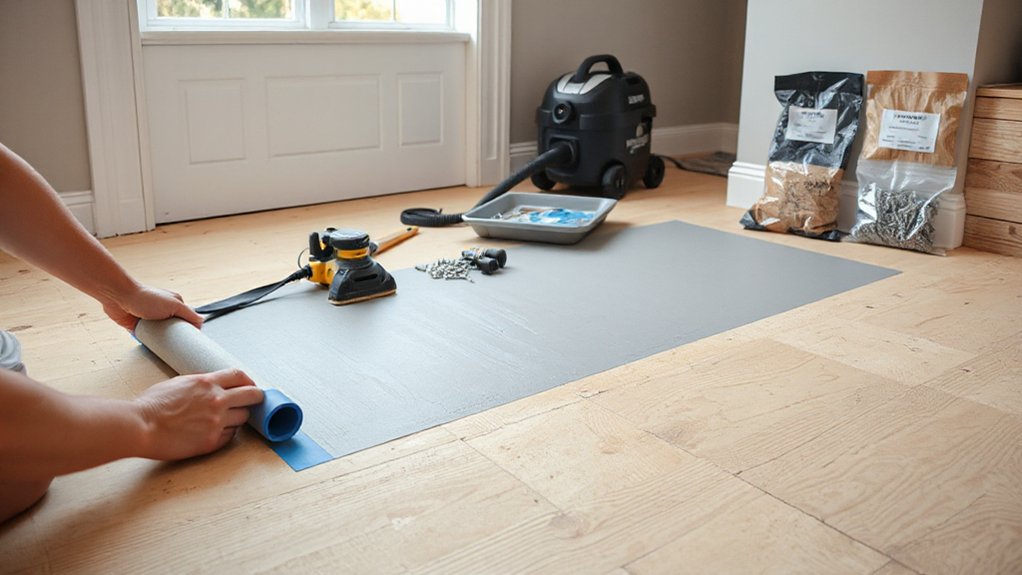
Painted plywood, concrete, or timber gives you a hard-wearing, low-cost refresh without ripping out the existing floor, provided you treat it like a coating system rather than a quick cosmetic job.
First, confirm the substrate is sound and dry; concrete should be cured and moisture-tested. Next, clean thoroughly, then abrade to a key with 80–120 grit. Vacuum dust and wipe with a degreaser. Fill defects and let them cure.
Apply a compatible primer: bonding for plywood, masonry for concrete, stain-blocking for resinous wood. Use installation tools you’ve already got: roller frame, extension pole, sash brush, mixing paddle, and paint tray.
Lay two thin coats of floor paint, keeping a wet edge, then finish with a clear polyurethane topcoat for Flooring maintenance. Allow full cure before heavy traffic.
DIY Floor Prep, Layout, and Finishing for Clean Edges
Although most budget floors go down quickly, clean edges only happen when you treat prep, layout, and finishing as one continuous process: get the base flat and dust-free, set out reference lines so your cuts land where they’ll be least visible, then finish perimeters with the right trims and sealants.
Check subfloors with a 2m straightedge; fill dips with leveller and feather highs. Snap a chalk line from your longest wall, dry-lay a row, and balance border cuts at skirtings and door thresholds.
Whatever your flooring material options—LVT, laminate, cork, or engineered boards—leave the specified expansion gap and underlay overlap. Choose eco friendly choices like FSC trims and low-VOC sealant.
- Vacuumed concrete, no grit
- Blue chalk lines, crisp
- Spacer blocks at skirtings
- Mitred threshold profiles
- Neat bead of sealant
Frequently Asked Questions
How Long Should New Flooring Acclimate Before Installation?
You should acclimate new flooring for 48–72 hours, or follow the manufacturer’s guidance. Store Flooring materials flat in the room, heating on, to complete the acclimation process and stabilise temperature and moisture levels.
Do I Need Permits for DIY Flooring Replacement?
You usually don’t need permits for like-for-like DIY flooring in the UK, but check local Permitting requirements and DIY regulations. You’ll need approval if you alter structure, fire doors, insulation, or electrics.
What Is the Best DIY Flooring for Homes With Pets?
Choose click-lock luxury vinyl plank; it’s the best DIY flooring for pets. If you can’t picture it, grab samples and test claws. You’ll get pet friendly materials and scratch resistant options, plus easy UK underfloor prep.
Can I Install New Flooring Over Radiant Heated Floors?
Yes, you can install new flooring over radiant heated floors if you confirm radiant heating output limits and floor compatibility. Use engineered wood or LVT, choose flexible adhesives, and commission heat-up cycles to prevent UK warranty issues.
How Do I Dispose of Old Flooring Materials Responsibly?
Like sweeping sawdust from a workshop floor, you’ll sort materials, then take usable offcuts to Recycling centers. Bag adhesives, paint, or asbestos suspects and book council collection as hazardous waste. Keep receipts; follow UK regs.
Conclusion
You don’t need a full refit to modernise your floors; you can match peel-and-stick, click-lock, or paint to each room’s traffic, budget, and your skill level. Measure twice, prep hard (flat, dry, dust-free), and plan your layout so cuts land under skirting and thresholds look tidy. Here’s the motivator: UK households spend about 90% of their time indoors—so a cleaner, warmer floor pays you back every day.





