
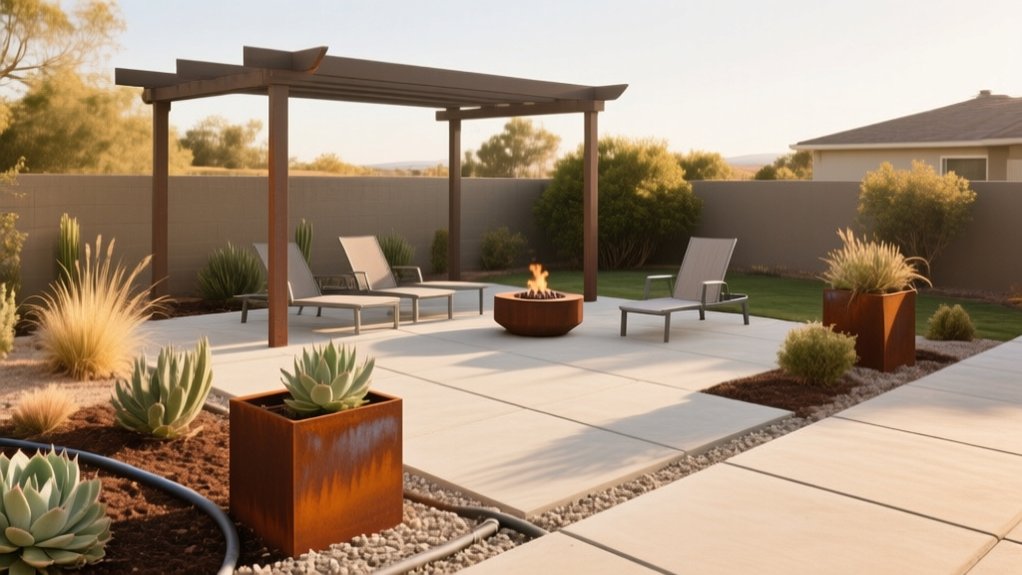
Define what “low-maintenance” means for your time and budget, then design clear zones and short, wide paths so you’re not constantly hauling gear. Choose composite decking or large-format pavers, and stick with powder-coated aluminum, stainless, or teak furniture plus solution-dyed, quick-dry cushions that wipe clean. Plant natives or drought-tolerant perennials, suppress weeds with cardboard plus 2–3 inches of mulch, and automate watering with drip irrigation and smart timers. Add LED lighting and weatherproof storage to keep everything tidy—there’s more you can apply next.
Start With Your Low-Maintenance Outdoor Priorities
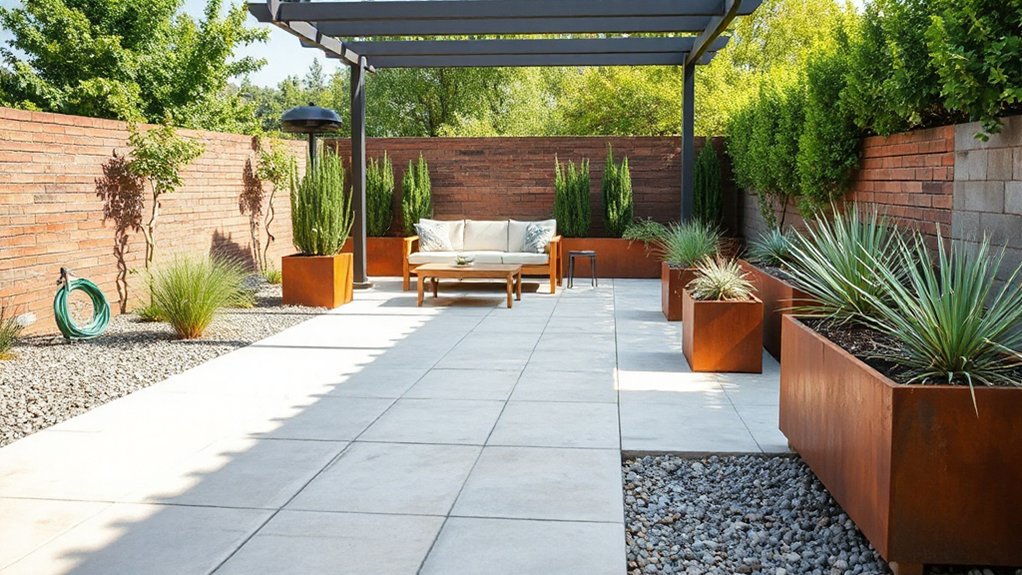
Before you pick furniture or plants, decide what “low-maintenance” actually means for your outdoor living space. Set clear limits on weekly time, budget, and how hands-on you’ll be with cleaning, watering, and seasonal resets. If you travel, prioritize automated irrigation, weatherproof materials, and storage that closes fast.
Define your must-haves: dining, lounging, cooking, or kid-friendly play. Then rank your tolerance for mess—fallen leaves, pollen, bird droppings, and mud. Choose finishes that hide wear and rinse clean.
If you want personality without constant fuss, use durable Garden art as a focal point instead of high-demand beds. If you value ecology, commit to a simple Wildlife habitat: one water source and a few native, resilient plants.
Design an Outdoor Layout That’s Easy to Upkeep
Once you’ve nailed down your low-maintenance priorities, design the layout to reduce daily touchpoints—fewer surfaces to sweep, shorter paths to hose off, and clear zones that don’t overlap.
Put cooking, dining, and lounging in a simple triangle so you’re not hauling gear across the yard. Keep high-traffic routes straight and wide, and leave buffer space around doors and gates to prevent bottlenecks and scuffed plantings.
Consolidate utilities—spigot, grill, storage—on one side to limit hoses and cords. Use raised planters or defined beds to contain soil and mulch creep.
Anchor focal points with durable Garden art you won’t need to move for cleaning. Add an outdoor soundscape with fixed speakers tucked under eaves, not portable units you’ll store daily.
Choose Low-Maintenance Outdoor Flooring Options
To keep your outdoor living space looking sharp with minimal effort, choose flooring that resists weather, stains, and fading.
You’ll get a sleek, modern finish with durable composite decking that won’t demand constant sanding or sealing.
For a classic, flexible look, you can install low-upkeep patio pavers that handle heavy use and let you replace individual pieces fast.
Durable Composite Decking
Why spend weekends sanding, staining, and sealing when composite decking delivers a clean, modern look with far less upkeep? You’ll get boards engineered to resist fading, splintering, and moisture damage, so your surface stays comfortable underfoot and consistent season after season.
Composite durability also means fewer repairs: no warped planks, minimal cracking, and better performance in freeze-thaw cycles.
To maximize decking aesthetics, choose wide-plank profiles and contemporary colors like driftwood gray or warm walnut, then match hidden fasteners for a sleek, screw-free finish.
You can rinse it with a hose and use mild soap for spills—no annual refinishing schedule.
Pick capped composite for extra stain resistance, and confirm slip ratings if you entertain around grills or pools.
Low-Upkeep Patio Pavers
Even if you love the look of natural stone, low-upkeep patio pavers give you the same upscale finish with fewer headaches. Choose concrete or porcelain pavers for consistent color, tight tolerances, and strong stain resistance. Favor larger-format, textured styles that hide grit and feel current without looking busy.
To keep maintenance minimal, insist on proper base prep during paver installation: compacted gravel, bedding sand, and edge restraints stop settling and weed gaps. Specify polymeric sand in the joints to lock everything in and reduce ants and blowouts.
Finish with targeted patio sealing on high-traffic or food zones, using a breathable, non-gloss sealer that repels oil and sunscreen. Then you’ll mainly sweep, rinse, and spot-clean—no sanding, staining, or splinter checks.
Choose Weatherproof Outdoor Furniture That Lasts
Since your patio furniture has to handle sun, rain, and temperature swings, choose pieces built with truly weatherproof materials—not just “outdoor” labels. Prioritize powder-coated aluminum, marine-grade stainless steel, or teak with tight grain; they resist rust, warping, and UV breakdown. Skip bargain steel that pits fast, and avoid softwoods that swell and split.
For low-maintenance style, mix streamlined aluminum frames with teak tops for Vintage charm that still feels current. Add Artistic accents through ceramic side tables, sculptural concrete stools, or weather-rated metal planters instead of fussy decor.
Check joinery and hardware: welded seams, capped feet, and corrosion-resistant bolts last longer. Buy stackable or modular pieces so you can store or rearrange quickly during storms.
Pick Easy-Clean Outdoor Cushions and Fabrics
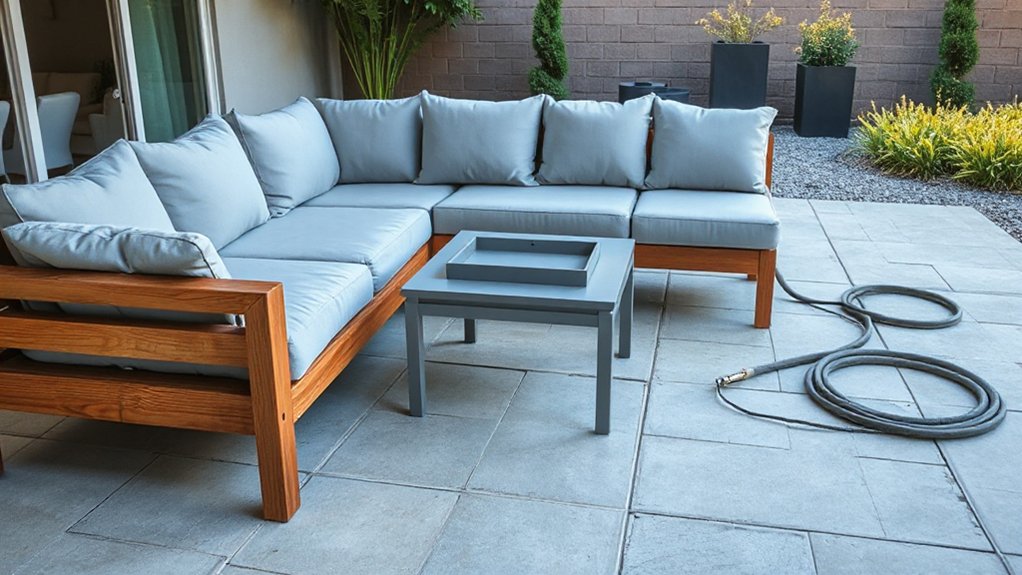
Choose weather-resistant fabrics like solution-dyed acrylic, olefin, or performance outdoor polyester so your seating stays crisp through sun, rain, and humidity.
Pair them with quick-dry cushion cores—reticulated foam or fast-draining polyester fills—so you’re not waiting days after a storm.
Then lock in low-maintenance style with stain-repellent finishes or protective coatings that let spills wipe off before they set.
Weather-Resistant Fabric Choices
When your outdoor seating has to handle sun, spills, and surprise storms, the fabric you pick matters as much as the frame. Choose solution-dyed acrylic or high-performance polyester blends; they resist fading and shrug off stains without feeling plasticky.
For Sun protection, look for UV-rated textiles and darker heathers that disguise wear while staying current.
Prioritize tight weaves for durability, but don’t ignore fabric ventilation—breathable constructions help prevent that clammy feel on hot days. Pick finishes that repel water and resist mildew, and confirm they’re bleach-cleanable for worry-free spot treatment.
Skip delicate textures and loose bouclés that trap grit. If you want a modern look, go with textured solids, small geometrics, or coastal stripes in neutral palettes—they hide dirt and pair with almost any frame or rug.
Quick-Dry Cushion Materials
Even if your fabric can take UV and spills, the cushion core decides whether your seat dries fast or stays swampy after a shower. For truly quick dry cushions, choose reticulated (open-cell) foam that lets water pass through instead of soaking in. Pair it with a breathable mesh bottom or drain grommets so moisture escapes, not lingers.
Skip dense indoor foams and fiberfill; they trap water and can compress fast in heat. If you want a plusher feel without the dry-time penalty, use a layered build: reticulated foam base with a thin, fast-draining wrap.
You’ll still want weatherproof fabrics, but prioritize construction details—zipper placement, vent panels, and elevated frames—so airflow does the work between uses.
Stain-Repellent Finish Options
Fast-drying foam keeps cushions from staying soggy, but stains can still set in if the surface treatment doesn’t hold up.
For true stain prevention, choose solution-dyed acrylics or high-performance olefin with a factory-applied fluorine-free DWR. You’ll get beading on spills without the slick feel of older coatings.
Check that the finish is woven in or bonded, not just sprayed on, because finish durability depends on UV and abrasion resistance.
Look for labels like “PFAS-free stain repellent,” “mold-resistant,” and “bleach cleanable” for busy patios.
If you already own cushions, refresh protection with a marine-grade fabric guard, then reapply after deep cleans. Always test on a hidden seam first.
Add Low-Maintenance Shade: Pergola, Sail, or Awning
Because full sun can turn a patio into a no-go zone, adding low-maintenance shade is one of the smartest upgrades you can make to your outdoor living space. Start by comparing shade options that match your layout and wind exposure.
An aluminum or vinyl pergola delivers a modern, architectural look with minimal upkeep; add a fixed polycarbonate roof for year-round outdoor sun protection without daily adjustments.
For a lighter, budget-friendly solution, tension a UV-rated shade sail—choose marine-grade hardware and a steep pitch so rain sheds fast.
Want push-button convenience? Install a retractable awning with solution-dyed acrylic fabric and a wind sensor; it’s trend-forward and practical.
Prioritize rust-proof fasteners and washable materials to keep maintenance simple.
Use Low-Maintenance Plants That Fit Your Climate
If you want an outdoor living space that looks polished without constant work, start with low-maintenance plants that actually match your climate and sun exposure. Check your USDA zone, summer heat, and winter lows, then pick proven performers for those conditions instead of forcing “Pinterest plants” to survive.
Prioritize native species; they’re adapted to your region’s rainfall patterns and local pests, so you’ll water and treat less. In hot, dry areas, lean into drought tolerant plants like ornamental grasses, lavender, salvia, and succulent ground-level accents.
In humid regions, choose mildew-resistant varieties and airflow-friendly spacing. Group plants by water needs, and place sun lovers where they’ll thrive.
You’ll get year-round structure, fewer replacements, and a cleaner, designer look.
Cut Weeding With Mulch, Gravel, and Groundcovers
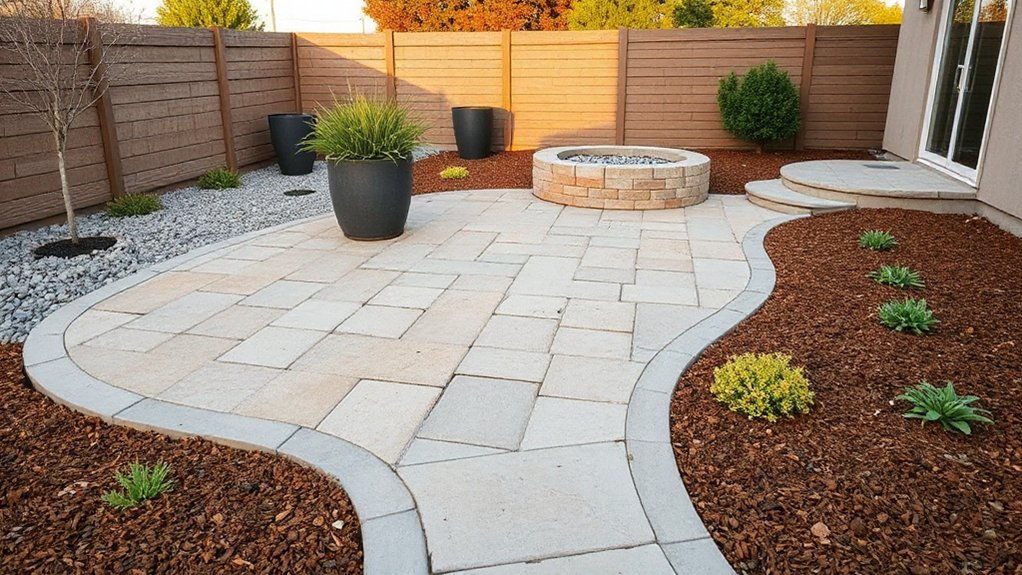
Lay down a 2–3 inch layer of mulch in your beds to block light and keep weed seeds from sprouting, while also sharpening the look of your outdoor living space.
Add gravel paths and crisp gravel borders to create clean lines and cut down on hand-pulling in high-traffic zones.
Finish with dense, low-growing groundcovers that knit the soil together and crowd weeds out for a modern, low-maintenance finish.
Mulch For Weed Control
How do you cut weeding down to a once-in-a-while chore instead of a weekly grind? Start by blocking light and smothering seedlings with a 2–4 inch mulch layer over clean, moist soil.
Skip the guesswork: lay overlapping cardboard or a breathable weed barrier first, then cover it completely so UV doesn’t break it down.
Choose the right mulch for your style and climate—shredded bark for slope stability, arborist chips for budget-friendly coverage, or cocoa-free fine mulch for a polished look.
Keep mulch pulled a few inches from stems to prevent rot and pests.
For smart mulch maintenance, top up annually, rake lightly to prevent matting, and spot-remove invaders before they root deeply.
Your beds stay tidy longer.
Gravel Paths And Borders
Because weeds love bare soil and shifting edges, a properly built gravel path or border gives them far fewer places to take hold while sharpening your outdoor layout. You’ll get the clean, modern look that’s trending in rock garden designs, plus less trimming around beds and patios.
For a path that stays put, you’ll:
- Excavate 3–4 inches, then compact the base so gravel won’t migrate.
- Lay permeable landscape fabric and edge with metal, stone, or pavers to lock lines in.
- Top with angular gravel, then set stepping stones flush to create stable, easy-walk lanes.
Keep gravel 2 inches away from plant crowns, and rake it back into place after storms. Refresh with a thin top-up every couple of years to maintain coverage.
Groundcovers That Suppress Weeds
Gravel paths and crisp edging handle weeds where you walk, but you’ll get the biggest payoff by filling open soil in beds with living groundcovers that crowd weeds out. Choose Groundcover varieties that match light and foot traffic: creeping thyme for sunny edges, sedum for hot, dry spots, ajuga for part shade, and native sedges for modern, meadowy looks.
Use Weed suppression techniques that stack: sheet-mulch with cardboard, add 2–3 inches of compost, then plant tightly on a staggered grid so leaves touch within a season. Water deeply the first month, then taper.
Top-dress with fine gravel or shredded bark between plugs to block germination until the canopy closes. Trim runners at borders to keep lines clean and maintenance low.
Set Up Drip Irrigation and Smart Timers
While your patio planters and beds may look low-maintenance, they’ll only stay that way if watering stays consistent—so set up drip irrigation paired with a smart timer to deliver slow, targeted moisture right at the roots. A drip system reduces evaporation and overspray, and it keeps foliage dry, which helps prevent disease.
Run 1/2-inch mainline along beds, tee off with 1/4-inch tubing, and place emitters at each plant’s dripline. Then program smart timers to match seasons and containers: shorter, more frequent cycles for pots; deeper, less frequent runs for in-ground beds.
To keep it truly hands-off, prioritize:
- Pressure regulator + filter
- Inline check valve
- Soil-moisture or rain-skip settings
Check leaks monthly and flush lines each spring.
Install Outdoor Lighting With Automatic Controls
After you’ve dialed in irrigation, lock in nighttime usability by installing outdoor lighting that runs itself. Choose low-voltage LED fixtures for long life and strong energy efficiency, then pair them with a transformer that supports dusk-to-dawn scheduling.
Add motion sensors on pathways, steps, and side entries so light appears only when you need it, boosting safety without wasting power.
Use smart controls to fine-tune scenes: set a dim baseline for ambiance, then trigger full brightness on motion or at set hours. Place warm 2700K–3000K LEDs to avoid the harsh, blue look that’s dated now.
Aim fixtures downward to cut glare and light pollution. Finally, label circuits and keep wiring tidy for quick troubleshooting later.
Add Outdoor Storage to Keep Clutter Hidden
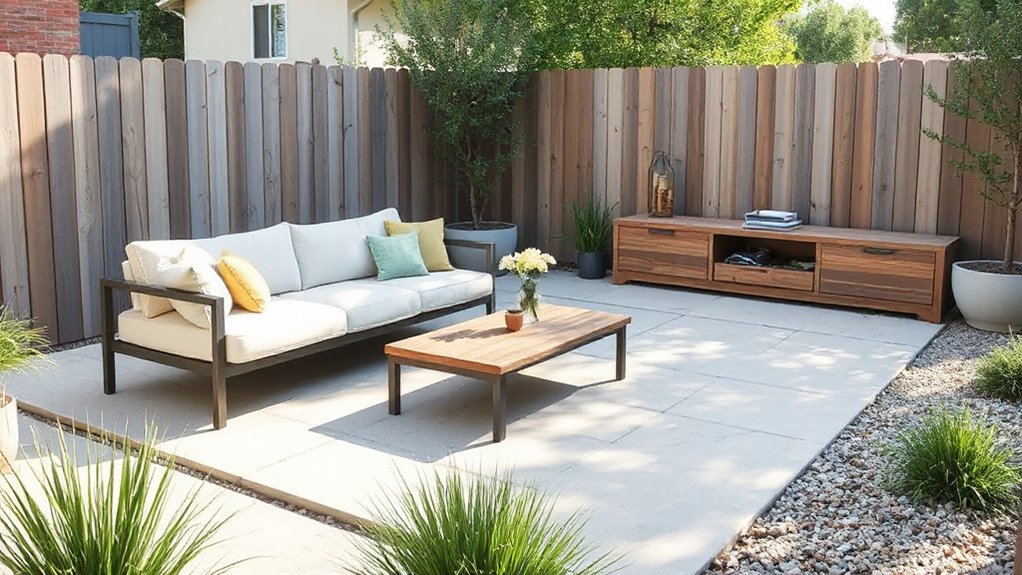
Because outdoor essentials pile up fast, you’ll keep your patio or deck looking intentional by adding storage that hides clutter without eating usable space. Prioritize outdoor storage that doubles as furniture: a deck box bench, an ottoman with a lid, or a slim console behind seating. Choose weatherproof resin, powder-coated metal, or teak so you don’t have to baby it, and look for gasketed lids to protect cushions and games.
For smart clutter management, assign zones and keep the most-used items closest to where you use them.
- Use vertical wall cabinets or a tall locker to stash tools and pool gear.
- Add under-seat bins or toe-kick drawers for small accessories.
- Install a lidded tote system with labels for grab-and-go organization.
Follow a 15-Minute Outdoor Cleaning Routine
Even if you’ve only got a sliver of time, a 15-minute outdoor cleaning routine keeps your patio or deck guest-ready and prevents grime from turning into a weekend project. Set a timer and work top to bottom.
Minute 1–5: Toss trash, return stray items to storage, and shake out cushions.
Minute 6–10: Quick-sweep debris, then spot-rinse spills with a hose or pump sprayer; skip full pressure-washing unless needed.
Minute 11–13: Wipe high-touch zones—tabletops, armrests, railings—with a diluted soap solution.
Minute 14–15: Reset outdoor décor: straighten rugs, align lanterns, and fluff pillows so it looks styled, not staged.
Finish with simple pest control: dump standing water, close bins, and check planters for ants.
Frequently Asked Questions
What Permits or HOA Approvals Are Needed for Outdoor Upgrades?
You’ll typically need city permits for structural work, electrical, plumbing, and major grading, plus HOA approval for visible changes. Check local Landscaping regulations and fencing requirements, submit plans early, and confirm setbacks and material rules.
How Can I Keep Mosquitoes and Pests Away With Minimal Effort?
Mosquitoes can detect you from 100 feet away, so block them fast: run a fan, dump standing water weekly, use Natural repellents, and add Pest proof plants like lavender and rosemary. Repair screens, seal gaps, refresh traps monthly.
What Budget Range Should I Expect for a Low-Maintenance Outdoor Makeover?
You should budget $2,000–$8,000 for a low-maintenance outdoor makeover; simple Landscaping ideas keep costs down. Add smart Lighting options for $200–$1,500. Premium hardscaping, irrigation, and furniture can push totals to $15,000+.
How Do I Protect My Outdoor Space From Wind, Hail, or Heavy Snow?
Assume Mother Nature’s on your guest list with a wrecking ball: install wind barriers like slatted screens, add hail protection via impact-rated pergola panels, and anchor furniture. Use snow-load-rated structures, sweep accumulations, store cushions.
Which Outdoor Appliances Are Easiest to Maintain and Clean?
You’ll maintain stainless steel grills, electric griddles, and countertop pizza ovens easiest; they wipe down fast. Pair with outdoor furniture in powder-coated aluminum. Use smart cleaning techniques: removable drip trays, nonstick plates, and simple covers.
Conclusion
You’ve set yourself up for an outdoor space that practically runs on autopilot. By prioritizing easy-care layout choices, durable flooring, weatherproof furniture, quick-clean fabrics, and smart systems like drip irrigation and automated lighting, you cut weekly chores down to minutes. Add hidden storage to keep surfaces clear, then stick to a simple 15-minute reset. Can you picture stepping outside to a spotless patio that’s always ready, with no weekend work?





