
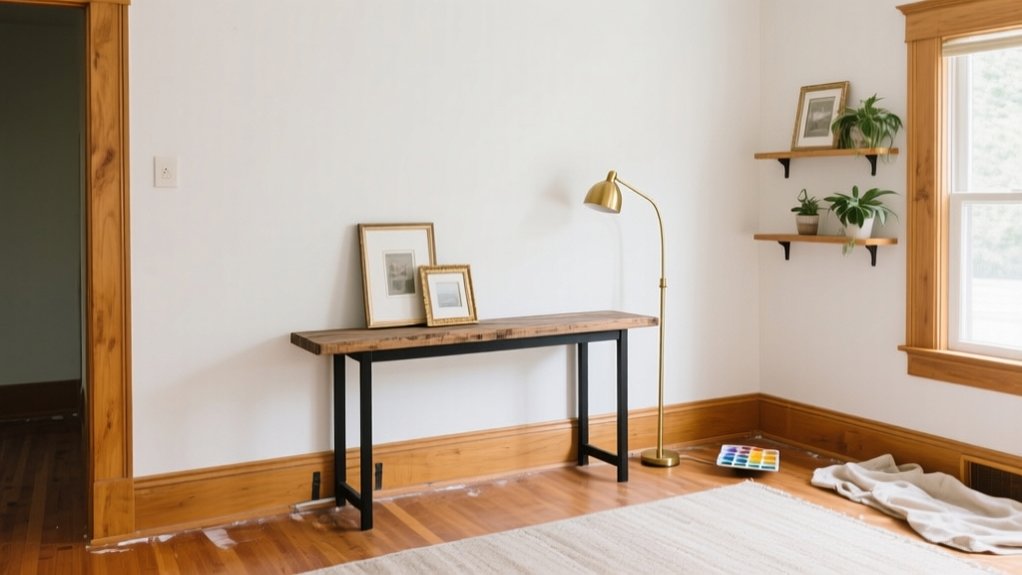
Start by setting a firm budget with a 10% contingency, then pick three high-impact upgrades: LED lighting, a programmable thermostat, and new hardware. Fix leaks, unsafe wiring, and poor insulation first so you don’t waste money on damage later. Use paint for the biggest visual payoff—prep well, prime, and choose modern neutrals. Swap dated fixtures, add dimmers, and update faucets or cabinet pulls. Refresh floors by refinishing, painting, or peel-and-stick, and boost curb appeal with power-washing and a bold door color. Keep going for step-by-step priorities and smart shortcuts.
Set a Budget and Pick Top 3 Upgrades
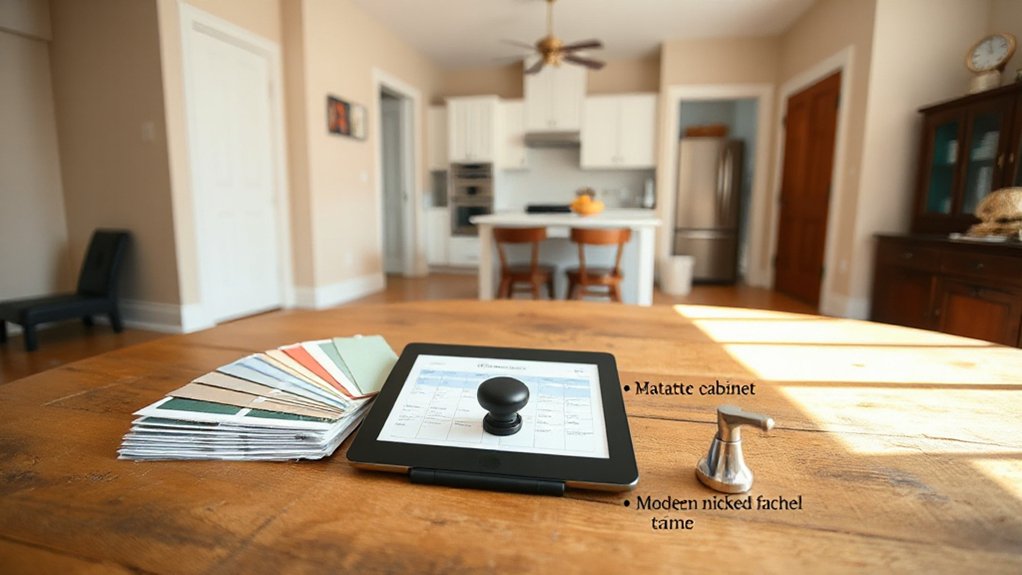
Before you buy a single fixture or can of paint, set a hard budget and decide what “modern” means for your house. Put your number in writing, then split it into 10% contingency, 60% materials, and 30% labor or tool rentals.
Price-check online, confirm lead times, and don’t start any project until you’ve listed every required part down to screws and adapters.
Next, pick your top 3 upgrades and ignore the rest. Choose changes with high visual impact and measurable energy efficiency: LED lighting throughout, a programmable thermostat, and one room’s hardware/fixtures refresh.
Add a low-cost Smart home starter (thermostat, bulbs, or a hub) only if it fits your plan. Track every receipt and stop at your cap.
Fix Leaks, Wiring, and Insulation First
Before you buy new finishes, you’ll save more by fixing water leaks fast, since moisture can rot framing, ruin drywall, and spike your utility bills.
Next, update unsafe or overloaded wiring so you don’t pay later for tripped breakers, damaged appliances, or fire risk.
Then tighten up insulation and air sealing to cut heating and cooling costs and make every future upgrade work better.
Prioritize Water Leak Repairs
Since water finds every weak spot in an older house, you’ll save the most money by tackling leaks first—then checking any nearby wiring and damp insulation that can turn a small drip into rot, mold, or an electrical hazard.
Start with a quick plumbing inspection: look under sinks, behind toilets, around the water heater, and along supply valves for mineral stains, swollen cabinets, or musty odor.
Read your water meter, shut off all fixtures, and confirm the dial doesn’t creep—an easy way to spot hidden leaks.
Replace worn flappers, tighten compression nuts, and swap cracked washers; keep PTFE tape and a bucket handy.
Seal tub and window joints with fresh caulk.
These small fixes support water conservation and reduce damage before repairs get expensive later.
Upgrade Wiring And Insulation
Even if your outlets still work, outdated wiring and patchy insulation can quietly drive up bills and raise fire risk, so it pays to address them right after you’ve stopped water intrusion.
Start by having an electrician inspect the panel, grounding, and any aluminum or knob-and-tube runs. Replace the worst circuits first: kitchen, bath, HVAC, and laundry.
While walls are open, add Smart wiring: run Cat6, add a few extra outlets, and prewire for smoke/CO interconnected alarms to avoid future demolition.
Then seal and insulate: caulk top plates, foam rim joists, and blow cellulose into attics for high R-value per dollar.
Use acoustic insulation in interior walls around bedrooms and baths to cut noise without expensive remodels.
Use Paint for the Biggest Modern Payoff
When you need the biggest visual upgrade for the least money, paint delivers fast. Start by choosing modern color palettes: warm whites, soft greiges, muted greens, or near-black accents. Keep undertones consistent from room to room so the house feels intentional, not patched together.
Prep is where savings stick. Patch holes, degloss trim, caulk gaps, and sand rough edges so you don’t waste coats. Use quality primer on stained wood or water marks, then buy midgrade paint in a washable eggshell for walls and satin for trim.
Apply smart paint techniques: cut in clean lines, roll in a “W” pattern, and keep a wet edge to avoid lap marks. Paint dated oak cabinets or brick for a clean reset.
Budget Lighting Upgrades That Look Current
After paint, lighting is your fastest, most budget-friendly way to make an older home feel current.
Swap in LED fixtures where you need better light and a cleaner look, and you’ll cut energy use at the same time.
Then update worn switches with modern dimmers so you can control brightness and mood without rewiring the whole room.
Swap In LED Fixtures
If your rooms still rely on dated flush mounts or yellowing bulbs, swapping in LED fixtures is one of the fastest upgrades that makes an older home look current without a big bill. You’ll get better color, less heat, and immediate energy efficiency gains, especially if you replace high-use hallway and kitchen lights first.
Focus on fixture placement so light lands where you work and walk, not in the middle of the ceiling only.
- Choose 2700K–3000K for warm, updated light; 3500K for crisper task areas.
- Match lumens to the room: 800–1,600 for bedrooms, 2,000+ for kitchens.
- Use slim LED disks for low ceilings; use simple semi-flush fixtures to modernize.
- Check box compatibility, wire condition, and ceiling box rating before installing.
Update Switches And Dimmers
Because switches sit at eye and hand level, updating them gives your rooms a surprisingly modern feel for very little money. Replace yellowed toggles with crisp decorator (rocker) switches, and match plates in one finish for a cleaner look.
In kitchens and hallways, add dimmers so you can soften light at night and cut wattage, boosting energy efficiency without changing fixtures. Check bulb compatibility: LEDs need LED-rated dimmers to prevent flicker or buzzing.
If you want Smart home features, choose a single smart dimmer for your most-used circuit and keep the rest standard to control costs.
Always shut off the breaker, verify with a non-contact tester, and tighten terminal screws instead of back-stabbing for reliability.
Modern Hardware Swaps (Doors, Cabinets, Faucets)
While a full remodel can blow your budget fast, swapping dated hardware gives you a modern look for a fraction of the cost. Focus on high-touch pieces you see every day, and you’ll make the whole house feel newer without tearing anything out. Choose finishes that match across rooms (matte black, brushed nickel, or warm brass) so the update looks intentional.
- Doors: Replace knobs with lever handles; re-use existing bore holes and add modern hinges if they’re squeaky.
- Cabinets: Swap pulls, then align them with a simple jig for consistent spacing.
- Faucets: Pick a WaterSense model to boost Energy efficiency and cut utility costs.
- Smart home: Add a touchless or voice-ready kitchen faucet for convenience without big plumbing changes.
Refresh Floors: Refinish, Paint, or Peel-and-Stick
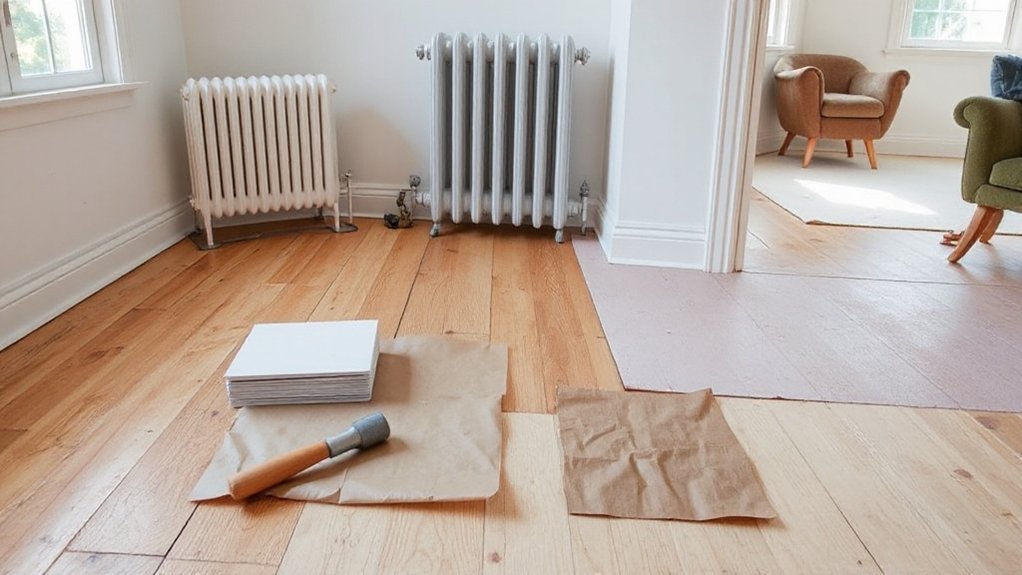
Even when your home’s bones feel solid, tired floors can date every room fast, so start by choosing the cheapest refresh that fits what’s already there.
If you’ve got hardwood under carpet, rent a sander, spot-repair gouges with filler, and seal with water-based polyurethane for low odor and quick cure.
For plywood or old vinyl, floor paint can look surprisingly modern: scrub with TSP, degloss, prime, then use durable porch-and-floor enamel.
Simple paint techniques like taped stripes or a stencil “rug” add style without extra materials.
If your subfloor’s uneven, skip paint and use peel-and-stick planks or tiles; stagger seams, roll firmly, and add a thin underlayment only where needed.
Compare flooring options by thickness, wear layer, and return policy.
Budget Kitchen Upgrades That Look New
If your kitchen feels stuck in another decade, you can make it look new without a full remodel by focusing on the high-impact surfaces you touch and see every day. Keep your Vintage charm while sharpening classic aesthetics with small swaps that read intentional, not temporary.
- Swap hardware: Match finishes (matte black, brushed nickel) and choose consistent knob pulls for every door and drawer.
- Update lighting: Replace a dated fixture with an affordable semi-flush or pendant. Use warm LEDs (2700–3000K).
- Refresh cabinets: Clean, degloss, then paint or re-stain. Add soft-close hinges for a “new” feel.
- Upgrade the faucet: A pull-down model instantly modernizes the sink zone. Reuse existing holes with a deck plate.
Cheap Bathroom Updates That Feel Modern
Because bathrooms pack a lot of visual clutter into a small footprint, a few low-cost swaps can make yours feel modern fast without moving plumbing or ripping out tile.
Start with lighting: replace a dated globe with a slim LED vanity bar (3000K) and add a dimmer.
Swap the mirror for a simple black or brushed-nickel frame.
Change the faucet and showerhead to matching finishes; keep any solid Vintage fixtures you love, but remove busy trim.
Update hardware, towel bars, and the toilet lever for consistency.
Re-caulk the tub, clean grout, then use a grout pen for crisp lines.
Paint walls in a soft neutral, and hang one large print.
Finish with Retro decor—striped towels or a bold soap dish—kept minimal.
Budget Curb Appeal That Modernizes Fast
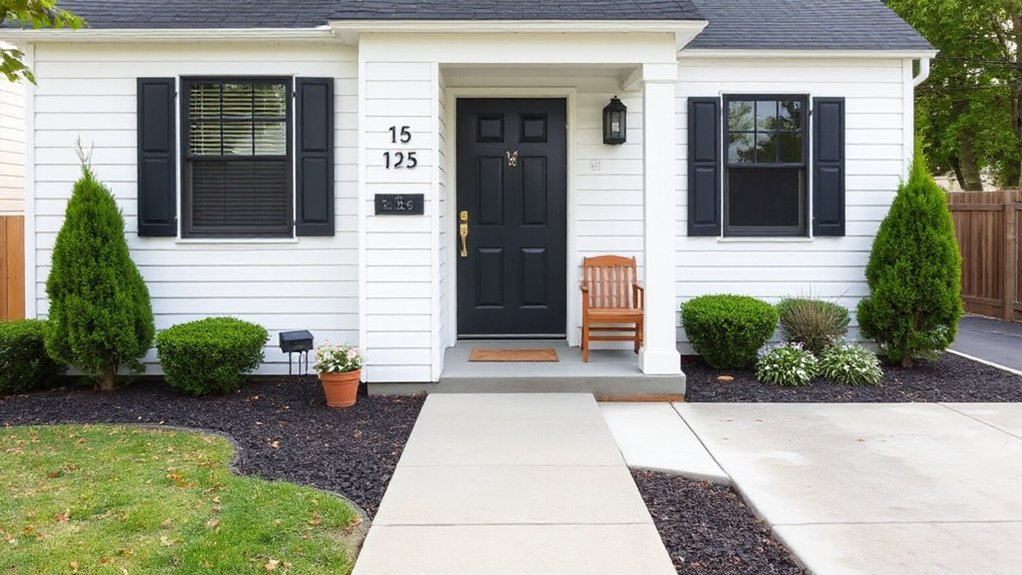
While you can’t change your home’s age overnight, you can make it read “modern” from the street with a handful of cheap, high-impact fixes: start by power-washing the siding, walkway, and porch; then refresh the front door with paint (matte black, deep navy, or warm greige) and a new, simple lever handle in one consistent finish.
Next, tighten everything else you see daily. Spend where it shows, save where it doesn’t:
- Swap dated house numbers for large, clean-lined metal ones.
- Add outdoor lighting: one matching pair of sconces or a single bold fixture.
- Simplify landscaping design with edged mulch beds, 2–3 repeat shrubs, and a straight path.
- Replace torn screens, update the mailbox, and paint or stain railings.
Frequently Asked Questions
Do I Need Permits for Cosmetic Renovations Like Paint and Hardware Swaps?
Usually you don’t need permits for paint or hardware swaps, but you should verify local permit requirements and building codes. If you touch electrical, plumbing, or structural parts, you’ll likely need permits. Call your city.
Which Upgrades Add the Most Resale Value in Older Homes?
Measure twice, cut once: You’ll boost resale most with kitchen and bath refreshes, curb appeal, energy-efficiency upgrades, and repaired roofs/HVAC. Prioritize Historical preservation and Architectural authenticity—restore trim, refinish floors, match period fixtures—buyers pay for care.
How Can I Modernize Without Removing Asbestos, Lead Paint, or Knob-And-Tube?
You can modernize by encapsulating hazards: seal asbestos areas (Asbestos safety), keep surfaces intact, and avoid sanding; skip Lead paint removal unless deteriorating. Upgrade fixtures, lighting, and trim, add GFCIs, and patch neatly.
What’s the Cheapest Way to Improve My Home’s Energy Efficiency Fast?
You’ll get the fastest, cheapest gains by air-sealing drafts, adding attic Insulation upgrades, and tuning your HVAC. Use weatherstripping and caulk first; delay Window replacements unless yours leak badly—then choose efficient inserts.
How Do I Balance DIY Projects With Hiring a Professional on a Budget?
You balance DIY with pros by using budget planning: DIY cosmetic, low-risk tasks, but hire licensed help for electrical, gas, structural, and permits. Prioritize DIY safety, get multiple quotes, and phase projects to avoid rework.
Conclusion
Think of your house like an old watch you’ve inherited. You don’t replace it; you tune it. You set a firm budget, pick three changes that matter, and fix the hidden stuff first—leaks, wiring, insulation—so it keeps good time. Then you polish what everyone sees: fresh paint, updated lighting, and simple hardware swaps. You refresh floors, sharpen the kitchen and bath, and tidy curb appeal. Small, steady tweaks make it feel new.





