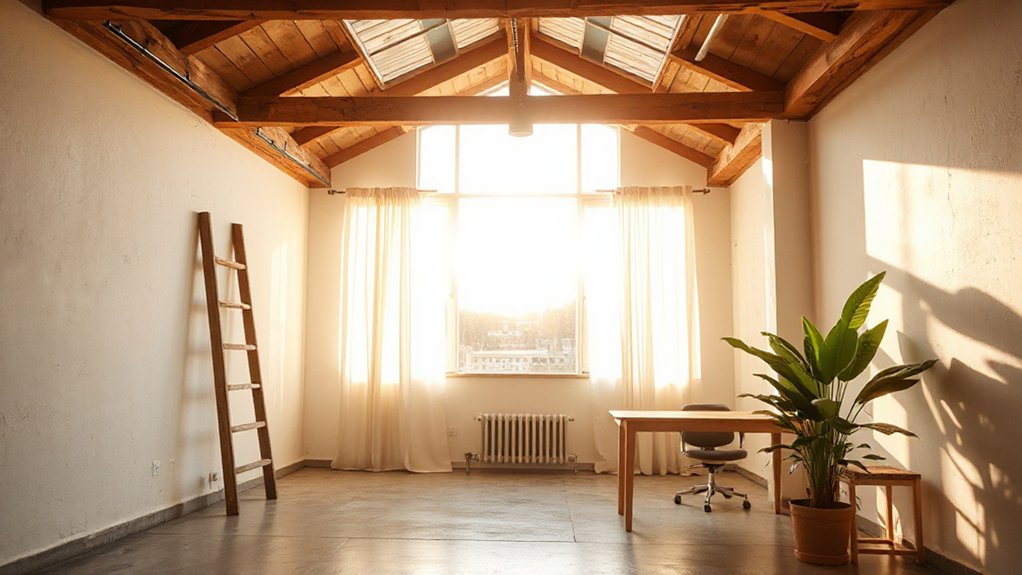
You want more daylight in your loft without overheating or glare. Start with skylights, dormers, or clerestory windows placed to chase sun paths and key activity zones, then finish with light-colored surfaces and reflective ceilings to spread what you gain. Use shading and smart controls to keep heat in check. The next steps balance form, function, and efficiency, but you’ll want specifics for your space before committing. Let’s map out your best options.
Why Loft Daylight Matters: Benefits You’ll Feel in a Week
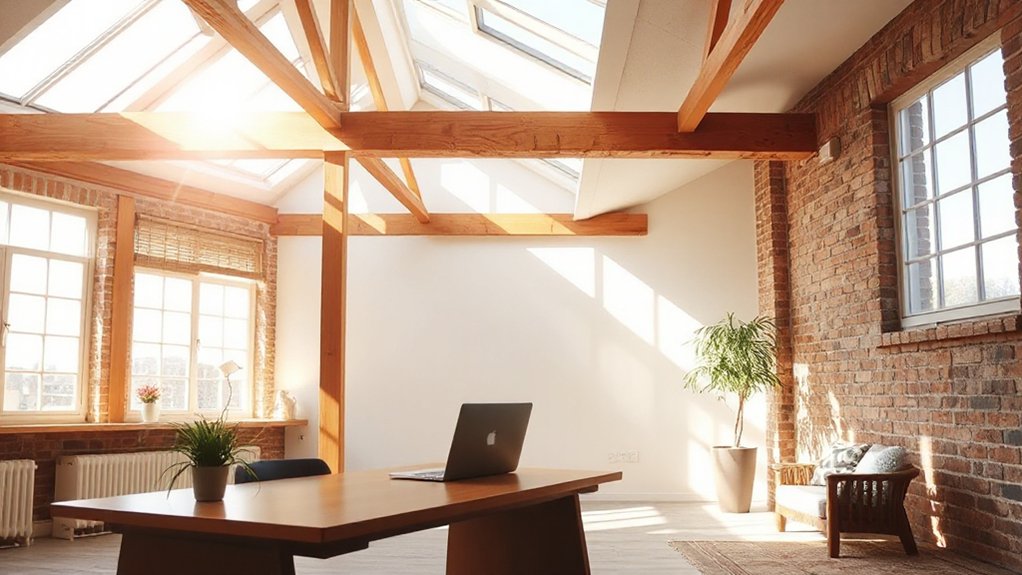
Daylight in a loft or attic transforms the space quickly, improving mood, focus, and overall usability. You’ll notice sharper task lighting, reduced eye strain, and quicker *progressions* between work, rest, and play.
Over the course of a week, consistent daylight exposure supports circadian alignment, which boosts alertness during work hours and aids sleep after.
Natural ventilation becomes more effective when daylight drives window operation and stack effects, helping regulate temperature without excessive cooling loads.
You’ll also see pronounced gains in energy efficiency: daylight diminishes dependence on artificial lighting, lowers electricity use, and reduces HVAC cycling by stabilizing interior temperatures.
In turn, you’ll experience steadier comfort, fewer seasonal shifts, and a more productive loft environment.
Quick-Win Daylight Tactics You Can Do Today
You can boost daylight today with quick window placement tweaks that maximize natural light flow. Pair this with reflective surface tricks—brighten walls, ceilings, and furnishings to bounce light deeper into the space.
Implement these steps now for an immediate, measurable improvement in loft illumination.
Quick Window Placement
Strategically placing windows can dramatically boost natural light in a loft or attic. You should map light paths from primary light sources to seating and work areas, prioritizing unobstructed sightlines and evenly distributed brightness.
Opt for vertical or clerestory openings to capture dawn and afternoon sun without glare; consider operable casements for seasonal venting.
In narrow footprints, use hip-to-pitch adaptations or skylight inserts where roof angles permit, ensuring water ingress is blocked by proper flashing.
Choose a window frame with low thermal bridging and compatible glazing, aiming for high visible transmittance and low solar heat gain when appropriate.
For retrofit, assess insulation materials around openings to preserve R-values; seal gaps with backer rod and exterior-grade caulk to prevent drafts.
Reflective Surface Tricks
Reflective surfaces can instantly brighten a loft or attic by swapping dull walls for high-contrast, light-loving finishes. You’ll maximize daylight when you select bright, smooth materials with minimal texture, reducing absorption and creating stronger light diffusion.
Use a white or pale neutral base and introduce specular accents—glass, polished metal, or glossy tile—on ceilings and secondary walls to bounce light deeper. Place reflective surfaces opposite windows to create multiple bounce paths, effectively widening the daylight footprint without additional fixtures.
Keep gaps and framing narrow to minimize shadow-casting edges; flush-mounted panels work best. For practicality, test finish reflectance in a small area before full application.
Maintain color consistency across surfaces to prevent color drift and to preserve uniform diffusion throughout the space.
Loft Window and Skylight Placements: Choosing the Right Openings
Choosing the right loft window and skylight openings starts with understanding lighting goals, room function, and roof layout. You’ll map each opening to daylight zones, avoiding glare and heat buildup while preserving usable wall space.
Position skylights to align with main work or living areas, using south or east exposure for consistent morning light. Consider curb height and flashing to prevent leaks.
For privacy concerns, place high, fixed or top-hung units where passersby or adjacent rooms won’t see into the space. Employ frosted or laminated glazing if you share walls with public corridors.
In historical architecture, maintain proportional window sizes and spacing to respect original rhythm while integrating modern ventilation.
Balance insulation, shading, and maintenance access to sustain performance over time.
Use Color and Surfaces to Amplify Daylight
Color and surface choices can dramatically boost daylight in a loft or attic. You can optimize reflection by selecting high‑albedo paints and finishes on walls and ceilings, favoring neutrals with warm undertones to reduce color creep.
Use color psychology to guide accents; cool whites, pale blues, or soft grays can enhance perceived brightness, while small, strategic warm accents prevent sterile atmospheres.
Surface textures matter: matte walls minimize glare, while polished or satin surfaces reflect more light without hotspots. Incorporate subtle textures such as lime plaster, fine plaster, or woodgrain in limited areas to diffuse daylight and create depth.
Keep floor finishes lighter than furnishings to maintain a continuous glow, and avoid dark, heavy textiles that absorb light.
Smart, Daylight-Friendly Layout and Zoning
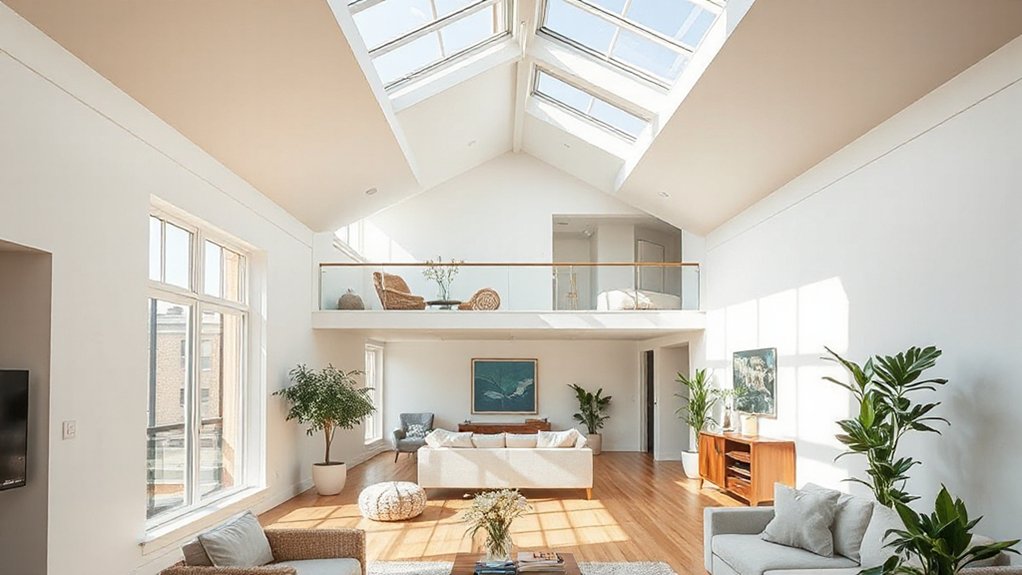
To exploit daylight effectively, plan a layout that emphasizes open sightlines, strategic zones, and direct light paths. Position primary living areas along daylight-rich walls and maintain a clear central corridor to preserve depth perception. Use a linear furniture arrangement that avoids obstructing skylight throws and mirrors natural brightness across rooms.
Zone functions with strict boundaries: work or reading nooks near south or east exposures, relaxing spaces adjacent to glazing for quick daylight access. Integrate privacy solutions that don’t block sightlines—sliding screens, frosted glass, or selective plants—so you retain openness while controlling sightlines.
Keep circulation clear and avoid oversized furniture that fragments light. Install modular storage to reduce clutter, enhancing reflective surfaces and maximizing perceived brightness throughout the attic. Regularly reassess zones as light shifts with seasons.
Troubleshooting Daylight Challenges: Glare, Heat, and Uneven Light
If glare, heat, and uneven daylight threaten comfort, identify each issue by source—glazing type, orientation, and shading—before applying targeted fixes.
You assess glazing for high-contrast glare, then adjust shading to temper sun angles without sacrificing daylight.
Orientation reveals hot-summer exposure; counter with reflective coatings, dynamic shading, or exterior louvers.
For uneven light, balance with interior diffusion and zoned glazing that front-loads daylight where needed.
Implement targeted fixes first, then supplement with artificial lighting that complements natural light, preserving color accuracy.
Window treatments should be chosen to modulate transmitted light across the spectrum, reducing hotspots while maintaining brightness.
In practice, pair operable shades with low-e or spectrally selective glass and smart controls to sustain comfortable daylight levels throughout the day.
Frequently Asked Questions
How Much Natural Light Is Enough for a Loft Space?
You’ll want at least 300-400 lux during daytime for a loft, depending on use. Consider decorative window options for light diffusion, and address privacy considerations with frosted glass or textured films to balance openness with discretion.
What Is the Best Glazing for Loft Daylighting?
You should choose glazing options with high SHGC and low U-value for loft daylighting, like double-glazed or low-emissivity panes, while matching window treatments to control glare and heat. You’ll optimize energy and comfort through precise, reflective decisions.
Can Skylights Cause Heat Loss in Winter?
Yes, skylights can cause heat loss in winter unless you minimize it; use solar heat gain-friendly glazing and enhance insulation techniques to reduce cold drafts while capturing excess warmth when sunny.
How Do I Prevent Skylight Leaks Long-Term?
Did you know 60% of skylight leaks stem from improper flashing? You prevent leaks long-term by proper roof venting and insulation techniques, sealing joints, installing drip edges, and maintaining flashing regularly to adapt to temperature changes.
Do You Need Permits for Skylight Installation?
Yes, you generally need permits for skylight installation. Check local building codes and make certain structural support is addressed; inspections may verify proper framing, flashing, and weatherproofing to avoid future leaks.
Conclusion
You’re the captain steering a lighthouse, and your loft the fogful harbor. Daylight is your steady beacon, toggling with shutters and shades. When you place skylights like sails, and orient clerestories to the sun’s track, glare thins and warmth threads through. Reflective walls become the harbor’s mirrors, diffusing every ray. If heat spikes, you row back with smart controls. Sailors indoors breathe easier, spaces brighten, and your attic becomes a precise instrument for light.