
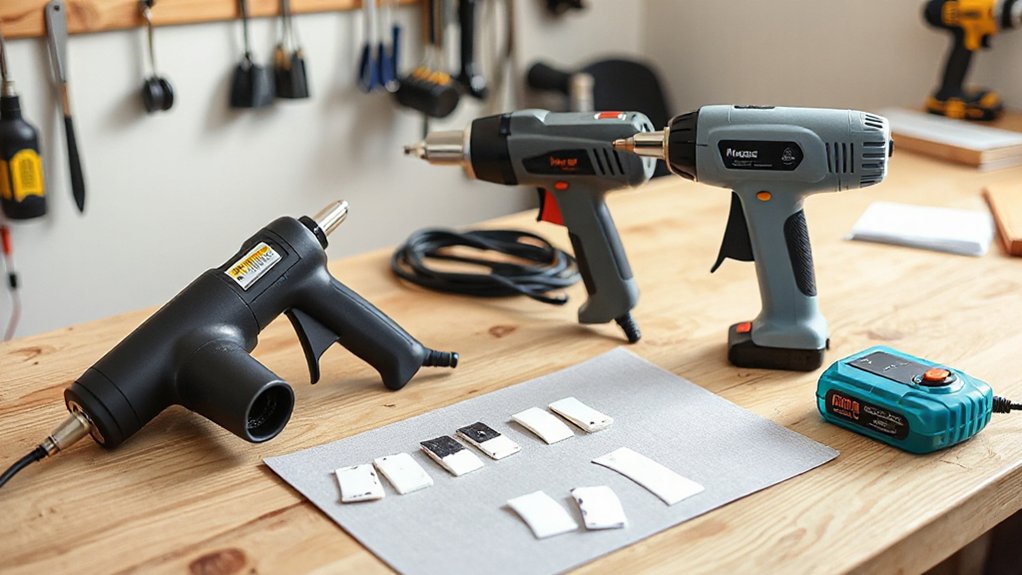
When comparing heat guns for home projects, focus on power, temperature control, nozzle options, and safety features. Look for models with a broad, fine-tunable range, steady heat, and a useful duty cycle for longer tasks. Consider nozzle kits that fit your common jobs, plus built-in overload protection and a stable stand. Battery-free operation isn’t essential, but reliability and balanced ergonomics matter. If you want clearer criteria and real-world examples, you’ll discover more practical guidance below.
Decide Before You Buy: Key Criteria for Every Heat Gun
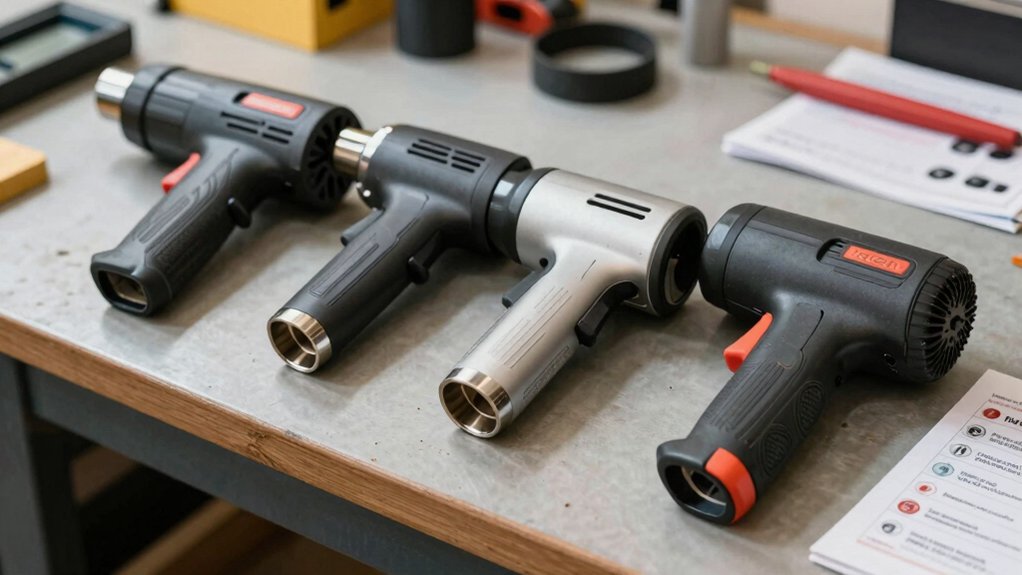
When you’re choosing a heat gun, start by identifying your core tasks and the features that will matter most for each one.
For general use, focus on performance ranges, steady heat delivery, and duty cycle.
For precision tasks, prioritize a stable nozzle, variable temperature, and a fast cool-down.
Compare ergonomic grip for comfort during extended sessions and note the noise level you can tolerate in workshops.
Durability matters, so assess build quality and warranty.
Safety features, like a hot-air reset and thermal cutoffs, reduce risk.
Consider weight and balance, especially if you’ll hold the tool for long periods.
Finally, align cost with performance across tasks, ensuring you get reliable power without overpaying.
What a Heat Gun Does for DIY Projects (and What It Doesn’t)
Heat guns are versatile tools for DIY projects, delivering controlled heat for tasks like removing paint, softening adhesives, shrinking tubing, and bending plastic. You’ll value their precision when you need steady heat without scorching surrounding areas.
What a heat gun does well includes accelerating paint stripping, easing vinyl wrap work, and thawing frozen seams, all while maintaining control over the treated surface. It isn’t a substitute for proper solvent methods or structural repairs, and misuse can warp materials or release fumes.
For performance, you’ll consider how heat transfer efficiency supports fast workflows and consistent results. In terms of insulation, a properly directed heat gun can improve assembly gaps, but improper use risks damaging thermal insulation.
Choose models with even heat distribution to optimize heat transfer without overexposure.
Temperature, Airflow, and Nozzles: How They Shape Results
You’ll see how Temperature Control Impacts results, guiding how quickly materials heat and how evenly they respond.
Airflow Patterns Influence curing, shaping how much heat reaches edges versus centers.
Nozzle Configurations Effects matter, because different tips concentrate or spread heat to suit each task.
Temperature Control Impacts
Temperature control is a key factor in how well a heat gun performs on home projects: higher, steadier temperatures speed up material removal or bending, while precise adjustments protect edges and prevent scorching. You’ll notice that heat distribution matters: even heat across a surface yields fewer hot spots and cleaner results, whereas erratic output risks glazing or scorching.
Temperature stability matters too: tools with smooth micro-adjustments reduce overshoot, preserving finish quality while maintaining flow. When comparing models, consider whether the control dial or digital setting holds a steady target under load, not just in idle.
Consistent control reduces rework and improves efficiency. Overall, precise temperature, coupled with reliable heat distribution, accelerates tasks without compromising edge integrity or durability.
Airflow Patterns Influence
Airflow patterns can make or break heat-gun results just as temperature does. You’ll see how airflow influence governs performance across models, not just speeds.
When you compare units, assess flow stability, nozzle compatibility, and the steadiness of air delivery under load. Pattern effects matter: uniform blows create predictable heating, focused jets accelerate material thinning, and erratic streams risk scorching or incomplete work.
A machine with consistent, controllable flow helps you meter heat precisely, reducing cycle times and rework. Pay attention to peak CFM and how it holds under higher duty.
In decision terms, prioritize power providers that maintain steady velocity without surge. Your goal is measurable outcomes: faster shaping, cleaner finishes, repeatable results driven by reliable airflow patterns.
Nozzle Configurations Effects
Nozzle configurations shape heat-gun results by guiding both temperature delivery and air motion. You’ll notice that different nozzle shapes focus or diffuse heat, changing how quickly you heat metal, paint, or plastic. Narrow, focused nozzles raise surface temperatures faster but risk scorch, while wide or conical nozzles spread heat more evenly, reducing hotspots.
Material choice matters too: nozzle materials with higher thermal stability resist deformation and maintain consistent gaps for reliable airflow. When you swap nozzle shapes, you alter airflow velocity and heat concentration, influencing penetration depth and control.
Durable nozzle materials help sustain performance under heavy use, and compatible shapes ensure secure sealing to prevent leaks. Consider your task’s precision needs, then pair nozzle shapes with robust nozzle materials for ideal, repeatable results.
Picking Nozzles and Attachments That Save Time
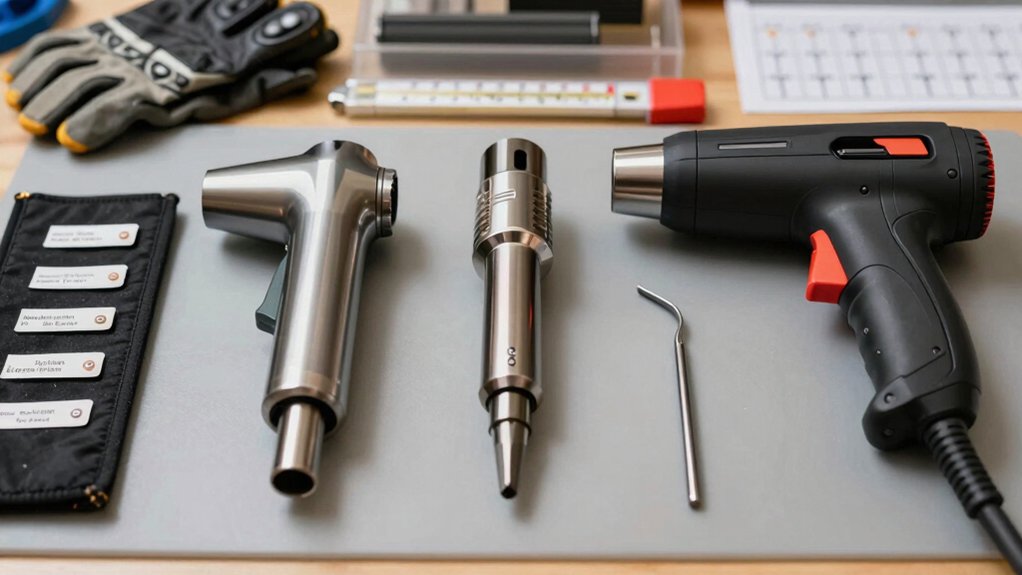
Choosing the right nozzles and attachments can save you real time on every project; they optimize heat delivery and make tasks like stripping paint, drying surfaces, or shaping plastic faster and more predictable.
For speed, prioritize nozzle selection that concentrates or broadens heat as needed, and pair it with attachments that fit your model for reliable performance. Compare options by airflow, temperature stability, and edge control; the best kits minimize pauses to swap parts.
Attachment compatibility matters: ensure adapters seal securely and don’t misalign with the nozzle head. Avoid bulky extras that slow you down. Prefer modular sets with clearly labeled functions and durable materials.
In practice, test a few configurations on sample spots to confirm efficiency gains before committing full-site use.
Read the Heat Gun Spec Sheet (What the Numbers Really Mean)
When you read the heat gun spec sheet, start with the temperature range to see what you can safely heat and what might cause damage.
Compare the CFM values to gauge airflow and drying speed, since higher airflow often means faster results but more heat exposure.
Look at how the numbers relate to real tasks, so you choose a model that fits your projects without overdoing it.
Reading Temperature Range
Reading the temperature range on a heat gun’s spec sheet is essential to match the tool to your project. You’ll compare models by their temperature limits and how they translate to real tasks.
Look for a broad heat range that covers delicate vinyl molding and tougher paint stripping, without overshooting your material. Note the minimum setting for slow, controlled heating, and the maximum for rapid, high-heat applications.
Pay attention to step increments—finer steps offer smoother control and reduce scorching risk. Some guns label observed range as continuous or adjustable, others show fixed presets; both ways you’ll want consistent performance across uses.
In short, a versatile heat range gives you power with precision, letting you tailor heat to each job without wasted effort.
CFM and Temperature Data
In the spec sheet, CFM (cubic feet per minute) measures how quickly a heat gun moves air, which affects heat distribution and cooling after use.
The temperature data shows the range and stability you’ll get at each setting. Higher CFM improves heat distribution across surfaces, reducing hot spots and speeding tasks, but it can raise power draw.
Compare max temps to assess stability under load; a tighter temp spread means less edging between settings and more consistent results.
Look for efficiency indicators, like duty cycle and peak versus sustained temperatures, to gauge power efficiency.
More CFM isn’t always better; matching CFM to project needs minimizes energy waste while delivering precise control and decisive performance.
Choose models with predictable cooling and accurate temperature regulation for reliable, pro-grade results.
Top Use Cases: Stripping Paint, Bending Plastics, and Loosening Glue
Heat guns excel in three common home-improvement tasks: stripping paint, bending plastics, and loosening glue. You’ll evaluate each use for efficiency, control, and speed.
For paint stripping, prioritize higher heat, steady hand, and even motion to avoid scorching substrates. Faster cycles reduce scorch risk but require vigilance on edges.
When bending plastics, look for precise temp presets and responsive airflow to prevent bubbling or cracking. A narrow nozzle helps direct heat.
Loosening glue benefits from consistent warmth and quick material release, minimizing residue.
Across tasks, compare heat stability, duty cycle, and accessory variety to sustain performance.
Key considerations include Heat gun safety and Paint stripping――opt for models with overload protection, stable stands, and ergonomic handles to maintain power without fatigue.
Safety Essentials for DIY Heat-Gun Work
You should use heat gun safety gear, including eye protection and heat-resistant gloves, to reduce injury risk.
Learn proper handling techniques, like keeping the nozzle away from yourself and monitoring temperature to avoid burns or damage.
Create a safe work environment with a stable surface, good ventilation, and a clear area free of flammable materials.
Heat Gun Safety Gear
When tackling DIY heat-gun tasks, selecting proper safety gear is essential to prevent burns, eye injuries, and accidental fires. You’ll compare options by protection level, comfort, and durability, not hype.
Start with a sturdy pair of heat-resistant gloves and safety glasses with side shields to guard hands and eyes during material work and accidental splashes. A breathable, heat-rated face shield can complement eye protection for extended sessions.
Consider a snug, flame-retardant jacket or apron to minimize skin exposure, plus a protective hood if you’ll vent heat upward. Footwear should be closed, non-slip, and heat resistant.
Ergonomic design matters: lighter, balanced gear reduces fatigue, while protective gear that fits well boosts precision. Prioritize reliable materials, clear labeling, and easy maintenance.
Protective gear optimizes safety without sacrificing control.
Proper Handling Techniques
Even with the right tool, proper handling makes all the difference, so focus on controlled, deliberate motions and stable setups. You’ll maximize efficiency by maintaining a steady angle, short taps, and slow sweeps to prevent scorched finishes or heat buildup.
Keep your stance centered and your wrists relaxed to minimize fatigue and improve accuracy during extended sessions. Prioritize ergonomics considerations: adjust grip, scoping height, and stand supports to reduce strain and improve control.
Choose a model with balanced weight and a low recoil response, and rehearse safe shutoffs to avoid accidental heat exposure. Be mindful of noise levels both for long sessions and nearby occupants, and schedule micro-breaks to sustain performance.
Compare heat guns by response consistency, tip versatility, and heat stability for reliable, repeatable results.
Safe Work Environment
To maintain a safe DIY heat-gun workspace, establish clear boundaries and minimize hazards before you start. A safe environment begins with stable work surfaces, proper ventilation, and accessible PPE.
Compare models by ergonomic design, ensuring handle balance and heat control minimize strain during extended use. Prioritize heat shields and nozzle options that reduce radiant exposure for you and bystanders.
Maintain organized cords to prevent tripping and use a grounded outlet with a GFCI where appropriate. Training and clear labeling of hot surfaces curb accidents and support consistent workflow.
Consider brand reputation and ongoing support when selecting accessories like mounts or clamps. In short, a deliberate setup and reliable, well-supported tools deliver safer, more efficient results.
Budget vs. Pro-Grade: What Your Project Really Needs
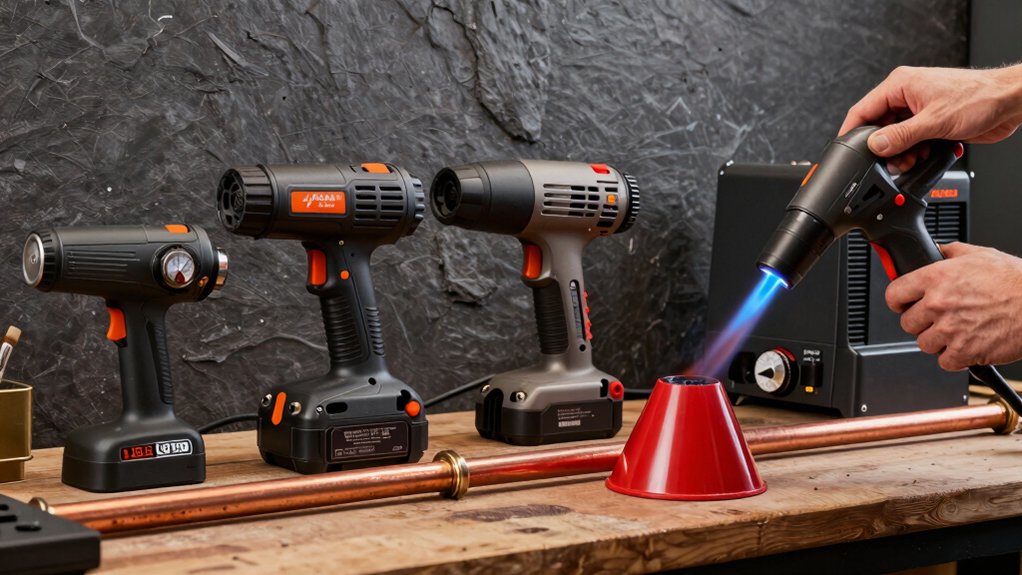
Choosing between budget and pro-grade heat guns isn’t about costs alone; it’s about matching performance to your task. You assess power needs, resilience, and control rather than sticker price.
Budget models deliver adequate heat for simple tasks, quick prep work, and light décapage, but may lack long-term reliability.
Pro-grade units put more power at your fingertips, smoother temperature ramps, and richer safety features, which matters for frequent use and demanding materials.
Your budget planning should weigh duty cycle, nozzle options, and thermal stability against project duration. If you anticipate continuous use, invest in professional features like accurate sensing, robust builds, and ergonomic design.
For occasional projects, a capable budget gun can suffice, but be mindful of heat consistency and runtime limits.
Surface Protection: How to Prevent Damage During Heating
To safeguard surfaces, use a protective barrier between the heat gun and the workpiece and keep a safe distance to limit heat exposure.
Compare how different barrier types—heat-resistant blankets, shields, or scrims—perform in protecting finishes and reducing scorching.
Track temperature and proximity carefully to ensure consistent results and prevent damage during heating.
Protective Barrier Strategies
Protective barriers are essential when using a heat gun to prevent surface damage, warp, or scorch marks. You’ll compare options and choose based on heat tolerance, rigidity, and ease of placement.
Protective barriers offer a predictable shield against radiant heat and convection, reducing the risk of accidental scorching on delicate finishes.
Heat resistant mats provide a reusable, low-profile layer that stays flat and won’t warp under sustained exposure.
For larger work, consider barrier sheets that can be cut to size and taped securely, maintaining surface integrity without creating gaps.
Always verify mat thickness and material compatibility with your heat gun’s maximum temperature.
Favor systems that combine durability with simplicity, so you can maintain control and finish faster.
Temperature and Proximity Control
When heating a surface, you should prioritize both temperature control and proximity to minimize damage; use a heat gun at the lowest effective setting and maintain a consistent distance to avoid scorching.
Temperature management is about choosing settings that deliver enough heat without overshooting. Compare tools with adjustable controls and real-time feedback, and favor models with precise digital readouts.
Proximity matters: keep a steady, recommended distance to prevent hot spots and warping. Look for features that support thermal insulation and airflow customization, like nozzles that focus or diffuse heat.
Evaluate how quickly each gun reaches target temps and how steadily it maintains them under load. Clear, measurable performance allows you to optimize surface protection while maximizing efficiency and results.
Practical Tips to Avoid Common Heat Gun Mistakes
Sometimes, you’ll rush a job and pay the price with fines or damaged materials, so plan ahead to minimize common heat gun mistakes. Start by choosing the right temperature range and steadily moving the nozzle to avoid scorching. Keep a clear work zone, and don’t ignore ventilation—hot plastics can emit fumes.
Inspect attachments for wear, and use shields or a heat-resistant mat to protect surfaces. Practice controlled pulses rather than constant on, which reduces warp and scorching risk. Track your setup, so you don’t overwhelm materials with abrupt heat swings.
Be mindful of unexpected heat gun hazards, and don’t stretch capabilities beyond purpose. Explore creative heat gun uses, but only after mastering basics and manufacturer guidelines for reliability and safe, powerful results.
Quick Troubleshooting When Things Go Wrong
Heat guns can save you time, but they can also stall a project if something goes wrong. When troubleshooting, you stay focused, identify the symptom, then compare likely causes before action. Prioritize safety, then check heat settings, nozzle choice, and power supply to rule out simple faults first.
If performance drifts, consider heat gun ergonomics and switch to a comfortable grip or lighter model to maintain control. Inspect electrical cords for damage and ensure stable voltage to prevent erratic temps.
For reliability, verify brand reliability by comparing warranty terms and response times. Document symptoms to guide replacement or repairs, and test after each adjustment to confirm progress.
- Check temperature settings and nozzle compatibility
- Inspect cord and plug for wear or damage
- Verify voltage and circuit stability
- Assess grip, weight, and balance for control
- Review warranty and brand support responses
Maintenance and Longevity: Keeping Your Heat Gun Ready
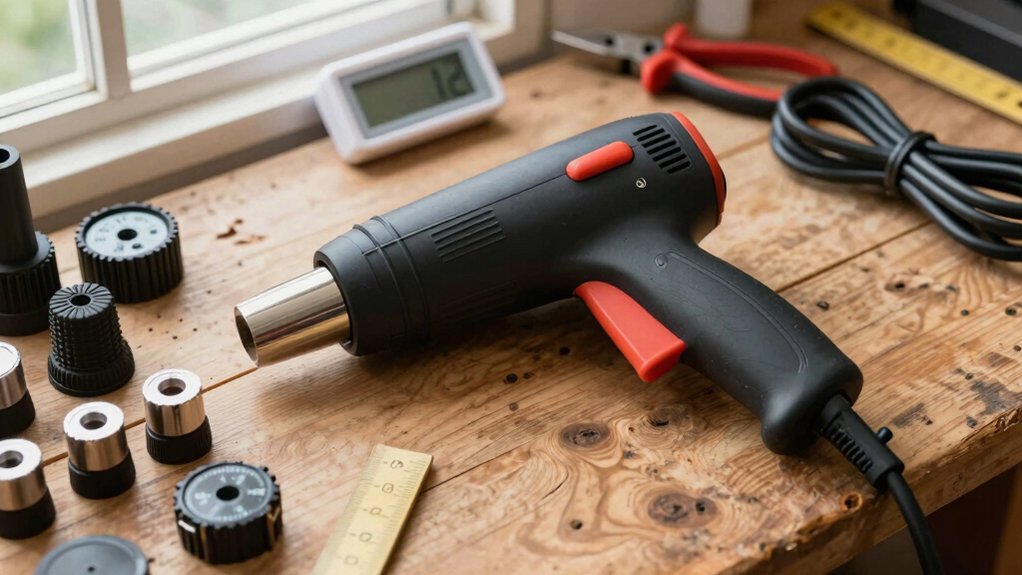
Maintenance and longevity depend on proactive care and mindful use. You’ll extend performance by routine checks, cleanings, and proper storage, rather than chasing quick gains. Inspect nozzles and heating elements for wear, and replace damaged parts before failures occur. Regular venting and dust removal prevent overheating and maintain steady output.
When you compare models, consider build quality and grip comfort, since tool ergonomics influence consistent operation and cooling behavior during prolonged use. Use heat guns with cool-down intervals to avoid thermal fatigue and warped components.
Warranty coverage matters: heat gun warranties reflect expected durability and service options, guiding long-term cost. Prioritize models with accessible replacement parts and clear maintenance guidance, ensuring reliable power, predictable behavior, and minimal downtime across projects.
Real-World Task Guides: Step-by-Step Quick-Starts
Mastering quick-start tasks with a heat gun means you can jump straight into projects without delay, but you should follow a clear sequence to stay safe and efficient.
Real-world quick-starts strip downtime and highlight practical steps you’ll reuse across tasks. You’ll compare outcomes across surfaces, temperatures, and accessory choices to optimize speed without sacrificing control.
Emphasize heat gun safety and nozzle selection as core decisions that shape results and risk. Use concise, directive language to maximize progress while avoiding missteps.
Immediate, repeatable actions help you scale projects with confidence and precision.
- Set up a safe workspace and PPE before starting
- Identify the surface, then choose appropriate nozzle
- Start on low heat, gradually increase to the target
- Test on scrap to calibrate timing
- Pause to inspect edges and adjust as needed
How to Compare Models: A Simple Decision Framework
To compare heat gun models effectively, start with a simple framework: define your project needs, then map them to key specs like power (wattage), heat range, nozzle options, and safety features.
You’ll evaluate heat output consistency, burn risk, and cooldown behavior to ensure reliability on tough tasks. Compare heat gun brands by factoring warranty, service network, and accessory availability, not just price.
Consider heat gun accessories that broaden versatility—adjustable nozzles, infrared options, and scrapers—and ensure compatibility with your preferred brands.
Align your choice with practical use: higher wattage for fast bulk work, lower for delicate tasks. Demand transparent specs, quantified temperature ranges, and clear safety ratings.
A disciplined, data-driven approach yields decisive, powerful results without wasted effort.
Conclusion
You’ve got the tools and the know-how to pick wisely, so you’ll avoid wasting both time and money. Compare heat guns by temp range, airflow, and nozzle versatility, then match features to your projects. Look for reliable build quality and solid safety features, because good performance isn’t worth risking. In short, test against your tasks, not trends, and you’ll find the right model without breaking the bank—your wallet will thank you for it. It’s a win-win, plain and simple.





