Finishing a garage can boost value and add usable space, but it comes with costs, permits, and potential delays. You’ll improve insulation, lighting, and storage, yet risk over-improving or limiting future parking needs. Start with your budget, local codes, and the garage’s current condition, then weigh long‑term energy savings against upfront expenses. The right plan helps you avoid common pitfalls—and keeps options open as you consider next steps. Consider what matters most to you as you decide.
Assessing Your Garage’s Current Condition
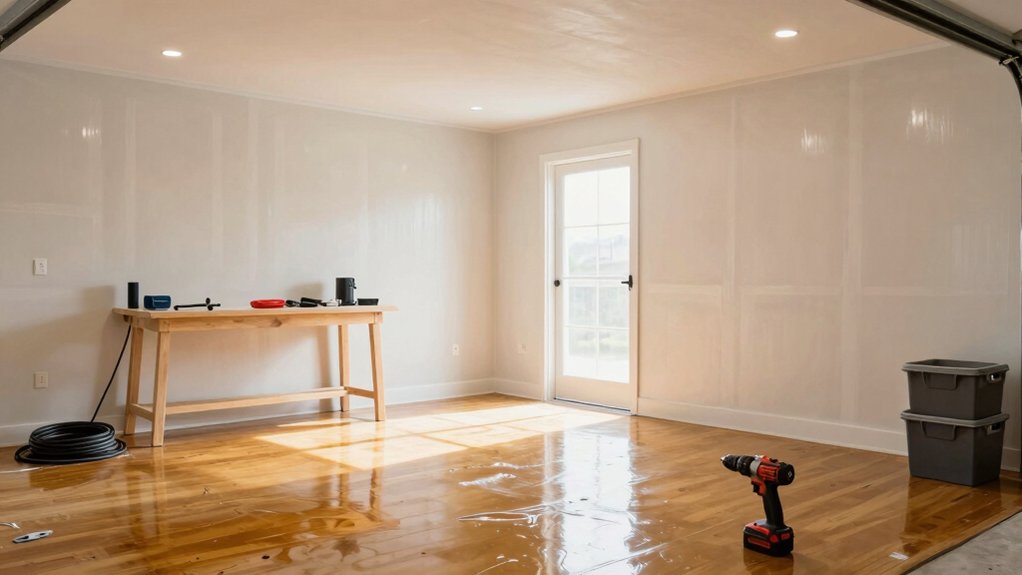
Start with a clear, practical assessment of your garage’s condition. You’ll map its layout, note door and window integrity, and gauge electrical readiness. Check if walls and floor show cracks, moisture, or mold that could affect finishing.
Inventory current storage: shelves, cabinets, and any loose items that clutter space or create hazards. Assess lighting quality and ventilation, since both influence usability and safety.
Test outlets, breakers, and wired devices for reliability, and identify extension cords you rely on regularly. Evaluate garage security: confirm locks, deadbolts, and any motion-activated lighting are functional, and note vulnerable entry points.
Consider whether your garage storage potential is maximized without major upgrades. Document findings with photos and measurements, then prioritize repairs or upgrades before deciding on finishing. This drives a practical, planful approach.
Potential Boost in Home Value
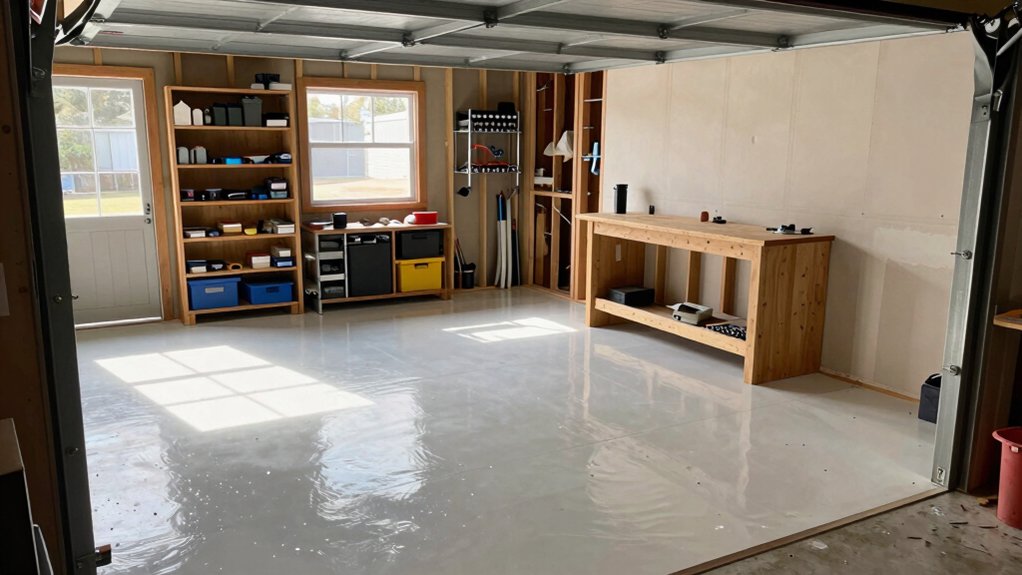
Finishing a garage can meaningfully boost home value when done thoughtfully. When you plan, consider how your project affects usable space, appeal, and marketability.
A well-designed, finished garage often reads as an extra living area, not just storage, which can raise perceived value. Focus on coherent layout, durable finishes, and natural light to improve daily use.
Garage aesthetics matter: cohesive color schemes, clean lines, and organized storage visuals help buyers imagine it as functional space. Exterior improvements linked to the garage, such as attractive doors, tidy siding, and weather resistance, strengthen curb appeal without overbuilding.
Be mindful of local resale trends and avoid over-improving beyond comparable homes on your street. Your ROI depends on balance between quality, relevance, and proper documentation.
Cost Considerations and Budgeting
Cost considerations for finishing a garage come down to a clear budget plan, realistic estimates, and a contingency. You start by outlining scope: walls, insulation, flooring, lighting, and a potential utility upgrade.
Next, compare material selection options for durability versus cost, balancing long‑term savings with upfront price. Factor in permitting fees and delivery times to avoid delays that inflate costs.
Get contractor estimates from at least three reputable sources, and verify inclusions such as demolition, framing, and finish work. Build a contingency—typically 10 to 15 percent—to cover surprises.
Track incremental costs weekly to prevent scope creep. Prioritize essential upgrades over discretionary finishes, then stage nonessential improvements later if funds allow.
Maintain documentation to support decisions and stay aligned with your budget.
Long‑Term Energy Efficiency Benefits
Upgrading a finished garage pays off with long‑term energy savings that can offset upfront costs. You’ll notice better thermal consistency, reduced drafts, and lower utility bills as you maintain a stable interior climate.
Choose insulation options that align with your climate and wall construction, aiming for sufficient R‑value without excessive thickness. Consider adding radiant elements or sealed sheathing to minimize heat loss at seams and corners.
Pair insulation with well‑designed ventilation systems to manage moisture and indoor air quality without sacrificing warmth. A properly sized exhaust and intake setup prevents stale air and humidity buildup, supporting durability of finishes and equipment.
Regular inspections of gaps, penetrations, and seals keep performance strong year after year, maximizing efficiency without complicating maintenance.
Impact on Heating and Cooling
Even when you’re not actively using the space, a finished garage can substantially influence your heating and cooling loads. You’ll reduce energy loss by sealing gaps and improving thermal insulation, so the rest of your home won’t compensate for a cold or hot garage.
A finished wall and door system minimizes drafts, helping maintain consistent interior temperatures. Insulation quality matters: higher R-values across walls, ceiling, and any attic access directly lowers heat transfer and reduces the need for auxiliary heating or cooling.
Consider reflectivity and air barriers to avoid moisture and heat gain. Proper ventilation prevents stale air from compromising comfort.
In short, finish decisions should target containment, minimizing energy loss while preserving usable space.
Permitting and Zoning Hurdles
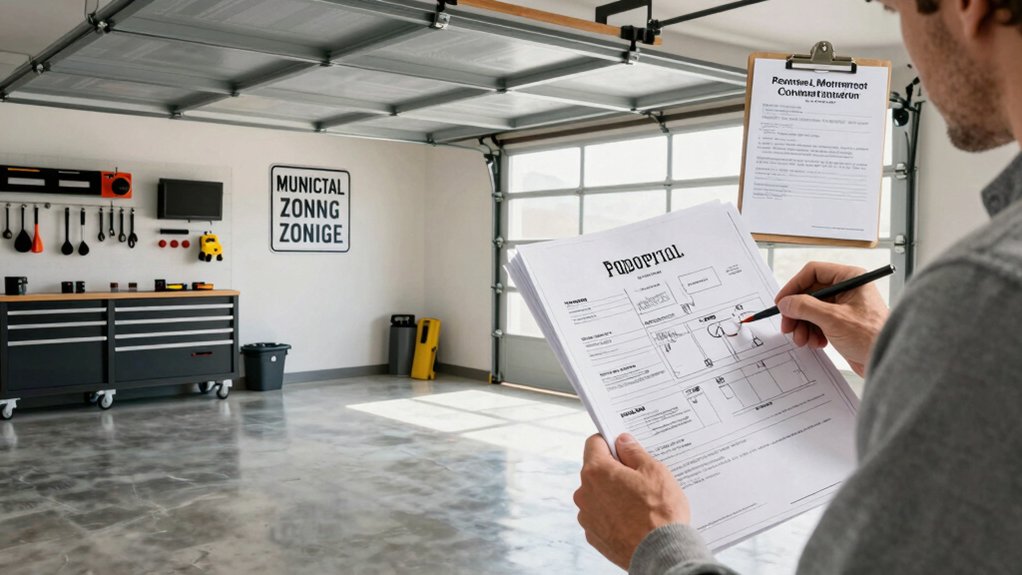
Now that a finished garage can improve comfort and energy efficiency, you’ll encounter permitting and zoning hurdles that govern what you can build and how. You start by checking your municipal code for zoning restrictions, since they determine allowable uses, setbacks, height, and parking requirements.
Next, contact your local building department to confirm if a permit is required and which plans must accompany it. Expect permit delays if you submit incomplete documentation or if the project triggers inspections, utility coordination, or fire code reviews.
Align your design with setback lines, lot coverage, and energy codes to avoid revisions. Budget time and fees accordingly, and track approvals, inspections, and any conditions. Clear documentation minimizes back-and-forth and accelerates compliance.
Insulation and Soundproofing Options
Insulate the garage walls, ceiling, and floor to minimize heat loss and condensation. Then choose soundproofing options that reduce noise transfer to and from adjacent rooms. You’ll want a clear plan: assess existing structure, pick compatible materials, and install in stages for control.
Start with thermal insulation to curb drafts and temperature swings, using batt or spray options suited to your walls and ceiling. Pair with air sealing to maximize efficiency.
For sound insulation, focus on mass and isolation—use resilient channels, double doors, or decoupled drywall to dampen vibrations. Seal gaps around penetrations, outlets, and windows.
Consider underlayment for finished floors to reduce impact noise. Choose moisture-resistant, durable products for a garage living space you’ll use year-round.
Balance cost, performance, and ease of installation for best results.
Layout and Space Planning Ideas
Consider how you’ll maximize usable floor area by selecting a layout that keeps work zones clear and traffic flowing smoothly.
Think about zoning the space—garage bays, a workbench, and a small living area—so each activity has a defined path.
Start by mapping a simple flow plan that minimizes steps between frequently used spots and allows for future adjustments.
Useable Floor Area
A well-planned usable floor area focuses on clear zones for storage, workspace, and movement, so that every square foot serves a purpose. You’ll maximize efficiency by grouping tools and materials near the wall, reserving a central path for safe transit, and leaving a dedicated workstation with adequate lighting.
Use modular cabinets and open shelves to avoid clutter, and install pegboards for quick access to frequently used items. Measure doorways and appliance footprints before laying out furniture, ensuring enough clearance to open doors and operate equipment.
Consider multi-function zones, like a foldable workbench that tucks away when not in use. Subtle garage aesthetics and exterior design influence mood, so opt for neutral tones and durable finishes.
Keep traffic lines direct, minimize wasted space, and routinely reassess layouts for continuous improvement.
Zoning and Flow
Zoning and flow are about creating deliberate zones for different activities and ensuring smooth movement between them. You map a clear path from entry to work zones, storage, and utilities, then test it for efficiency.
Begin with a primary workspace near the door for easy bringing in materials, and place files, tools, or hobby stations nearby to minimize trips. Separate dirty or noisy tasks from clean zones to reduce cross-contamination and distractions.
Use visual cues—lighting, color, or textures—to delineate zones without walls. Plan traffic flow so doors, cabinets, and appliances don’t block movement, and allow enough clearance for carts and ladders.
Consider zoning restrictions and future needs, like expansion or additional storage. A well-planned layout reduces waste and enhances safety, productivity, and satisfaction.
Flooring and Moisture Management
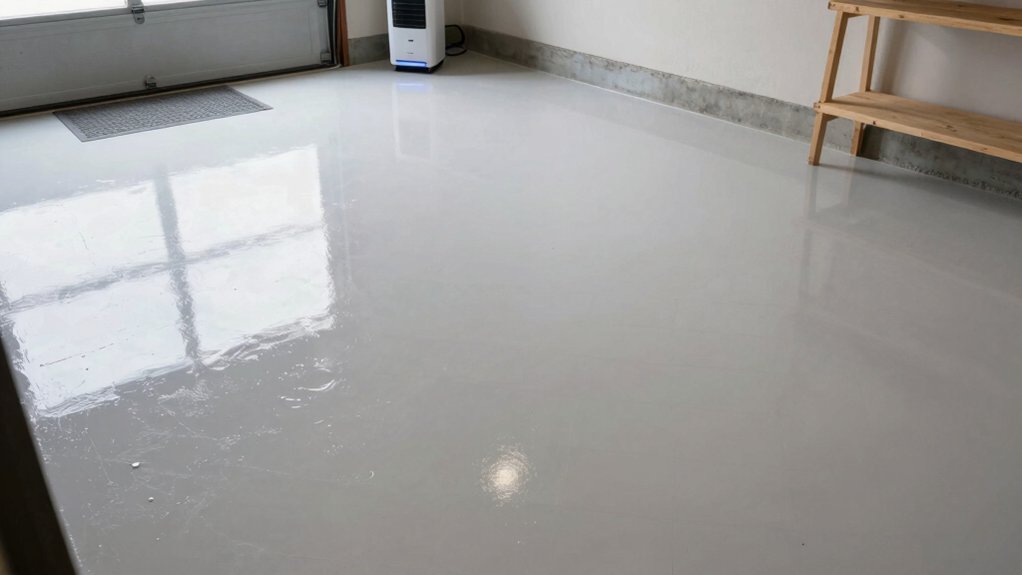
When finishing a garage, start with flooring that handles moisture and daily wear. You choose a surface you can clean easily, resist chemicals, and endure traffic. Begin with a moisture barrier beneath the finish to slow basement dampness and reduce trips to the shop vac.
Next, select durable options like epoxy coatings for a seamless, easy-to-sweep surface that resists stains and humidity fluctuations. Consider a thicker epoxy or binder if you’ll park wet vehicles or store liquids.
Subfloor prep matters: grind or patch cracks, seal joints, and ensure proper slope toward a drain or exterior. Ventilation during application prevents fumes and curbs moisture entrapment.
Finally, layer sealants or clear coats for UV protection and longevity. Regular inspections keep moisture at bay and flooring pristine.
Lighting and Electrical Upgrades
Plan your electrical load to support future uses and safety, so you don’t overload circuits as you finish the garage. Explore lighting layout options that maximize visibility and energy efficiency while keeping outlets and switches convenient for work zones.
Start with a clear plan for electrical load and layout choices, then refine as you define specific tools, hobbies, and storage needs.
Electrical Load Planning
Before you start finishing the garage, map out the electrical load you’ll need for lighting and outlets. Start with a simple inventory: count outlets in work zones, plan for heavy tools, and reserve a dedicated circuit for a future panel expansion.
Estimate lighting by task area, then add ambient and exterior needs. Group circuits by load type: general use, dedicated tool circuits, and a future EV or heat source if planned.
Check box sizing, wire gauge, and GFCI protection in zones near water. Factor wireless connectivity for smart switches and sensors, but avoid overloading panels.
Follow electrical code guidelines for wire routing, box fill, and outdoor feeds. Leave room for expansion, and schedule a professional inspection to confirm safe, compliant upgrades.
Lighting Layout Options
To choose an effective lighting layout, map each work zone and task onto a simple grid, then place fixtures to minimize shadows and glare while keeping pathways clear.
In practice, combine ambient, task, and accent layers to cover all areas without overlighting. Prioritize natural light where possible: position benches near windows and use light shelves or white surfaces to bounce daylight deeper into the space.
For task lighting, install directional LED fixtures or under-cabinet strips at benches, workstations, and other task areas to reduce eye strain. Use dimmers for flexibility and energy savings, especially in storage nooks or seasonal projects.
Plan a switch layout that’s intuitive and reachable from work zones. Finally, ensure electrical outlets align with tool bases and that cords stay tidy and out of walkways.
Finishing Touches: Kitchens, Bathrooms, and Living Areas
Finishing touches in kitchens, bathrooms, and living areas can transform a bare shell into a functional, inviting home. You’ll plan compact layouts that maximize flow, choose durable, easy-clean surfaces, and select fixtures with energy efficiency in mind.
Prioritize moisture control, ventilation, and proper insulation to protect your investment. For garage aesthetics, mount cabinets and shelving at reachable heights, integrate task lighting, and use seamless flooring that resists spills.
In bathrooms, install water-saving fixtures and a layout that reduces steps between water sources. In kitchens, keep a clear work triangle and durable countertops.
Exterior upgrades should harmonize with the home’s exterior while remaining cost-effective. The goal is cohesive spaces that feel integrated, practical, and comfortable without overextending your budget or complicating maintenance.
Maintenance and Upkeep
A well-kept garage starts with a simple routine: keep cleaning supplies accessible and pare down clutter so you can move safely and find what you need.
Develop a long-term upkeep plan that covers regular inspections, maintenance tasks, and a schedule for minor repairs before they escalate.
Cleaning and Organization
Cleaning and organization matter more than you might think: a tidy garage streamlines activities, protects tools, and reduces the risk of accidents. You’ll gain immediate efficiency by clustering similar tasks and storing items where they belong.
Begin with a simple audit: remove what you don’t use, group like tools, and label storage zones. Implement practical storage solutions that fit your space, such as wall-mounted racks, pegboards, and clear bins.
Keep frequently used items within arm’s reach and seasonal items higher or out of the way. Establish a routine: quick 5-minute resets after projects, plus quarterly decluttering.
Combine function with aesthetic improvements—consider consistent bins and labeled shelves to reinforce order. Clear lanes, defined corners, and deliberate placement prevent chaos and make maintenance easy.
Long-Term Upkeep Plan
To keep a garage functional long-term, establish a simple, repeatable upkeep routine and assign clear ownership for each area. You’ll set a monthly check that covers doors, seals, cords, and electrical outlets, then document results for accountability.
Schedule seasonal tasks: inspect the roofline, gutters, and exterior, and refresh sealant as needed. Create a short maintenance log you can reference before projects, not after.
Prioritize proactive care over reactive fixes to preserve garage aesthetics and value. Keep flexible odds for wear-and-tear while avoiding overcommitment; automate reminders and adjust as your space evolves.
For exterior enhancements, track weathering, paint, and trim, and plan timely touch-ups. Use clear labels, accessible storage, and a simple checklist so everyone knows responsibilities and timelines.
Alternate Uses and Flexibility
Finishing a garage expands its usefulness beyond parking by offering flexible space that adapts to your needs, whether you’re storing gear, setting up a workshop, or creating a home office. You’ll gain multiuse potential without moving your main living area.
Plan practical layouts that preserve circulation and allow for quick reconfiguration. Use defined zones for storage solutions, tools, and work surfaces, so tasks stay efficient and safe. Prioritize durable, easy-to-clean finishes and robust electrical outlets to support gadgets and lighting.
Think about climate control and noise dampening to improve comfort and focus. Choose aesthetic enhancements that complement your home while remaining low-maintenance.
With deliberate design, the space remains adaptable as needs evolve, ensuring ongoing value and usable real estate.
Frequently Asked Questions
What Is the Typical Timeline for Finishing a Garage?
A typical garage finish takes about 1–3 weeks, depending on scope. You’ll plan around framing, insulation, wiring, drywall, and flooring, plus finishes. You’ll compare garage insulation options and lighting options to keep the project efficient and practical.
How Long Does a Finished Garage Hold Its Value?
A finished garage holds value well, especially when well-maintained. Expect gradual appreciation, not rapid spikes. You’ll preserve value with proper Garage insulation, systematic storage solutions, and keeping the space dry, organized, and updated over time. Regular inspections help.
What Maintenance Tasks Are Required After Finishing?
Mysteriously, you notice a damp spot vanish after you seal gaps; that coincidence motivates you. You maintain Garage insulation and Paint finishing, wipe surfaces weekly, inspect vents quarterly, seal joints yearly, and touch up chips promptly.
Can Finishing a Garage Affect Home Insurance Rates?
Finishing can affect your home insurance rates; you’ll likely see changes if you upgrade wiring and add garage insulation, improving fire safety and energy efficiency. You should assess coverage, disclose electrical upgrades, and consult your insurer for specifics.
Are There Eco-Friendly Finishing Options Available?
Yes, you can. You’ll choose sustainable materials and eco friendly coatings, reducing toxicity and emissions. You’ll compare options for longevity, durability, and price, then plan installation steps carefully to maximize energy efficiency and indoor air quality.
Conclusion
You weigh the scales like a surveyor, eyeing both joists and value. Finishing your garage can become a lighthouse in a fog of clutter—guiding traffic to a brighter, greener space, even as you face costs and permits. Remember the alchemist’s caution: small upgrades, careful budgeting, and flexibility protect your ROI. Like a well-tuned engine, the space should serve now and adapt for later. Plan, execute, maintain, and let practicality illuminate your decision.