Start by measuring your slope (rise over run) with a laser or string line, and dig 600mm trial pits to check topsoil depth, drainage, and any clay lenses. Set terrace numbers by total fall and a safe riser height, then plan 900mm paths, consistent steps, and workable landings. Build retaining walls in block, stone, gabion, or rated sleepers, and always add geotextile-wrapped gravel and perforated drains behind. Keep going to see layout, drainage, and planting options.
Measure Slope, Soil, and How Many Terraces You Need
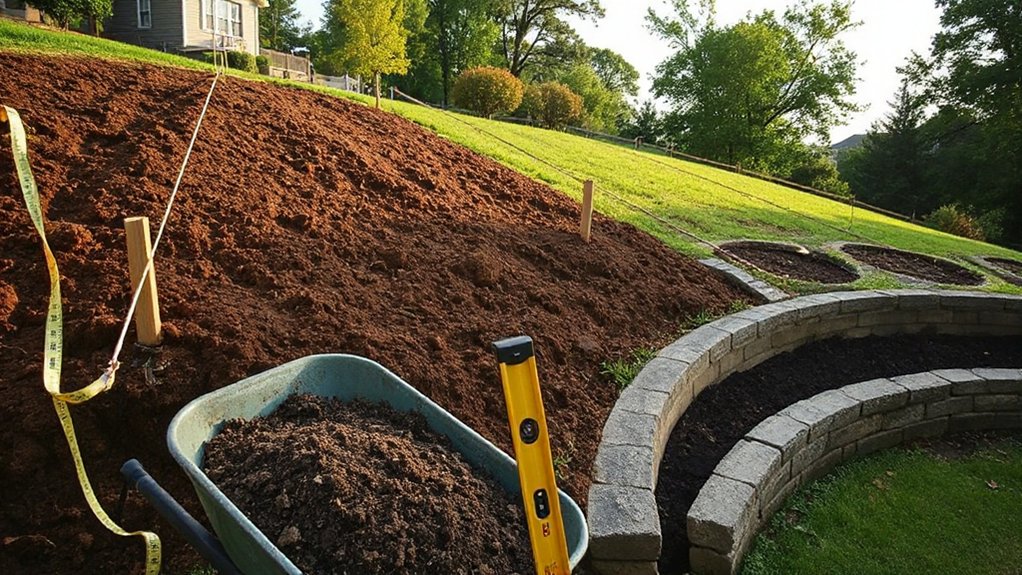
Before you plan any planting or build work, you’ll need to quantify what you’re dealing with: measure the slope gradient, check the soil profile, and map out how many terraces will safely fit.
Use Slope measurement techniques such as a laser level on a tripod, a dumpy level, or a taut string line with a spirit level and tape. Record rise over run to calculate percent grade and flag any sudden breaks.
Dig trial pits to about 600mm and log topsoil depth, texture, and drainage; note clay lenses, gravel bands, or perched water.
For Soil stability assessment, check for slumping, cracking, and saturated layers after rain.
Estimate terrace count by dividing total vertical fall by your intended riser height and allowing for settlement tolerances.
Plan Your Terrace Layout Around Access and Wall Height
Once you’ve quantified the fall and soil conditions, you can set out terrace lines that give you safe access and keep retaining walls within sensible heights.
Aim for fewer, deeper terraces rather than many shallow ones if it reduces wall height; as a rule, keep individual rises modest so you can build safely and maintain easily.
Plan level paths at least 900mm wide for barrows, with turning space near gates and storage.
Include steps with consistent risers and slip-resistant treads, and allow for drainage falls away from the house.
Place landings where you’ll work most, such as by veg beds or bins.
Reserve edges for planting pockets that double as wildlife habitat.
Mark cable routes early for Landscape lighting without digging into walls later.
Select Retaining Wall Materials for Terracing a Slope
With your terrace lines, access routes, and target wall heights marked out, you can now choose retaining wall materials that suit the loads, soil moisture, and the look you want.
For straight, engineered faces, Concrete blocks give predictable strength and tidy courses; use interlocking units where you need higher walls and a consistent batter.
If you’re after a softer, rural feel, Gabion walls handle variable ground well and tolerate minor settlement, making them useful on mixed soils.
Natural stone suits period UK gardens but needs skilled laying and sound foundations.
Treated sleepers install fast, yet they’re best kept to low terraces due to lifespan and deflection.
Check suppliers for rated wall heights and BS/CE marking, and match finishes to your paths and steps.
Add Drainage and Runoff Control Behind Each Terrace
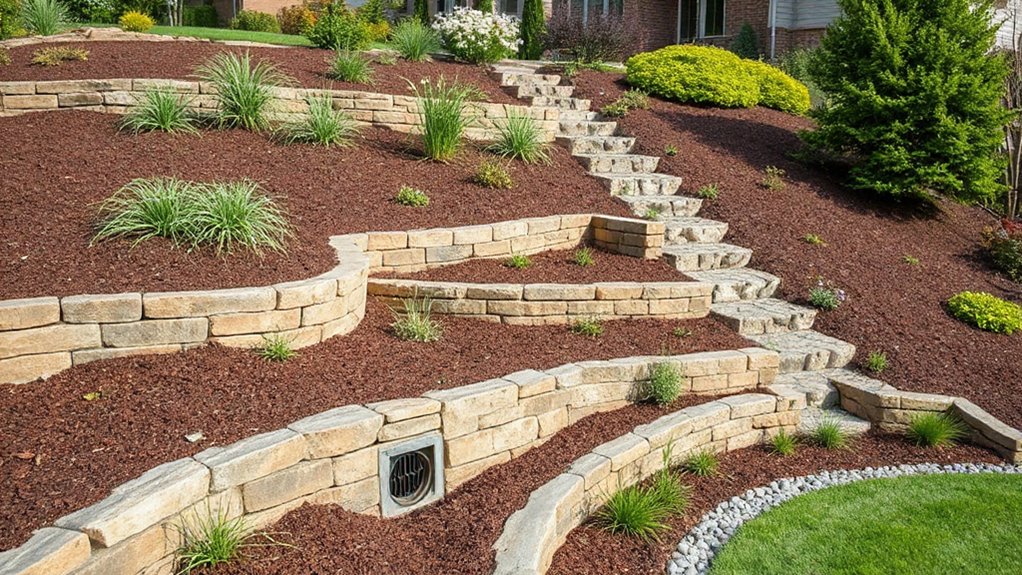
Behind each terrace, you’ll need drainage that relieves hydrostatic pressure and keeps the wall stable in UK wet spells.
Install a free-draining gravel layer with a perforated land drain wrapped in geotextile to stop fines clogging it.
Then cut runoff diversion channels or shallow swales above and between terraces so heavy rain is intercepted and directed to a safe outfall.
Install Drainage Gravel Layers
Although your terraces stabilise the slope, you’ll still need a dedicated drainage gravel layer to intercept runoff and relieve hydrostatic pressure at the back of each retaining edge.
Excavate a 200–300mm zone behind the wall, then line it with a non-woven geotextile to stop fines migrating and clogging voids.
Fill with clean, angular 20mm drainage gravel (Type 3 or similar), not rounded pea shingle, and compact lightly to maintain pore space.
Keep the gravel continuous along the terrace so water runoff doesn’t pool in local hollows.
Bring the gravel up to within 100mm of finished soil level, then fold the geotextile over and top with soil.
If you’re using timber sleepers, keep gravel off the wood with a membrane strip.
Add Runoff Diversion Channels
A drainage gravel layer relieves pressure, but it won’t stop heavy rain from racing along the terrace and finding the easiest way through your soil.
Add diversion channels behind each retaining edge to intercept flow before it saturates the backfill.
Cut a shallow swale (about 150–200mm deep) with a 1:100 fall to a safe discharge point, such as a soakaway, rain garden, or existing surface water drain where permitted.
Line channels with geotextile and 20mm shingle, or use perforated land drain (100mm) wrapped in filter fabric.
Install rodding points for maintenance.
Keep outlets protected with rip-rap to prevent scour.
This approach tightens Rainwater management and boosts erosion prevention on UK slopes year-round.
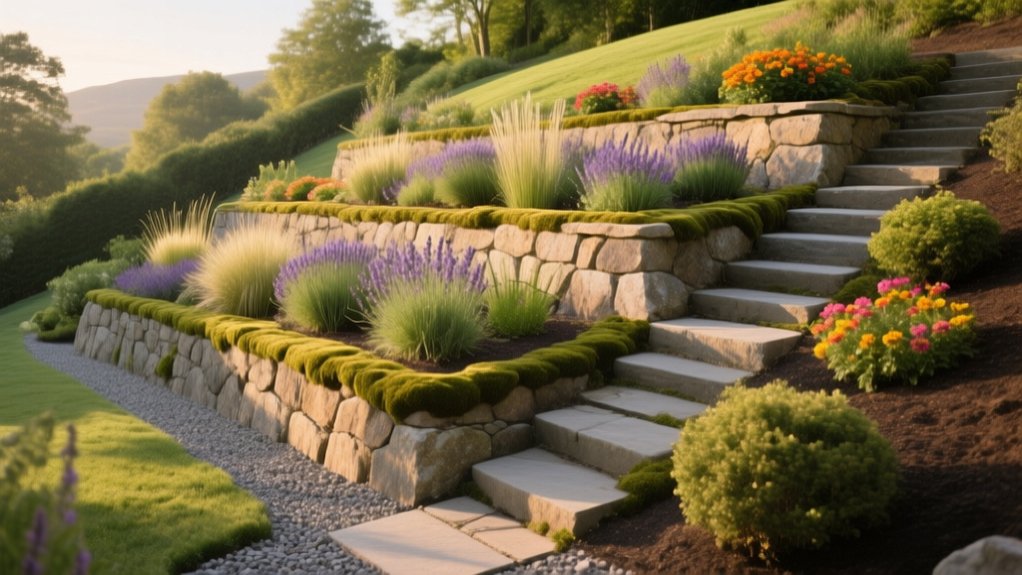
Plant Each Terrace for Sun, Wind, and Moisture Zones
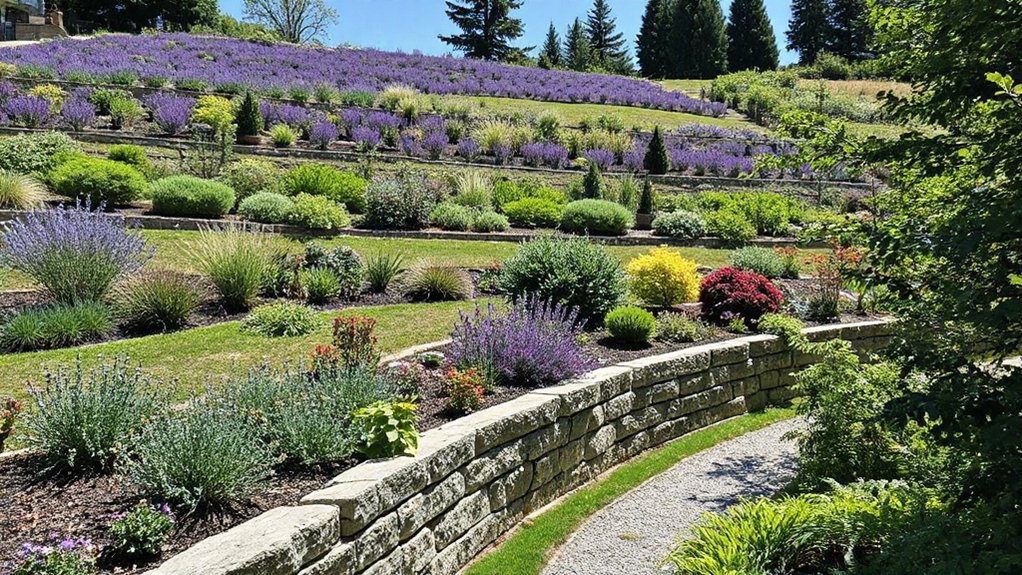
Because each terrace behaves like its own microclimate, you’ll get better results by planting to the site’s sun exposure, wind load, and moisture pattern rather than repeating the same scheme on every level.
Start with Plant selection based on Microclimate considerations: note aspect (south-facing bakes, north-facing stays cool), and map shade from fences and the house.
Use drought-tolerant perennials and herbs on upper, free-draining levels; try lavender, thyme, or Stipa.
On lower terraces where water lingers, choose moisture-tolerant plants such as astilbe, primula, and ferns, or add a small rain-garden strip.
For windy ridges, pick tough, compact shrubs and grasses, and include shelter planting like holly or yew.
Group plants by irrigation need to simplify watering.
Maintain Terraces: Settling, Erosion, and Wall Checks
Once you’ve matched planting to each terrace’s microclimate, keep the structure performing by inspecting it through the seasons for settling, erosion, and wall movement. After heavy rain and winter freeze-thaw, check for stepped cracks, bulging faces, leaning copings, and gaps behind sleepers or stone. Probe for soft spots and voids; top up with compacted subsoil, then reinstate topsoil and mulch for soil stabilization.
Walk each tread edge and look for rills, silt fans, or exposed geotextile. Clear silted French drains, outlets, and weep holes, and re-grade surfaces to fall slightly back to the wall or into a drain run. Repair washouts with angular aggregate and turf reinforcement mesh for erosion prevention.
If movement exceeds a few millimetres, get a UK structural engineer to assess.
Frequently Asked Questions
Do I Need a Permit or HOA Approval to Build Garden Terraces?
You usually do: check Building permits with your local council, especially for retaining walls over 1m by highways or 2m elsewhere. If you’re in an estate, follow HOA regulations and get written approval before works.
What Is the Typical Cost per Linear Foot for Terraced Landscaping?
You’ll typically pay £120–£350 per linear foot in the UK, depending on access, drainage, and wall height. For cost estimation, compare material options: timber is cheaper; concrete blocks mid-range; natural stone highest.
Can I Terrace a Slope Myself, or Should I Hire a Professional?
You can terrace it yourself if you’ve got solid groundworks skills, but hire a pro for steep slopes. DIY challenges include drainage, retaining walls, and spoil removal. Professional benefits: proper calculations, compliance, longevity.
How Long Does It Usually Take to Complete a Terraced Garden Project?
You’ll usually finish in 2–8 weeks: 1–2 for design and permissions, 1–4 for excavation/retaining, then 1–2 for planting. Add time for soil stabilization and erosion control, plus UK weather delays.
Will Terracing Increase My Property Value or Affect Resale Appeal?
Yes, terracing can raise your property value and boost resale appeal, especially in UK markets, by improving garden design and usability. You’ll also enhance erosion control and drainage, reducing maintenance risks buyers often price in.
Conclusion
Once you’ve measured your slope, set wall heights, and built in drainage, you’ll turn a risky bank into usable space. Don’t skip runoff control: around 90% of UK soil erosion starts with water flowing unchecked, so every terrace needs a free-draining backfill, pipe, and safe outlet. Plant to each microclimate, then keep checking for settlement, bulging, and washouts after heavy rain. Stay on top of it, and your terraced garden will last.