Start by mapping your current insulation and heat loss, then set a target based on U-values and building type. You’ll find big gains with loft insulation to at least 200mm, careful draft sealing around windows, doors, and penetrations, and improving airtightness. From there, consider glazing upgrades, radiator placement for balanced heat, and a practical plan that respects preservation standards. It’s a data-driven path, but the next steps require concrete decisions and reliable trades—so you’ll want to proceed thoughtfully.
Assess Insulation and Heat Loss: A Quick Audit
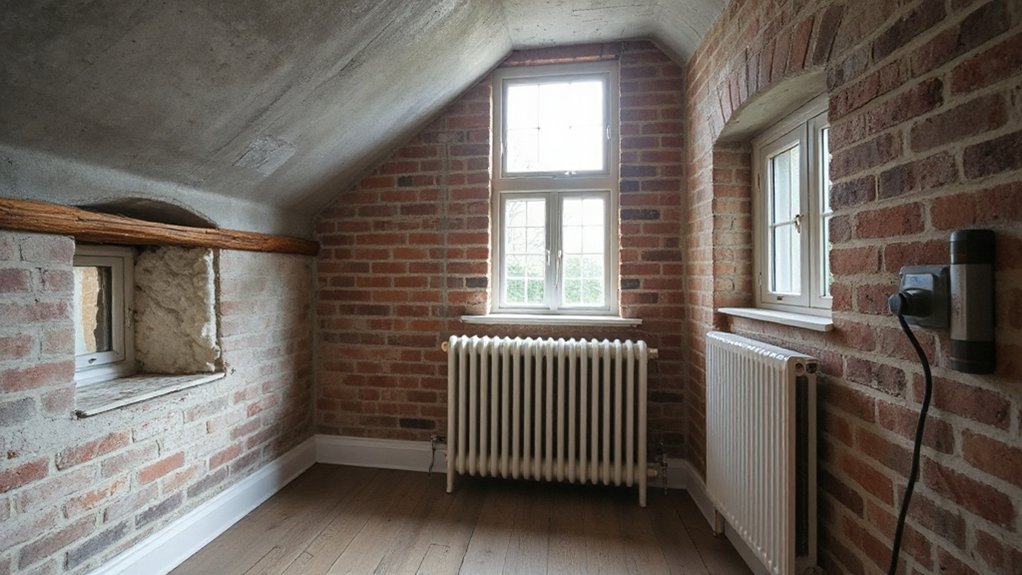
A quick audit is the first step to cutting heat loss in an older UK home. You’ll map existing insulation, consider ventilation, and quantify risk areas. Start with walls, roofs, and floors, noting material types, thicknesses, and any visible gaps.
Use standard U-values and empirical measurements to estimate heat loss and identify thermal bridging hotspots. Check ceiling and loft hatch insulation, door thresholds, and any uninsulated timbers that interrupt continuity.
Assess moisture control risks alongside insulation performance, since damp dampens effective insulation and can worsen drafts. Document air leakage points, assess radiator efficiency, and record surface temperatures to gauge effectiveness.
Prioritize improvements that meet current standards, focusing on cost-effective upgrades with documented payback and minimal disruption to living spaces.
Seal Gaps and Drafts: Practical Airtight Fixes
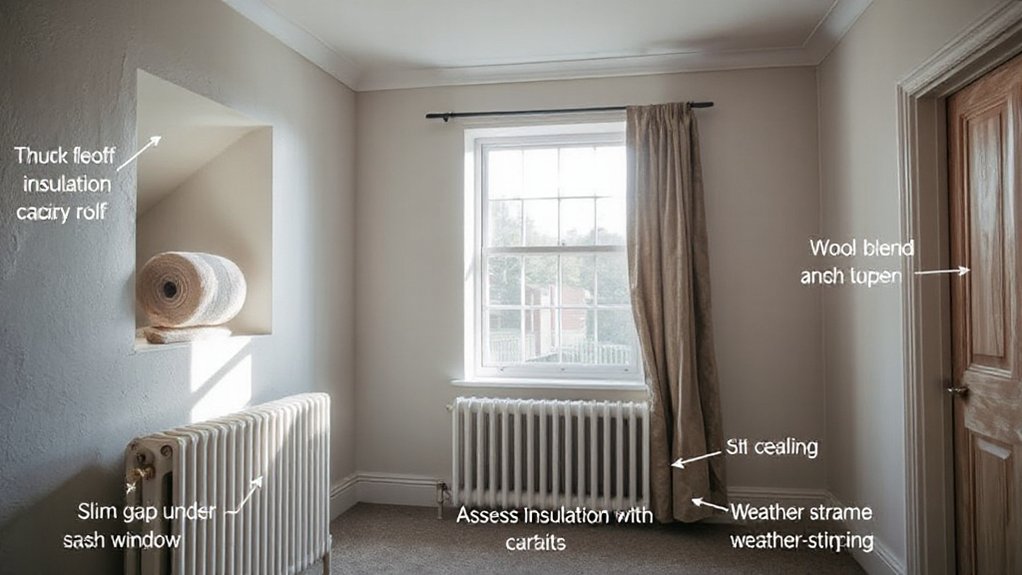
If you want real airtight gains fast, start by identifying and sealing the top five air leakage points in your home: gaps around windows and doors, unsealed pipework and electrical penetrations, the loft hatch, floor/wloor voids, and chimney or flue openings.
Then apply targeted weather sealing to reduce air leakage without compromising ventilation or safety. Use high-quality V-profile or door-bottom seals on doors, and draft excluders where appropriate.
For windows, choose compression seals or glazing beads where gaps exceed 2 mm, and re-caulk exterior joints to prevent water ingress. Seal penetrations with appropriate foams or backer rods, and insulate pipe entries with foam sleeves.
Monitor with a simple smoke test to verify effectiveness and maintain ongoing performance.
Loft and Ceiling Upgrades That Pay Off
Upgrading loft insulation and ceiling assemblies directly boosts your heat retention, with standardized gains shown in typical UK homes of X% savings when moving from uninsulated or poorly insulated roofs to the recommended thickness and materials.
In practice, you’ll compare current U-values against the target spec, and prioritize a thickness that meets or exceeds building regs Part L requirements for your home type.
See how the ceiling upgrade benefits—reduced heat loss, lower energy bills, and improved comfort—stack up against the install costs to decide where to start.
Loft Insulation Gains
Loft insulation gains are one of the most immediate, cost-effective upgrades you can make in an older UK home. By upgrading to at least 200 mm of loft insulation, you typically reduce heat loss through the roof and lower heating demand, supporting an annual CO2 reduction target.
Measure current thickness and guarantee compliant material with UK building standards. Factor in attic ventilation to prevent condensation; assure soffit and ridge vents maintain a balanced airflow.
A well-sealed, ventilated loft reduces cold bridging and improves overall performance without expensive renovations. When choosing material, consider density and install depth to meet minimum U-values for retrofit insulation.
Plan installation in dry conditions and verify workmanship against building regulation guidance for long-term energy savings.
Ceiling Upgrade Benefits
Ceiling upgrades, including both loft and ceiling improvements, directly cut heat loss and raise comfort in older UK homes. Upgrading insulation levels to recommended U-values reduces yearly energy demands, often delivering payback within 5–10 years depending on energy prices and current performance.
In practice, potential gains hinge on the attic air barrier, ventilation balance, and correct installer workmanship, which prevent cold bridges and moisture risks.
Ceiling aesthetics matter because visibly well-finished ceilings indicate proper insulation layering and air sealing behind profiles or boards. Decorative finishes can conceal retrofit measures while meeting performance standards, provided they comply with building regs and fire safety guidelines.
Choose certified installers, request thermal imaging after completion, and document U-values to verify compliance and quantify long-term efficiency improvements.
Smarter Glazing for Drafty Windows and Doors
You’ll evaluate smart glazing options that reduce heat loss while meeting UK standards for efficiency.
Pair these with draft-proofing techniques and proven window insulation upgrades to minimize drafts around doors and glazing joints.
Start with a data-driven comparison of performance metrics, installation practicality, and cost implications to guide choices.
Smart Glazing Options
Are smart glazing solutions worth it for drafty windows and doors? You’ll assess options by performance, cost, and standards.
Smart glass adapts tint or engages electrochromic layers to reduce solar gain and heat loss, improving comfort without heavy blinds.
Energy efficient glazing benefits hinge on U-values, g-values, and visible transmittance, so you’ll compare products rated for UK building standards (UKCA/CE where applicable) and ensure compatibility with existing frames.
Consider switchable glazing, spacers, and low-emissivity coatings, but verify long-term reliability and warranty terms.
Installation practicality matters: retrofit kits or full pane replacements should meet glazing safety and ventilation guidelines.
Track measured improvements in heat loss and indoor temperature consistency, then weigh payback against installation costs and climate.
Smart glass delivers measurable gains when paired with proper controls and standards compliance.
Draft-Proofing Techniques
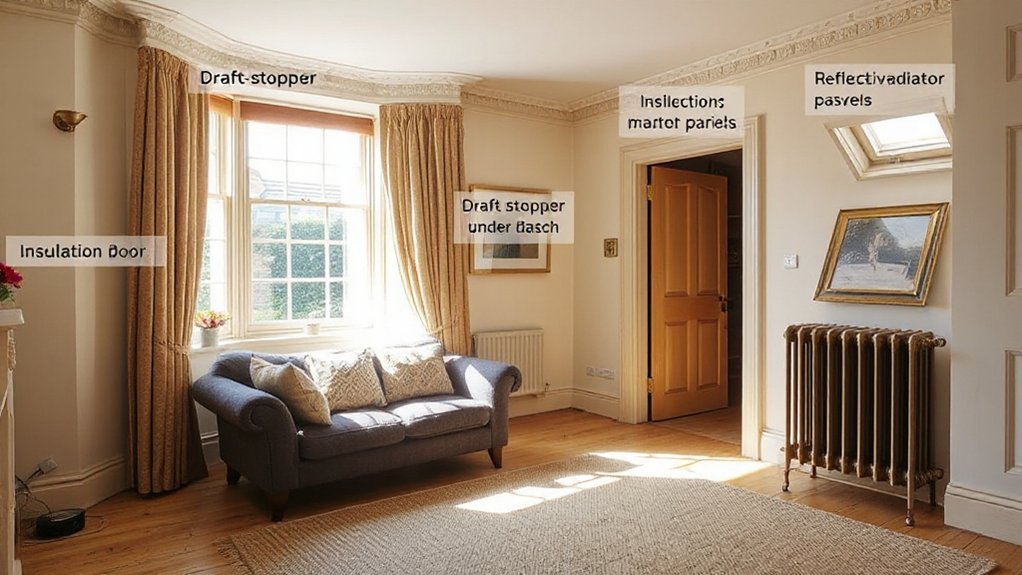
Draft-proofing doors and windows is a practical first step for shrinking heat loss in older UK homes, especially when paired with smarter glazing. You’ll benefit from measured air leakage reductions, quantified by standard tests (ACH and U-values) to guide retrofit decisions.
Inspect caulking and glazing beads, reseal gaps around frames, and add weatherstripping where cavities exist. Use smart glazing in combination with draught seals to maximize performance, ensuring compliance with relevant building standards.
Incorporate thermal curtains to reduce heat transfer during peak windows-off cycles, particularly on uninsulated sashes. For pipe routes near external walls, install pipe insulation to minimize surface cooling and condensation risk.
Track improvements with periodic blower-door tests and document cost-per-metre-run changes, targeting durable, verifiable gains over a full heating season.
Window Insulation Upgrades
What’re the practical gains from upgrading to smarter glazing for drafty windows and doors, and how do they stack up against standard insulated glazing? You’ll see measurable improvements in heat retention, with U-values typically lowering from around 1.8–2.0 W/m2K (single/poorly insulated) to 1.0–1.3 W/m2K for modern smarter glazing.
Expect reduced heat loss during winter and fewer cold drafts, improving overall comfort. Standards-driven assessments show comparable performance to high-grade insulated glazing, while offering enhanced solar gain control and potential glare reduction when using smart-tilling or tint options.
Focus on compatible Window frames and installation integrity, as frame heat transfer can dominate overall performance. Confirm compliance with UK building regs, test certifications, and confirm moisture management and spacer systems meet PAS 2030/2035 guidance.
Optimize Radiator Layout for Even Heating
To even heating, start by mapping each room’s radiator placement and flow. You’ll want a balanced circuit, prioritising rooms used most and those with colder walls.
Use a heat-loss calculation to identify the correct number and size of radiators per room, then verify returns don’t short-circuit to adjacent spaces.
Position radiators beneath windows where possible to counteract cold drafts, but avoid blocking furniture.
Consider staggered flow to prevent simultaneous cool spots; try to direct warm air toward living areas first.
Align thermostat positioning with room priority, ensuring accessible controls but minimal heat loss from doorways.
After layout adjustments, run a quick performance check: measure surface temperatures, confirm uniform offsets, and document results for ongoing efficiency tracking.
Plan, Budget, and Hire Trusted Trades
Now that you’ve mapped radiator layout and verified even heat distribution, you can plan your project scope, set a realistic budget, and hire trusted trades.
Begin with a clear brief: list measures (insulation, draught-proofing, airtightness) and prioritize by impact.
Estimate costs using current UK rates, including contingency for overruns, and document expected energy savings to justify the spend.
When selecting trades, require measurable credentials, references, and proof of liability insurance.
Verify compatibility with existing building fabric and systems to avoid retrofit conflicts.
Prioritize Historical preservation by respecting period features and using approved, non-invasive methods whenever possible.
Assess material compatibility between new insulation and existing walls, floors, and damp-proofing; choose products tested for older UK homes.
Agree on quality standards, timelines, and post-installation performance checks.
Frequently Asked Questions
How Much Government Grants Are Available for Insulation Upgrades?
Currently, government funding for insulation grants varies by eligibility, region, and program, but you may qualify for thousands in support, potentially covering substantial retrofits; check official schemes and requirements to confirm exact grant amounts and application steps.
Which Insulation Type Suits Solid Brick Walls Best?
Cavity wall insulation is your best fit for solid brick walls, providing a breathable, energy-efficient shell. You’ll evaluate materials, moisture risks, and installers’ standards, comparing U-values and wall compatibility with internal insulation strategies for thorough performance.
Can You Retrofit Underfloor Insulation in Old Cottages?
Yes, you can retrofit underfloor insulation in old cottages. Use solid subflooring checks, install breathable insulation, and guarantee damp control. Pair with underfloor heating if possible, and upgrade loft insulation for overall heat loss reduction.
How Long Does a Typical Insulation Project Take?
A typical insulation project takes days to a few weeks, depending on scope and access. You’ll compare insulation materials, confirm installation timeline, and track progress against standards, ensuring safe, airtight, compliant results throughout your home retrofit.
Are There Any Hidden Costs After Completion?
Like a detective with a budget, you’ll find hidden expenses. There aren’t hidden costs after completion, but beware unexpected fees from installers or aftercare, so track quotes and document milestones to stay data-driven and standards-focused.
Conclusion
You can cut heat loss and costs by tackling insulation smartly, not chaotically. Start with a quick audit to map gaps, then seal drafts and upgrade loft insulation to at least 200mm. A well-planned glazing and radiator layout boosts comfort without overspending. Expect a 10–15% annual heat savings from solid loft and gap fixes alone. With airtightness and compliant upgrades, you’ll meet standards while preserving character—steady comfort, lower bills, and fewer drafts.