You’ll get faster, crisper results by matching roller nap length, material, and design to your surface, paint, and project goals. Short naps work best on flat, high-sheen walls for clean edges; longer naps cover textured ceilings or rough surfaces. Microfiber rolls reduce splatter on smooth surfaces, while synthetic sleeves handle thicker coats and primers. Durable naps last longer, but cost more. For tight spots, use edger or mini rollers. Want more specifics to choose confidently? Keep going.
Choose the Right Roller for Flat Walls and Ceilings
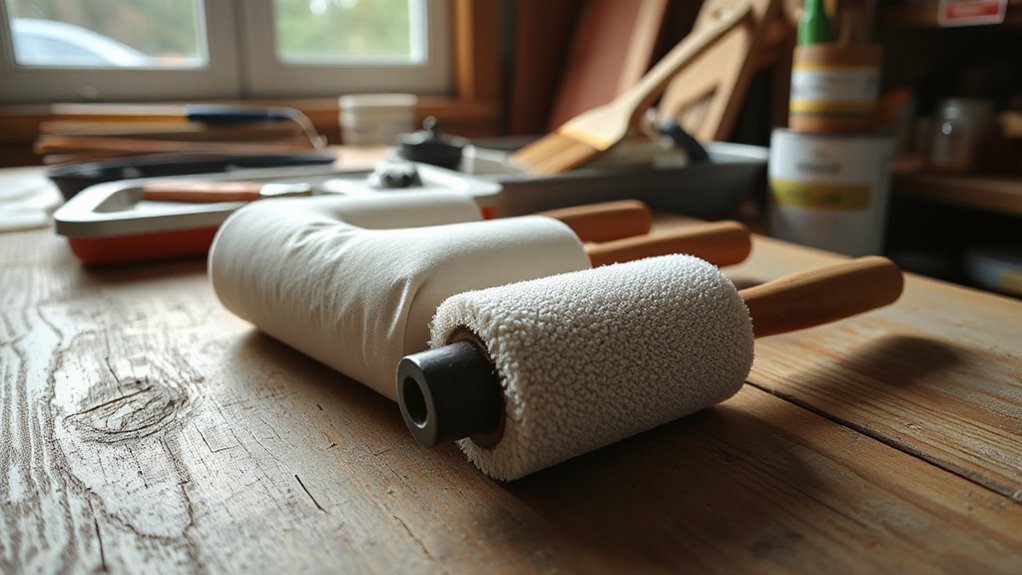
Choosing the right roller for flat walls and ceilings starts with the surface. You’ll assess sheen, texture, and cleanliness, then pick a roller that delivers consistent coverage without gouging.
For smooth flat surfaces, opt for a dense, short-nap roller that lays paint evenly and minimizes stipple. If you’re dealing with a textured ceiling, choose a slightly longer nap to reach crevices without pooling.
Consider roller handle ergonomics to reduce fatigue on long projects, especially when you’re spraying high ceilings or multiple rooms.
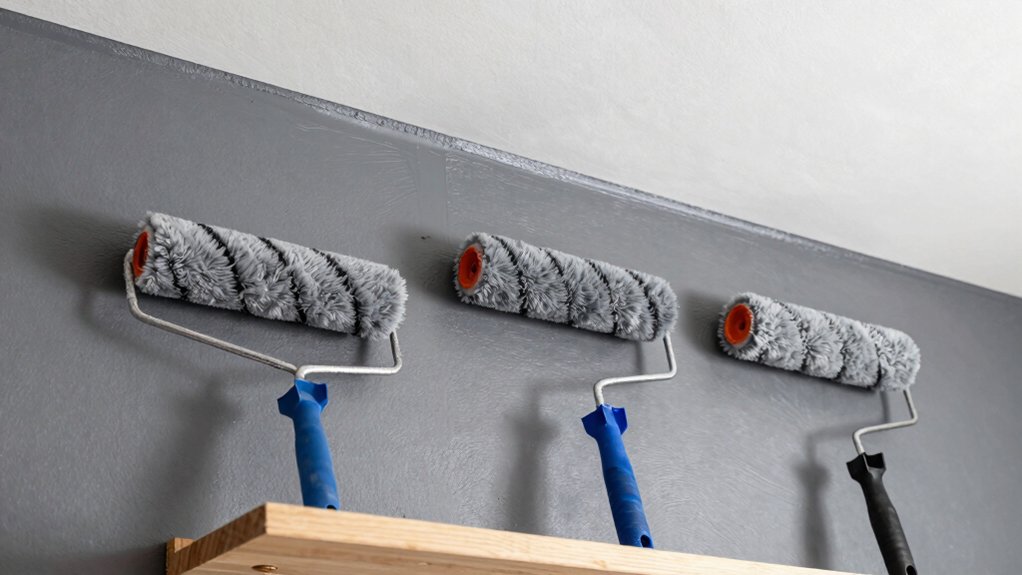
Keep paint roller storage simple: cap and seal sleeves when not in use, and store with hands-free hooks to preserve shape.
With the right roller and smart storage, you’ll finish faster, cleaner, and with professional edges.
How Nap Length Affects Coverage and Finish
Nap length directly influences both coverage and finish. You’ll gain more consistent coats when you pick the right nap for the job, balancing flow and texture.
Short naps reduce stipple and provide precise edges, boosting control on smooth surfaces and trim work.
Longer naps move thicker paint efficiently, increasing coverage per pass but risking lap marks if you don’t roll evenly.
For flat walls, medium to short naps improve finish quality and minimize cleanup, while ceilings or rougher substrates benefit from longer naps to maximize coverage efficiency.
Adjust your technique to the nap: slower, deliberate passes for finer results; faster, steady passes for faster project completion.
Always test a small area first to confirm even color, texture, and drying times.
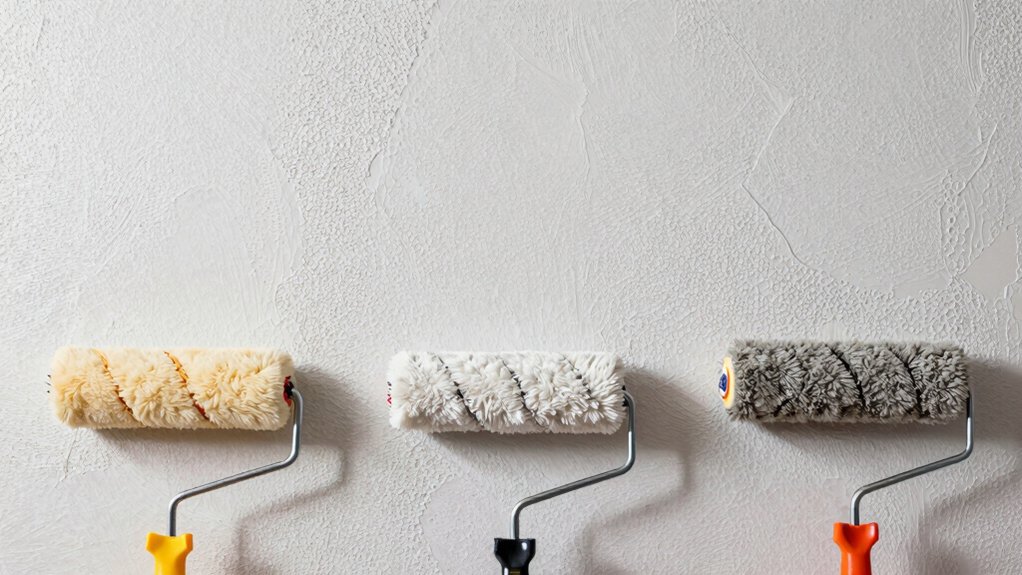
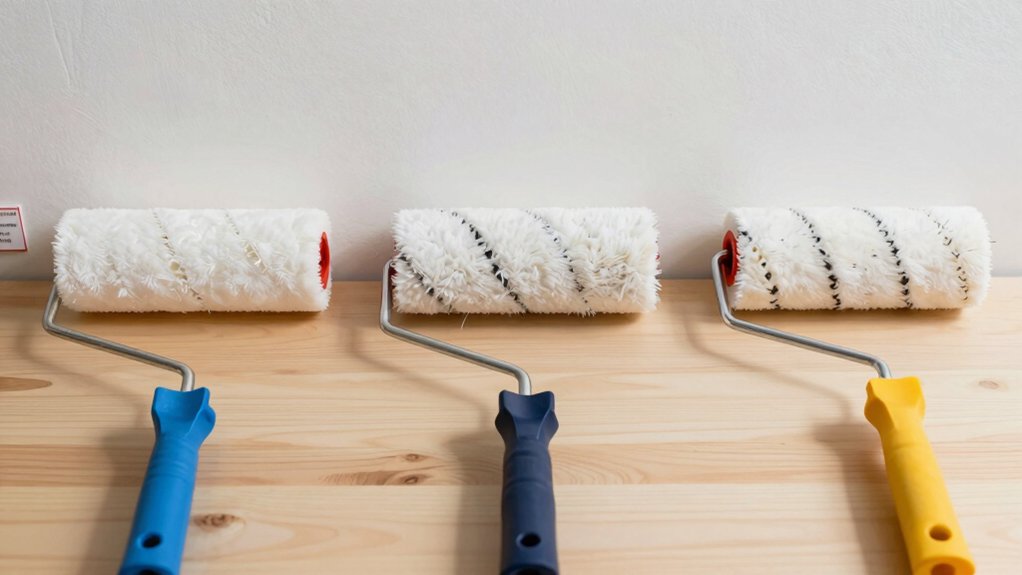
Microfiber vs. Synthetic Rollers: Pros and Best Uses
Microfiber and synthetic rollers each have distinct strengths for home projects, so picking the right one can save time and improve finish. You’ll notice microfiber excels with smooth to semi-smooth surfaces, delivering uniform paint application and minimal splatter. It grips well and releases evenly, reducing lap marks on white walls or trim.
Synthetic rollers shine on rougher textures, offering robust coverage and resilience when you use thicker coatings or primers. For precise edge control, microfiber helps, while synthetics support stronger flow and faster drying on textured surfaces.
Your decision should align with surface preparation and the coating type. If you’re finishing new drywall or plaster, microfiber minimizes texture distortion. If you’re tackling masonry or panels, synthetic options ensure consistent pigment delivery and durability.
Roller Materials and Durability: Which Lasts Longer
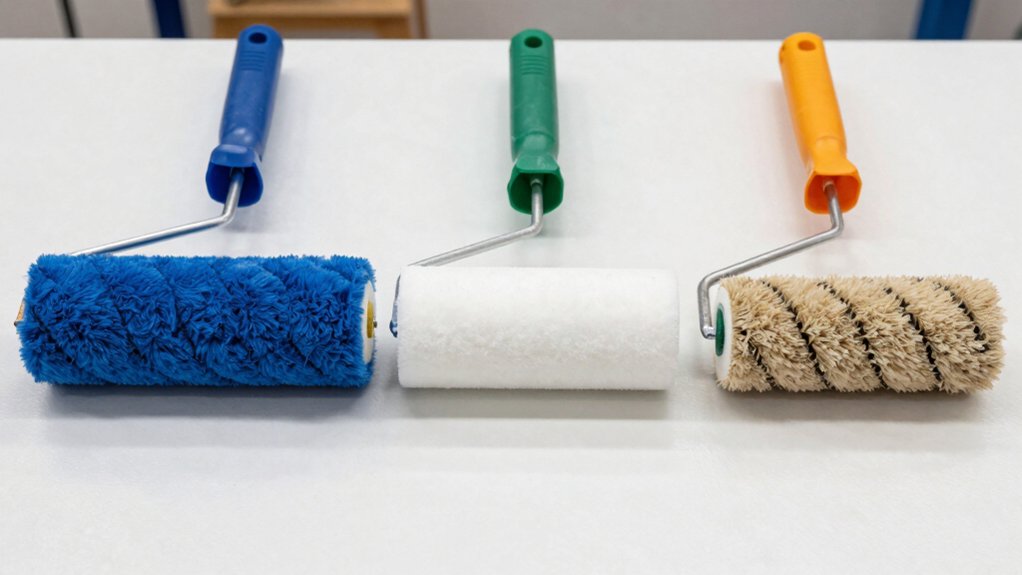
Choose roller materials with durability in mind, since fiber type and cover construction affect how long they last under different paints and solvents. You’ll see longevity vary by fiber strengths, backing, and weave, which influence wear, shedding, and cleanability.
Consider how each factor—Material Longevity Factors and Durability By Fibers—interacts with your project to pick a longer-lasting option.
Material Longevity Factors
When choosing rollers, material longevity hinges on the fiber type, nap length, and backing durability. You’ll decide between synthetic and natural fibers based on stiffness, stain resistance, and how they tolerate solvents.
Nap length directly affects coverage area and paint release; shorter naps suit smooth surfaces, while longer naps handle rough textures with steadier performance.
Backing durability determines overall lifespan under repeated dipping and cleaning cycles. For longevity, prioritize high-quality cores and reinforced jackets that resist fraying and delamination.
Consider how you’ll store and reuse rollers, since improper handling accelerates degradation. Paint absorption matters too: rollers that hold excess paint add weight, strain shoulders, and wear faster.
After use, rinse thoroughly and air-dry fully, then store upright to avoid deformation. Roller storage decisions preserve performance and extend service life.
Durability By Fibers
Fibers determine how long a roller lasts under real-world use, so you’ll want to weigh material construction alongside wear factors. Durability hinges on fiber strength and how well the core tolerates solvents and abrasion. Natural fibers soak up solvent, swell, and shed faster, while high‑quality synthetic fibers resist breakage and keep shape.
Short, dense fibers deliver smoother coverage but can wear quickly with aggressive back-and-forth motion; longer, tougher fibers resist fraying yet may leave micro-texturing. Material wear isn’t just fiber; consider resin binders that prevent eventual shedding and the core’s rigidity for consistent pickup.
For tough coatings, choose rollers with robust fiber strength and proven wear resistance. In practice, balance cost with expected use, replacing worn fibers before performance drops.
Match Roller Type to Paint Sheen and Texture
If you’re matching rollers to your paint sheen, start with the sheen and texture you’re applying.
For smooth finishes, opt for fine-nap rollers and exact pile height to avoid texture transfer, and adjust based on the paint type.
Consider how the roller’s coverage lines up with texture and the paint’s gloss to prevent streaks and uneven islands.
Roller Types By Sheen
Choosing the right roller for the job means matching the sheen and texture of your paint to the roller’s nap and core. You’ll pick low-nap rollers for flat sheens and smooth surfaces, reserving thicker naps for eggshell or satin where slight texture hides imperfections.
High-sheen coatings demand tight uniform coverage, so use a dense nap to minimize stipple. For matte finishes, opt for longer naps to carry more paint and evade lap lines, then refresh with a clean roller to preserve consistency.
Consider roller cores with recessed or woven sleeves to align with the texture you’re applying. Focus on paint textures and roller ergonomics to sustain control, reduce fatigue, and deliver crisp edges, clean lines, and durable, professional results.
Texture, Paint, Roller Match
Match your roller type to both the paint’s sheen and its texture to get a smooth, durable finish. You should pick rollers that align with texture techniques and the paint color’s demands.
For eggshell or satin sheens, use a short-nap roller to minimize texture transfer and ensure a sleek look.
For flat or matte finishes with rough surfaces, opt for a medium-nap roller to embed texture without overworking.
When you’re applying thick acrylics or textured coatings, a high-nap roller helps capture irregularities for consistent coverage.
Test a small area first to confirm you’re not pulling fibers or leaving stippling.
Always roll in steady, overlapping passes, maintain a wet edge, and avoid overworking.
This approach yields precise, durable results with controlled texture.
Best Rollers for Textured Surfaces and Stippled Walls
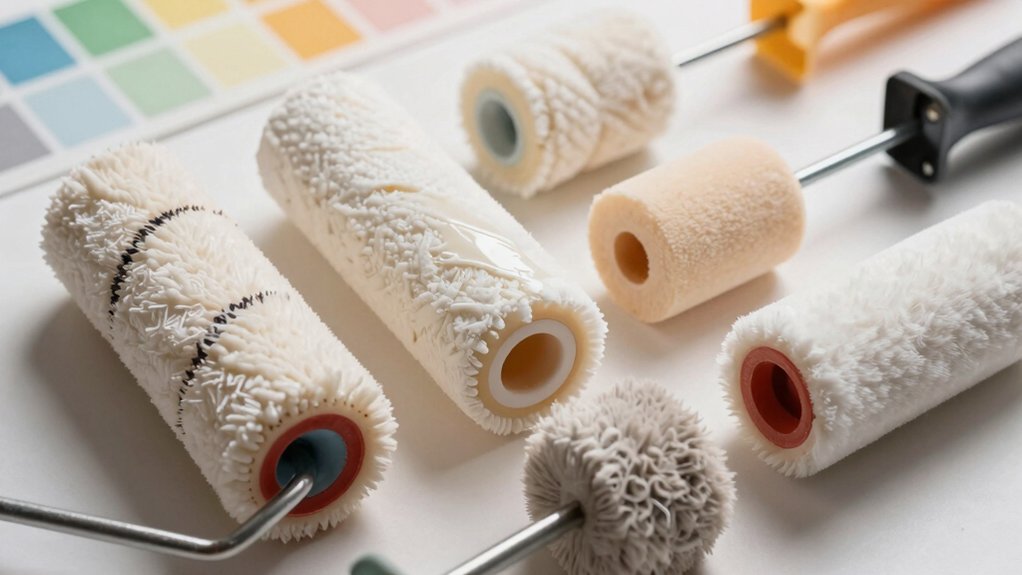
Textured surfaces and stippled walls demand rollers with the right nap length to trap and lay down paint evenly. For textured ceilings or walls, choose a 3/4-inch nap roller to grip heavy textures, delivering solid coverage without excessive splatter.
For smoother stippled textures, a 1/2-inch nap provides controlled release and crisp edges. If you’re tackling bold textures, consider a mini-roller with a compatible nap to reach tight corners without dragging.
Look for rollers with dense, split-fiber construction to resist shedding and maintain shape under load. Pair with compatible rollers frames and extension poles to keep line quality steady.
Compare texture options and stippled techniques to select the right tool for the job, ensuring even finish, reduced touch-ups, and faster project completion.
Quick-Start Guide: Pick Rollers by Project Type
For your project, choose roller types that match both the surface and the material you’re applying, ensuring compatibility before you start.
Match roller styles to project material—smooth walls, textured surfaces, and outdoor substrates each demand different fur and nap lengths for even coverage.
This quick-start guide helps you anticipate compatibility and adapt the roller accordingly, so you finish with a clean, professional look.
Roller Type Compatibility
Selecting the right roller type for your project starts with the surface and paint finish you’re aiming for. You’ll match roller texture to substrate and sheen, so the finish looks smooth, even, and durable. Compatibility matters: solvent- vs water-based paints, nap length, and roller material affect coverage and cleanup. Use the wrong combination, and you’ll see streaks, splatter, or poor adhesion.
Prioritize project goals and choose accordingly.
- Understand surface type and sheen to select the correct nap
- Pair roller material with paint type for best transfer and cleanup
- Include proper roller storage and paint roller accessories to preserve performance
When you plan ahead, you’ll minimize rework and maximize speed, delivering professional results with confidence.
Project Material Adaptation
When you’re choosing rollers by project type, start with the material you’ll be applying and the surface you’ll cover. For paint adhesion, select a roller texture that matches viscosity and texture—smooth for enamel, knit for latex.
If you’re working on rough surfaces, prefer a denser nap or a mixed-fiber cover to push pigment into crevices without overloading. For primer, choose surfaces that resist shedding and ensure even coverage, minimizing lap marks.
Consider surface preparation: clean, dry, and scuff where needed to maximize transfer. Use high-adhesion rollers for chalky or glossy substrates, and switch to rebound-coated cores for heavy loads on large areas.
Match roller width to project size to maintain control, reduce fatigue, and achieve consistent, durable results.
Load, Roll, and Avoid Common Roller Marks
To avoid roller marks, load the tray evenly and apply paint with steady, overlapping strokes while keeping the roller saturated but not dripping. You control coverage by maintaining consistent pressure and avoiding heavy back-and-forth scrubbing. Balance efficiency with precision to lock in a smooth finish, using proper paint application techniques and paying attention to roller ergonomics.
- Load and reload in small, controlled amounts to prevent overloading.
- Maintain a cross-hatch pattern for seamless coloration.
- Lift and pivot the roller to avoid drag lines at edges.
Focus on consistent speed, steady pressure, and minimal re-rolling over dry edges. This approach reduces lap marks and enhances finish quality, delivering professional results with power and efficiency.
Cleaning, Maintenance, and Extending Roller Life
Regular cleaning after each use prevents glaze or paint from drying hard on the nap, corners, and ferrule, which keeps your roller of service and helps avoid coating buildup.
To extend life, rinse thoroughly in the appropriate solvent or water, depending on the product, then agitate to release embedded material. Dry completely before storage to prevent rust and mold.
Inspect for wear—snagging, loose ferrules, or shedding nap means replace parts or the whole roller fast.
Clean routines should be brisk and consistent: wipe the frame, remove residual paint with a brush comb, and store upright in a ventilated area.
For storage tips, keep it in a labeled, dry container away from dust.
Proper maintenance minimizes downtime and maximizes performance for your next project.
Budget vs Performance: Where to Spend on Rollers
Choosing the right balance between budget and performance starts with what you’re painting and how often you’ll use the roller. When it comes to a paint roller, you don’t have to break the bank to get solid results, but you should invest where it matters: durability, coverage, and finish quality.
If you’re tackling wall texture or frequent projects, spend on a mid- to high-grade sleeve and core for fewer drips and cleaner edges. For rare, simple jobs, a basic kit can suffice, reducing upfront cost without sacrificing results.
- Prioritize sleeve quality for texture consistency
- Match core durability to project cadence
- Reserve premium options for high-visibility walls only
Specialty Rollers: Mini, Curved-Edge, and Edger Options
Specialty rollers save time and improve precision for tight spots and unique textures. You’ll reach corners, tight seams, and curved surfaces with dedicated tools that standard rollers miss.
Mini rollers shrink the footprint without sacrificing coverage, letting you maintain color consistency in small patches and around fixtures.
Curved edge options tackle moldings and railings, delivering clean lines where flat edges blur.
Edger options extend your edge control along floors and wall progressions, reducing touch-ups later.
When you select these, you gain control, speed, and uniform results without a full-tool switch.
Use them for accent walls, ceilings, and delicate surfaces where vibration and fatigue would slow a project.
Choose appropriately sized mini rollers and curved edge options to dominate precision tasks.
Decision Framework: Pick the Right Roller in 4 Steps
To pick the right roller, follow a simple four-step framework that keeps you efficient and precise:
Assess your project, match the furthest need to a roller type, consider nap length and texture, then confirm coverage and cleanability. You’ll optimize performance by aligning material and technique with your goal, ensuring strong paint adhesion and minimal rework.
Plan ahead for storage and maintenance, so your tools stay ready when you need them. This framework guides you to decisive choices, reducing guesswork and waste.
- Evaluate surface type and texture to select the correct roller
- Choose nap length for coverage, finish, and paint adhesion
- Decide on practical roller storage and cleanup approach to stay prepared
Conclusion
You’ll love how simple it sounds—until you discover there isn’t a single perfect roller. Flats won’t glide on curved ceilings, microfibers drink paint like a champ, and cheap synthetics sag faster than your DIY confidence. But pick right: match nap, sheen, and texture, clean between uses, and invest where it truly saves you time. In the end, the “best” roller isn’t magic—it’s a smart compromise you actually follow through on, not just admire in the catalog. Irony, served kindly.