
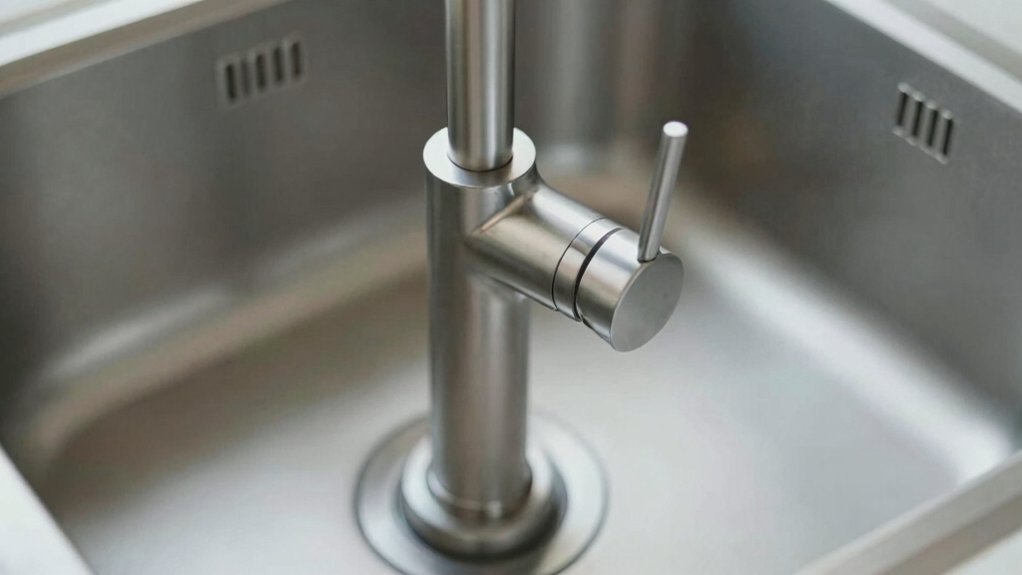
The right faucet hole size depends on your faucet type and sink. Most single-handle models fit a 1 3/8″ to 1 1/2″ deck hole, while widespread or professional setups require roughly 1 1/2″ to 2 1/8″ with proper spacing. Measure your existing opening precisely, and check your faucet’s gasket and shank needs. If you’re between sizes, select the nearest larger option. With the correct fit, you’ll ensure a leak‑free seal and solid mounting as you continue.
Understanding Standard Faucet Hole Sizes
Standard faucet installations assume common countertop and deck configurations, where hole sizes typically range from 1 3/8 inches to 1 1/2 inches in diameter for single-handle centerset setups and 1 1/2 inches to 2 1/8 inches for widespread or professional models.
You’ll evaluate hole size by matching mounting type to the faucet’s shank diameter and gasket thickness, ensuring a flush seal. Measure from edge to center, confirm drill bit compatibility, and verify deck thickness compatibility with the installation kit.
Adhere to installation guidelines that specify permissible hole tolerances and санитарy clearance around the faucet base. Consider water pressure requirements and supply line routing to prevent leaks.
Accurate sizing reduces rework, accelerates fitment, and preserves fixture integrity during hydrostatic testing and final connection.
Single-Hole vs. Multi-Hole Setups
Single-hole and multi-hole faucet setups differ mainly in how the deck is prepared and how the faucet mounts. In a single-hole configuration, you install a single opening using a single-hole deck plate or no plate at all, which minimizes material and simplifies sealing.
For multi-hole setups, you accommodate two or more openings, often with a deck plate or a custom escutcheon to cover unused holes. The choice affects water flow characteristics, mounting hardware, and under-sink accessibility.
Consider supply line routing, gasket thickness, and valve clearance during installation. Installation tips include verifying compatibility with your faucet’s mounting system, ensuring secure fasteners, and testing for leaks before completing trim.
Plan around water flow expectations and confirm that the chosen setup aligns with your sink cutout and fixture model.
Measuring Hole Diameter Accurately
Accurately measuring hole diameter begins with identifying the faucet’s recommended deck hole size and the sink’s cutout tolerance. You verify the specified deck-hole range from the faucet manufacturer and compare it to the sink’s permissible cutout size.
Use calibrated calipers or a precise hole gauge to measure the existing opening, noting a tolerance window rather than a single value. Consider installation height when aligning the faucet body; a misjudged height can imply an oversized cutout even with correct diameter.
Record the precise diameter, then cross-check against the faucet material and access for gaskets, seals, and mounting hardware. If measurements fall between standard options, opt for the nearest larger size to accommodate secure seating and consistent seal integrity.
Avoid forcing components that don’t align with the measured diameter.
Common Hole Diameters for Kitchen Sinks
Common hole diameters vary by faucet type and drain configuration, so you’ll want to confirm the pattern before installation.
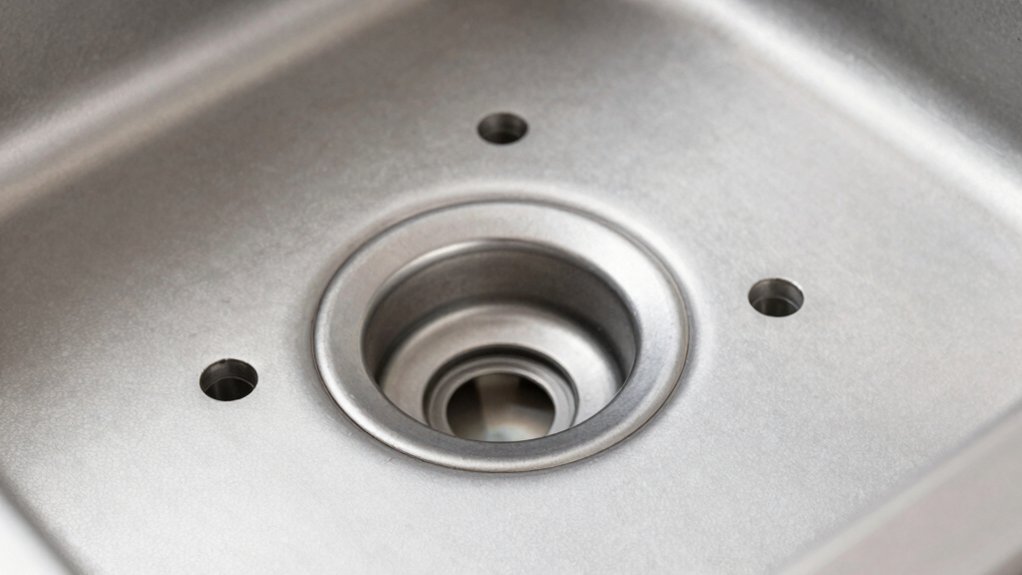
Consider typical hole sizes for single-drain setups versus dual-drain setups, and account for clearances around the mounting hardware.
To guarantee a proper fit, measure the existing sink opening and cross-check with your faucet’s mounting specs.
Typical Hole Sizes
When selecting a faucet for your kitchen sink, you’ll need to know the common hole diameters and how they match different faucet configurations. Typical hole sizes are measured in inches and reflect standard mounting patterns: 1-hole, 3-hole (center-to-center spacing commonly 8 inches), and 4-hole configurations.
For single-handle faucets, a single 1 3/8 inch hole is common, while widespread 3-hole setups use 8-inch spacing with 1 1/4 to 1 1/2 inch holes per port. Deck-mount islands may require larger plate assemblies or escutcheons.
In multi-hole decks, ensure compatibility with faucet shanks and spray components. Consider bathroom fixtures alignment, valve access, and water pressure implications when planning rough-in.
Precision sizing prevents leaks, reduces rework, and guarantees consistent performance under typical water pressure scenarios.
Single Vs Dual Drains
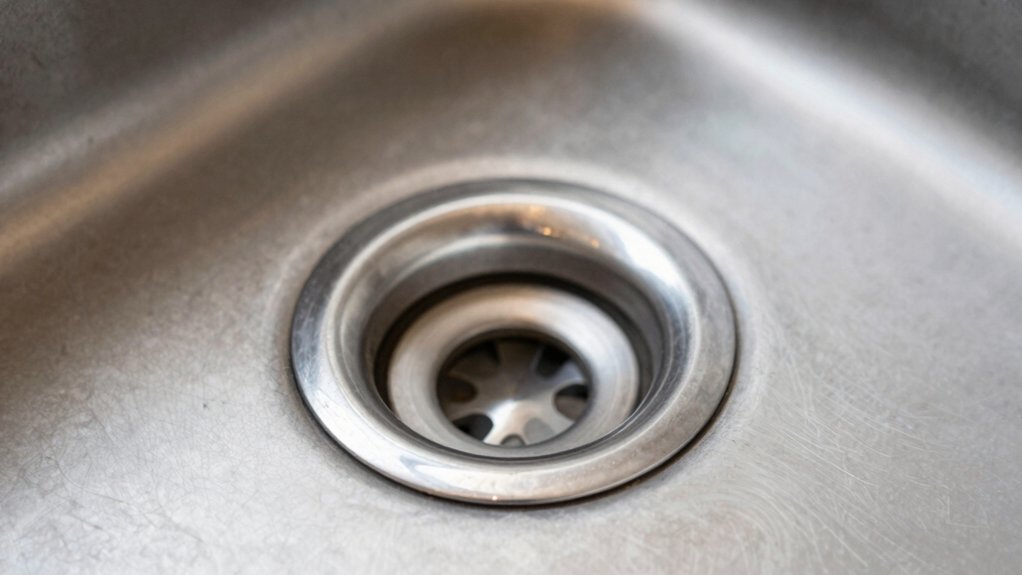
If your sink uses a single drain, you’ll typically rely on one knockout hole sized to accommodate the waste fitting and any attached disposal or dishwasher inlet.
For dual drains, you’ll locate two holes with standard spacing to match the faucet shank arrangement and deck thickness.
Hole diameter choices vary by faucet type, with single-handle models often using 1 3/8 to 1 1/2 inches and widespread configurations requiring larger cutouts.
Consider faucet material as it can influence gasket sizing and edge clearance, especially with metal finishes that expand slightly under heat.
Installation height remains a critical constraint: taller spouts may require extra clearance above the deck, while low-profile designs demand precise sink thickness compatibility.
Choose holes to preserve seal integrity and maintain balanced line tension for optimal performance.
Measuring for Fit
To guarantee a proper fit, start by identifying your sink’s drill-out size and matching it to your faucet’s mounting shank. Measure diameter with calipers or rulers, confirming standard sizes: 1 1/4″, 1 1/2″, and 1 3/8″ are common for kitchen sinks.
Record exact hole diameter, edge finish, and any counterbore depth. Compare these dimensions to your faucet’s mounting shank and gasket compatibility, noting any adapters or escutcheon requirements.
Consider multi-hole configurations versus single-hole installations, ensuring alignment with supply lines and clearance for handles.
Choose faucet materials suited to your water quality and usage to optimize longevity. Factor water conservation goals by selecting low-flow, compliant models.
Finally, verify that the chosen hole diameter accommodates any integrated accessories, such as filter housings or spray wands, without impeding operation.
Escutcheon and Splash Plate Fitment
Escutcheon and splash plate fitment centers on guaranteeing a clean, watertight faucet installation. You verify that the escutcheon aligns with mounting holes and seals against the countertop or deck. Check escutcheon fitment to confirm it covers the rough-in hardware without binding or wobble, and ensure the gasket or caulked seam remains uninterrupted.
For splash plate compatibility, measure hole spacing and plate thickness to avoid interference with the faucet shank, supply lines, or water stops. Confirm that the splash plate provides a continuous barrier upstream of the sink surface, preventing splash while not restricting handle movement.
Use manufacturer guidance to match escutcheon and splash plate components, ensuring a unified installation due to precise hole spacing, material compatibility, and secure fastener engagement.
3-Hole Configurations and Spacing
Hole configurations and spacing determine whether your faucet and accessories align with the sink, supply lines, and deck. Your project succeeds when hole patterns match the faucet’s base, handles, and optional sprayer.
Start with the deck’s sheet metal or stone tolerance to avoid irregular gaps. Measure center-to-center spacing for single-, dual-, and widespread models, and verify compatibility with escutcheons and gaskets.
Consider mounting height to ensure clearance for under-sink hardware and soap dispensers. Ensure installation height complements your fixture’s vertical reach, not just horizontal fit.
Factor outcounter edge radii and edge lip relief that could obstruct handle operation. Finally, plan for future upgrades by reserving optional hole(s) for accessories, preventing costly rework and misalignment with the sink and supply lines.
Diameter vs. Depth: What Matters Most
Diameter and depth set the fitment baseline: you must match the hole diameter to the faucet shank and guarantee the depth accommodates mounting hardware without bottoming out.
In practice, tolerance between hole size and spout diameter dictates stability, leak risk, and seal integrity. Consider how diameter governs clearance and how depth influences grip and gasket seating to determine overall compatibility.
Diameter Vs Depth
While diameter sets the opening size, depth determines how much faucet body and securing hardware can extend below the surface, which in turn affects compatibility with mounting hardware and under-sink clearance.
You must weigh both factors: a larger diameter accommodates bulkier faucet bases and flexible hoses, yet insufficient depth can obscure mounting hardware and limit gasket seating. Depth governs clearance behind the fixture, influencing installation height and the ability to seal without strain on supply lines.
In practice, prioritize matching faucet material to your sink cavity profile and your chosen installation height, ensuring the body fits without interference with cabinetry or insulation. If depth is excessive, trim or select a slimline model.
Precision alignment is essential for leak-free performance and sustained stability over time.
Fitment Implications
When evaluating fitment, depth dictates how much faucet body and mounting hardware can sit below the mounting surface, while diameter determines the opening needed for the base and hoses; both must align with the sink cavity and cabinetry to guarantee proper seating and clearance.
You assess depth to ensure the shank, gasket, and mounting nut don’t collide with cabinetry, dash panel, or insulation, and you verify depth tolerance against the faucet’s escutcheon height.
Diameter checks prevent base underhang and hose routing issues, ensuring the hole supports the mounting flange without binding.
Consider water pressure implications when choosing gaskets and spacers, and verify material compatibility with the sink material and supply lines. Incompatibilities can distort seals, leading to leaks or failure over time.
Tools You’ll Need for Hole Measurement
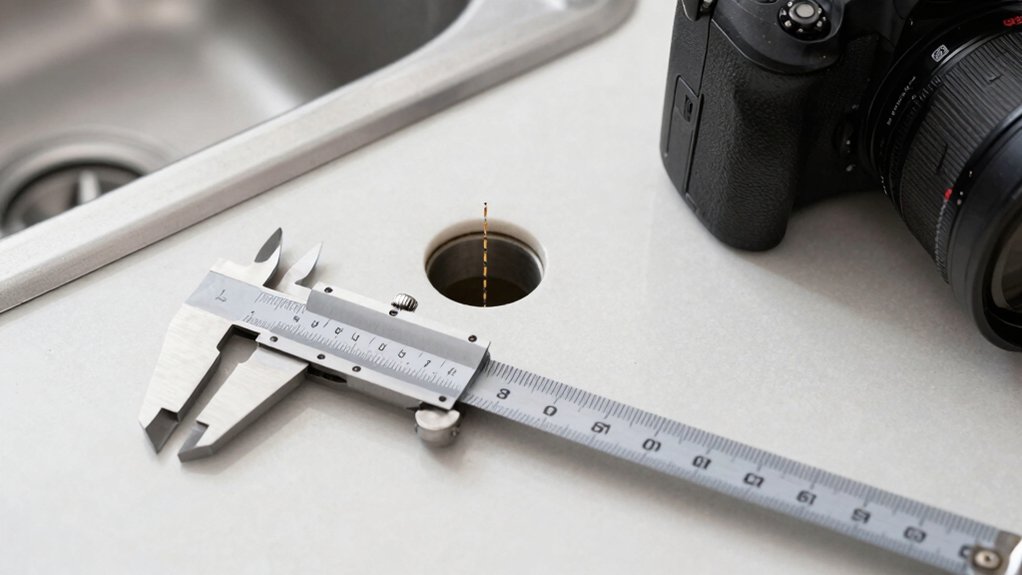
To measure the faucet hole accurately, you’ll need a few essential tools: a tape measure or ruler for precise span, a caliper for diameter checks, a pencil or marker for marking centers, a straightedge or square to verify alignment, and a hole saw or drill guide if you’re enlarging an existing opening.
Start by establishing reference points on the deck or sink edge, then confirm the hole’s center with a compass or center punch. Use the caliper to confirm minimum bore diameter vs. faucet shank specs, and record exact measurements for installation notes.
Choose tools with corrosion resistance and non-slip grips to maintain accuracy under wet conditions. Favor Water conservation and Eco friendly materials when selecting hardware to minimize waste and promote sustainable practice.
How Faucet Mounting Hardware Affects Hole Size
Faucet mounting hardware directly determines the required hole size and seating depth. You must assess the shank diameter, gasket thickness, and base plate compatibility before drilling.
For single-hole installations, confirm the mounting nut dimensions and determine if a flange or decorative escutcheon modifies the effective hole diameter.
For widespread models, consider a two- or three-hole layout and verify that the handle spacing matches your counter design.
Material tolerances in faucet finishes can subtly affect seating depth, so measure with a caliper and account for thread pitch.
Make certain installation tips include aligning the faucet body vertically, tightening evenly, and testing for leaks after mounting.
Precision here prevents misfit and ensures durable performance.
Quick Tips for a Leak-Free Fit
Quick tips for a leak-free fit start with precise preparation: verify hole size and seating depth, then double-check gasket and escutcheon compatibility before tightening. You should inspect faucet material and valve positioning to prevent binding and stress on threads.
Align mounting shanks to the deck plane, avoiding eccentric seating that leads to gaps. Use a calibrated wrench to apply torque within manufacturer specs, not exceeding recommended limits.
Ascertain supply lines are compatible with the faucet inlets and that washers remain seated during final tightening. Confirm installation safety by shutting off all supplies and testing for leaks at low pressure before full operation.
Maintain clean work surfaces, avoid metal-to-metal contact, and recheck sealants after initial pressure cycles. Document the final configuration for future maintenance.
Conclusion
You’ve got this precision game locked in. Measure twice, drill once, and your sink will sing with flawless fitment like a symphony of perfectly sealed particles. Don’t underestimate escutcheon drama or the depth of mounting hardware—they’re the secret boss battles that decide leakage fate. With the right tools and eye for diameter, you’ll dodge leaks, wobble, and warranty woes. In short: meticulous measurement equals rock-solid, leak-free faucet performance—no drama, just exactitude, every single time.


