
To replace your garage door springs safely, start by sizing the springs: measure inside diameter, wind direction, and spring length—and identify torsion vs. extension. Before you work, secure the door and release tension with winding bars, wearing gloves and eye protection. Remove old springs and hardware, then install new springs with the correct cones and turns. Recheck balance, lubricate moving parts, and perform a safety inspection. If you keep going, you’ll discover more practical steps and tips.
Assessing Your Garage Door Springs
Evaluating Your Garage Door Springs starts with accurate sizing and orientation. You’ll determine the correct size by measuring the inside diameter, noting examples like p175=1 3/4 or p200=2 inches.
Next, identify the wind direction—right wind (RHW) or left wind (LHW)—so you match the door torsion spring or extension springs precisely.
Count coils or measure coil spacing to gauge wire size and spring specifications. Then remove the spring from the door to measure its length accurately, excluding cones, with the spring unwound.
Use photos of your garage door and spring to assist in identification before ordering or replacement. This careful assessment prevents errors and supports safe installation of garage door torsion, torsion springs, and related components.
Safety Precautions Before You Begin
Before you touch anything, secure the door and release any built-up tension safely.
Before you begin, wear gloves and eye protection to guard against snapbacks and injuries from springs under high tension.
Make certain the door is securely supported or clamped so it won’t move during the work.
Remember that torsion springs are under extreme pressure, and improper handling can cause serious harm, so use proper winding bars and follow safe techniques.
Always release tension only with appropriate tools and procedures, not improvisation.
If you’re unsure about the correct steps, consult the manufacturer’s instructions or seek professional help.
Prioritize safety first, and don’t skip any protective measures, even for seemingly simple adjustments.
Identifying Torsion vs. Extension Springs
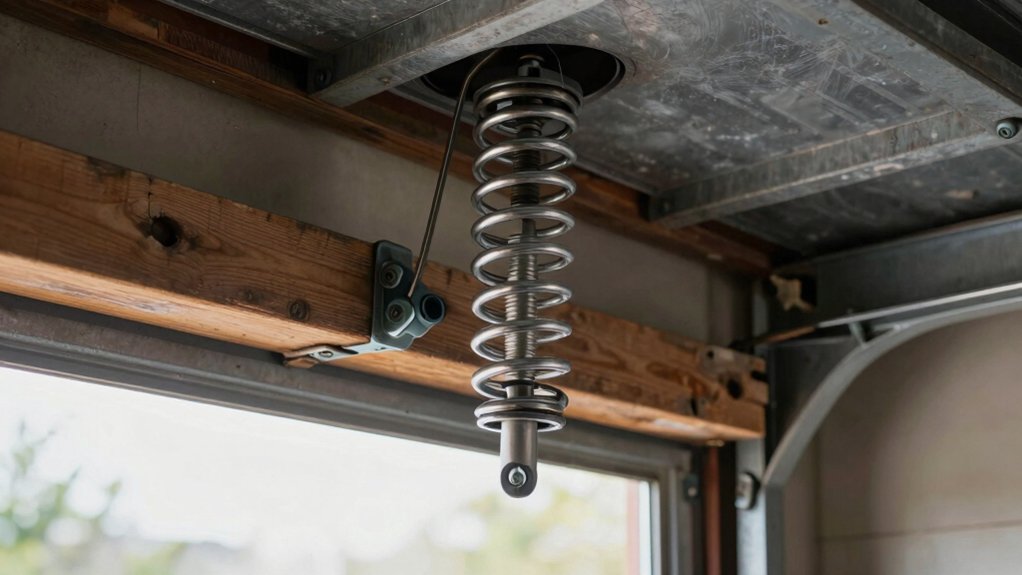
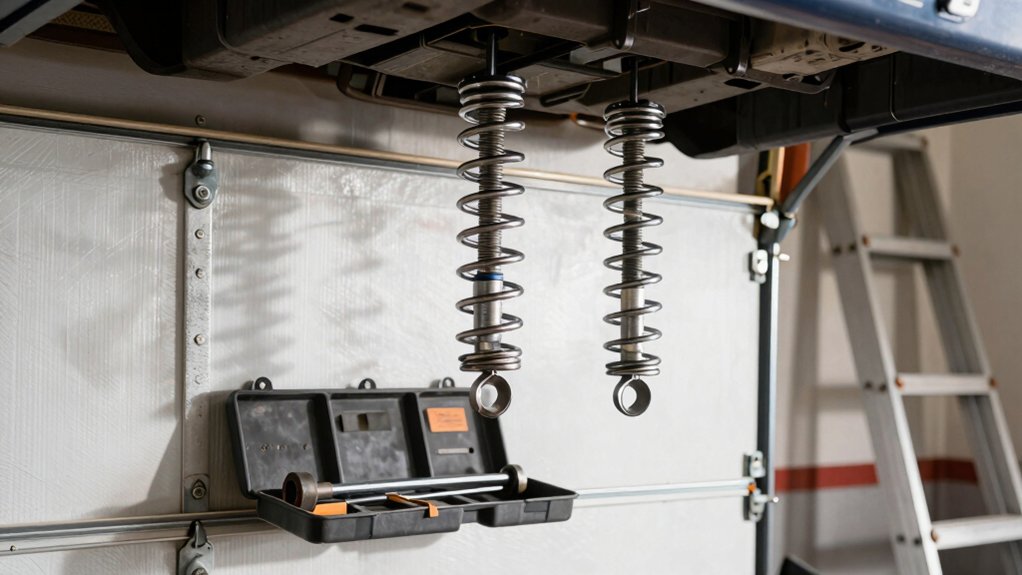
Torsion springs sit horizontally above the door on a central shaft, while extension springs run along the sides of the tracks. You identify them by placement: torsion above, extension on each side.
The way they operate also differs: torsion springs wind and unwind around a central shaft as the door moves, whereas extension springs stretch and contract along the horizontal tracks.
Torsion springs typically use thicker wire and offer higher durability and cycle ratings than extension springs.
You’ll notice extension springs are usually identified by hooks and appear less complex to install, whereas torsion springs require winding and specialized tools.
The winding direction—left or right—and cone placement help you distinguish torsion from extension springs. Remember, accurate identification guides proper replacement and safer handling.
Steps to Replace Torsion Springs
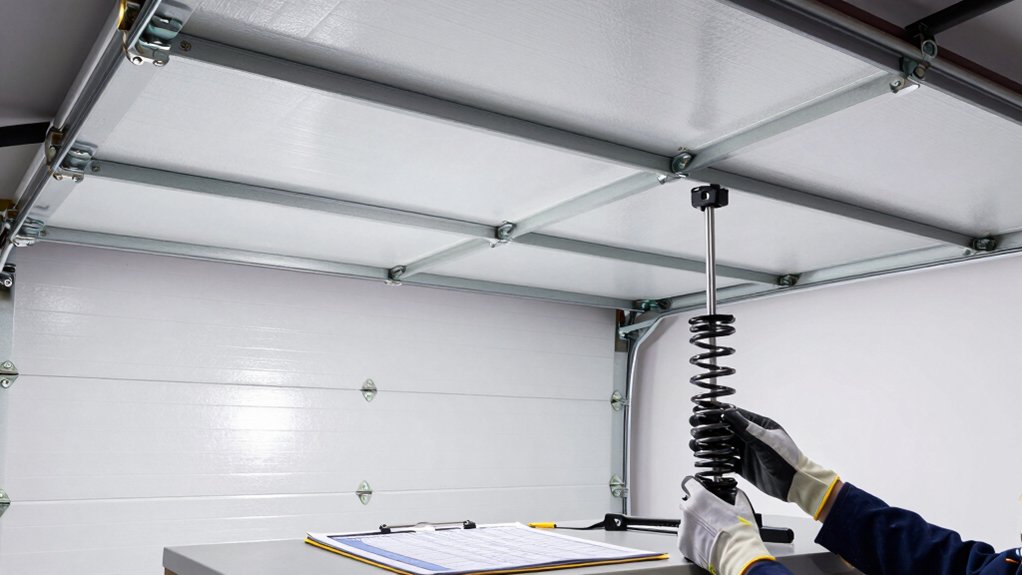
To replace torsion springs safely, start by measuring the wire size, inside diameter, and length of your existing springs so you can pick accurate replacements.
Next, release the tension from the old springs carefully using winding bars and follow safety protocols to prevent injury.
With the door supported, remove springs, cones, and any mounting hardware, keeping track of parts for proper reassembly.
Use the Spring Finder Tool and cycle ratings to choose springs with appropriate durability, such as those rated for over 7 million cycles for long-term use.
Install the new springs with cones and wind them the correct number of turns as specified for your spring size to ensure proper tension.
Finally, test the door’s balance and operation, and seek professional help if you’re unsure.
Post-Installation Safety Check and Maintenance
After you replace the springs, inspect all connections for security and alignment, and make any needed adjustments before testing the door further.
Then release tension gradually with winding bars, and verify the door opens smoothly without abnormal noises or resistance.
Test the door’s balance by manually lifting it to halfway; it should stay in place without drifting up or down.
Lubricate the springs, hinges, and tracks with garage door lubricant to prevent rust and guarantee ideal performance.
Perform a general safety check: look for wear, corrosion, or damage to springs and hardware, and address issues promptly.
Schedule semiannual checks to catch developing problems, re-tighten fasteners, and confirm proper alignment.
Frequently Asked Questions
How Much Does It Cost to Replace a Spring on a Garage Door?
You’ll typically pay about $36 to $108 per spring, with professional installation often raising total costs. Original torsion springs cost around $25 per spring, while larger, high-capacity ones cost more, plus potential tool and service fees.
Can I Replace a Garage Door Spring by Myself?
Yes, you can try, but carefully consider safety first, buddy: brittle, dangerous, formidable; don’t DIY dangerously. Seek skilled specialists, secure safeguards, study spring specs, and strictly follow steps, since precision, professional tools, and proper winding prevent painful, preventable problems.
How Do I Tell What Garage Door Spring I Need?
You tell which spring you need by measuring diameter, counting coils, and noting wind direction, then confirm with color codes or photos. Remove the old spring, measure its unwound length, and compare to size charts before purchasing.
Does Home Depot Repair Garage Door Springs?
Yes, Home Depot can repair garage door springs, often with professional technicians for torsion and extension springs. Availability varies by location, so call ahead to confirm service options, pricing, and whether you need a technician on-site.
Conclusion
Replacing garage door springs is serious work, but you’ve got this. Remember the time a neighbor’s spring snapped and saved a car’s interior by snapping early—proof that proactive maintenance matters. When you’re done, test balance gently: open halfway, let go, and observe smooth motion. If anything feels off, stop and call a pro. With proper prep and care, your door stays safe, reliable, and quietly confident for years to come.


