Let’s start by understanding what makes Saltillo tile unique and how a proper sealer can either highlight or dull its character. You’ll want a compatible sealer, thorough surface prep, and a steady application routine to avoid blotching or gaps. If you skip cracks or moisture checks, you risk future damage. Keep this process tight, and you’ll see how the right steps set up a durable finish—and why the next steps matter for lasting results.
Understanding Saltillo Tile Basics
Saltillo tiles are handmade clay tiles known for their warm, irregular surface and porous texture. You’ll encounter a variable thickness and inconsistent edge profiles, which affect flatness and grout line planning.
Each tile absorbs moisture at a different rate, so you must test porosity before any sealing. Expect color variation from sun exposure and firing temperatures; this isn’t a defect, it’s a feature that informs installation and maintenance.
Typical finishes include unglazed, lightly glazed, or sealed with a penetrating product, but you’ll confirm compatibility with your chosen sealant type.
Handle tiles gently to avoid chipping during cutting and setting.
When you prepare the substrate, ensure a stable, clean, dust-free surface, and use a closely sized bed to minimize movement and cracking.
Choosing the Right Sealer for Your Saltillo Tiles
Choosing the right sealer for Saltillo tiles starts with understanding porosity and finish goals: Saltillo’s uneven surface and varying moisture uptake mean porosity can differ tile to tile, so test samples and read the product data sheets carefully.
You’ll select a sealer based on desired sheen, wear resistance, and water uptake limits. For high-traffic floors, choose semi-gloss or matte acrylic or polymer-modified sealers with good abrasion resistance and easy maintenance.
If you favor a natural look, consider a low-penetration penetrating sealer that reduces staining while preserving texture.
Avoid over-application; apply in thin, even coats and back-roll to prevent pooling.
Confirm compatibility with cleaners you’ll use, and ensure the sealer remains breathable to prevent efflorescence and moisture traps.
Document cure times and reapplication intervals for ongoing upkeep.
Surface Prep Before Sealing
Before sealing, you must prepare the surface to guarantee even penetration and long-lasting protection. Begin by cleaning the floor with a pH-neutral degreaser to remove dust, oils, and residues without etching the tiles. Rinse thoroughly with clean water and allow complete drying, as moisture traps hinder sealant adhesion.
Inspect for cracks or rough patches; repair any damage with epoxy or compatible filler. Then sand high-gloss areas to create a uniform matte surface. Vacuum or tack-remove all dust before sealing prep.
If tiles are uneven, consider a light mechanical profile to promote adhesion, but avoid aggressive grinding that could gouge Saltillo. Ensure the area is dust-free, dry, and temperature-controlled to optimize film formation and minimize pinholes.
Step-by-Step Sealing Process
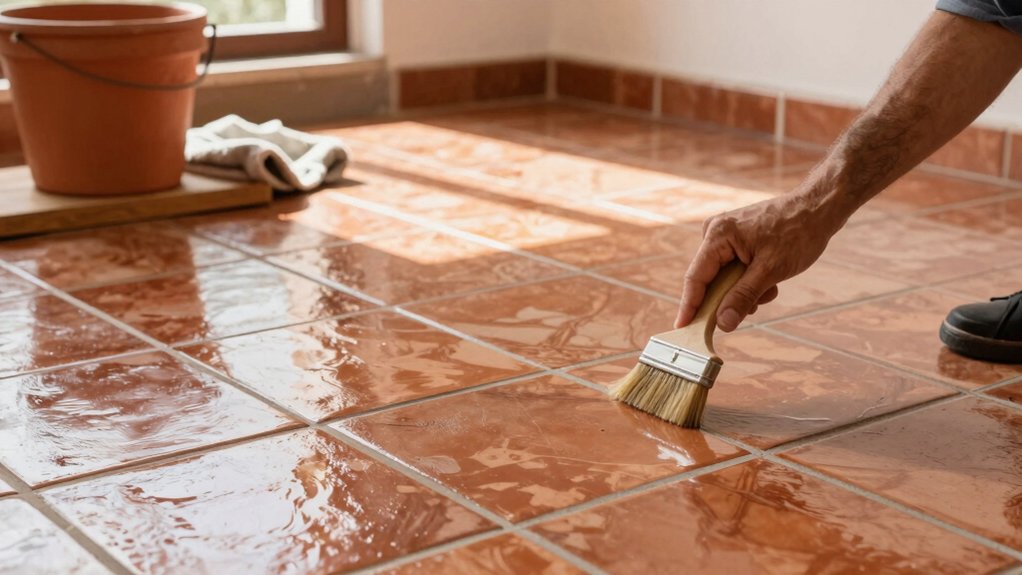
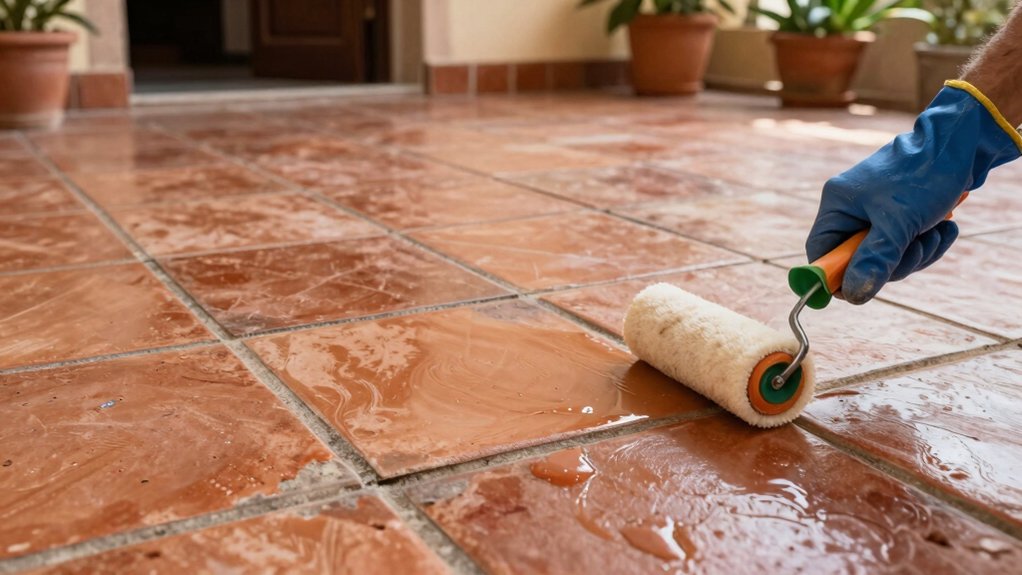
Begin by applying a compatible sealant evenly across the surface using a short-nap roller or high-quality brush, working in small sections to maintain a wet edge. Apply the first coat thinly to prevent pooling and lap marks. Maintain consistent thickness by overlapping edges slightly and rolling or brushing in multiple directions to achieve uniform coverage.
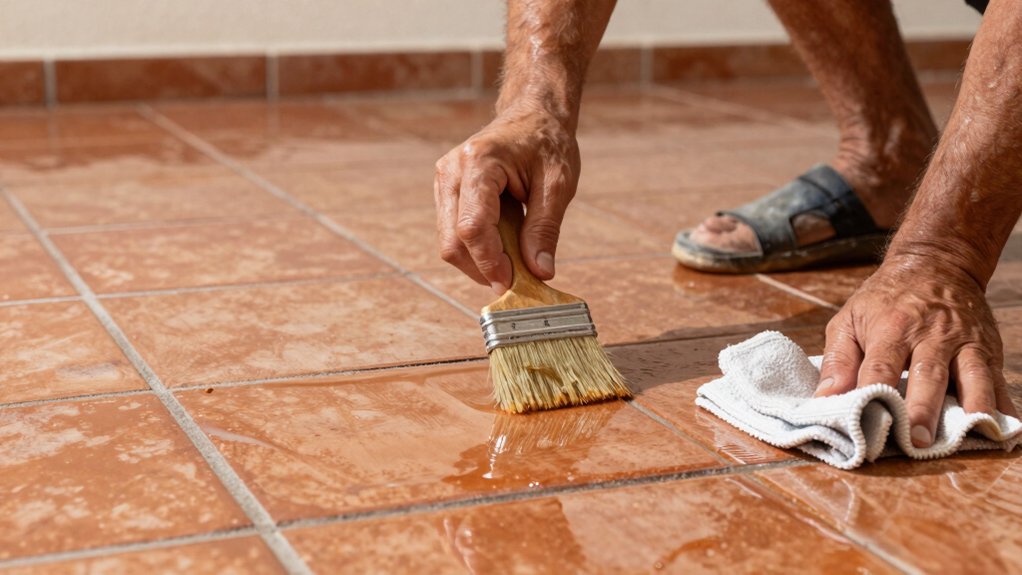
Allow the sealant to dwell per manufacturer instructions, then back-roll or back-brush to eliminate streaks. Inspect for missed spots under raking light; touch up only where needed. Avoid over-wetting joints or grout lines.
If applying a second coat, ensure the first is fully cured before proceeding, and use the same technique to promote uniform gloss and protection. Finally, ventilate the area and keep foot traffic off until cured.
Maintenance Routine After Sealing
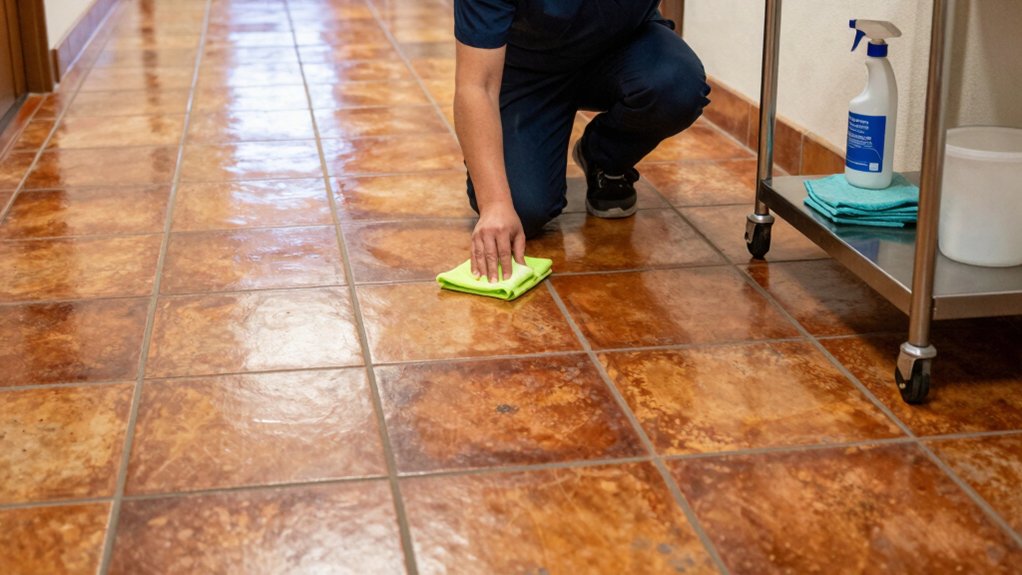
Maintaining sealed Saltillo tile floors starts the moment you finish curing. After sealing, dust and debris attractors drop dramatically, so establish a weekly cleaning cadence that minimizes moisture exposure.
Use a neutral pH cleaner diluted per manufacturer guidance, and rinse thoroughly to prevent residue. Dry mopping or a microfiber pad reduces streaks and helps you monitor floor condition.
Avoid harsh abrasives, acidic products, and ammonia, which can dull the seal and etch the surface. When spills occur, blot immediately with a soft towel, then re-clean the area to prevent staining.
Periodically inspect grout lines for cracking or wear; perform targeted touch-ups if needed, following the original sealer’s compatibility. Maintain doors and entryways to reduce grit ingress, and apply a refresher coat only when wear indicators appear.
Common Issues and Troubleshooting
Common issues with sealed Saltillo tile floors typically stem from improper cleaning, moisture exposure, or sealant incompatibilities. You’ll notice white haze, coating peeling, or uneven sheen after cleaning or foot traffic shortcuts. Inspect surface logs to confirm recent cleaners, degreasers, or penetrating sealants weren’t mixed against the existing topcoat.
If haze appears, re-clean with a neutral pH detergent, rinsing thoroughly, then re-evaluate porosity before reapplying sealer.
Moisture intrusion in grout or substrate can cause efflorescence, staining, or warping; test ambient humidity and verify proper underlayment drainage.
Incompatibilities arise when incompatible sealers are layered; perform a spot test with the intended product on a small area, allow full cure, and compare with the existing finish. Document products, temperatures, and cure times for future reference.
Address issues promptly to preserve performance.
Long-Term Care and Refreshment Plan
Moving from addressing issues to proactive upkeep, a long-term care and refreshment plan for Saltillo tile floors focuses on scheduled maintenance, timely rejuvenation, and documentation.
You implement a calendar for routine tasks: quarterly dusting, semiannual cleaning with a pH-neutral detergent, and annual resealing to preserve porosity balance.
Track sealant wear, grout integrity, and color shifts, noting any high-traffic area effects. Use consistent cleaning tools and protective mats to minimize abrasion.
Schedule luminance checks and moisture testing after seasonal shifts to prevent efflorescence or staining.
Maintain product logs, including batch numbers, application dates, and room-by-room results.
Establish thresholds for resealing frequency based on wear indicators.
Regularly review outcomes, adjust timelines, and train personnel to sustain finish protection and operational longevity.
Frequently Asked Questions
Do Color Variations Affect Sealing Choices or Warranty?
Color variations can affect sealing choices and warranty, but not the basic process. You’ll need a color-friendly sealer, test a small area first, and document shade changes; verify your warranty covers finish compatibility and application method for uniform results.
Can Saltillo Tiles Be Sealed Outdoors in Rainy Seasons?
Yes, you can seal Saltillo tiles outdoors in rainy seasons, but apply during dry intervals, use breathable sealant, and make certain surfaces are thoroughly dry before sealing; avoid puddling, and recoat after rainfall to maintain protection.
What Are Allergy-Friendly Sealants for Indoor Use?
Okay, you want allergy-friendly sealants for indoor use. Choose low-VOC, waterborne acrylic or polyurethane options; look for formaldehyde-free formulations. Apply with a microfiber roller, ventilate, cure fully, and recoat as needed for durable indoor protection. Galileo approves.
How Often Should Sealer Be Reapplied After Renovation?
You should reapply sealer every 1–3 years after renovation, depending on traffic, wear, and sealant type; inspect high-traffic areas yearly, refresh as you notice dullness or water absorption increases, and maintain a consistent cleaning schedule between applications.
Do Sealed Tiles Require Special Cleaning Tools or Techniques?
Yes, you can use standard tools; mop, microfiber pads, and a gentle brush suffice. Avoid abrasive scrubbers, steam, or harsh acids; sealers require light, even pressure and frequent drying to prevent streaks and damage. Maintain with routine, precise cleaning.
Conclusion
In short, you’ve learned to seal Saltillo tile like a seasoned pro—with pH-neutral prep, compatible sealers, and cautious, thin coats. If you actually follow the steps, you’ll avoid the drama of peeling finishes and water stains, which is practically miraculous in home maintenance. Sure, a refresher seal every few years sounds glamorous, but it’s just smart custodianship dressed up in mortar and gloss. Now go forth, seal, and pretend you didn’t procrastinate since the tiles were installed.